Time To Print Christmas Cards 

xmas-geese

santas-workshop

winter-christmas-view

xmas-chicken-1

xmas-chickens

holiday-train-2016

November isn’t even over and stores and television commercials are filled with Christmas advertising. Oh well, it always sneaks up on me, and anyway, I like all the festive celebration and excitement of Christmas. The early start means I get to enjoy all the colourful decorations, and listen to the Christmas music for a longer time. Yes, I like Christmas music.

All year long those photographer social media sites I belong to have been filled with photos made by members, but images posted on the internet quickly fade into memories and are easily forgotten when an hour later someone else posts theirs.

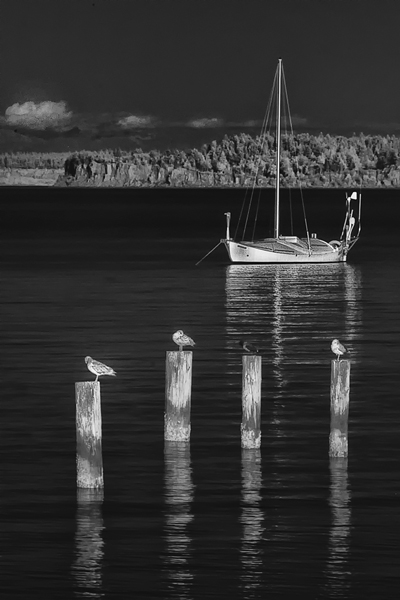
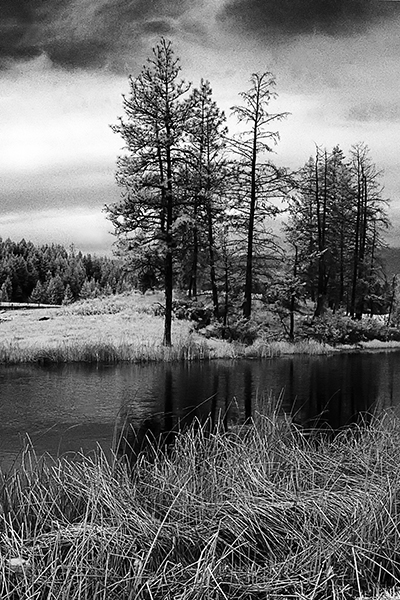
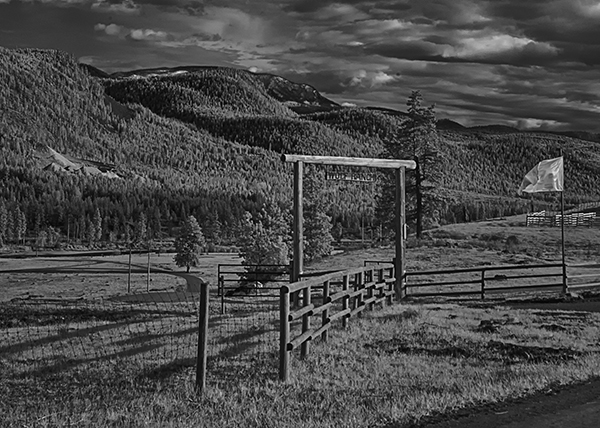
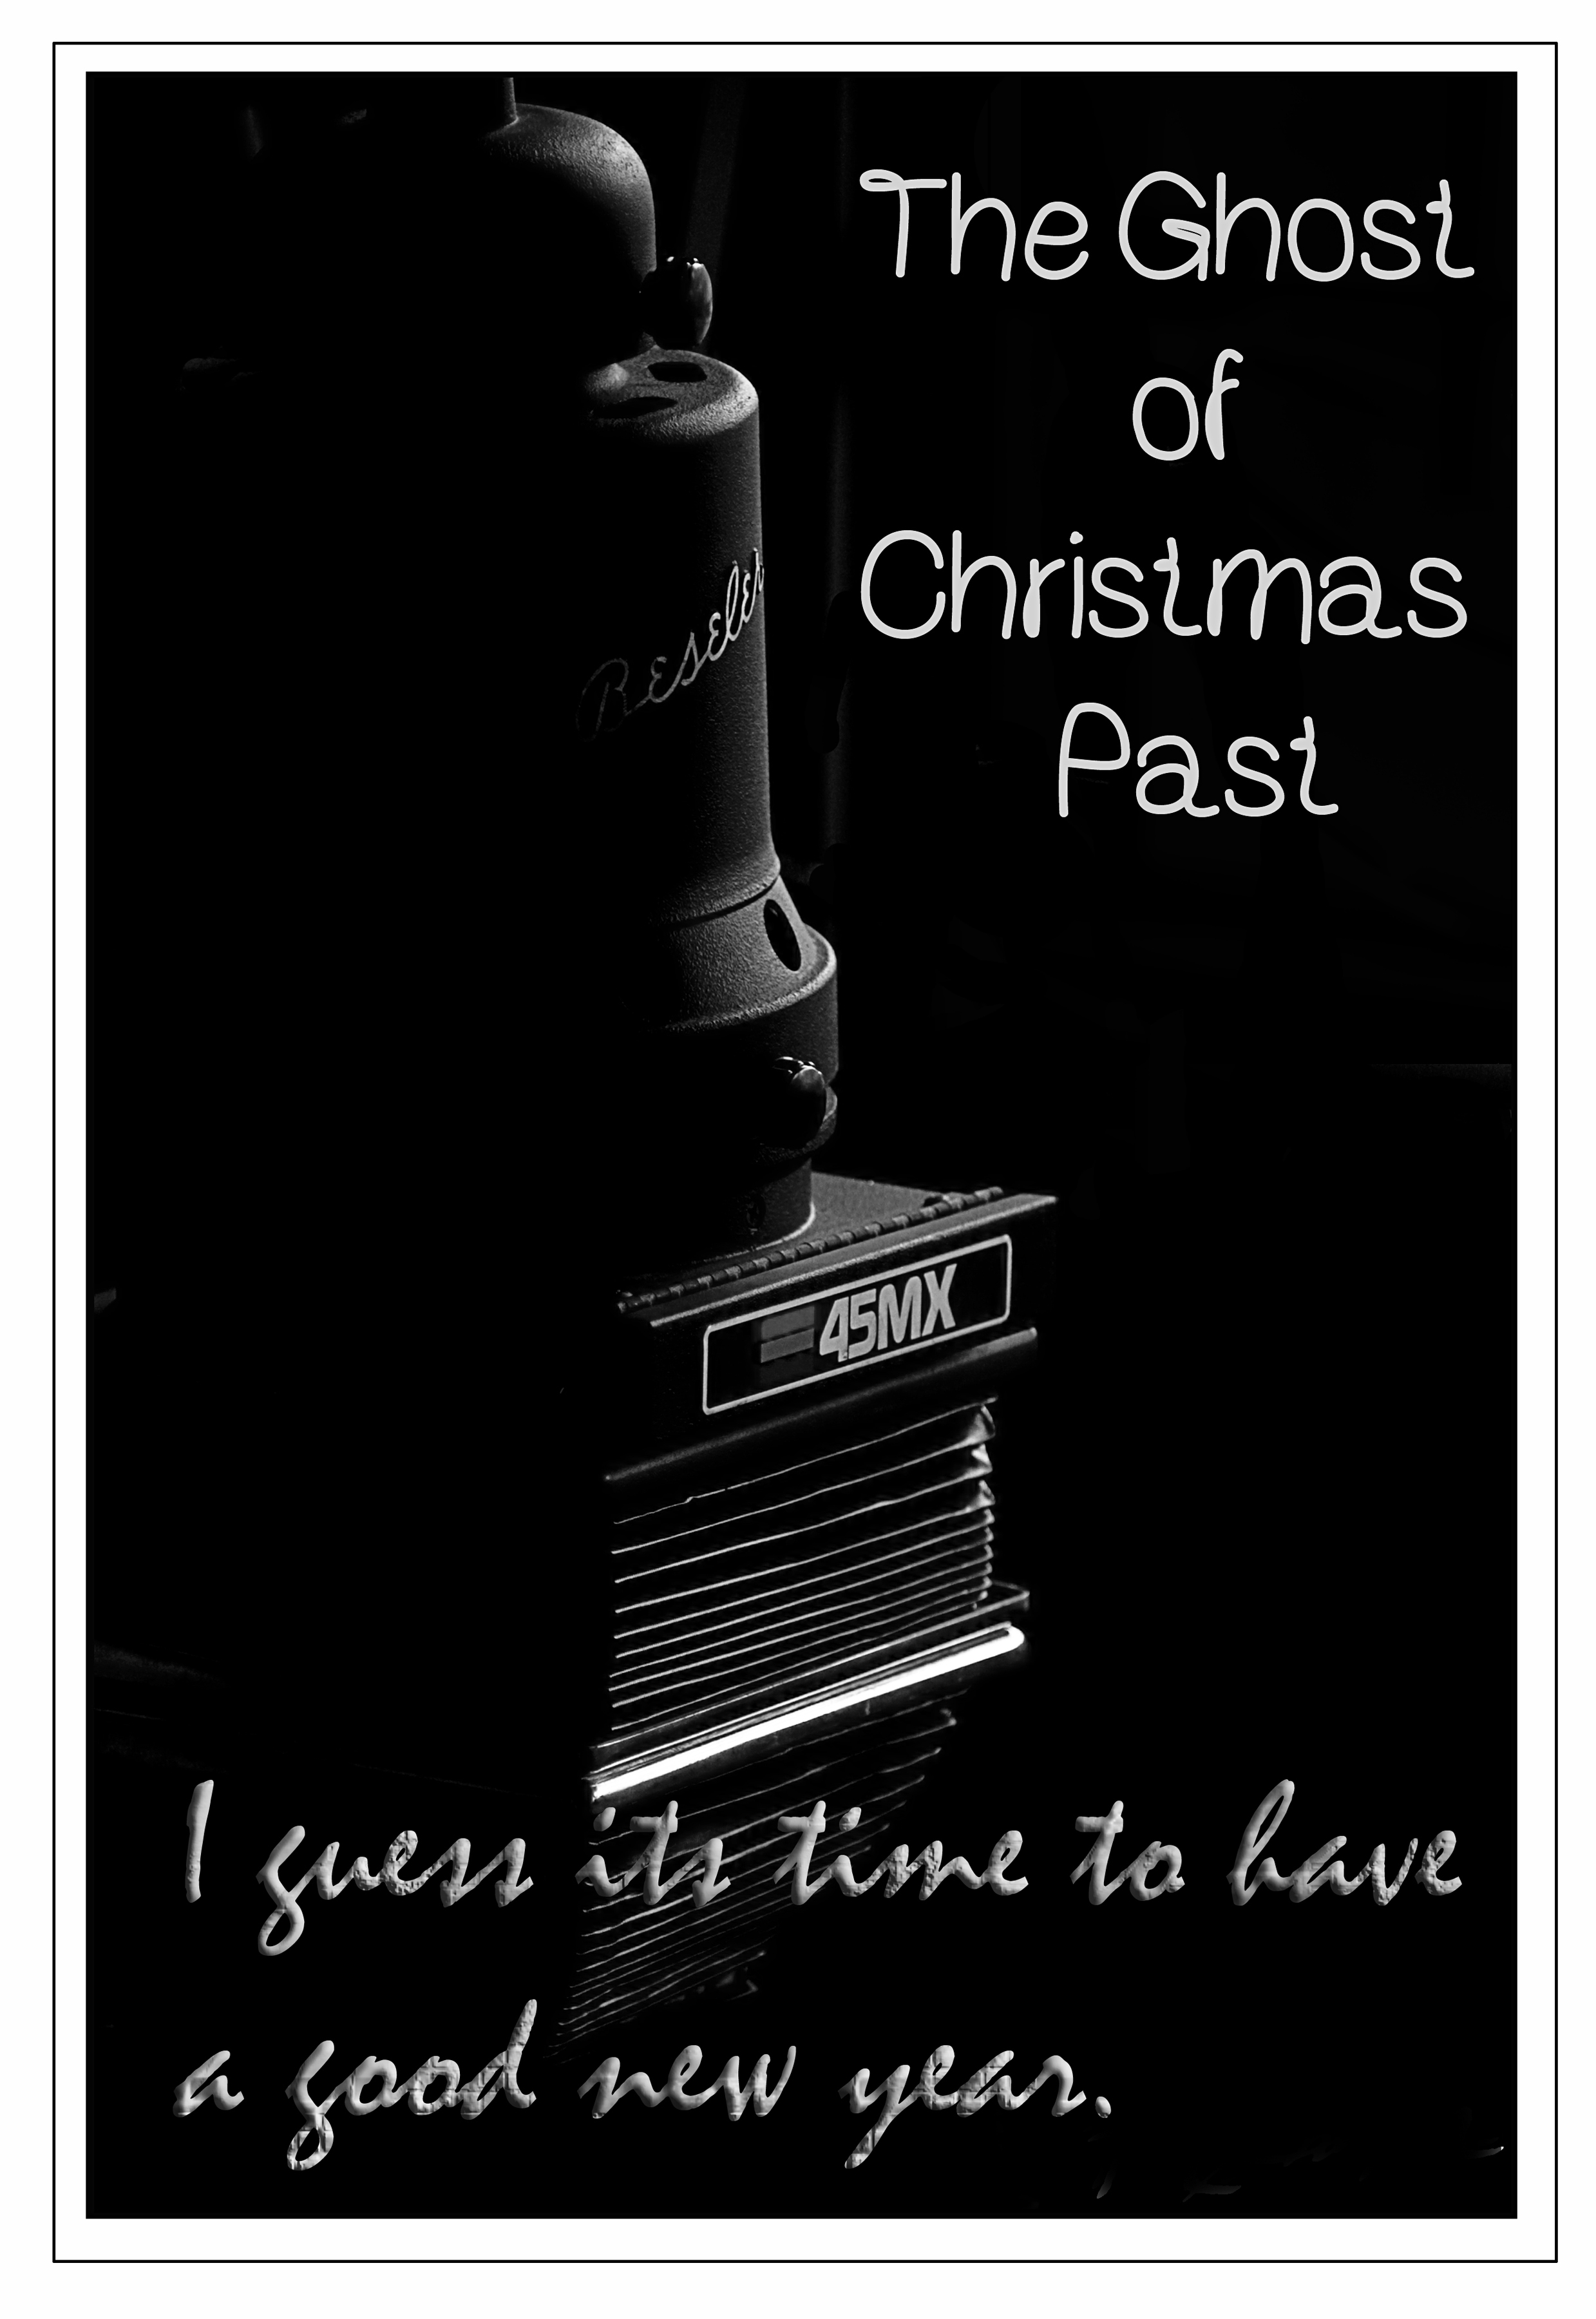
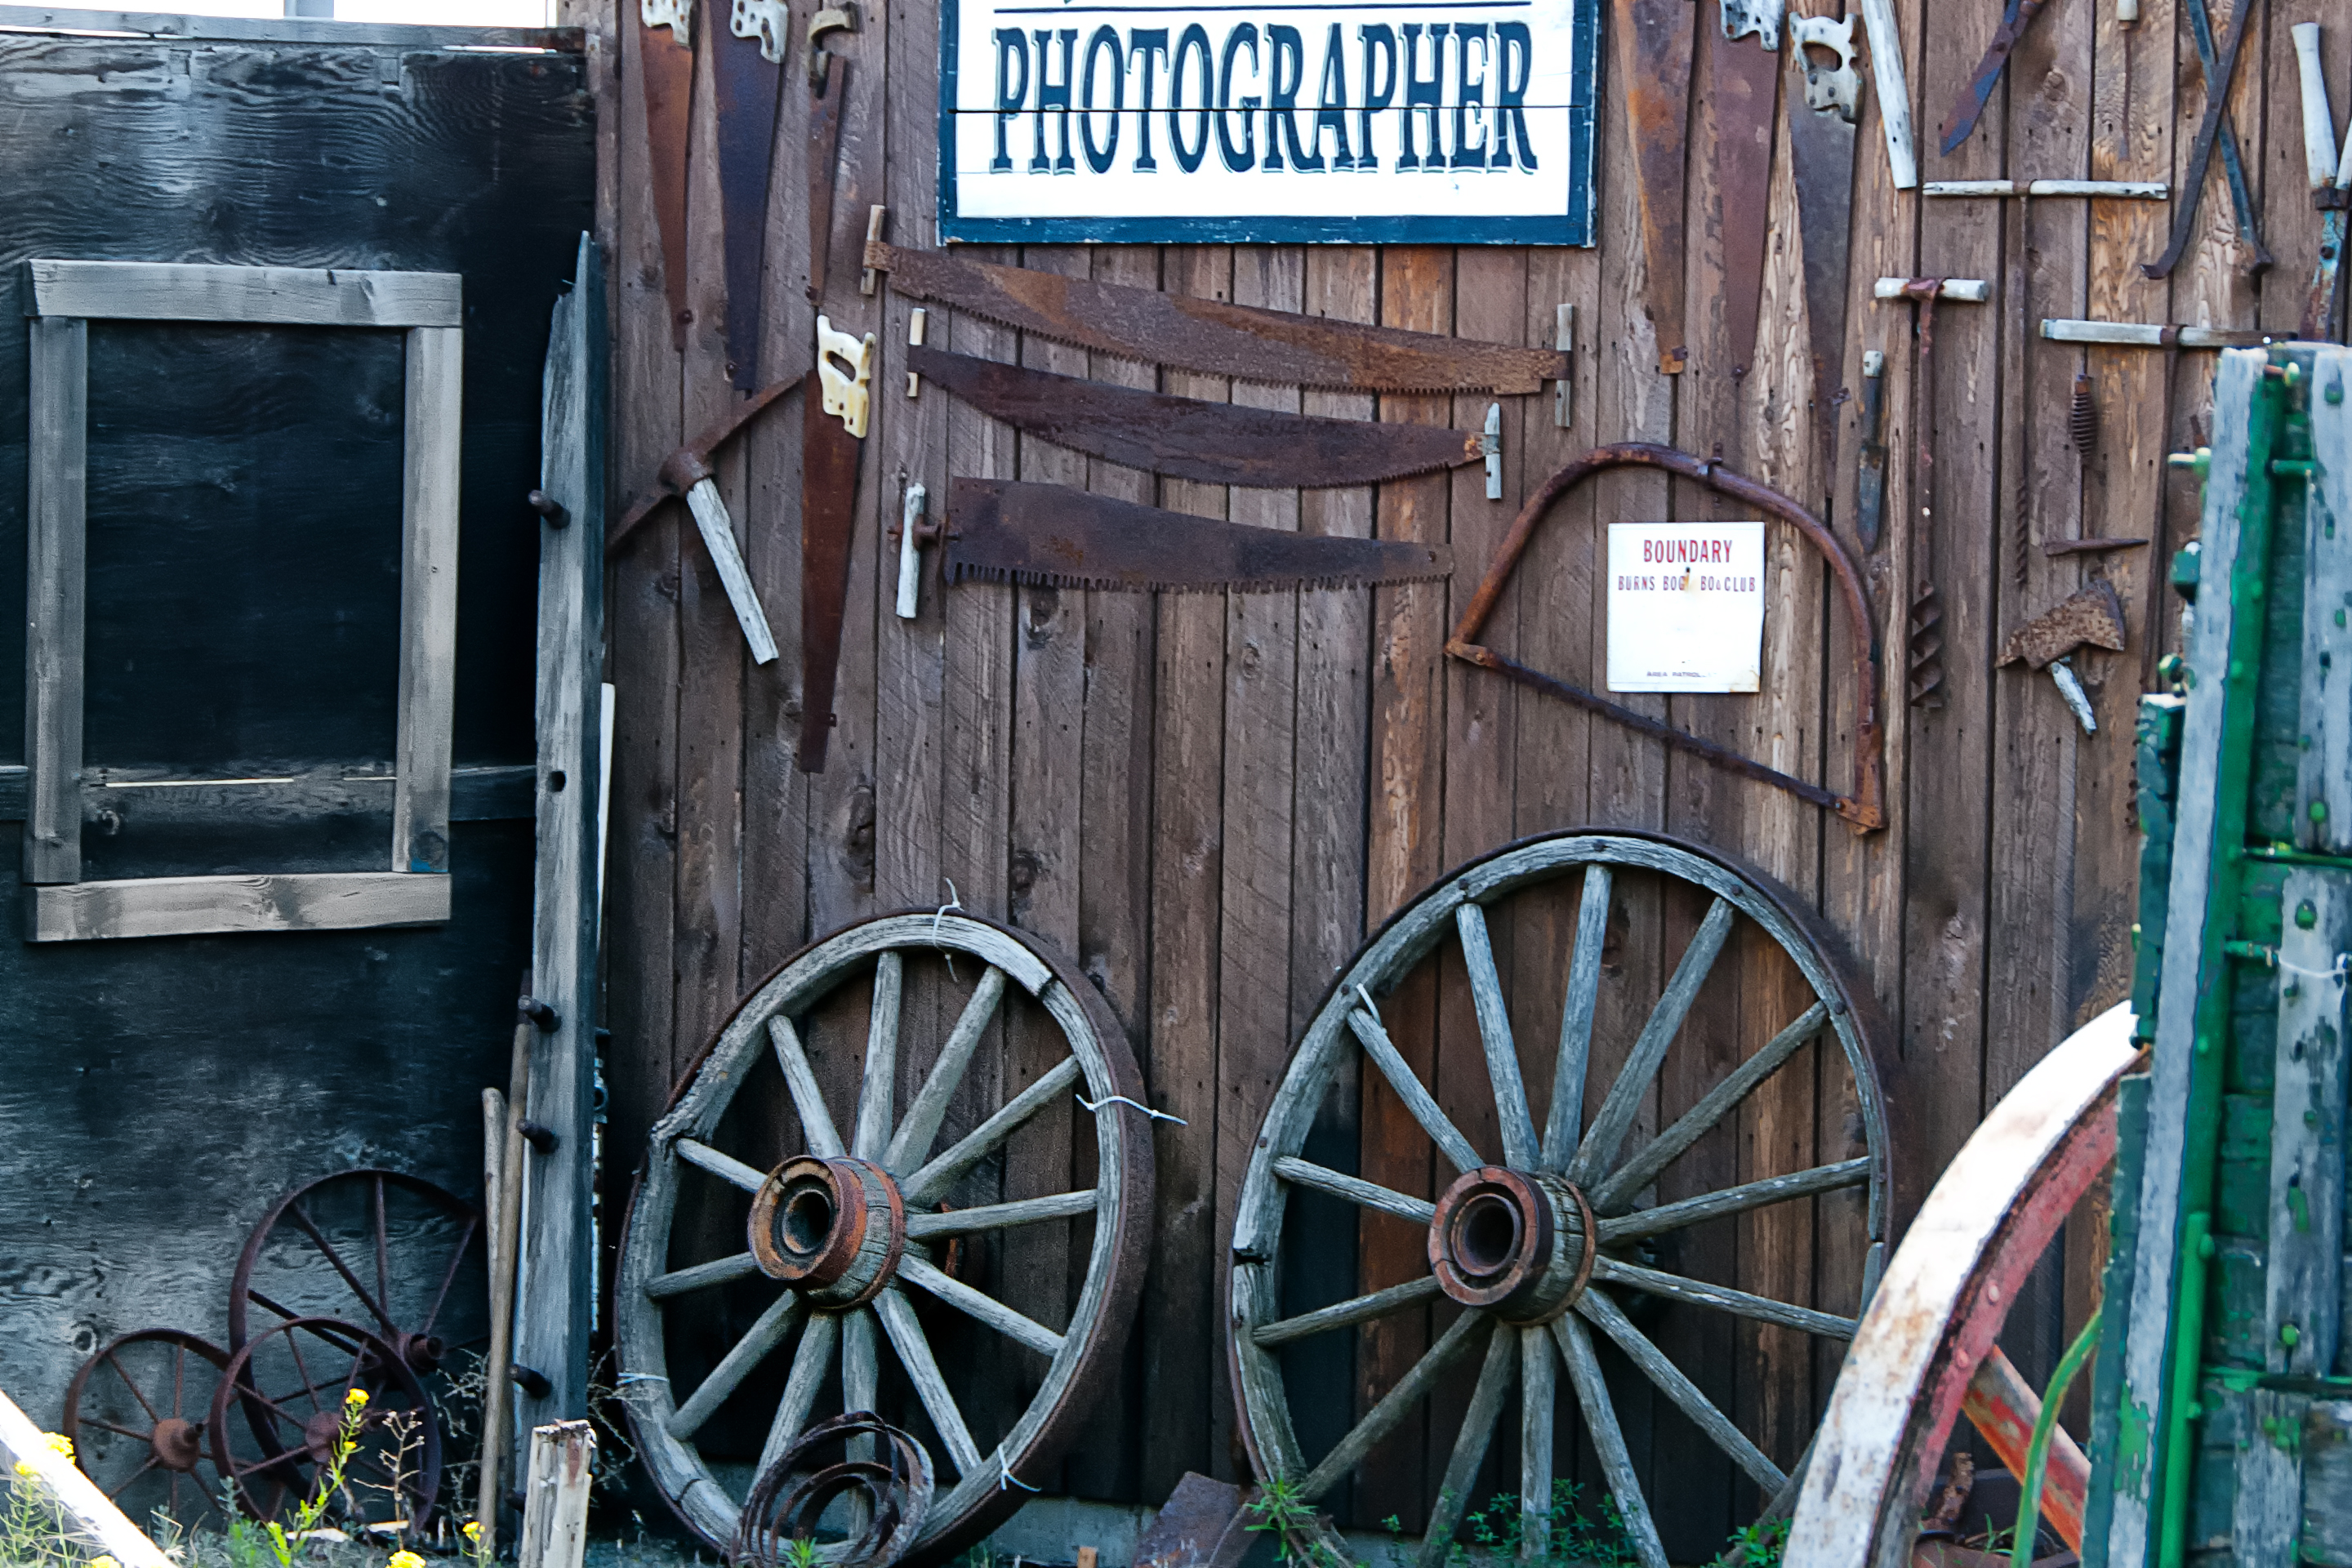
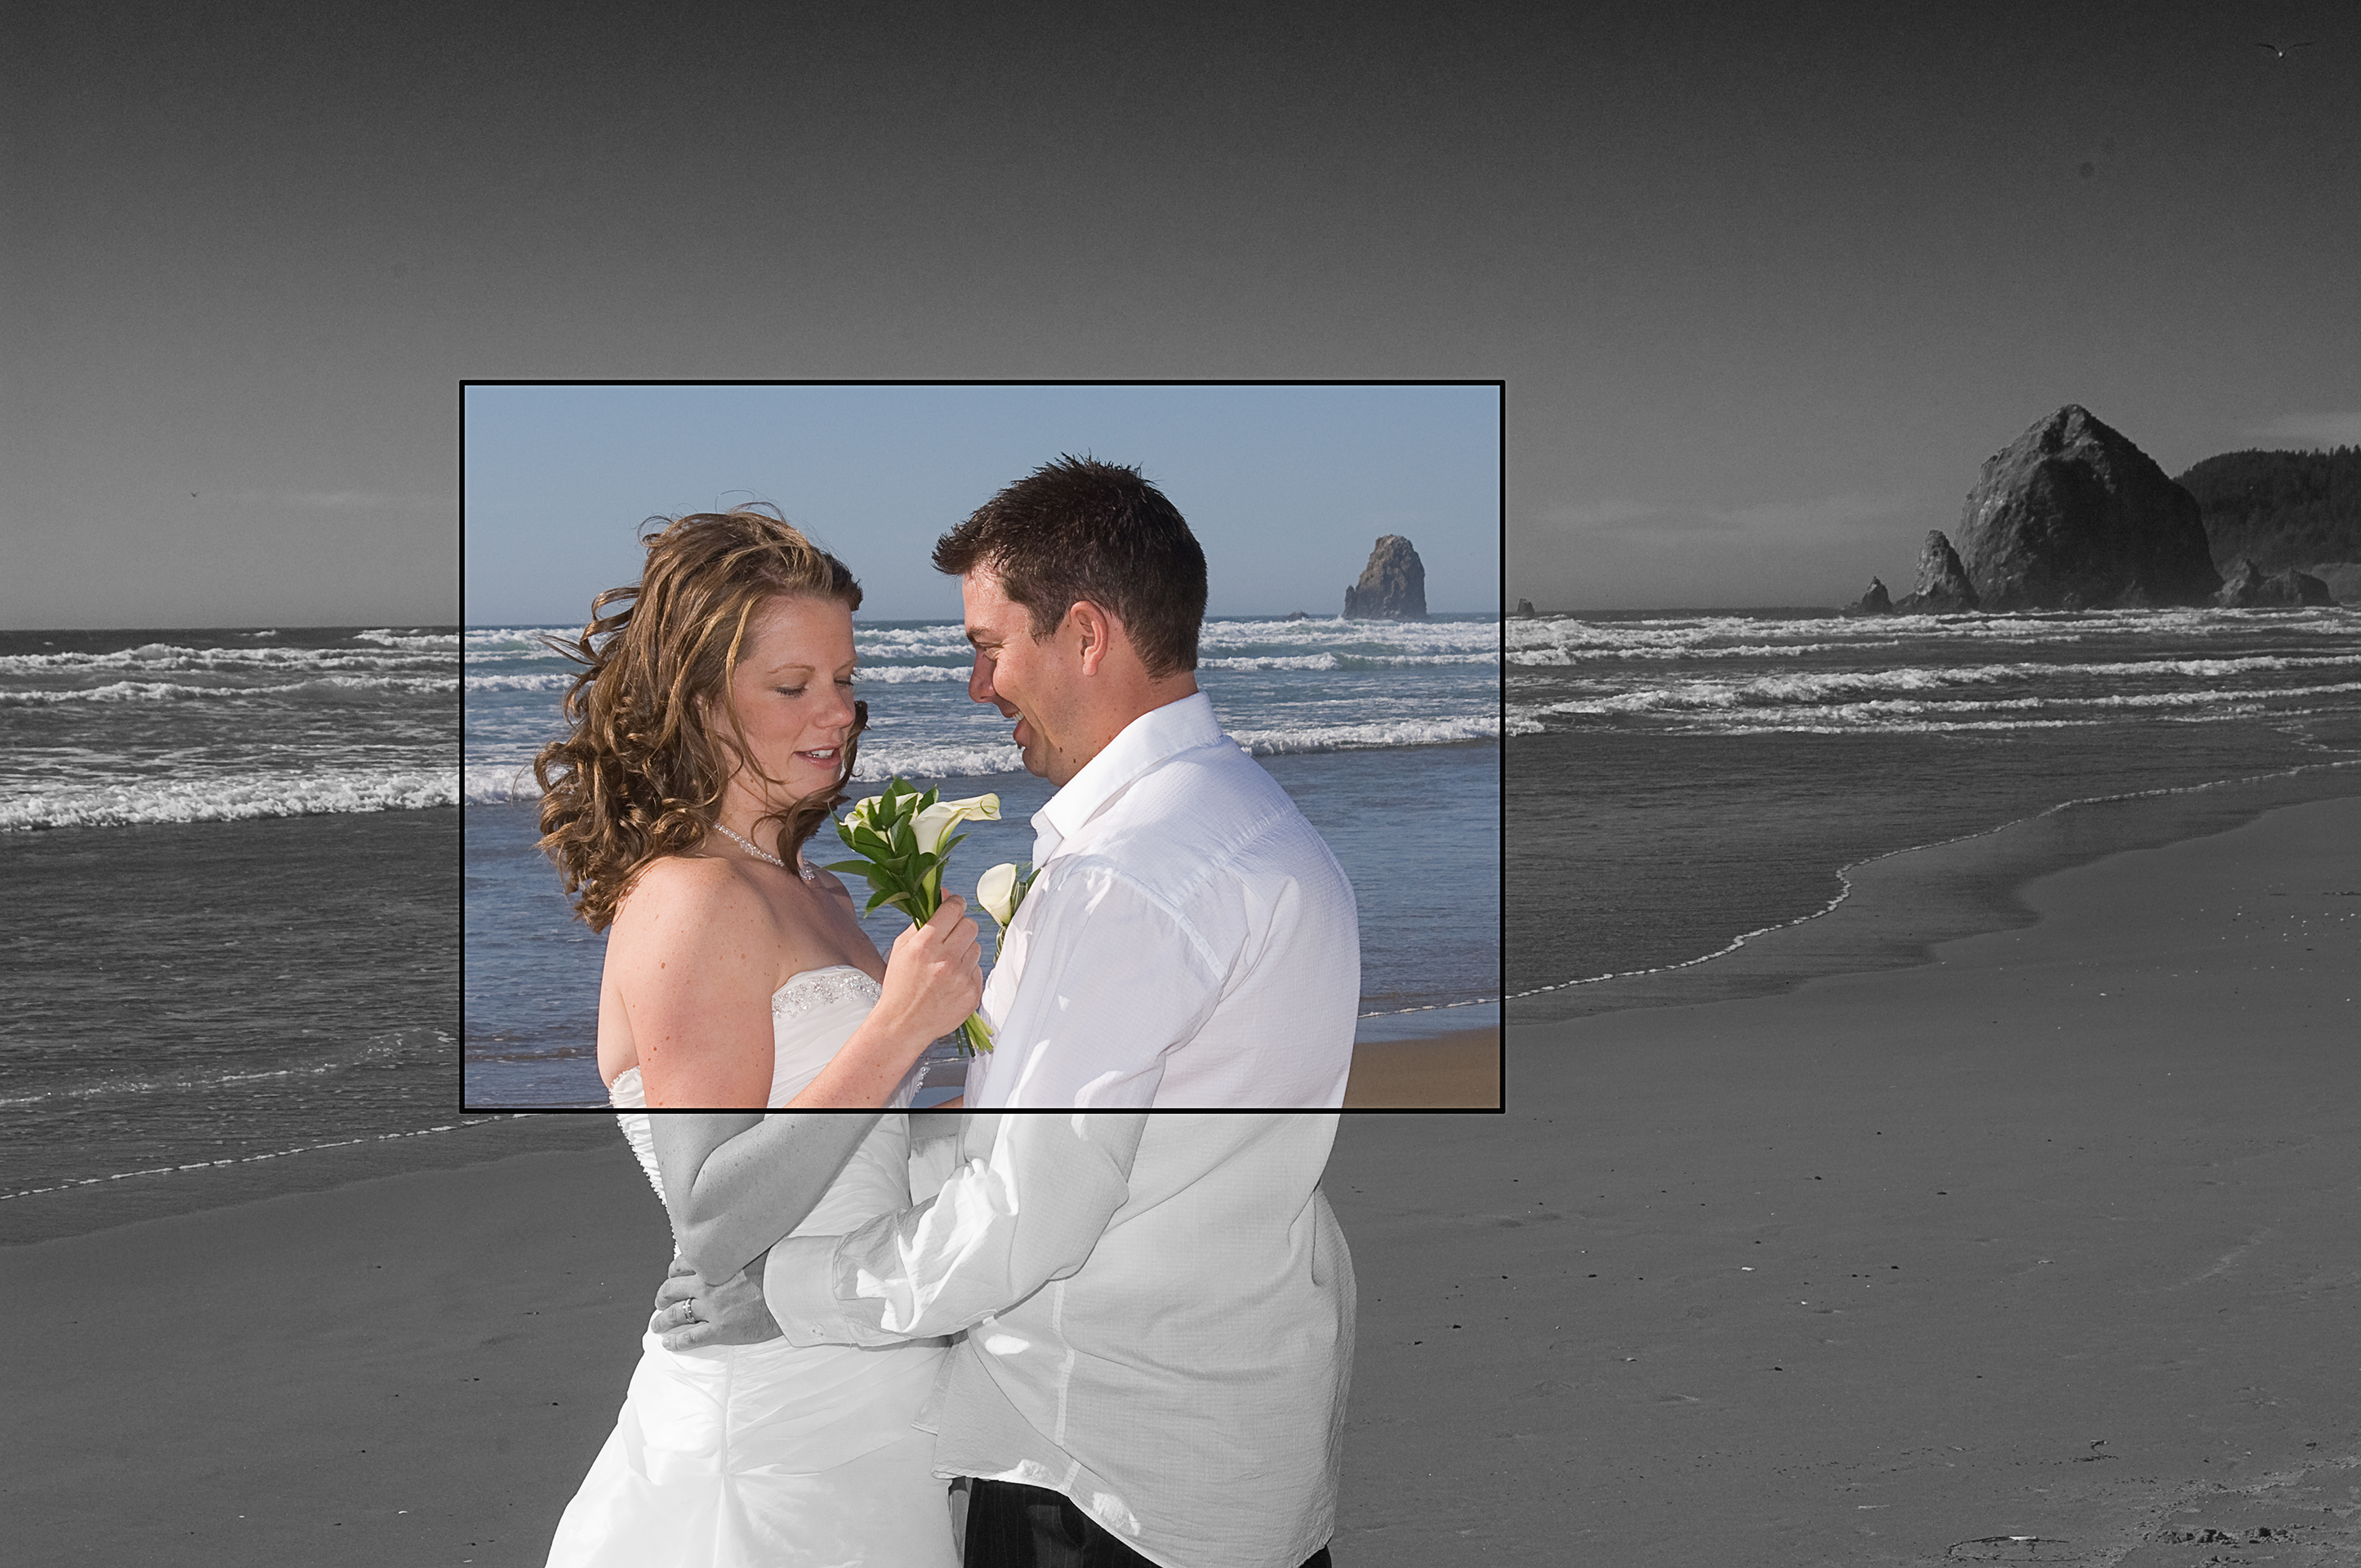
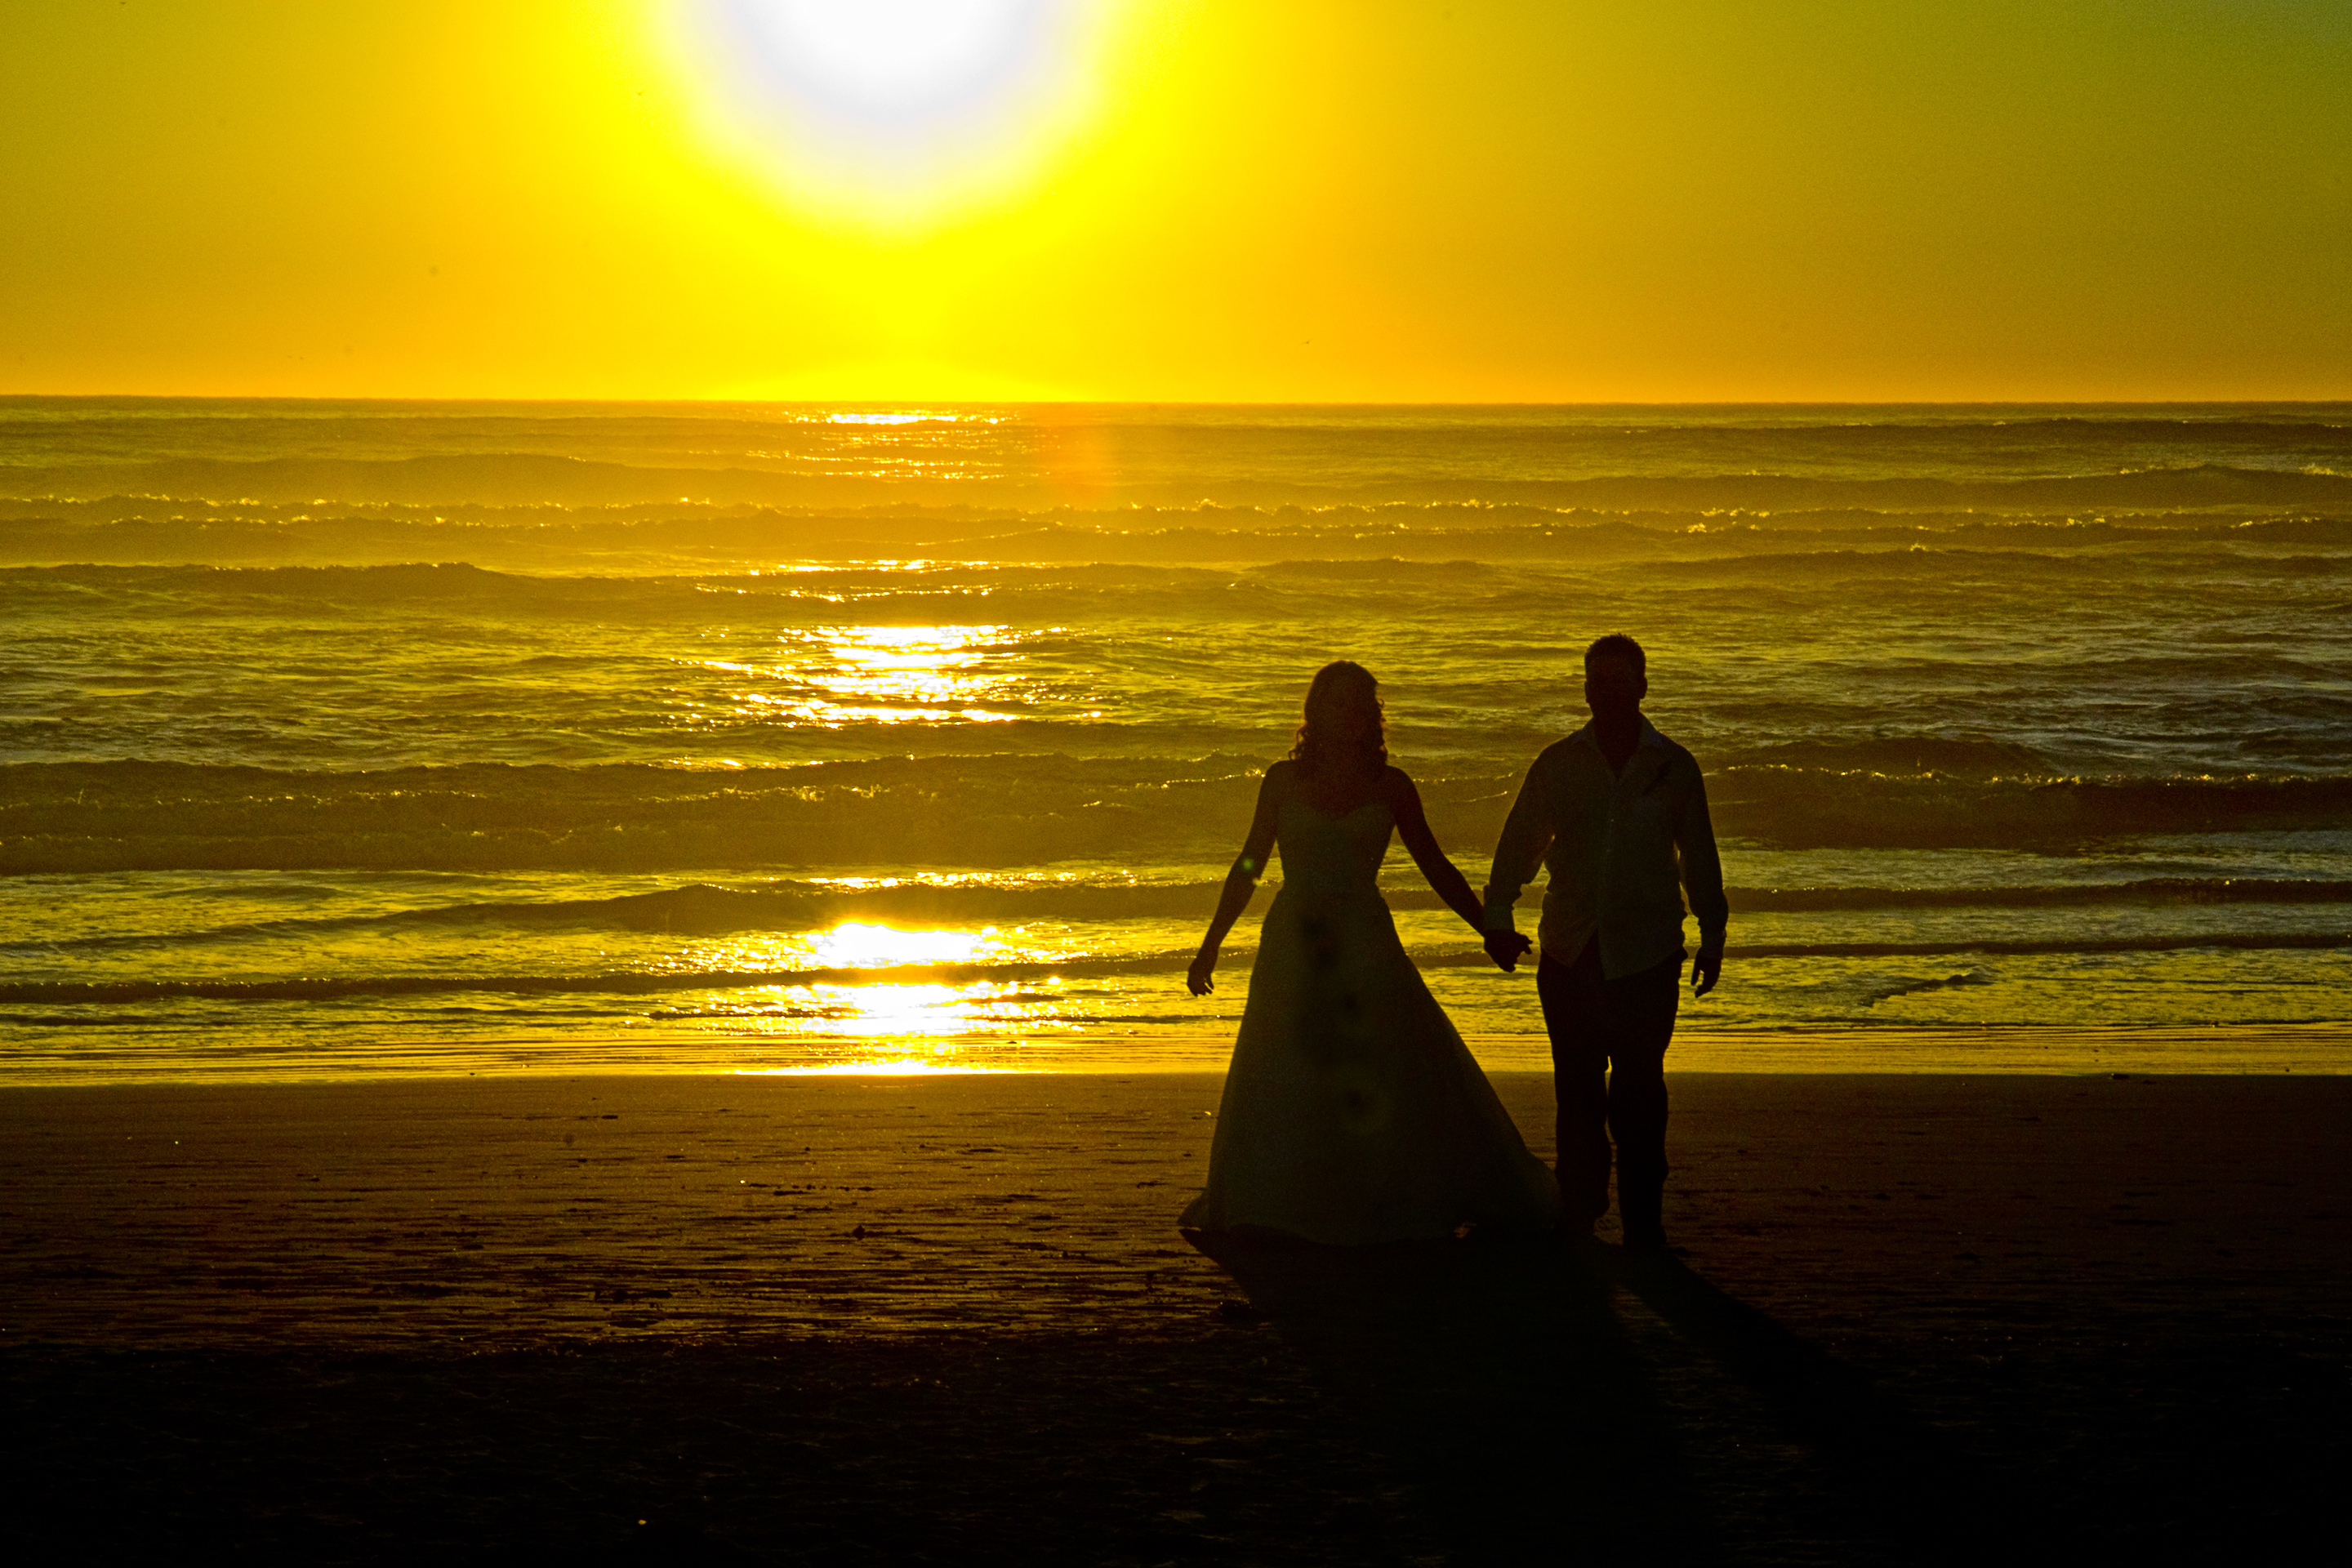
I like photographic prints. Prints have a life, whether framed and hung on the wall, taped on the refrigerator, or thumbtacked in an open space in the workroom. To me a print of any size has more importance than a digital image on my computer or iPhone screen.

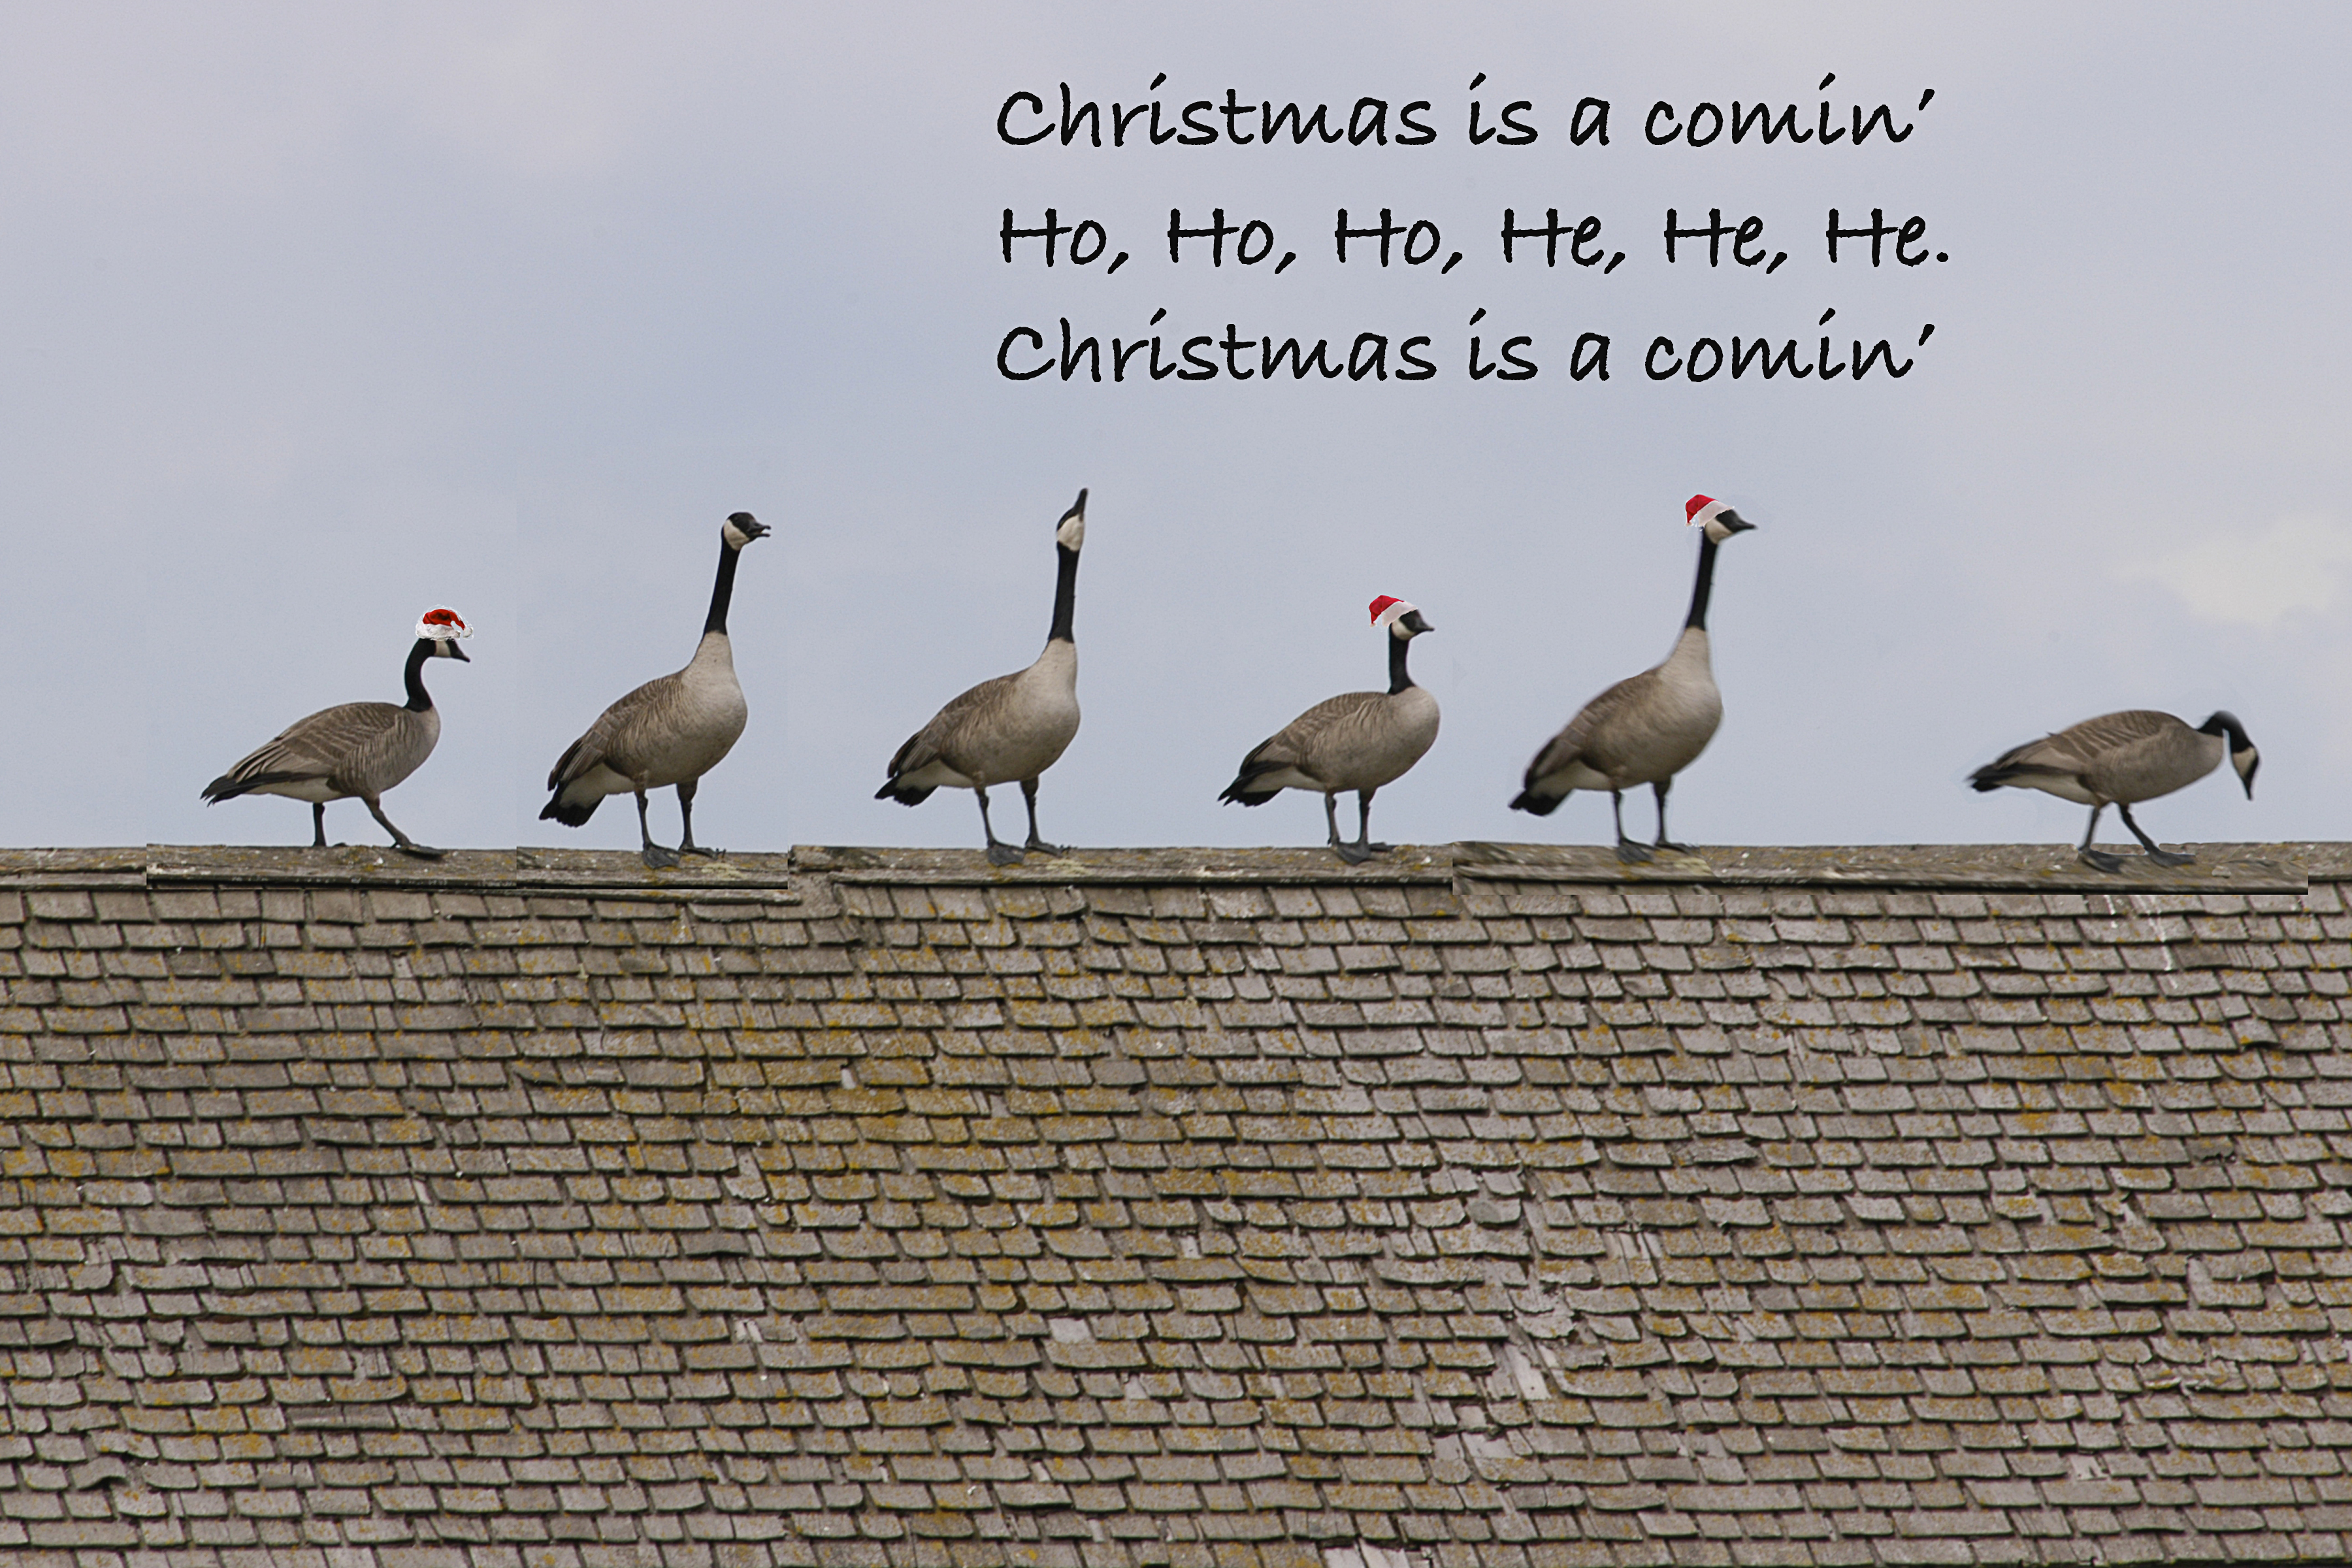
Christmas is a great time for photographers that now have and an excuse (and an opportunity) to give our friends and family our photographs.

I suppose that could mean a big framed photograph, but what I am writing about is Christmas cards. Cards easier and less expensive than framed prints. Nevertheless, any card of a photographer’s work is more of a statement as a gift than an email.

I don’t want to believe that any photographer would be satisfied with mass produced generic Christmas cards. Personally, I want people enjoy my photography. Even if it’s only as a 5×7 card, and that’s better than having my pictures left languishing in some hard-drive.

Right now my wife, Linda and I are going through our many image files from this year’s photographs selecting those we want for Christmas cards. I’ll print up lots of different images and place all sorts of greetings on them. It is rare that we give the same picture to more than one person. And not all the cards say Merry Christmas. Although I like “Merry Christmas” what goes on a card doesn’t really matter. Happy Holidays, Seasons greetings, Have fun, A good New Year, and anything else I think fits a particular picture.

I have written before that my wife and I always produce a new monthly calendar, doing alternating months. I always get December even if it’s Linda’s turn. Doing a calendar is a neat way to enjoy our photography, but cards are a lot more fun because they are for others to enjoy. I also make cards for all occasions, like birthday’s, Valentine’s, Mother’s day, etc.,

My family expects me to share my photography. Sometimes it’s only a picture of something we’ve done, but if it’s a special occasion they always get a card. For those photographers that don’t have their own printer, it’s as easy as having a 4×5 print made at a local lab. Then get some construction paper, glue a picture on it, fold the paper, write something like Merry Christmas inside and give it away. And don’t make all the cards the same.                                 What would be the fun in that?

Viewing Scenic Photographs   


seagulls and boat 2

Falis Pond 2

Wolf ranch

I enjoy looking at photographs that seem to have been made with the goal of saying something about a moment in time or place. Sometimes I even get a sense of the struggle the photographer had while trying capture a particular mood and how hard it was to convey that mood to the viewer. I think creativity takes a lot of effort.

This week I thumbed through a hard cover book I have had for years by one of my favorite landscape photographers, Eliot Porter. The book, entitled Intimate Landscapes, is from an exhibition of fifty-five color photographs by Eliot Porter, at The Metropolitan Museum of Art.

I enjoy how he eliminates those elements that add nothing to the composition and selects those that add meaning to his visual statement. He had an amazing awareness of how colors create mood. A review I read went on to say that his photographs, “reflect the standards of excellence that are Eliot Porter’s greatest contribution to the field of color photography. Upon seeing these photographs, the viewer is immediately struck by the artist’s distinctly individual and intimate interpretation of the natural world.” His photographs are different and specific, and have a personality that I think come from the experiences of the photographer.

When I finally put down the book I thought about how many of the scenic photographs that populate photography forums I currently read are mostly documentary type photographs, and I wonder if the photographers believe that any vista with lots of space and colour is worthy of photographing. They might be of the opinion that all it takes is a wide-angle lens to miraculously convey the feeling and emotional reaction they personally felt at that moment. Perhaps that is why the viewers’ responses they get are sometimes limited to, “nice sky and good composition”.

My long-time friend, Bob Clark, used to critically suggest that all one needs for people to like your landscape or scenic photo was to have a “National-Geographic-sky”, a magazine that was filled with pretty pictures of places from around the world with blue skies and billowy white clouds.

I prefer scenics that make an impression on me and convey a mood. I want to look at a photograph that allows me to find a story in it; or at least be able to search for one, and hope for a photograph that I can respond to on some level. A photograph should try to accomplish something, and should have a strong sense of self-expression. Photographers should look for something in the landscape that is unique, and that will set their photograph apart. As photographers we should try to express our personal viewpoints and hope to summon an emotional response from those who view our photographs.

Your Photographs Make Great Christmas Cards

Xmas

My favourite from last year


Horse sleigh ride

enlarger ghost 3

xmas chickens

Another favourite


The Christmas season is a perfect time for photographers to give friends and relatives some photographs. That could mean a framed photographic print, but personally I like to give Christmas cards.

Last year, at this time, I wrote about an early December visit that my wife and I spent in San Francisco, California, and the scene we were greeted with when we decided to spend an afternoon on a picturesque beach at John Muir Park. There were three young people involved in what we assumed was the production of a Christmas greeting card for a barefoot young woman that stood at the water’s edge wearing a long dark skirt, a billowy white shirt, a red vest, and a Santa Claus cap. She posed and smiled as she supported a gangly four-foot Charlie Brown Christmas tree at her side and her friends laughed and photographed her as the surf rolled in. What a great idea for a card!

There are stacks of generic greeting cards being offered at stores, but for photographers it’s a perfect excuse to give people photographs. Personally, I want people to see and enjoy my photography, even if it’s only as a 5X7 card. I go through the many images languishing in my hard drive, add some festive greetings and voila! I have some cards for the Christmas season.

It is rare that we give the same picture to more than one person. And not all our cards say Merry Christmas. To me, it doesn’t matter; Happy Holidays, Season’s Greetings, a good New Year, and anything else I think fits a particular picture.

It doesn’t even need to have a Christmas look at all. (Actually, they rarely do and are usually pretty silly) What matters is the picture and it’s important that the card is unique. And I really don’t care what they do with the card I sent. I hope people like what I give them, however, if it gets thrown out with the gift-wrap after the holidays it doesn’t matter either, they had the opportunity to see a photograph taken by my wife, Linda, or myself, and that’s what’s important.

Don’t be a Grinch and hide your pictures away. Just showing some picture on your iphone or facebook isn’t enough. Print it, make a card, put it in an envelope, and give it to someone. And it’s easy, just get a 4×6 print and glue a photo to card stock or construction paper and write something festive on it. In my opinion Christmas cards don’t really need to be just about Christmas. Call them greeting cards, holiday cards, or whatever you want. That way if it’s a bit late for Christmas they can be sent or delivered anyway.

I enjoy all comments. Thanks, John

My website is at www.enmanscamera.com

Deadman Junction Photographs – A Great Time

view of deadman junction buildings

view of deadman junction buildings

mining office and jail

mining office and jail

an old mining cart

an old mining cart

an old cargo wagon in the street

an old cargo wagon in the street

view from deadman's main street to buildings.

view from deadman’s main street to buildings.


a wall with saws and a photographer's sign

a wall with saws and a photographer’s sign

an old cargo wagon in the street

an old cargo wagon in the street


Cigar store sculpture in front of saloon

Cigar store sculpture in front of saloon

  walking down Deadman Junction main street

walking down Deadman Junction main street

Photographers driving about an hour west of Kamloops British Columbia, along the Trans Canada Highway 1, past Savona, and past the turn to Deadman’s Creek, will discover a neat, little gem situated just off the road.  All they have to do is watch for a big, home-made sign positioned on the side of the road, amidst the wide, low, rolling-hilled, sagebrush-filled landscape that declares, “Deadman Junction”.

At first glace that sign marks what looks like the remnants of an old town. There are already plenty of decrepit structures left decaying along that stretch of highway and travelers might be hesitant to stop because it looks like it might be, like so many others, private property, and I expect many readers have been run off occasionally by landowners intent on preserving their privacy. However, my suggestion is to slow down and stop because this is a camera-waiting, ready-made, western movie set that is definitely not restricted to private invitation and where everyone will be welcome.

Owned by dedicated wild-west enthusiast Matt Sandvoss, the partially constructed old-west replica is a perfect place for any respectful photographer that wants to work with western lore and old buildings.

Sandvoss, an enjoyable storyteller, guide, and visionary in his pursuit to construct this copy of an Old-West town in a remote part of British Columbia, is an eager, willing, and immediately likeable host.

When I arrived there were motorcycle travelers from Alberta, and a family from England, with both groups enjoying his commentary on the movies that had been filmed there and his ideas for the town’s future. He was pointing out features, western items he had collected, and was adding interesting anecdotes on each.

Although I was mostly involved in my personal photographic quest through the photogenic location, I did hear him mention the movie “The A-Team”, and that actor Harrison Ford had been there. I think that is great, having just found the place I’d hate to see in fall into disrepair, and movies will give Mr. Sandvoss the funds to not only maintain it, but also to add more buildings (for us to photograph).

Photographically the location is almost captivating. The landscape is wide and rolling with almost none of the modern trappings like wide parking lots, concession stands and electrical power poles that usually come with roadside attractions, and when one does see a power pole or something else that gets in the way, it is easy to find a different view.

I wandered back and forth, there was so much to photograph that I found myself continually returning for another look or angle. I was able to capture wide, picturesque images of a row of buildings with appropriate sagebrush and tumbleweed in front of, and around, rickety-looking old wagons, and even iron works close-ups on what I am sure were authentic mining carts.

Those travelers of Highway 1 between Kamloops and Cache Creek might want to stop to cool off at the Juniper Beach Provincial Park nestled in a shady, treed spot along the river, and if the Skeetchestn Indian Band rodeo is in progress, that’s a neat event also. However, for me I know I’ll be taking the scenic drive again along the mighty, winding Thompson River to spend some time listening to Sandvoss’ stories and a whole bunch of time photographing Deadman Junction.

I always appreciate your comments. Thanks, John

My website is at www.enmanscamera.com

Use the Right Tool to Copy Old Photos

Harvey & Violet Walch 2  Wedding Day

Using the wrong tool usually leads to unacceptable results in one way or another, for example, when a butter knife is substituted for a screwdriver.  That was what came to mind when I was asked if I could make quality copies of old photographs that a family wanted to use for a book of genealogy they planned on publishing. They required image files with enough quality for good enlargements, and usable for the intended family book.

They began by trying to copy several images using home scanners that worked great for documents, but only produced pictures that lacked detail. I suspect many of those originals photos were a bit over or under exposed in the beginning.  Some family members tried copying the old photographs with their little digicams, however, that resulted in bright white reflection spots from the flash that obscured features in their family photos. They decided to shoot from the side hoping to reduce the glare, but only got unusable foreshortened pictures; by that I mean the closest frame edge was large and distorted and the far frame edge was small.

They told me that even though their photographs had a bit better detail the results were still unacceptable.  That is what I mean by using the wrong tool. A camera with an on-camera flash will produce glare on reflective surfaces, and angled shots don’t make for good documentation of flat artwork because things close to the camera lens appear larger and those farther away become smaller, and while inexpensive document scanners are great for documents they rarely produce quality reproductions of photographs.  The result was they were having trouble all around.

The right tool for them would have been a camera attached to off-camera flashes, with the flashes set off side from the painting at a 45-degree angle. When I copy photographs I use two umbrellas to diffuse the flash, but one could get reasonable results by placing some translucent material in front of, or bouncing, the light from the flashes off large white cards.  In any case, the light needs to softly and broadly, not sharply, expose the old photograph’s surface.  The wonder of digital technology is how quickly one can review the image and retake the photo if needed. I also recommend taking several shots at different apertures.  For that, the right tool is a camera that one is able set to manual exposure.

When photographing oil paintings or other uneven reflective surfaces I prefer working with slightly under exposed image files.  That way I can bring the detail up using PhotoShop without loosing the highlights.

If the next question is, “What kind of camera?” my answer will be that it depends on what is the desired outcome.  If it is for, as in this case, faded old photographic prints for reproduction in a book, the image file needs to be large and for that I prefer a DSLR (digital single lens reflex) camera, but for a small newspaper, or website image, a digicam that will accept an off-camera flash will do just fine.

If there isn’t access to an off-camera flash then wait for the opportunity to place the painting in “flat” daylight.  Today, as I write, I see out my window that it is cloudy and overcast, perfect for even, flat lighting. One could place the picture on any support that will allow tilting right, left, up, and down. Then as exposures are made and checked, the picture can be moved around until there is no reflection.

Two umbrellas allow me to balance the light. I lay the photographs flat and mount my camera on a copy stand that I have had for years, and use a small level to make sure the camera lens and the photographs are parallel. Then I make a test shot to check the exposure for reflection. My first and then finished image of one photo is posted ate the beginning of this article.

The final step for me is PhotoShop, which I use to color balance, then for cropping, contrast, and sharpening. I could purchase an expensive scanner, but I already have lots invested in a camera, and lenses that work perfectly well, and which I think may be faster to use.

I do appreciate your comments. Thanks, John

My website is at www.enmanscamera.com

Basics of a Good Story

Canon beach 1 Canon beach 2      Canon beach 3

A discussion with friends about doing photo-essays reminded me of an article I wrote a few years ago entitled, “Telling a Story”. My thoughts on that, and visual story telling, are worth revisiting this week.

When I was in high school I gave an oral report in class about a story I was supposed to have read called the “Sentinel”. I hadn’t actually read that story, but really, I was taking on a dare by some of my friends that I could successfully get away with making up a story in the minutes before class started, and give a report that would have our teacher thinking I actually read it.

My friends and I waited outside the classroom door till just before the room change school bell rang.  One guy suggested the title of  “The Sentinel,” and being young guys they also thought it should be about a deer.

Even at that young age I knew that the basics of a good story was to make it interesting enough to engage the audience, that it needed an original perspective, and I knew I needed to create a mood right away. The story I made up as I talked was about a big deer that lived on a mountaintop, and I also got a good grade.

That was a long time ago. a story is similar to putting together a series of photographs. Whether one is consciously building a photo essay or, as an example, photographing a wedding; the process, start to finish is the same.

Photographs of people can visually stand alone, or might need several photographs to tell a complete story. As I perused a wedding I recently photographed, I looked for those that worked the best to explain a particular moment. I like images that show people interacting and I thought how weddings are perfect venues for creating interest, capturing moods, and experimenting with visual perspective.

Creating a photograph that is strong enough to stand on it’s own goes beyond just being a good visual image because it is filled with nice colours, or pretty people. It needs to give the viewers information that they can make into a story. I think a good photograph is one that makes us have a connection with, or think about, the subject. And just as in any good story one must engage the audience, have an interesting perspective, and, of course, create a mood.

At any event the photographer’s first goal is to successfully document everything that happens. The second is to compile enough images to be a narrative of the occasion. Third, and maybe most importantly, to create photographs that by themselves tell individual stories of those that attended, or are the main focus of the function.

Telling a story with photography, then, becomes more than putting the high-tech camera on program mode and randomly aiming around. It involves light, not just metering correctly, but adding light when it is needed so the main subjects are highlighted. Then selective focus is taken into consideration to isolate the subject, or include the subject of the photograph with other features, or the background; and then, positioning oneself so as to be at the right place at the right time.

Adding light might be from a reflector, or from an on-camera flash; selective focus is about just understanding and applying depth-of-field; and being at the right place at the right time takes some forethought, and the willingness to place oneself in front of the action. Sometimes, that means asking people to move out of the way, or (I know it may seem rude) stepping in front of others.

Successful storytellers are after fleeting moments that say something to the viewer, and sometimes depend on luck for that perfect camera angle. As I wrote, the story might be a succession of photographs or it might be that one picture, it’s really not that much different than the basics of a well-written story. Make it interesting enough to engage the audience, try for an interesting perspective, and create, or photographically capture, a mood.

I always appreciate comments, John

My website is at www.enmanscamera.com

Printmaking – 10 Tips to Make Better Prints

Last week a previous PhotoShop student of mine stopped by my store to discuss printmaking. We talked about a lot about techniques, papers, and one of my favourite topics, how to make black and white prints.  Consequently, for this week I decided to pass along a summary of that discussion in the form of 10 tips for readers that should help them to make better prints.

1. I’ll begin with the most important tip for getting a good digital print, which is a good quality image. You will need a good original image in order to get top quality digital photography printing. It’s like the old saying, “garbage in, garbage out.”

2.  Learn to white balance your camera. Proper camera white balance means the camera’s sensor reproduces the “colour temperature” of a light source, or the relative warmth, or coolness of white light. Setting the camera’s white balance corrects all the colours in your pictures, taking into account the light in which they were shot.

3.  If you are using a DSLR (digital single lens reflex) camera be sure to clean the sensor regularly. Even if you never remove the lens, dust will get in and show up on your prints.  Some cameras have self-cleaning, but that doesn’t remove all the dust from the camera, it only shakes it off the sensor and it will eventually find it’s way back, so to make sure I regularly clean my sensor with a clean blower.

4.  Calibrate the computer monitor. Do this about every two weeks with a new monitor, and then every month or so after it is a year old.  Adobe Photoshop provides the Adobe Gamma Wizard or use a more a specialized product by Color Vision, Monaco, Digital Light, or other manufacturers.

5.  Choose a colour space for the camera’s image files.  The two most common with digital images are sRGB and Adobe RGB 1998.   Check the camera’s menu for that initial selection.  If you are making enhancements to your images in PhotoShop you will do better with Adobe RGB 1998; it covers a wider colour gamut.  Wider range of colours mean more precise colour adjustments. These are subtle.

6.  Improve contrast.  Photographs from digital cameras are sometimes pretty flat and lack the contrasts that were once provided by films like Velvia and Ektachrome VC.  If shooting JPGs learn how to use levels and curves. With RAW it’s easy using the sliders in Adobe’s RAW converter.

7.  Resize your image.  Choose a resolution from 250 to 300.

8.  Sharpen.  All digital images whether scanned, or direct from the digital camera, require sharpening for a satisfactory print. I leave my camera at normal and do the real work in PhotoShop. Sharpening isn’t all that hard, there are many ways. Just spend some time searching the Internet and choose a method that isn’t complicated. I like sharpening to fit easily into my printmaking workflow.

9.  Choose the right paper.  Just like traditional photography, the paper you choose to print with will make a big difference. In Photoshop select print with preview and choose your surface – matt or glossy.  Be sure to go on-line and download the correct profile into PhotoShop for the paper you are using.

10.  Set your printer’s driver.  To maintain the colour accuracy of your image, it is essential to set your printer driver correctly. When you are ready to print, select the print preview option in your file menu.  There are several steps – you should learn them by reading your instruction manual for your printer.   It is important to let your printer know the amount of ink for the type of paper and surface.

And lastly, after printing save those images on archival CDs, DVDs or on external hard-drives. Don’t make the mistake of leaving all those image files on your computer, that’s the best way to loose everything.  Cheap bargain discs will degrade with time. Don’t store them in the sun and don’t write on them.

I really appreciate your comments.

And my website can be found at www.enmanscamera.com

Photography on the Ferry


My wife and I boarded the BC ferry Coastal Celebration to Victoria, BC. We parked our car, picked up our cameras, and proceeded up to the sundeck. The day was clear blue and the ferry’s sundeck was packed with people with their cameras, all searching for joyful memories of the one-and-a-half hour ocean crossing from Tsawassen to Swartz Bay.  The weather was pleasant and encouraging for those travelers who wanted to stay outdoors.  When the wind became too gusty the passengers would step behind glass partitions designed to provide protection yet allow for an unobstructed view.

I think, with maybe the rare exception, the photographs being taken were of friends or family posing against the rail. Another favourite photo was the group shot around a table, (arm extended style with camera pointing back at the shooter), and then another favourite, of course, was of other boats passing by. And finally, there were lots of shaky pictures of the luxury homes that were perched on the shores of small rocky islands.

One has to admit, after taking that picture of a spouse or friend standing in front of some scenic location, all the rest are just repetition. I took my wife, Linda’s picture holding her camera, a little tired with all the traveling, hair blowing in all directions, standing next to a white rail with blue water behind her. I’ll treasure that picture because it’s her, but she just smiled when I showed her that not so flattering image.

I had made the obligatory portrait and was about to be off when a guy and his family walked up and handed me his little digicam and asked me to take a group picture. I posed them, made one fellow remove his sunglasses and changed my angle a couple times as I took their family-on-the-ferry portrait. My wife later mentioned that the fellow had been watching and she was sure was waiting for a moment when he could ask me to take their picture.  I am sure he had just looked around for the guy with the biggest camera. I guess I won.

Although, unfamiliar with the large white, ocean going vessel vibrating under my feet, I was fascinated with all the unique doors and windows, wall mounted things like pipes, speakers, all the odd railings, long walkways and so much more. However, most interesting; it had people, lots of people from all types of places.  We heard many languages being spoken.

I wandered that windy deck photographing anything that caught my eye, and that included photographing the people. I had my 18-200mm lens on the camera, so it was easy to be inconspicuous. Those in front of my camera either thought I was, like them, interested in some feature beside or behind them in the ocean, or like a guitar-playing fellow I photographed, just didn’t care. Anyway, I wanted to photograph how they were standing, the play of light on them, the ship, and what was around them, I tried for unusual angles through stairs and made silhouettes. Almost all my images were side or back shots, after all I didn’t know them and wasn’t interested in their faces, just how they fit in with everything else on the ferry, or maybe I should be calling it a ship.

The hour-and-a-half trip gave me plenty of time to search the ferry for things to photograph, but I was enjoying myself so much that before I knew it the fun was over with the sound of the ship’s horn and an announcement to return to our cars.

I do like comments.

My website is at www.enmanscamera.com

Liking Black and White Photographs


My last article entitled, “Wandering City Streets with my Camera” included both colour and black and white images and elicited the following remark from reader, Timothy Schultz, who said, “I don’t usually like black and white photos, but they were used very effectively here.”

Black and white photography has always been a favorite of mine, and I am pleased that some readers agree that sometimes the use of black and white is effective.

During my years of involvement with photography I have seen changes in the kind of photography people are doing. When I first started making pictures as a child it was all about economics – B&W prints were cheaper than colour prints.  After that one-hour photo labs appeared in shopping center parking lots, department stores, and finally in malls, and colour prints became inexpensive and the mainstay for photographers.

I have always liked black and white and much of the time prefer the mood it evokes.  Since the introduction of digital image making and programs like PhotoShop and NIK software’s Silver Efex the need to carry a dedicated camera and to commit space for a custom-built lab has disappeared.  Now all that is necessary is learning how to effectively use the correct program.

Colour is reality, and black and white seems a bit “arty”, or as I wrote, “mood evoking”.  I have never produced an album of wedding photographs without including some black and white prints and when I ask the couple if they are OK with that, I always hear, “Oh, we love black and white. Yes, please”.

People comment that a black and white portrait speaks about a person’s personality.  I am not sure about that, but I do like, and sometimes prefer, black and white, depending on whether the subject is a person, an animal, or a building, and what I am trying to illustrate with the photograph.  And, I “previsualize” how those colours are going to work as shades of gray while I am composing the photograph.

I’ll mention here that famous photographer Ansel Adams introduced the idea of, and the word, previsualization. It is a term he used to describe the importance of imagining, in one’s mind’s eye, what the final print reveals about a subject.

We see everything in colour, and in the modern world of digital photographic technology that’s what is captured.  Then, we visualize and translate those images into black and white images using post-production technology.  I really do like B&W pictures and sometimes miss those singular times in my darkened room, where I would produce my B&W photos by hand in open trays of chemicals.  However, technology has changed and there are many options that now allow photographers to produce higher quality B&Ws.

I read an on-line discussion entitled, “Why Black and White Photography” by Robert Bruce Duncan. In it he wrote, “black and white has an inherent dignity”.  His opinion is thought provoking.  Perhaps we do see and interpret more in a B&W photograph. Duncan goes on to say that he thinks few colour landscape photographers have matched the black and white work of photography greats like Ansel Adams, Edward Weston, Paul Strand, Margaret Bourke-White, and Imogene Cunningham, for example. And on portraiture he says, “it’s more than arguable that black and white is at it’s best for people photography…From early portraits by Julia Margaret Cameron, and later, Steiglitz and Steichen….(and) the photographers who documented America during the depression, to a whole slew of great Hollywood glamour photographers…and all the masters that made Life magazine perhaps the best periodical of its era.”

I am intrigued with Duncan’s words, I could mention some famous colour landscape photographers, but I’ll leave them to readers to search out. I believe both colour and B&W has its place.  As I wrote, sometimes I prefer black and white depending on the person, animal, or building, and what I am trying to say with the photograph. I pick and choose what image I think will work best in black and white and that depends upon the subject, the circumstance, the light, and, of course, the colour.

My website is at www.enmanscamera.com

Photographing Eagle’s Nest – An Adventure


Generally, when looking for eagles viewers are peering upwards, and most photographs of eagles are of eagles flying high or perched overhead. So, thinking of all that, it was with excitement that my friend, Walter, and I began a somewhat hazardous climb up a steep, loose, shale-covered hill that would allow us to photograph an eagle’s nest from above.  He had found and climbed to this nest late in the spring about four years ago, but that time he only made a couple of photographic climbs because he thought he might be bothering the eagles.  I was able to photograph it only once and what a great day that was.

Last week Walter and I made the half-hour climb again and we found a position on a ledge where we could watch and photograph the eagles from a distance slightly further away than where we were four years ago.  This year there was one fluffy chick in the nest and although I am sure they were very aware of our presence, with the added distance between them and us, they didn’t seem to be bothered.

Walter brought his Sigma120-400mm and I had my wife’s 150-500mm. Both are big and heavy lenses, but because we followed the old photographers adage, “always select a shutter speed number that matches the focal length” neither of us had a problem handholding our hefty lenses. I know fixed-focal length lenses tend to focus faster and are usually sharper, but for this excursion we both wanted the versatility of multi-focal length (zoom) lenses.

The only difficulty we had was the climb. The shale was loose and we caused small avalanches as we crossed and slipped over the face of the hill. I stepped wide and constantly leaned into the hill and had to watch where I placed my feet seeking stable footing. And looking about, or straightening up, only increased the probability that one would end up bruised some distance down the steep hill with damaged equipment.

When we finally reached our photography perches we sat quietly for a while as our trip up was noisy and we expected we might have agitated the eagles.  After a time we moved to where we each could see the family of eagles, then pressing our eyes against our viewfinders we both began photographing them.

The day was clear and bright, so a sky shot, although dramatic, was always a silhouette. I wanted to show the eagles on the nest, to include parents and the chick, so most of my shots were level or angled downwards. The eagles would sit at the nest for long periods, and then seemingly take turns flying off to perform acrobatics high in the windy sky. Too high to photograph, but amazing to watch all the same and when they did zoom back to the nest I would start releasing the shutter all the time wondering if any of my captures would be usable.

Bird Forum, www.birdforum.net, claims to be the largest birding community, dedicated to wild birds and birding. The advice on photographing birds, by one of the moderators is, “A bird will pretty much let you know if they feel threatened by you so you should let them be your guide… The birds come first. Sometimes your close proximity to a nest can cause the parents to abandon the nest,… close proximity to a nest will only invite other predators to the nest… The best way to photograph birds is to make yourself stationary rather than chase them down. Stay put, you would be amazed at just how close the birds will come to you once they are comfortable”.

It was a great day for both of us; outdoors, fresh air, sun, wildlife, and great pictures to help us remember.  The eagle chick should be full grown by nine weeks, and now that we know we aren’t bothering them we’ll plan another visit shortly.

Be sure to press the “Follow” button.

my website www.enmanscamera.com