Leading an Outdoor Lighting Photography Workshop

Adding light  Bailea & Flash  Big lenses  Participants  Sarah lighting Bailea  Model in the meadow  Hide from the wind  Flash & Reflector  Low angle shot  Didya get it

I always enjoy the enlivened interaction that happens when a student of photography makes the decision to participate. During a workshop my job is to present information on the subject, and keep things going. I don’t like to be a demonstrator on stage and rarely pick up a camera during the workshops I lead. That is left to the participants.

Those are the words I used when I was discussing the first of two workshops I am leading this spring on the use of off-camera lighting. The first two-day workshop was about lighting in a studio and was held in a well-equipped photography location where I introduced how different lighting tools are used for portrait photography.

I have now finished the first of a two-session outdoor lighting workshop where the participants were surprised when faced with using many of those same lighting tools outside.

This workshop was about using light out-of-doors and I think returning participants were struck with how straight forward lighting is inside compared to outside. In the studio one synchronizes the camera’s shutterspeed to the studio flash and uses the aperture to determine the exposure of the light reflecting off a subject. However, out-of-doors a photographer is faced with additional variables and must balance the natural ambient light with an off-camera flash, and when using flash effectively it is more about creating and controlling shadows than filling them.

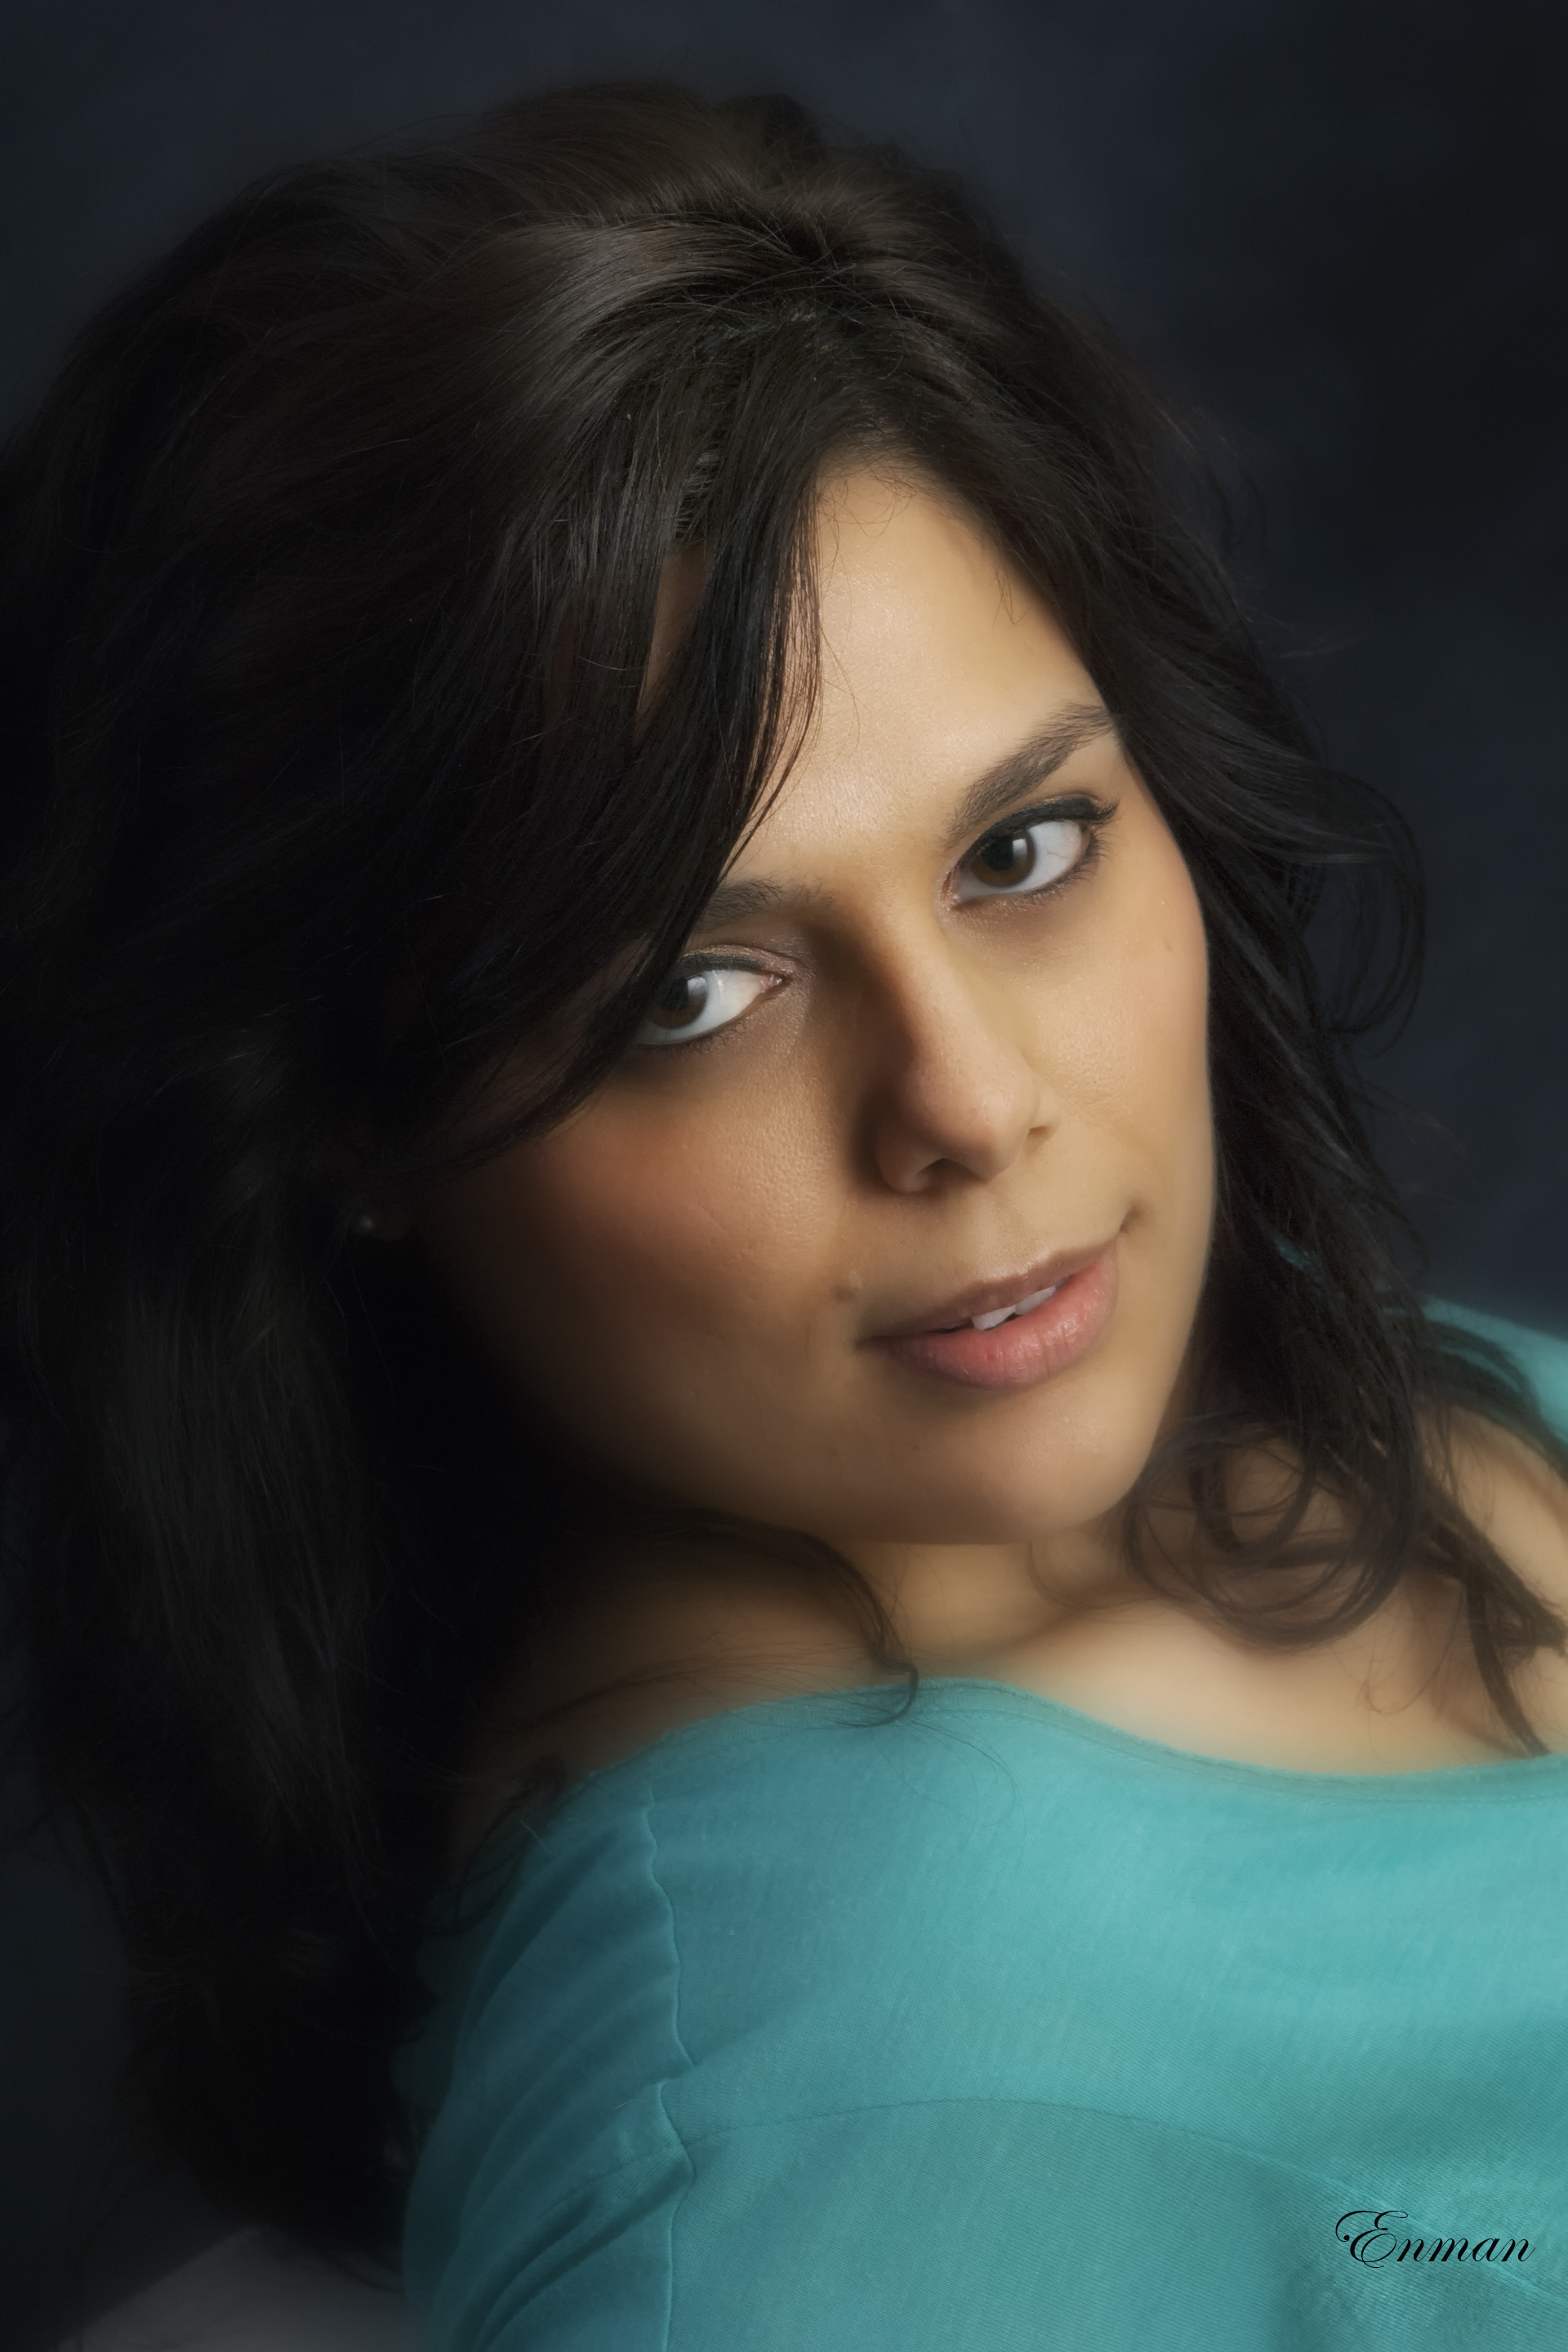
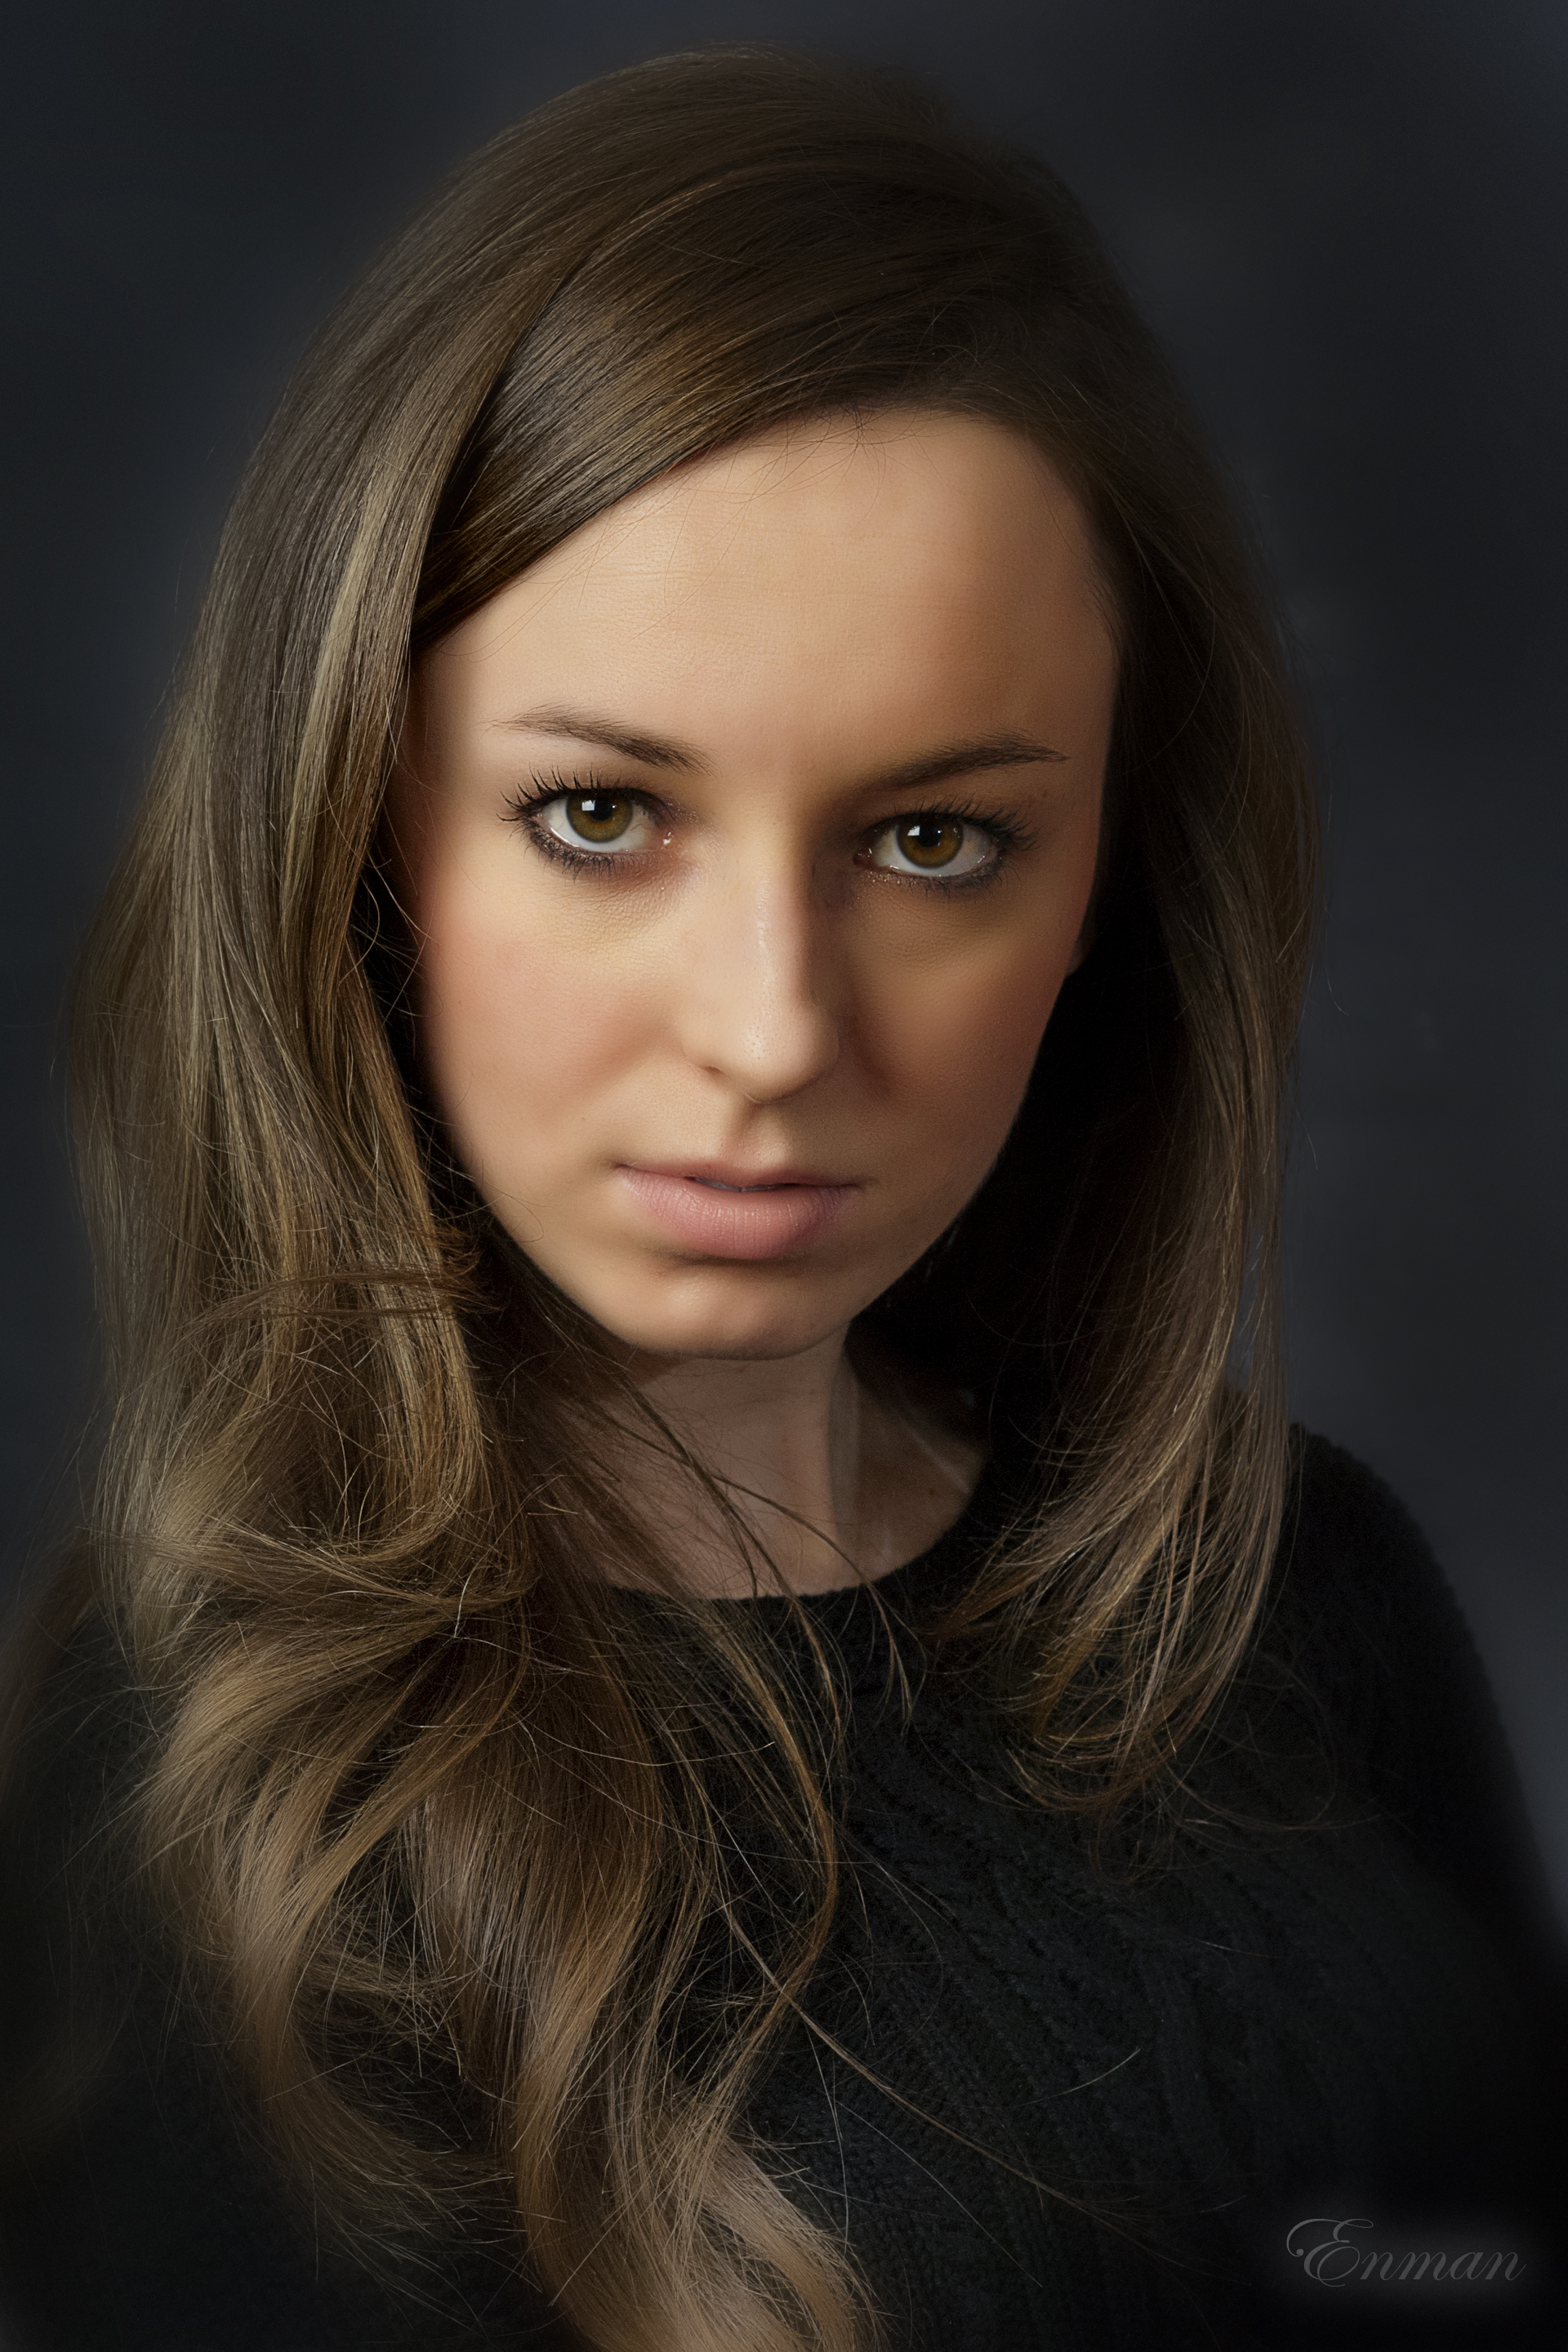
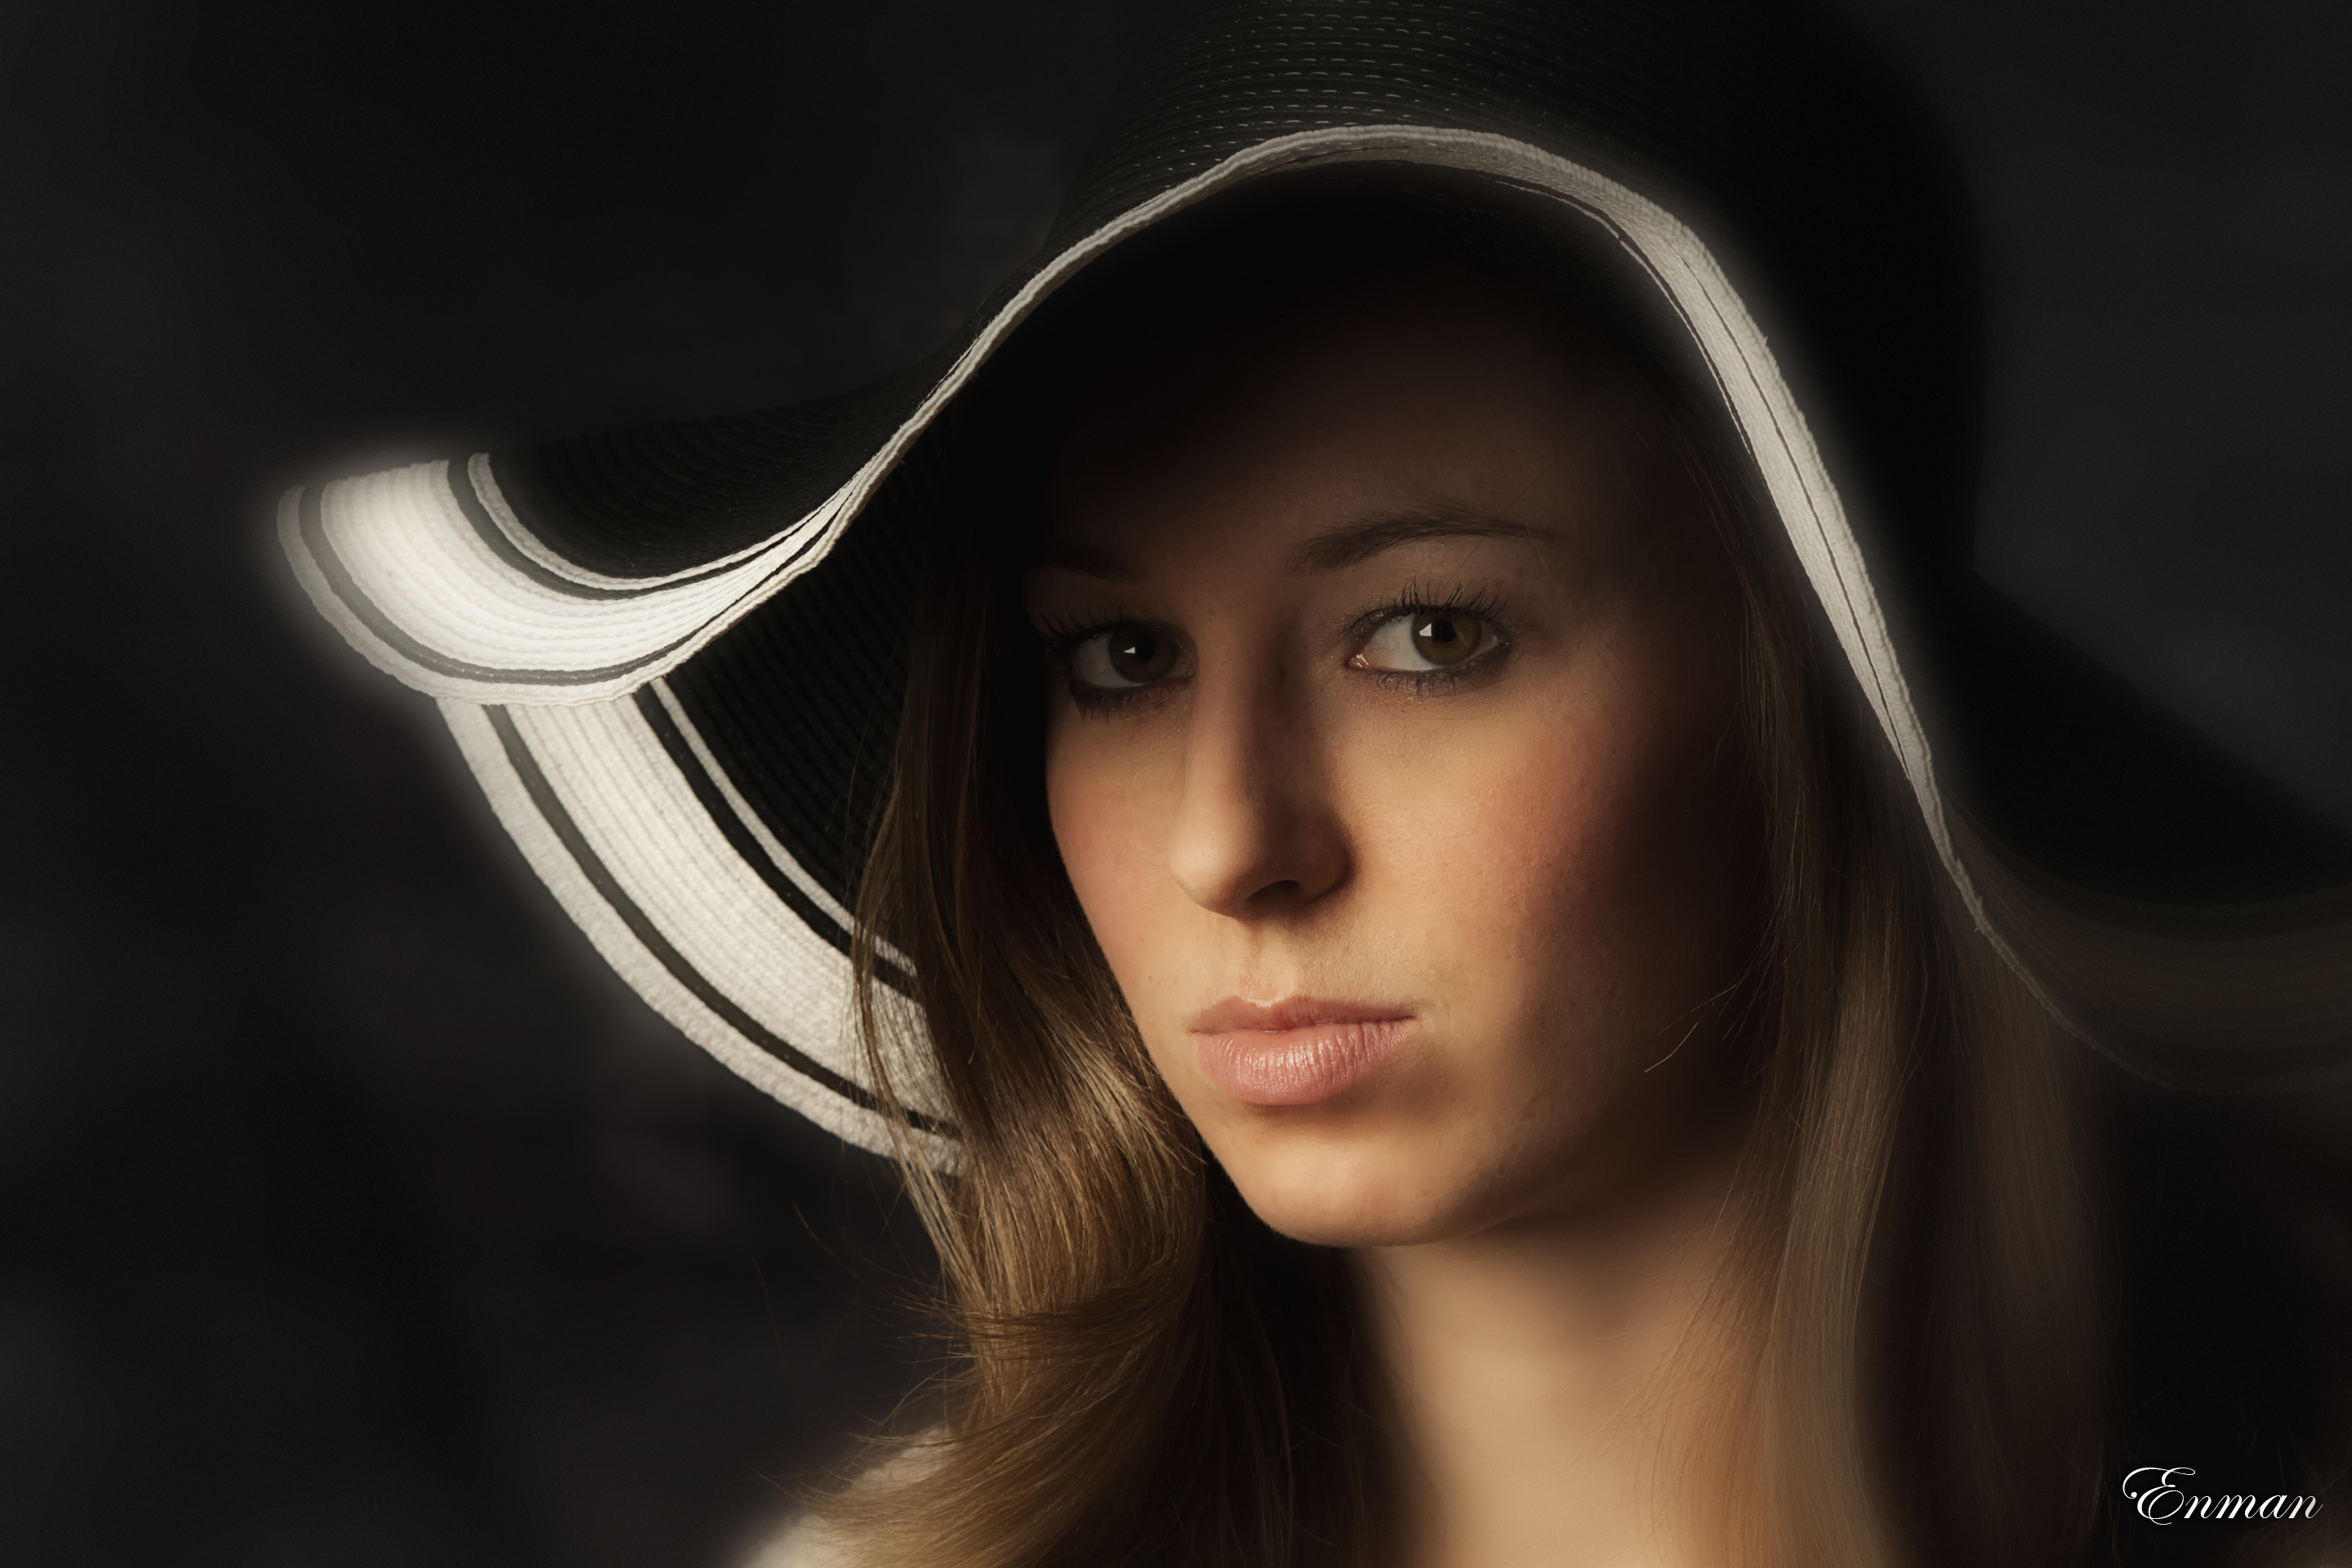
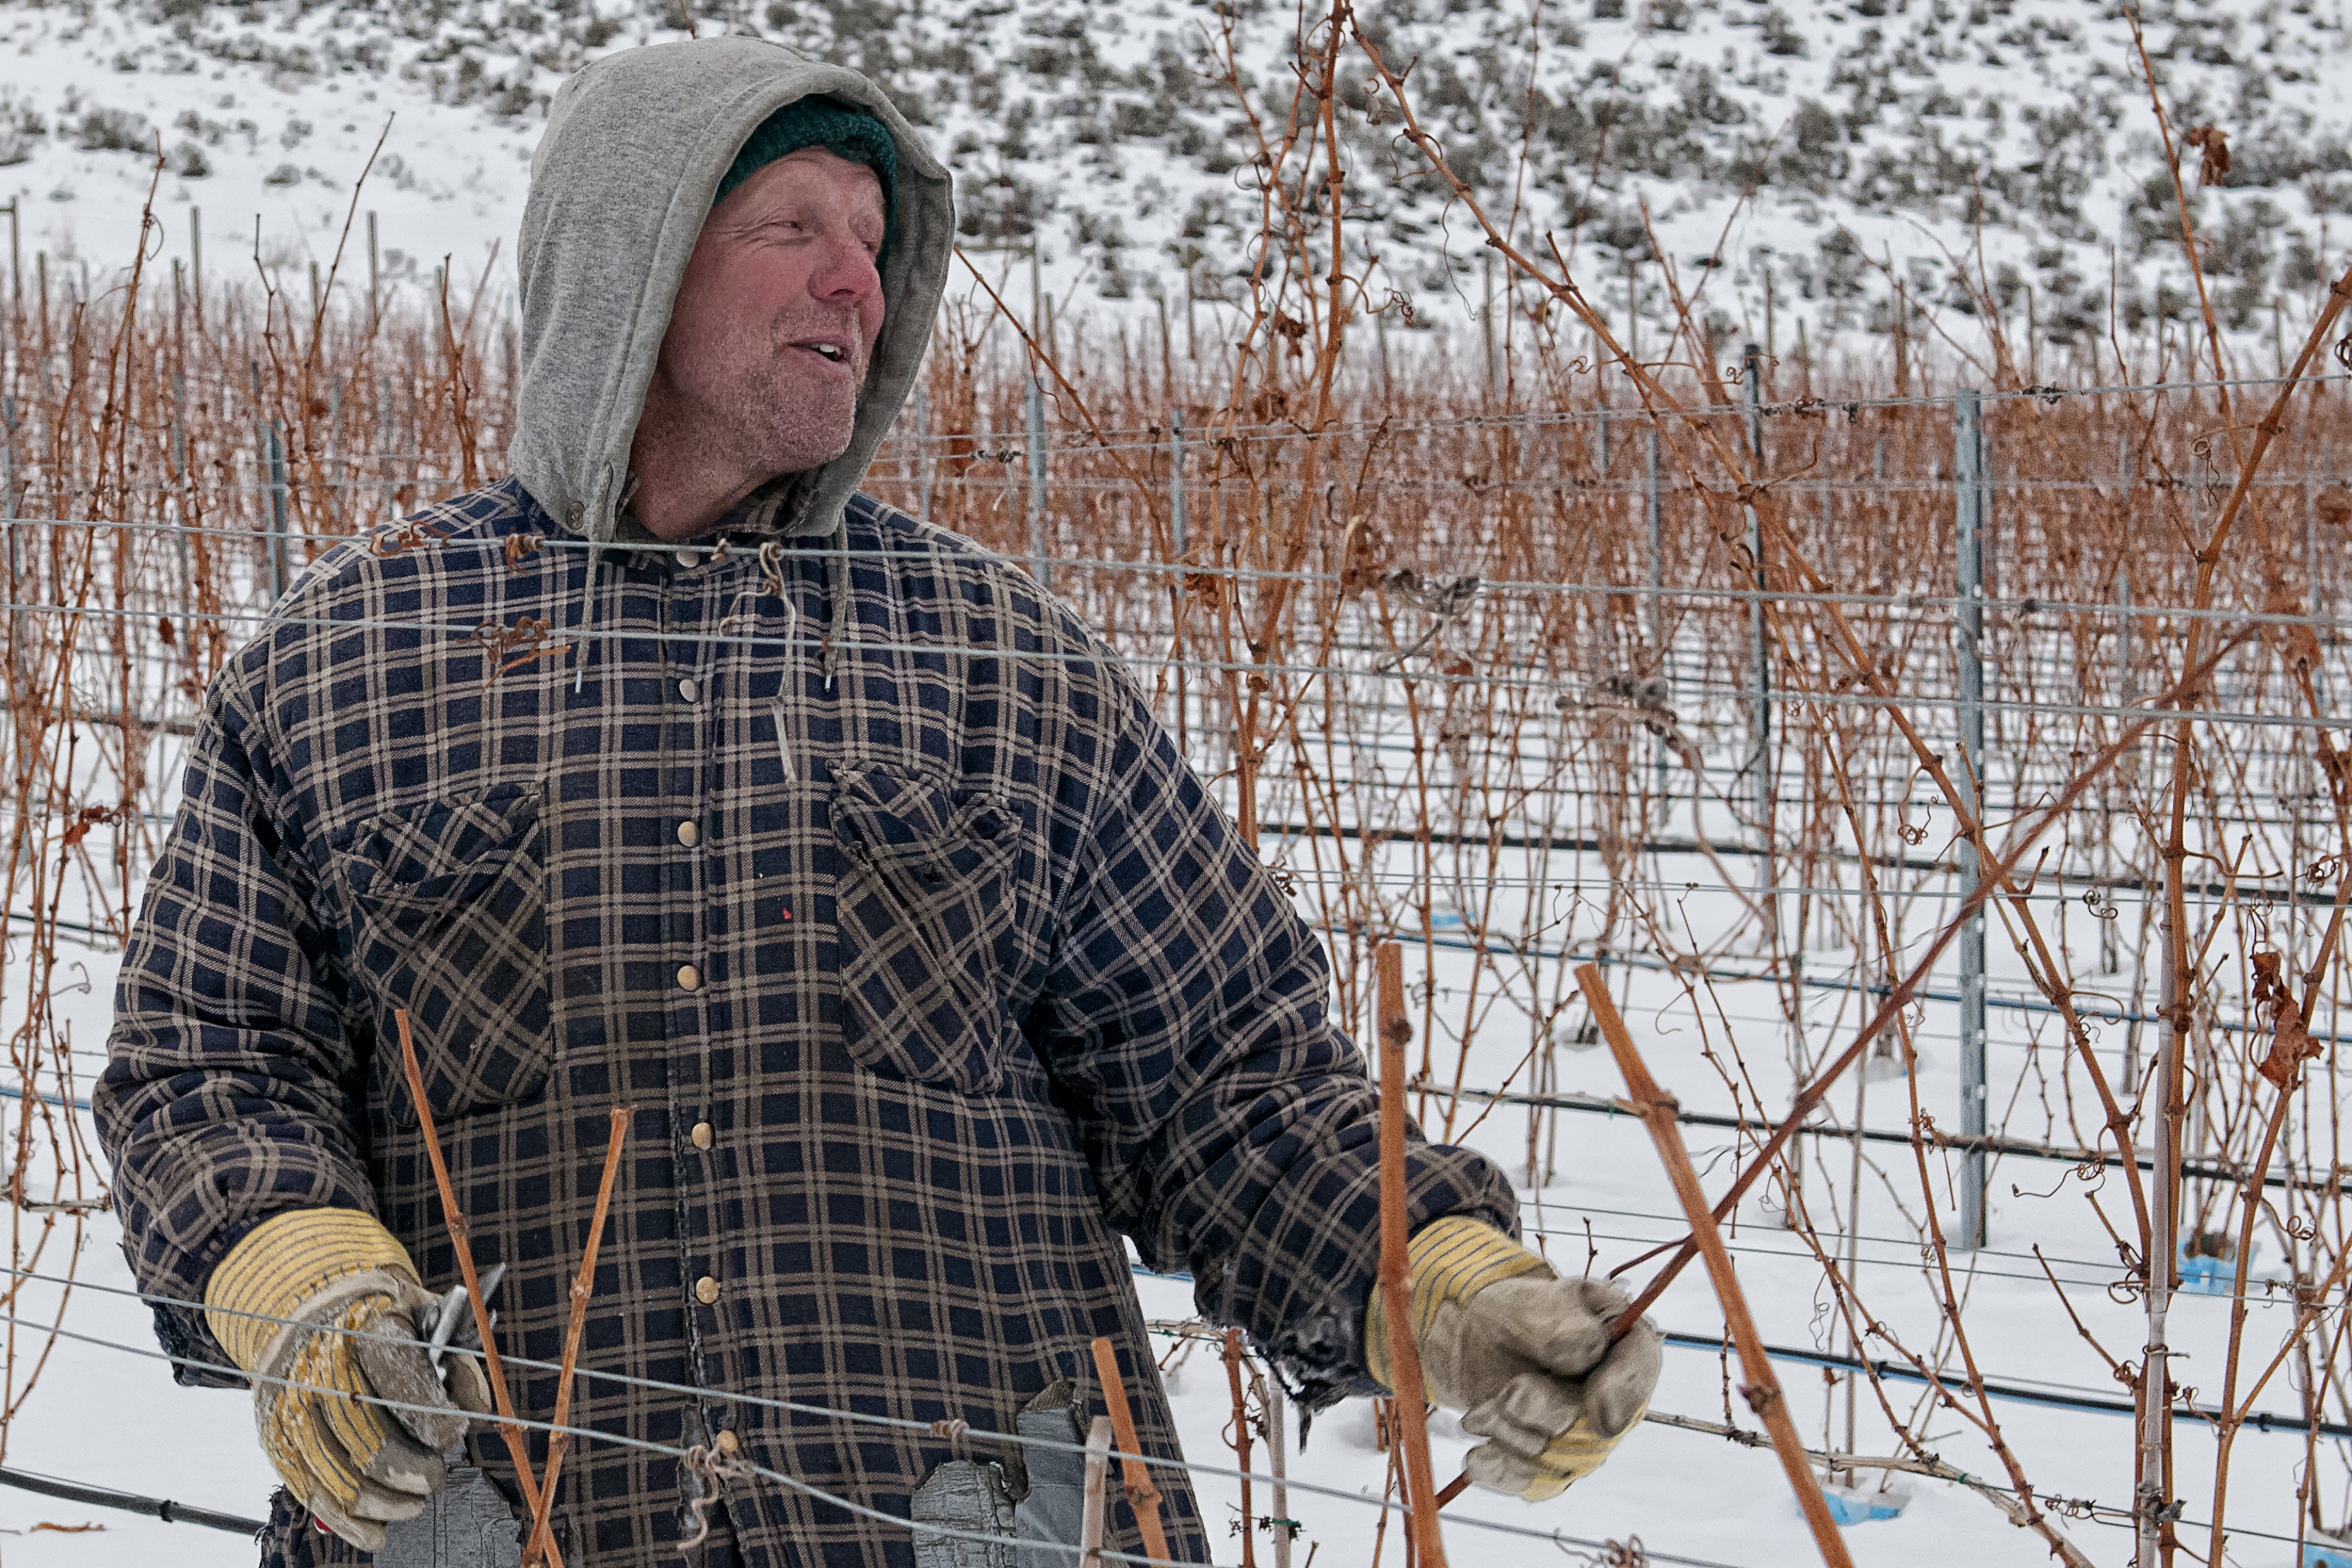
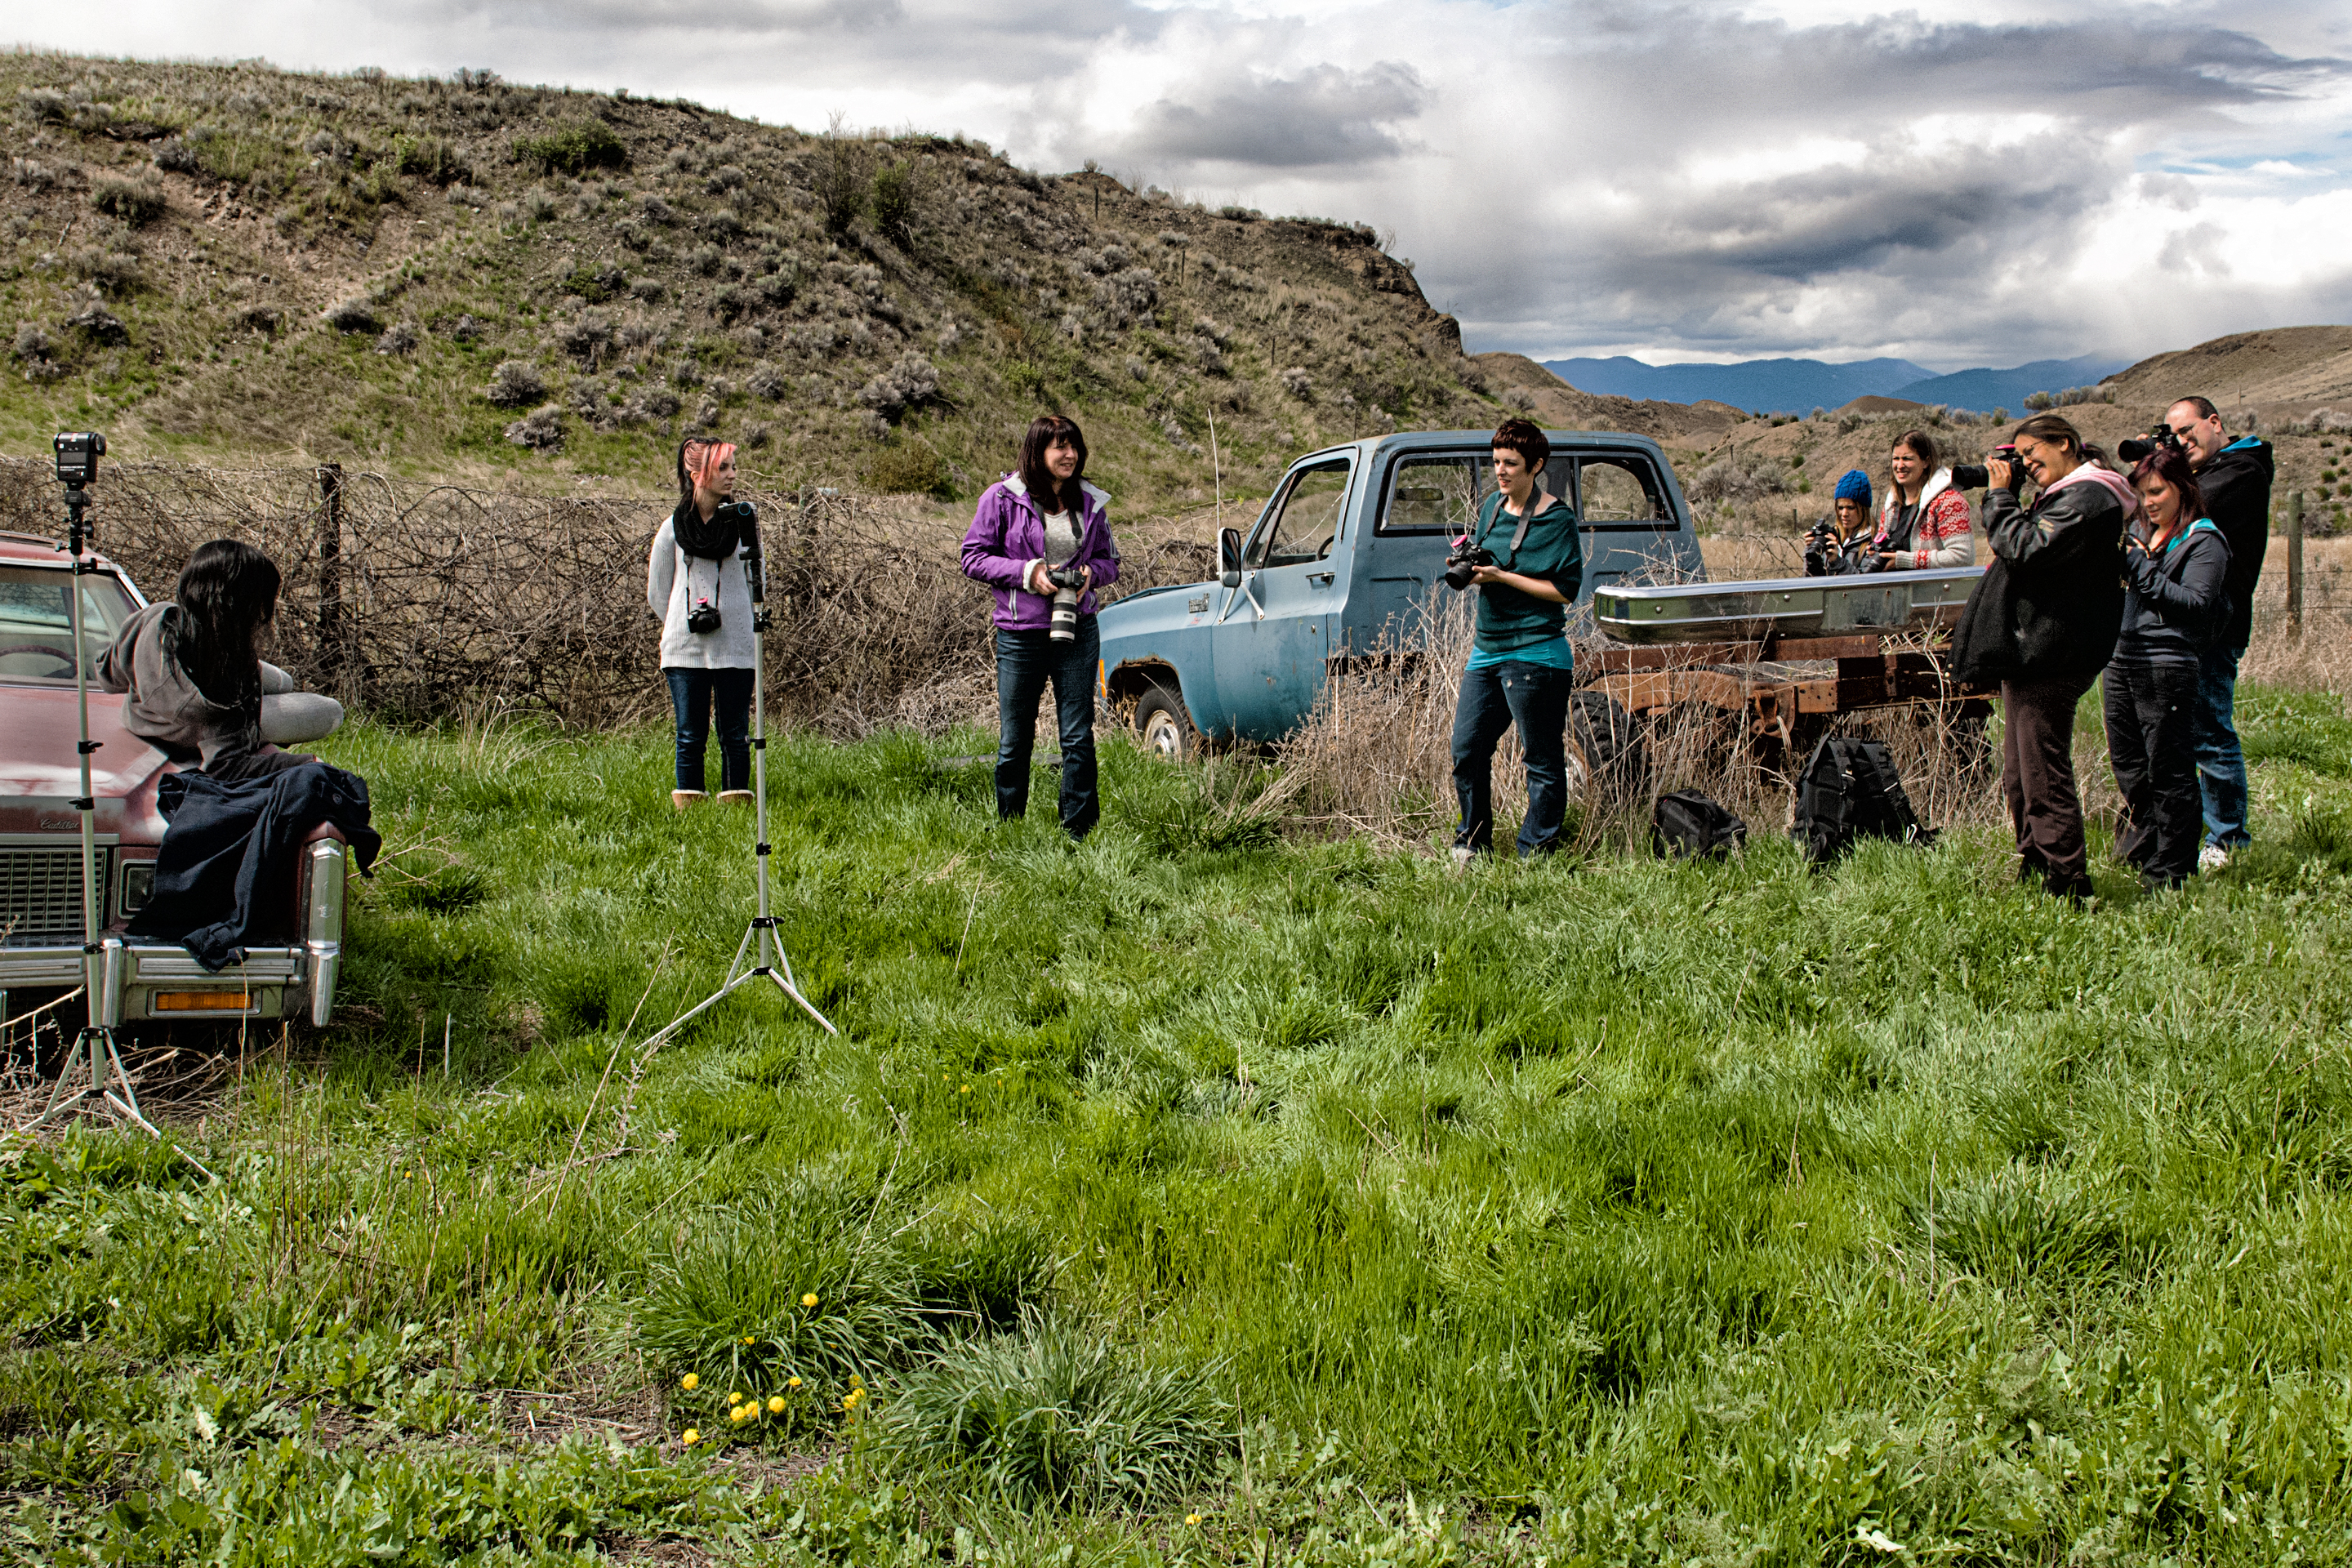
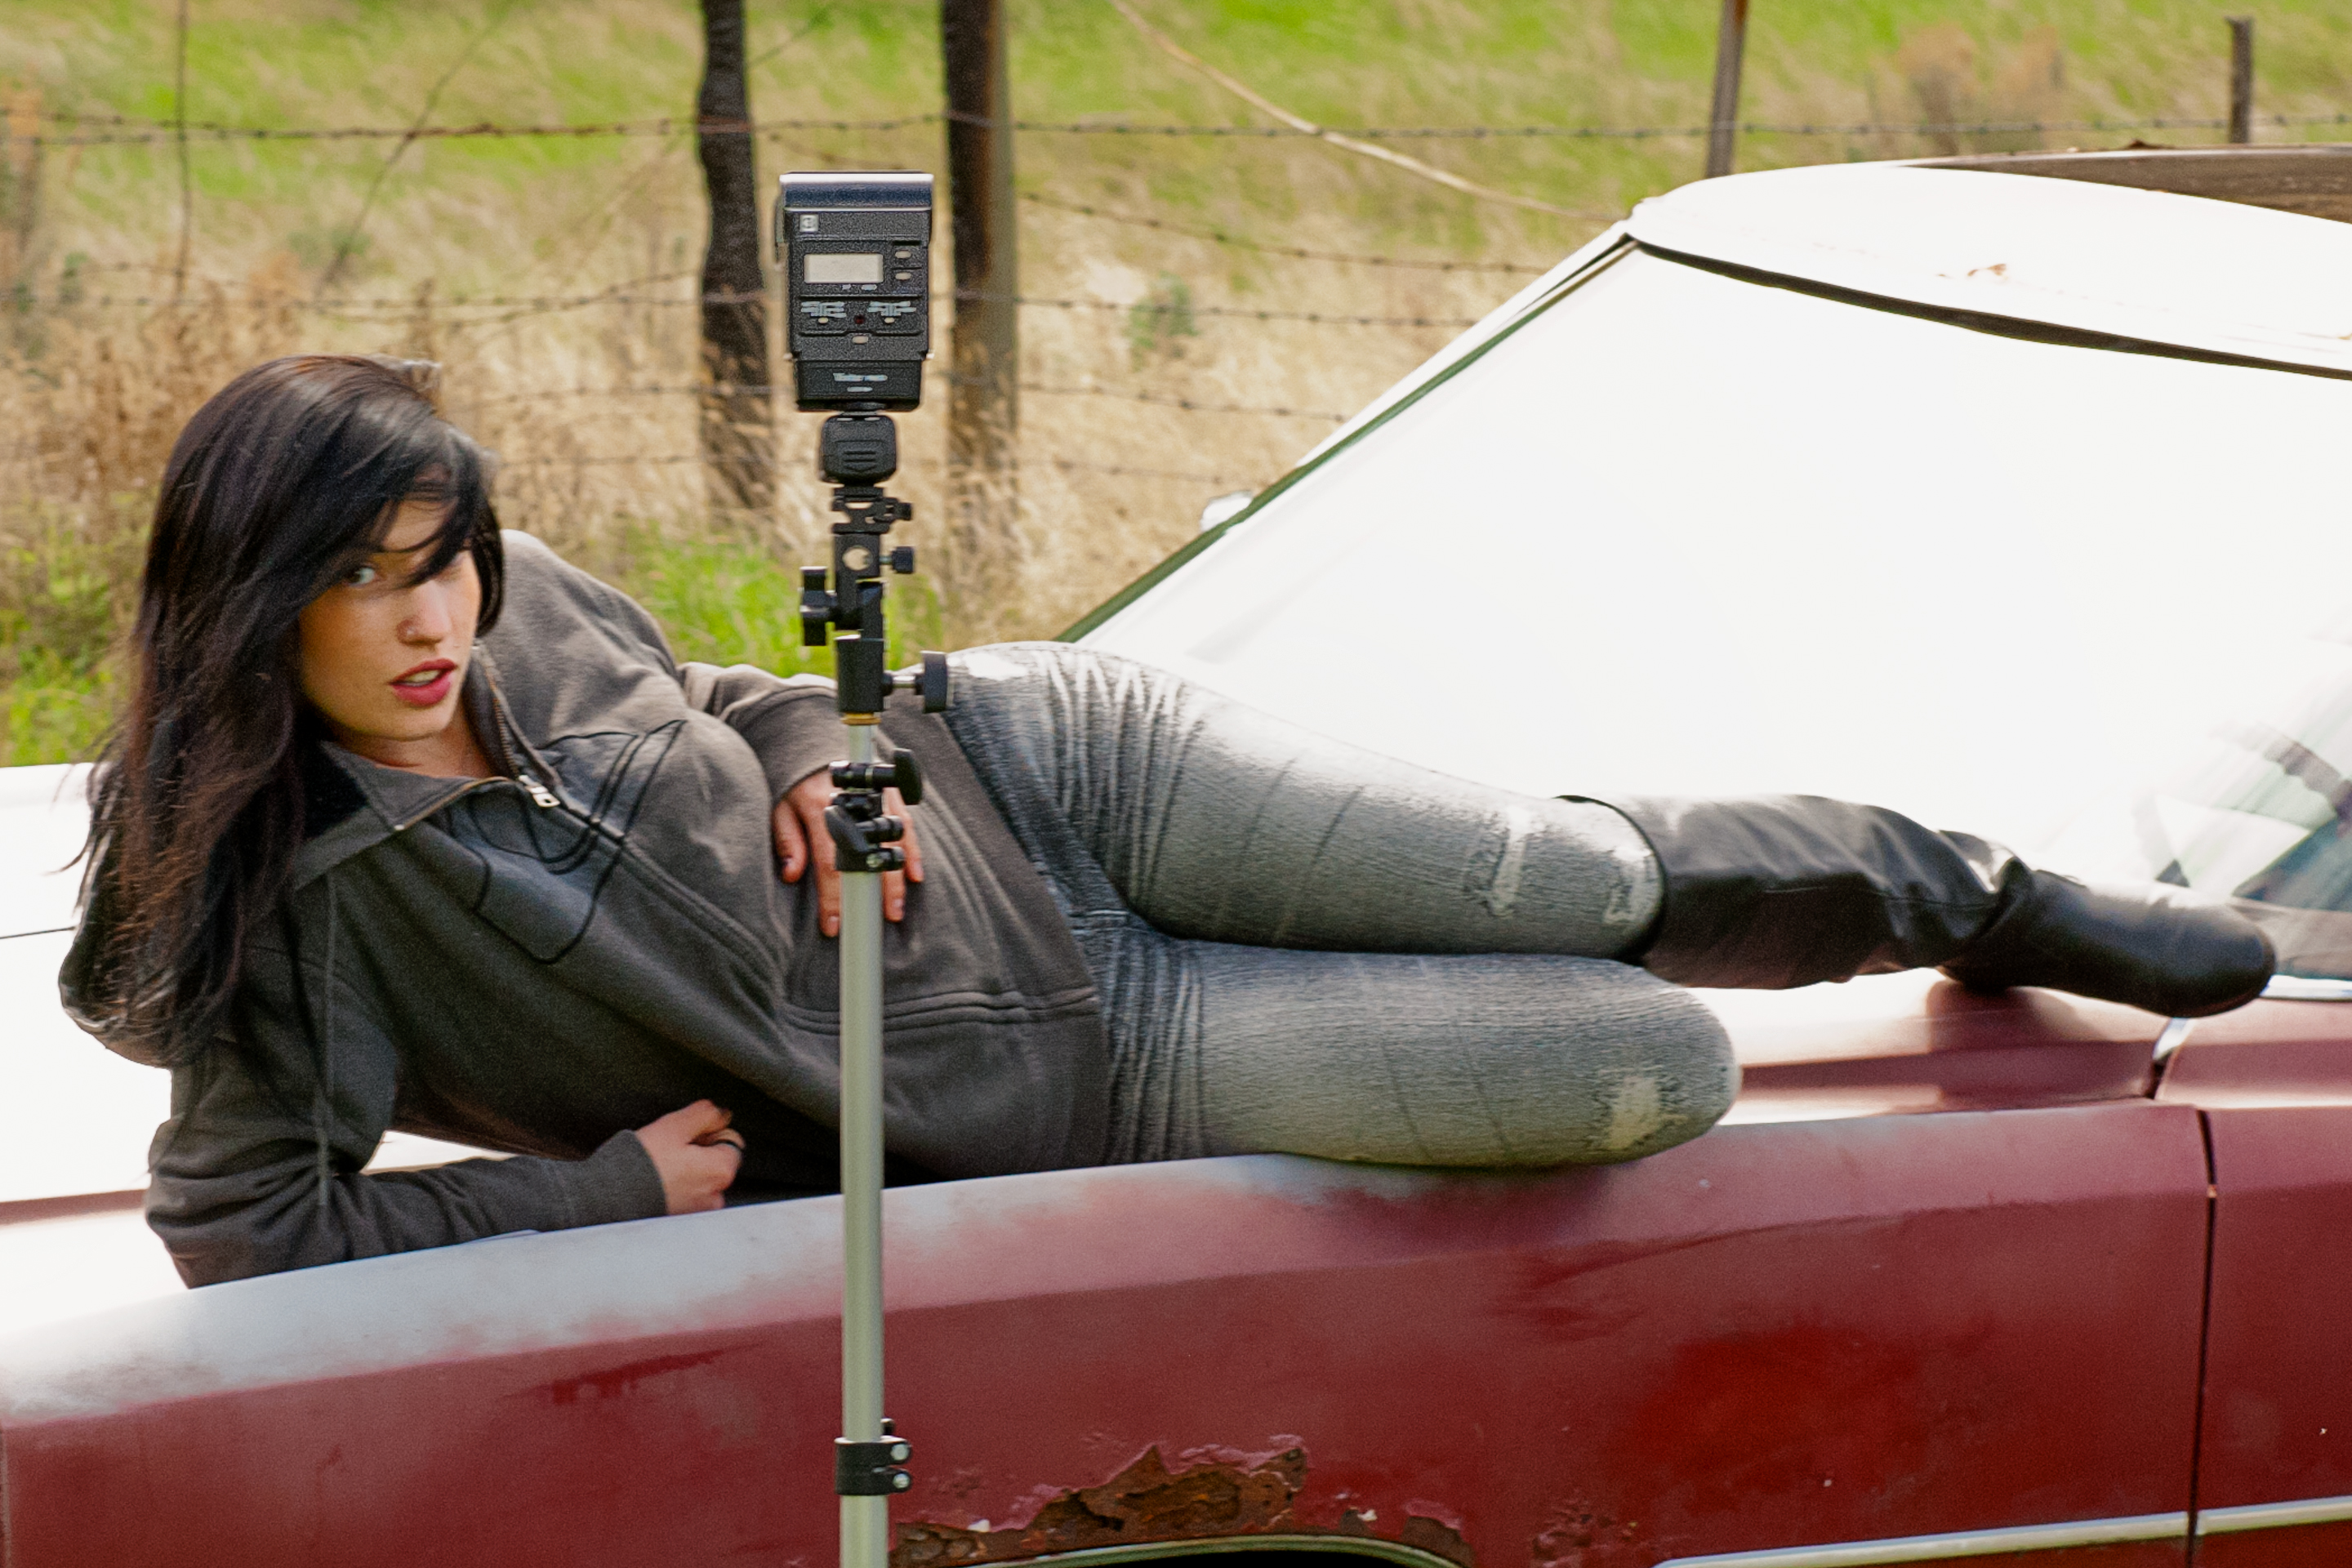
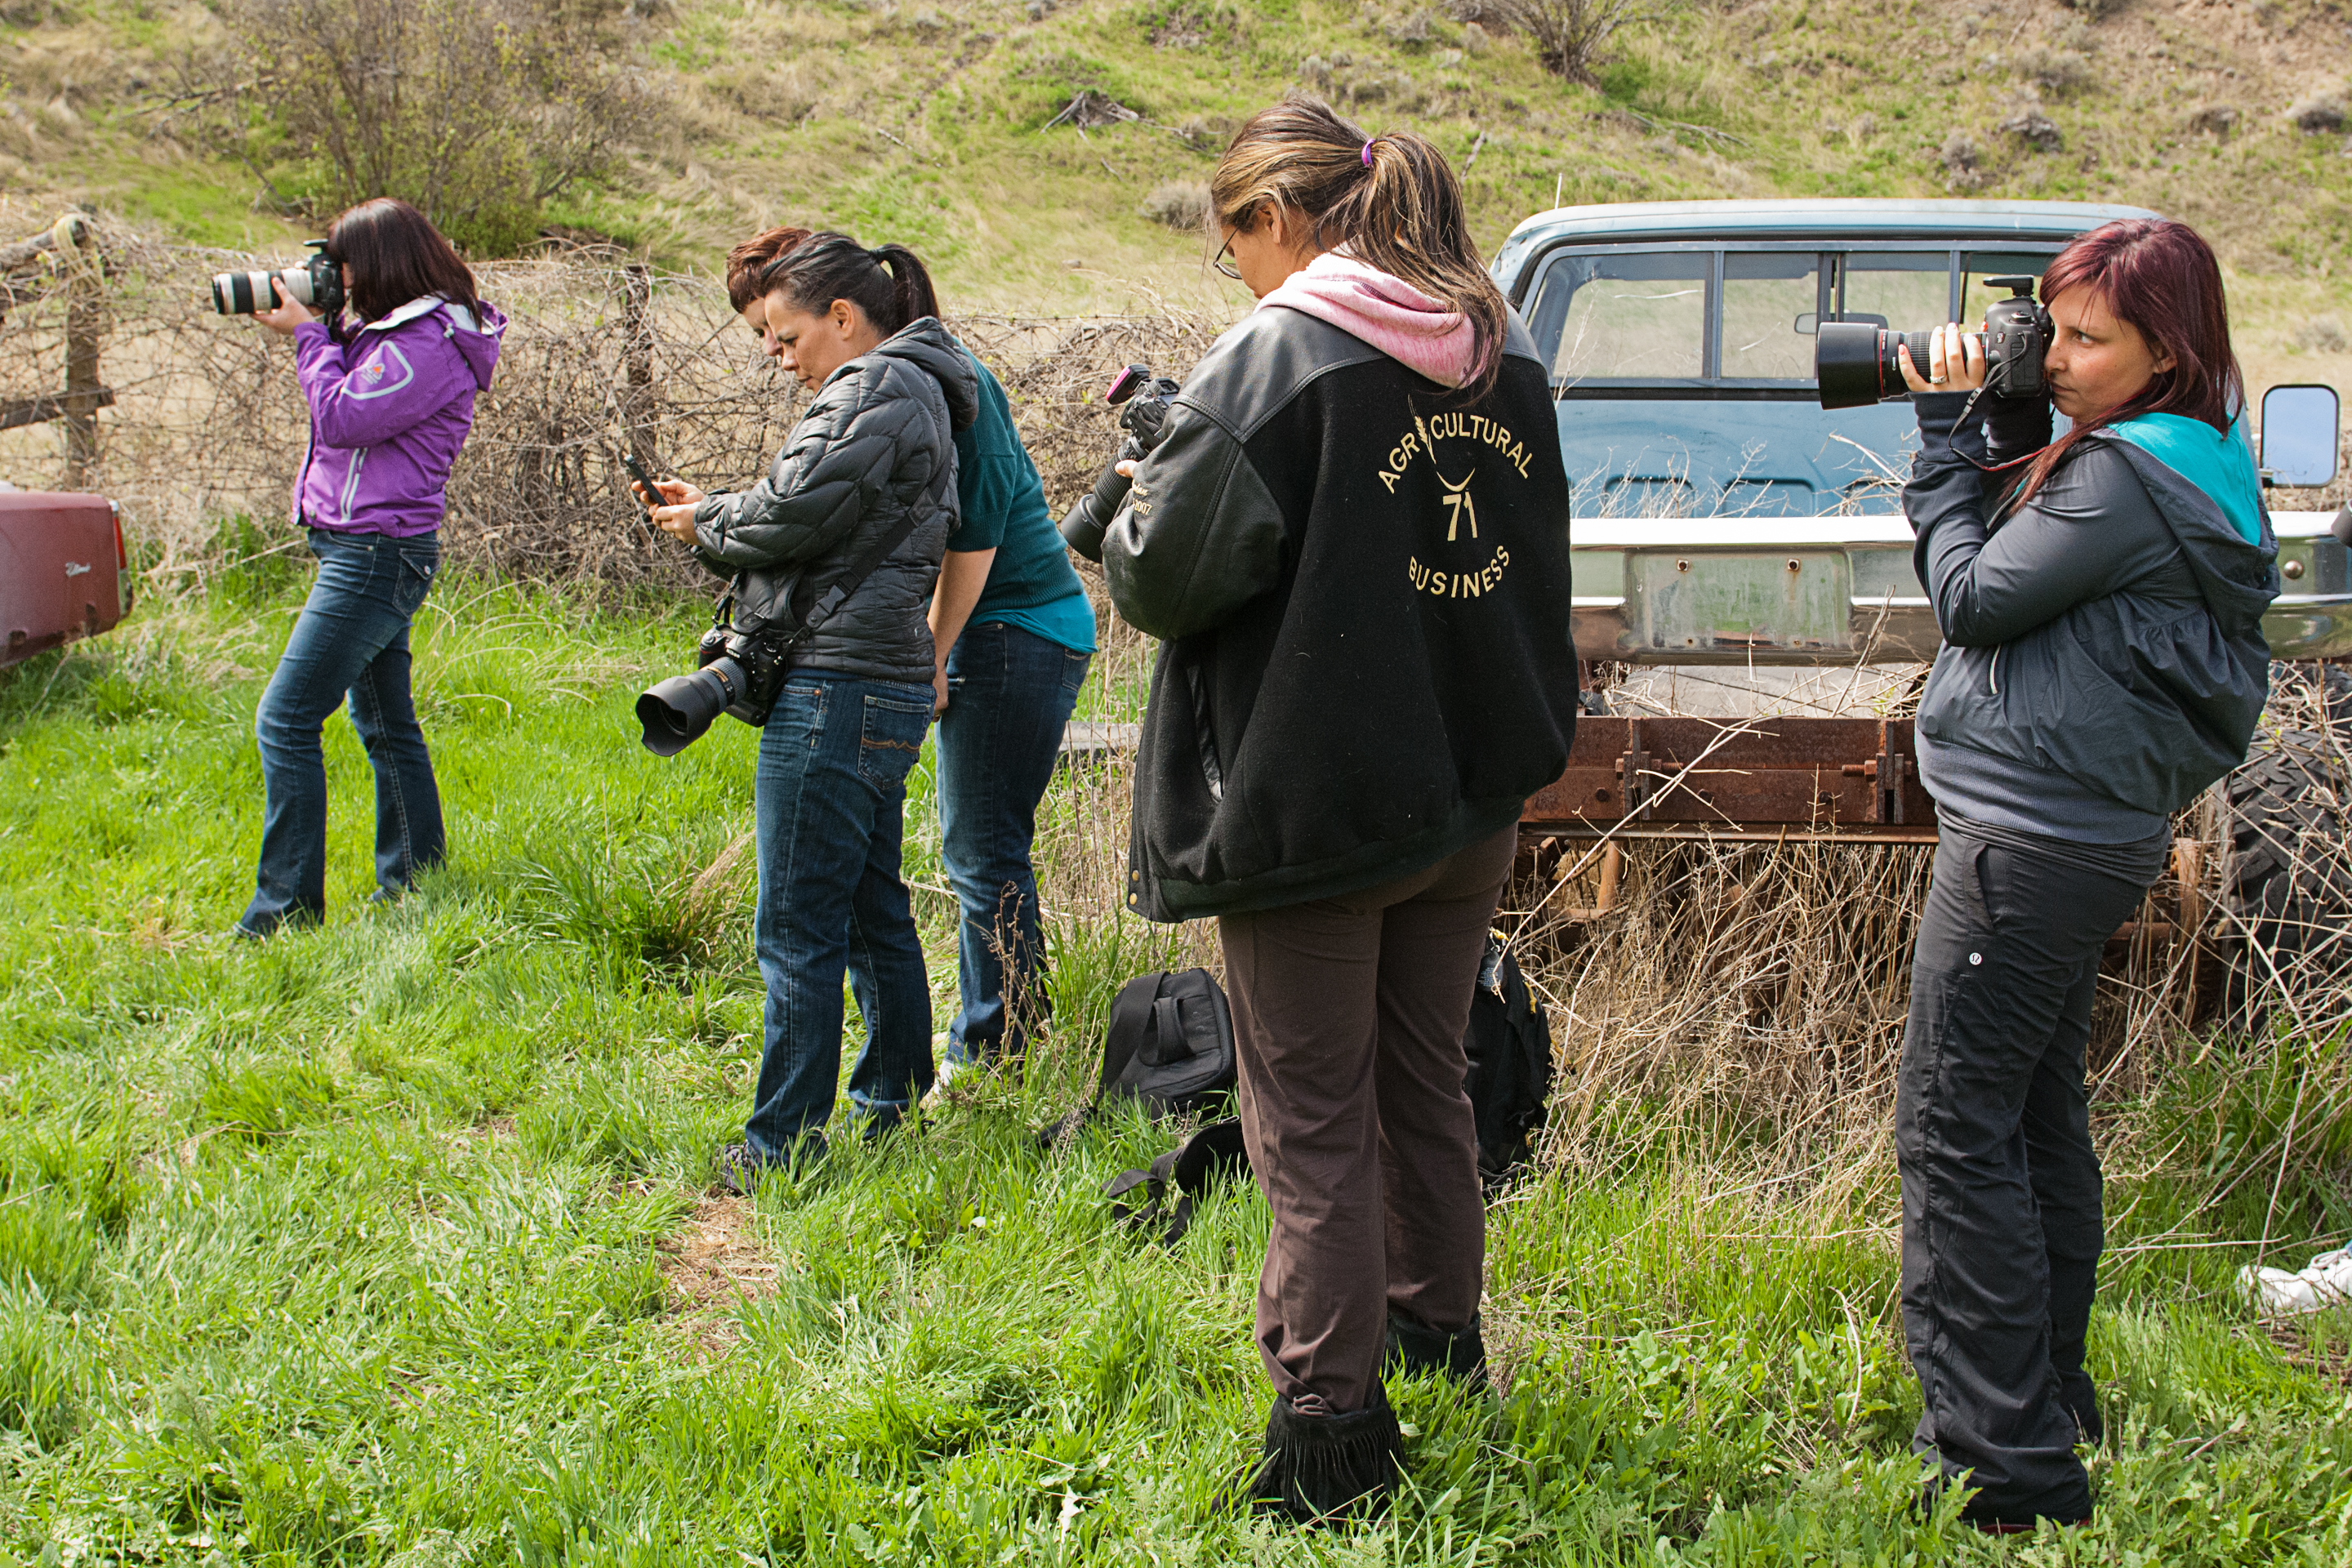
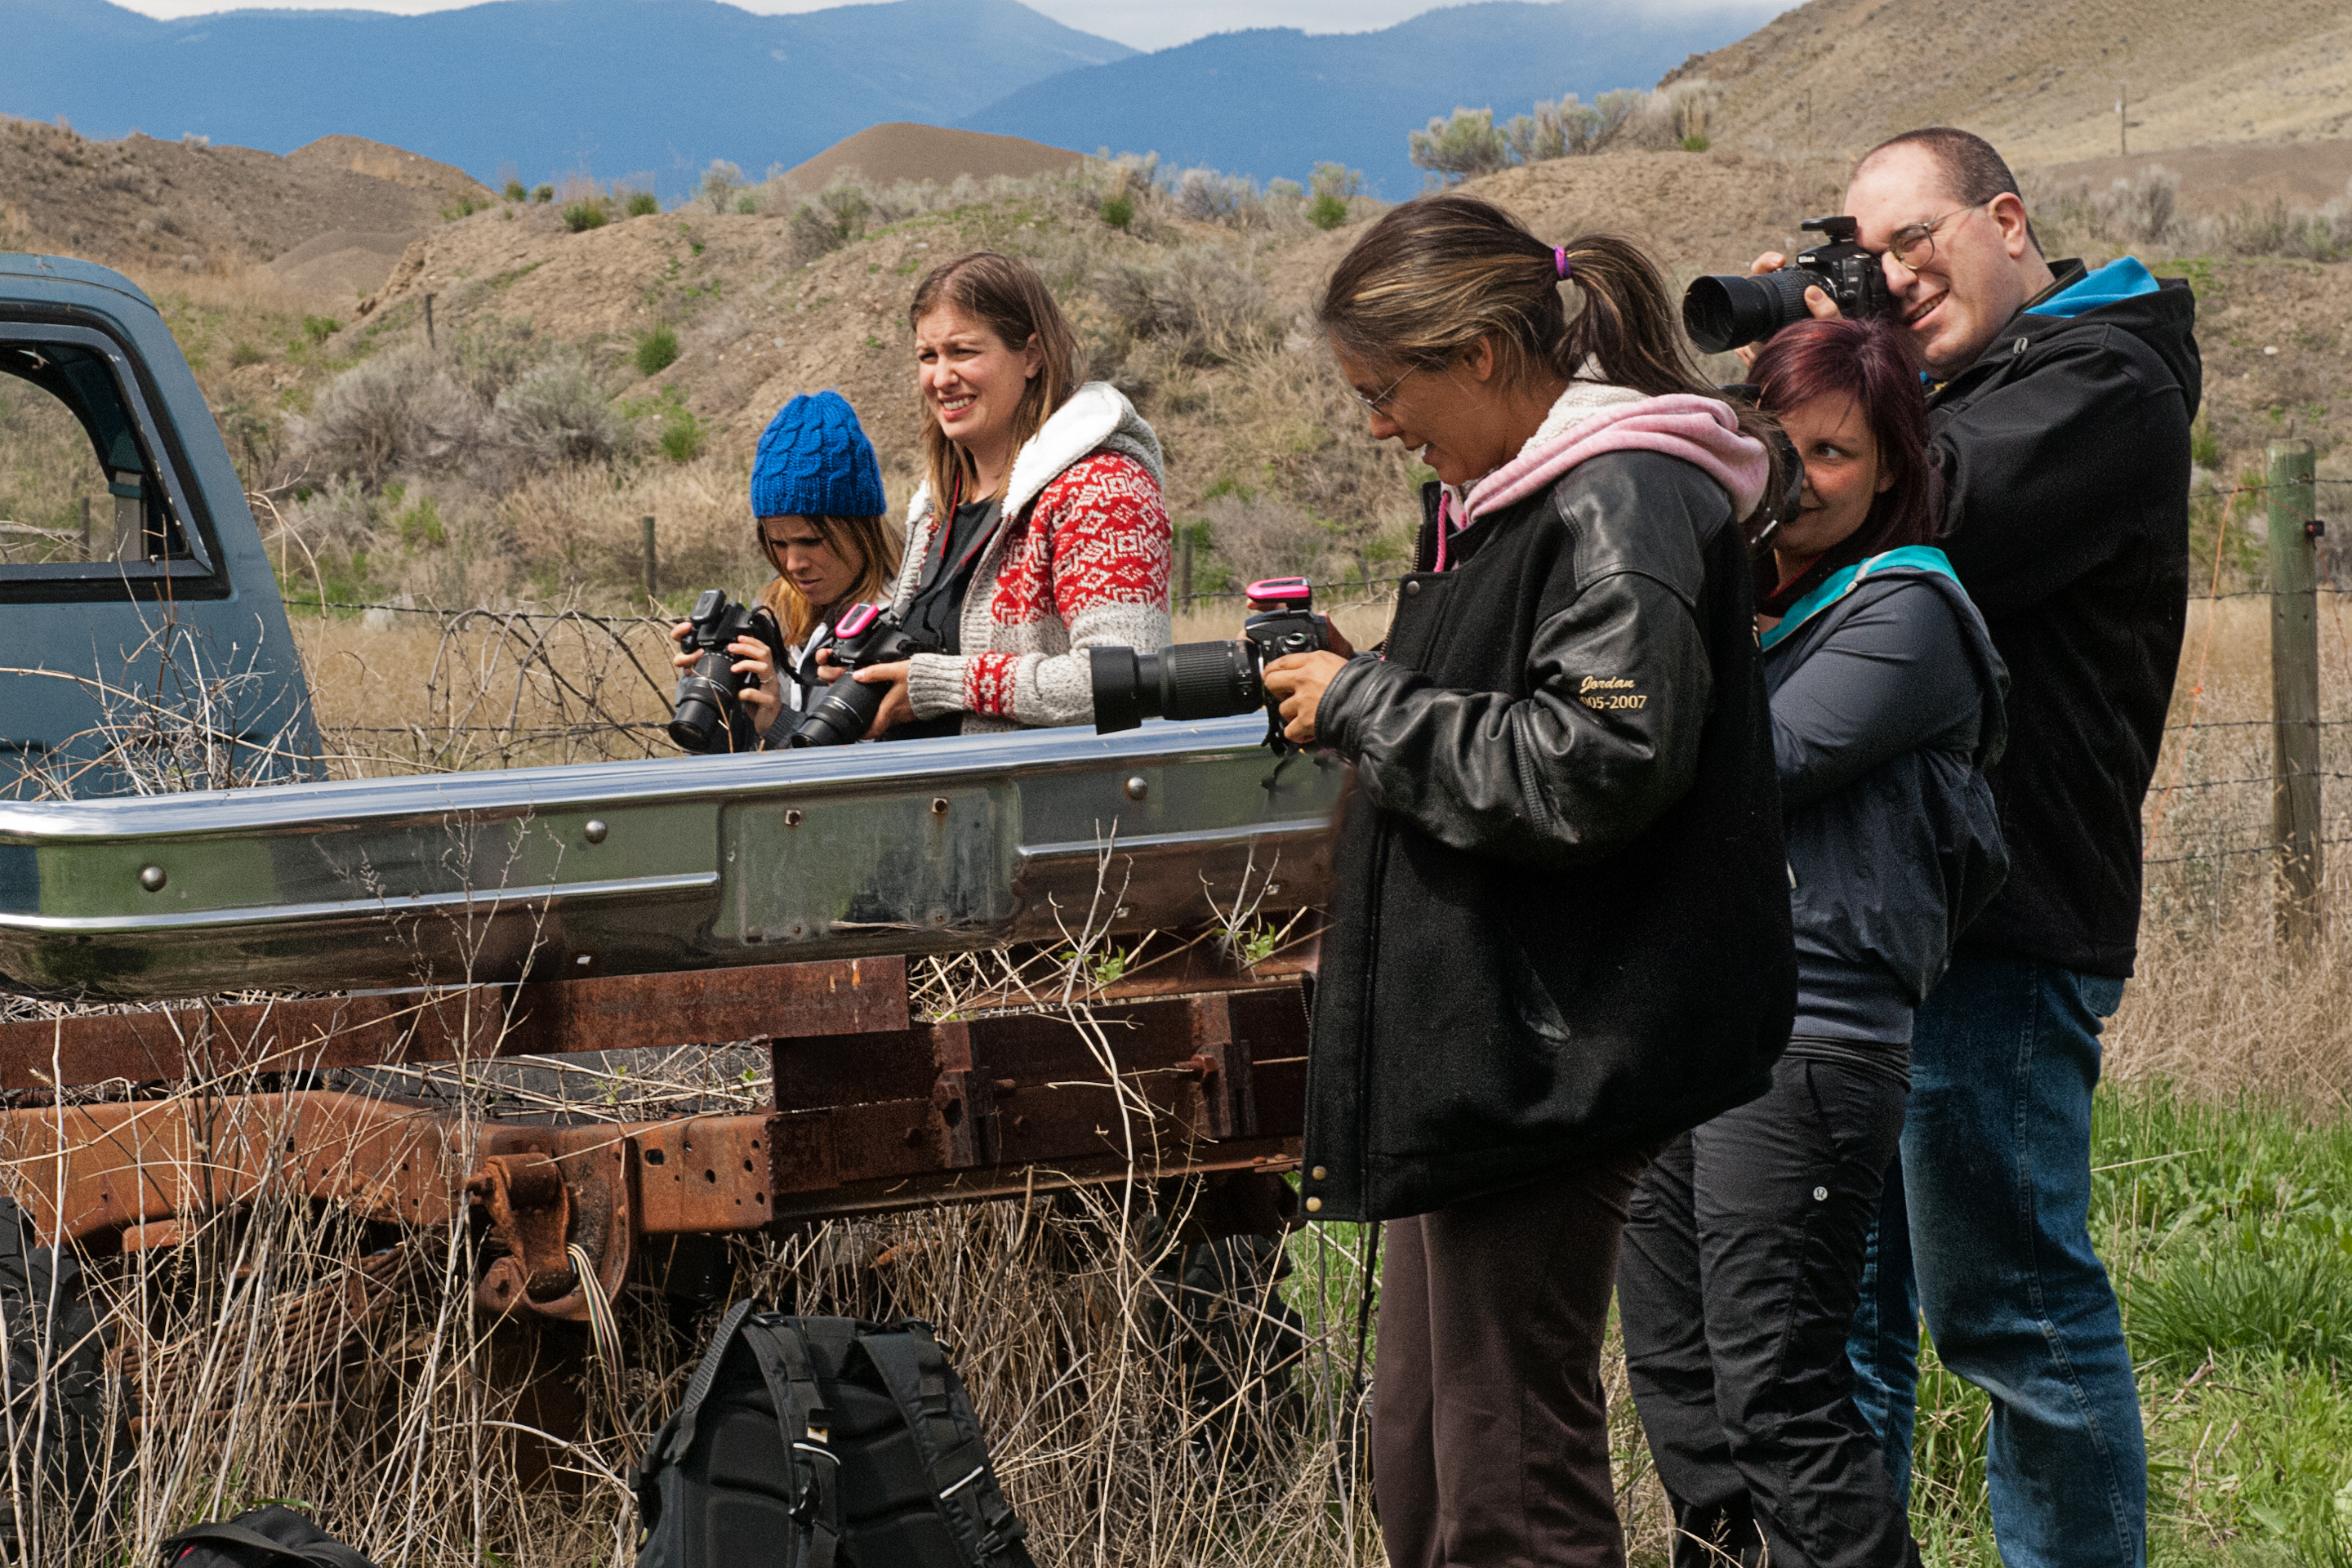
The weather was not willing to co-operate very much. It had rained all night and although the day brightened up some, a cold breeze from fresh snow in the mountains made us shiver when it wandered through our workshop space every now and then. Nonetheless, crappy weather or sunny days, it’s all about adding light, so in spite of the cool damp weather, the ten participating photographers and our intrepid model, Bailea, defiantly (maybe hopefully is a better word) stepped out of the warm studio and into the constantly changing light of day.

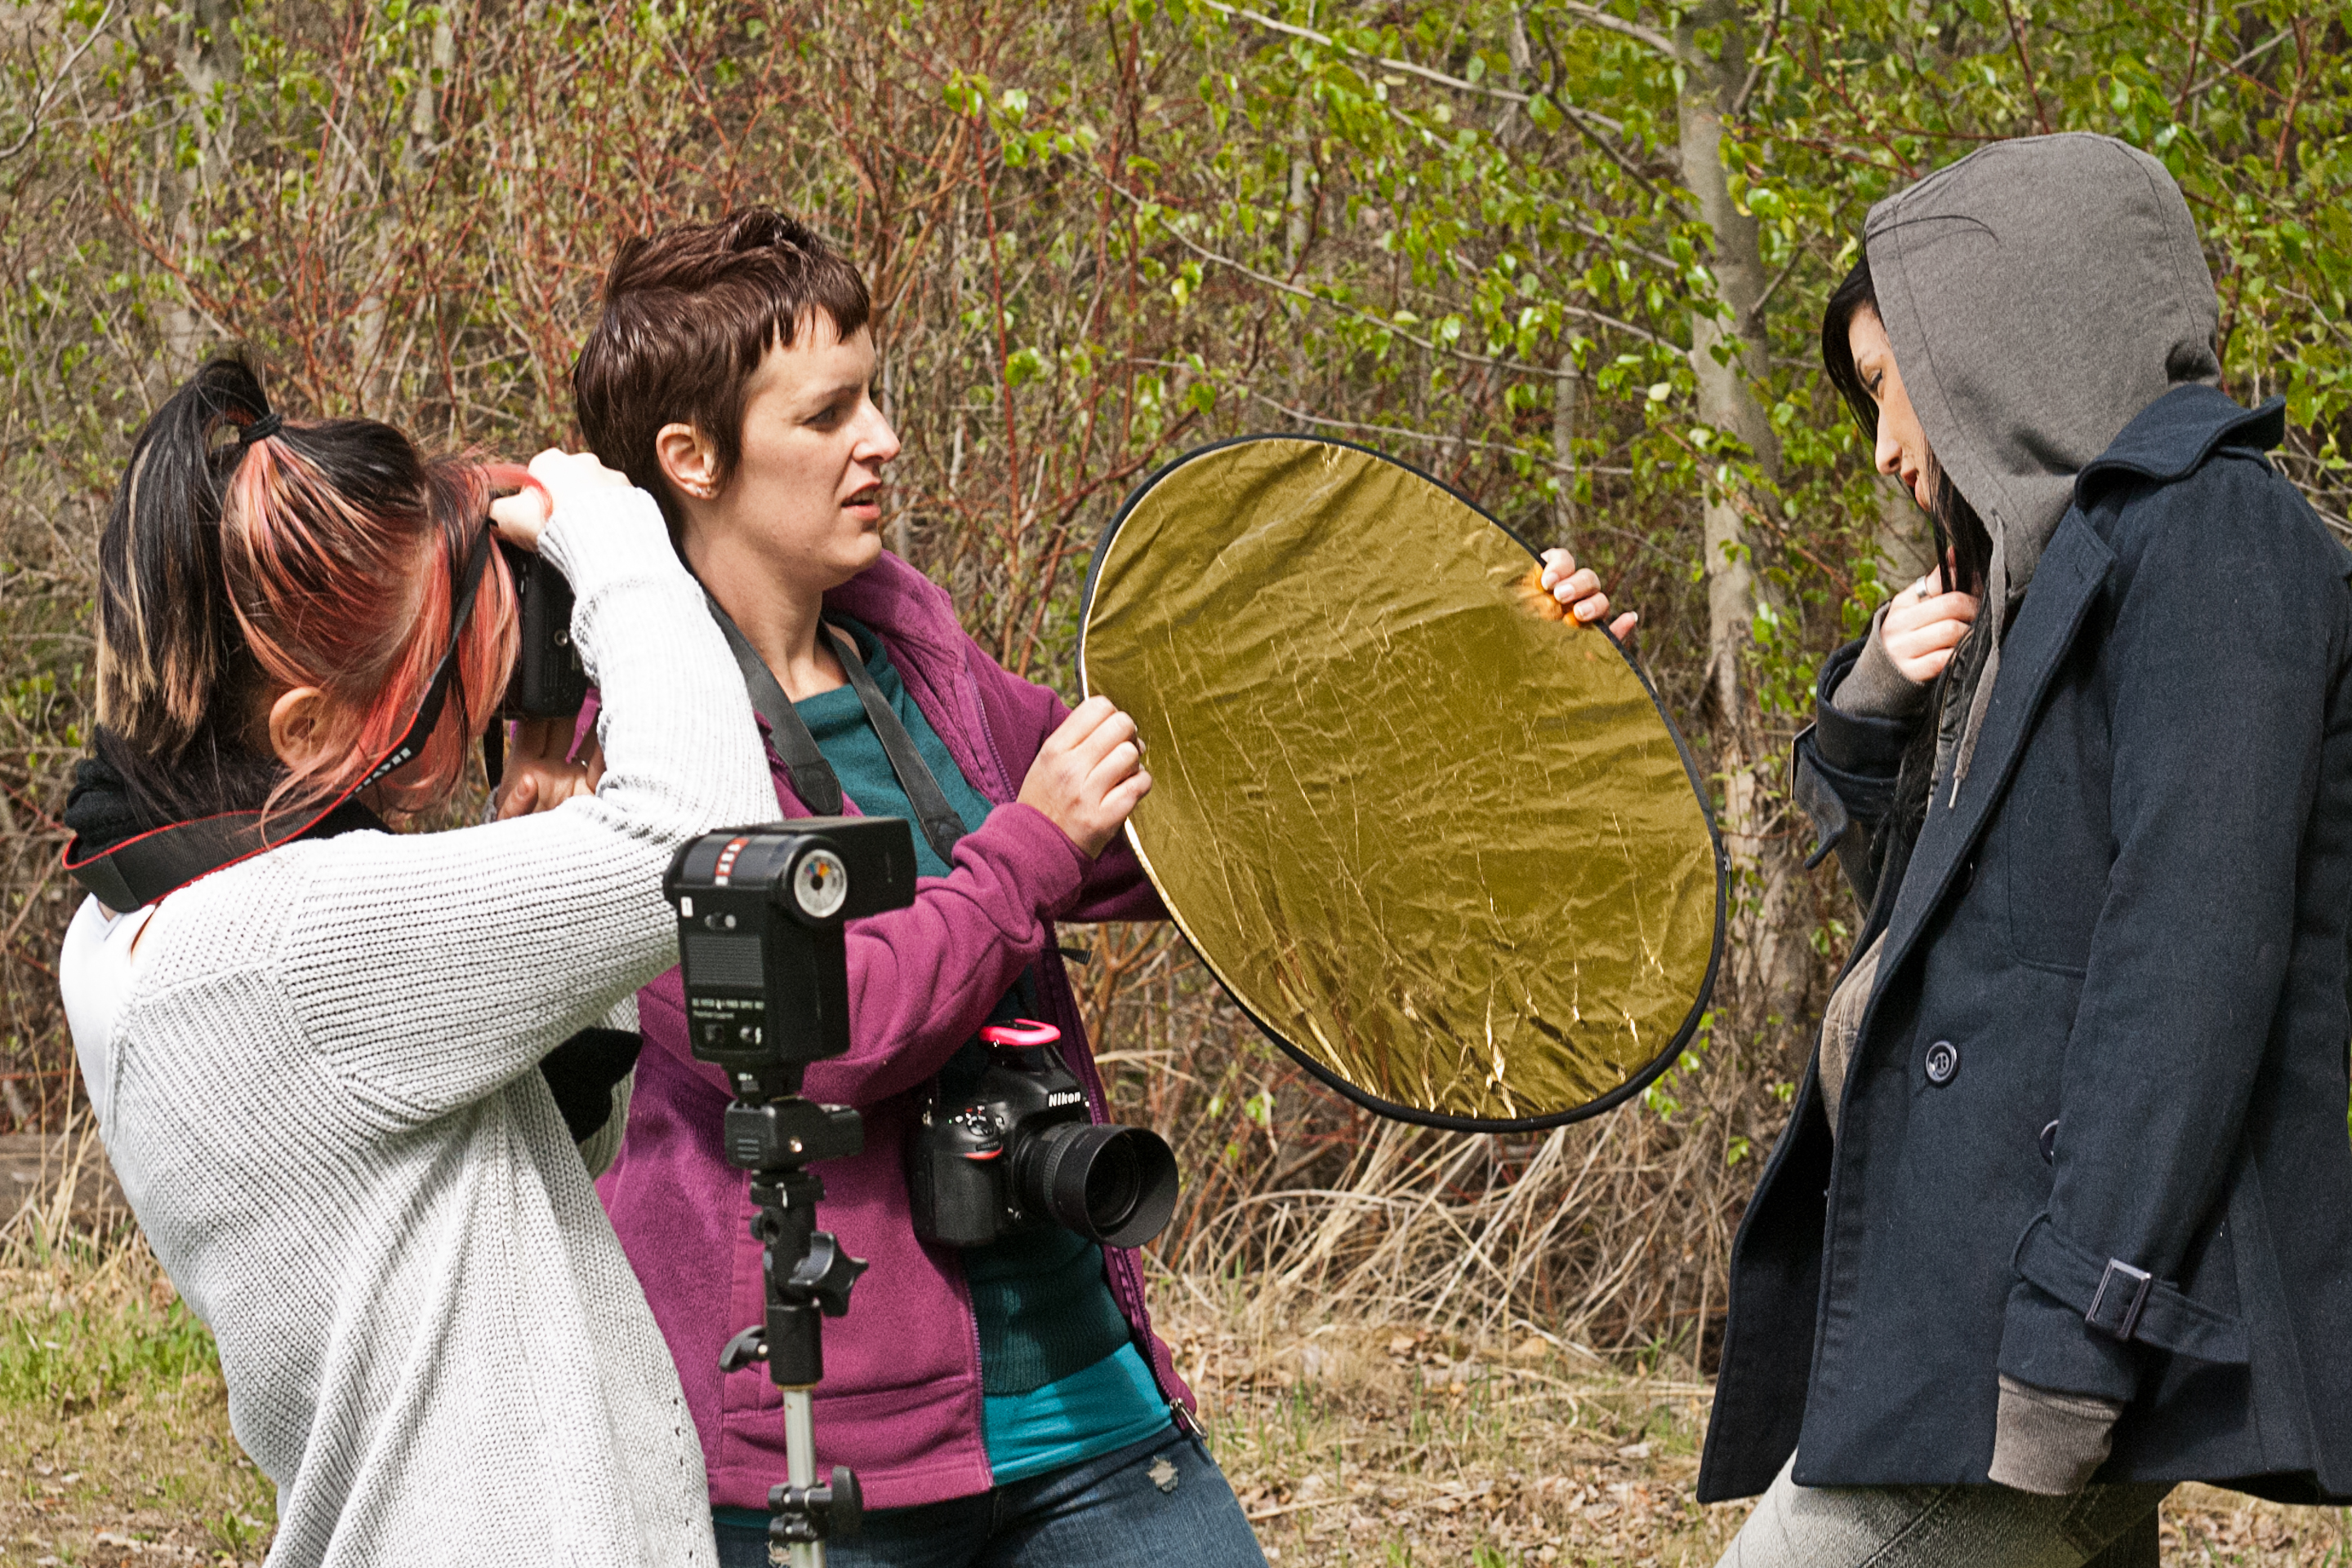
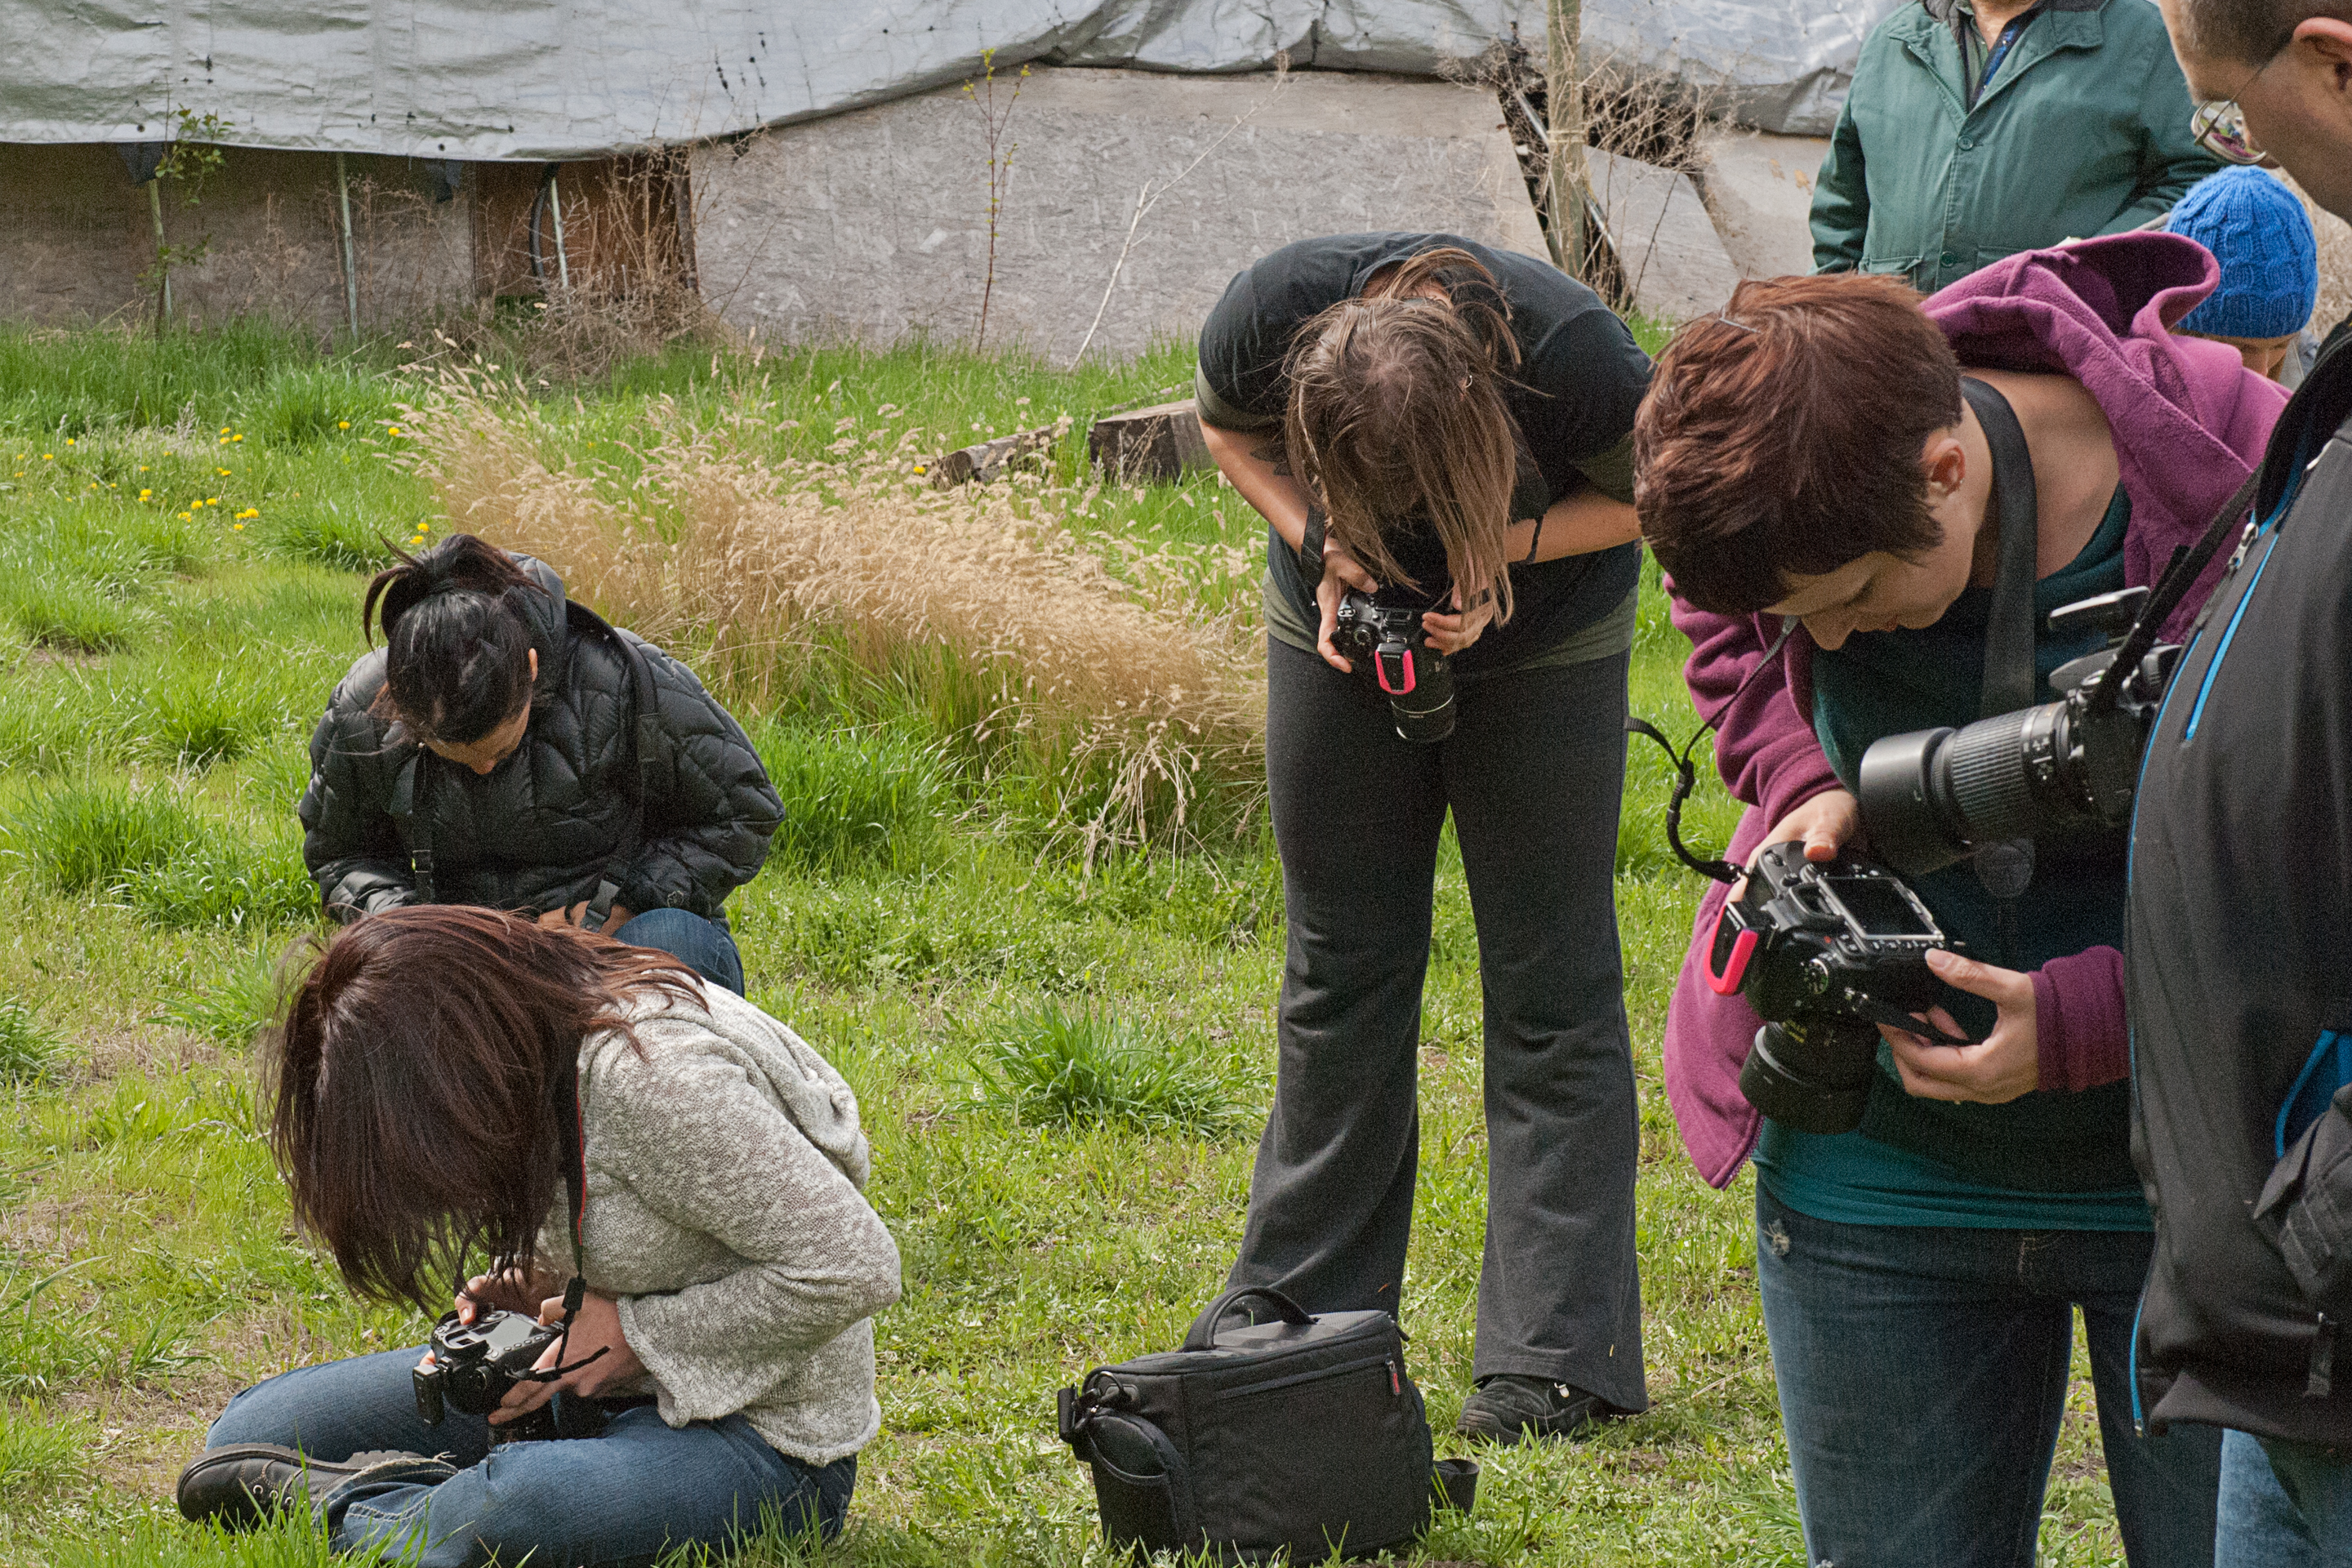
In this lighting workshop we dealt with the key aspects of outdoor portrait photography, such as understanding exposure, how photographers would learn to control depth of field, and to gain off-camera flash techniques that would transform their outdoor portraits into something special. And, as with my last workshop, there was excitement as participants got down to business and weren’t at all shy about getting shoulder to shoulder in a process of experimenting with and exploring outdoor lighting.

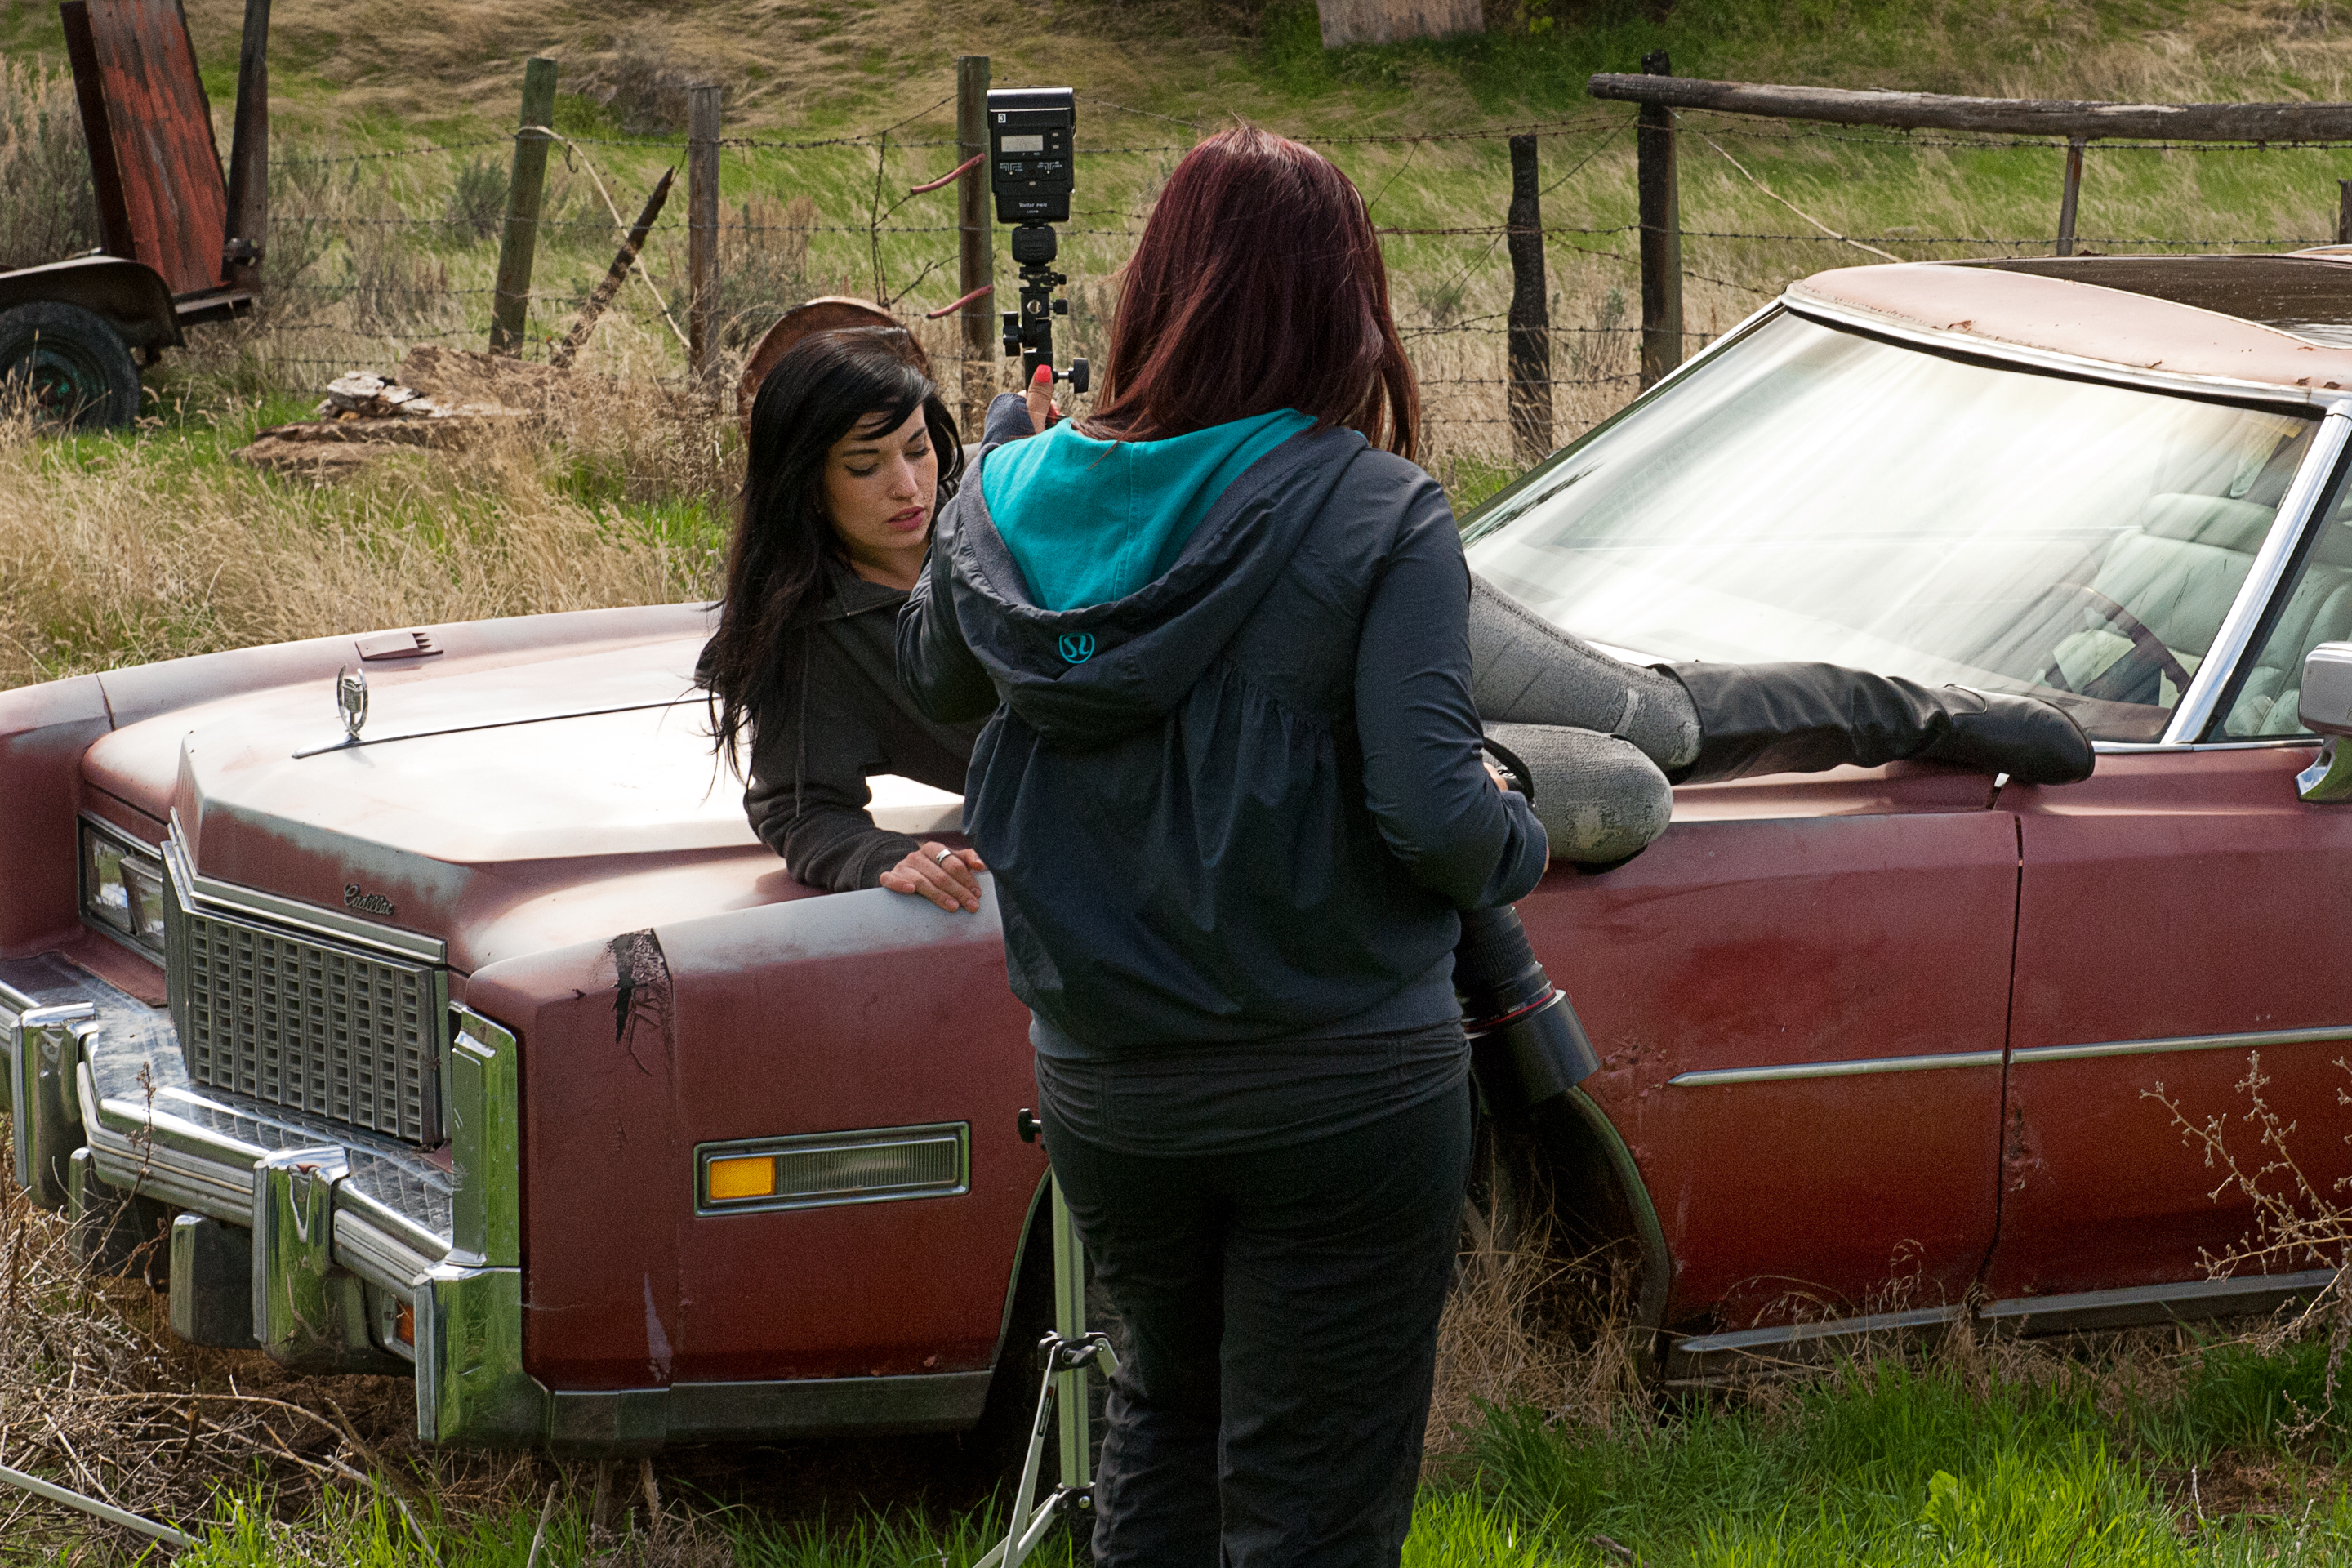
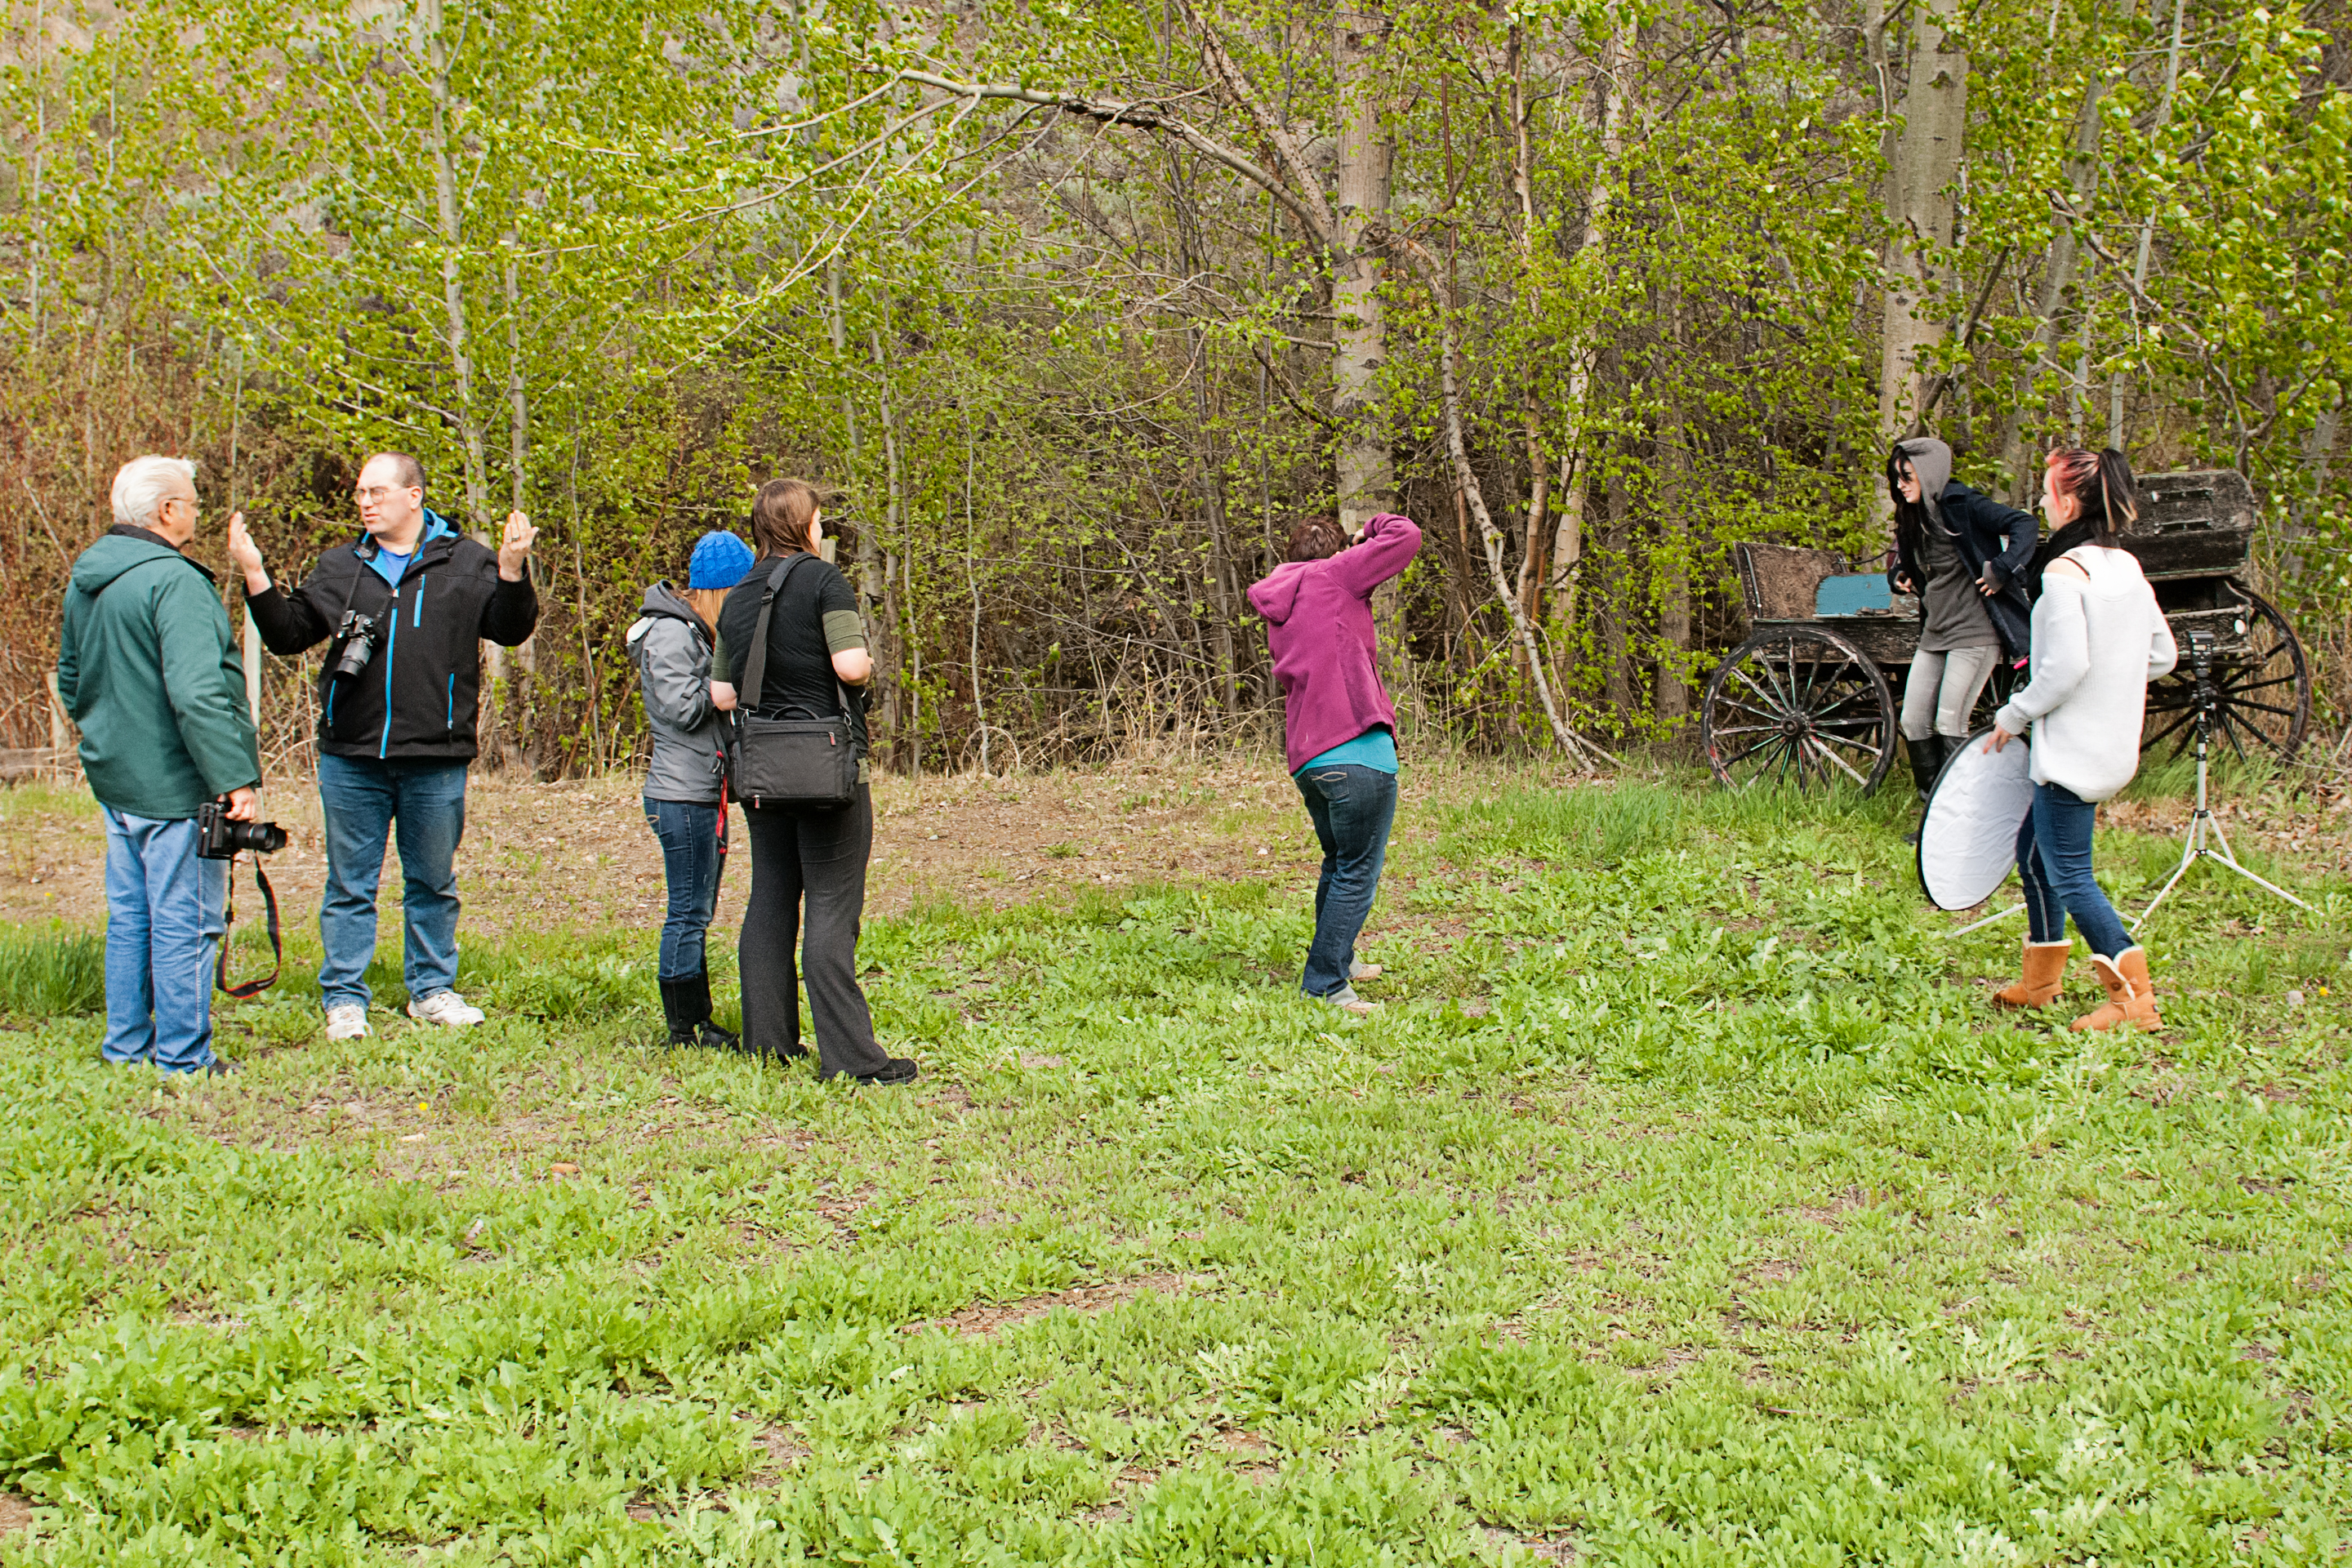
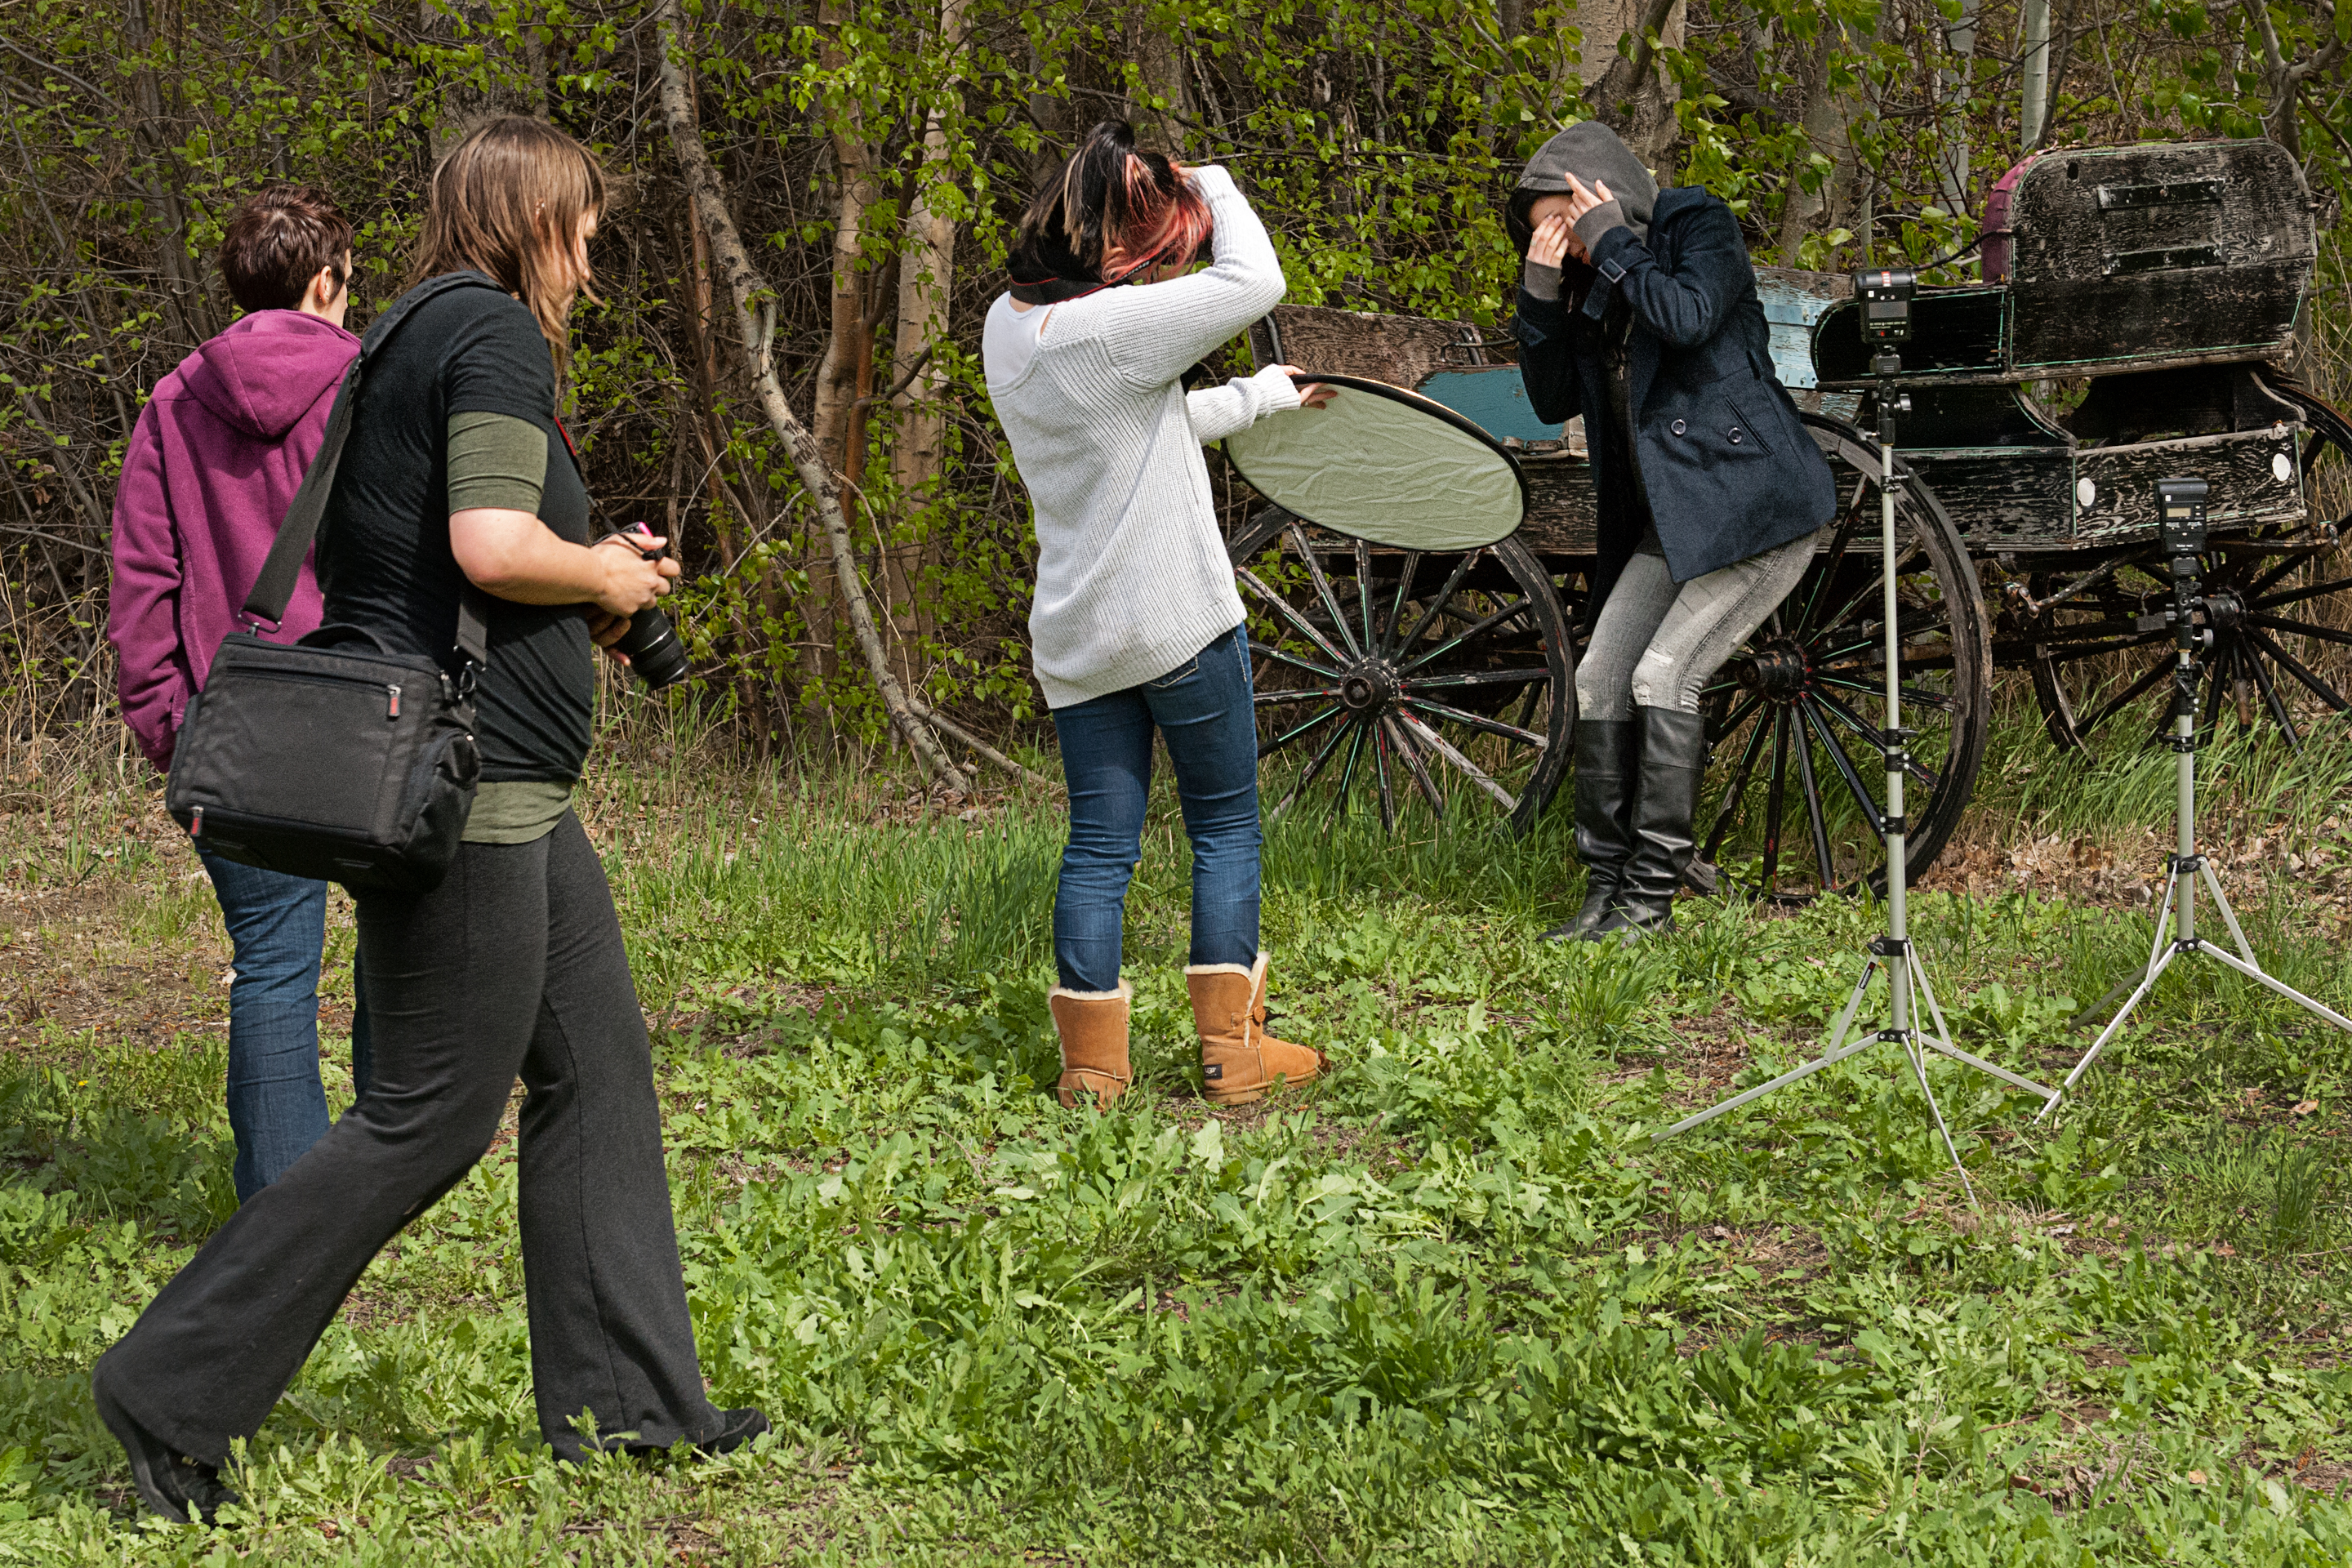
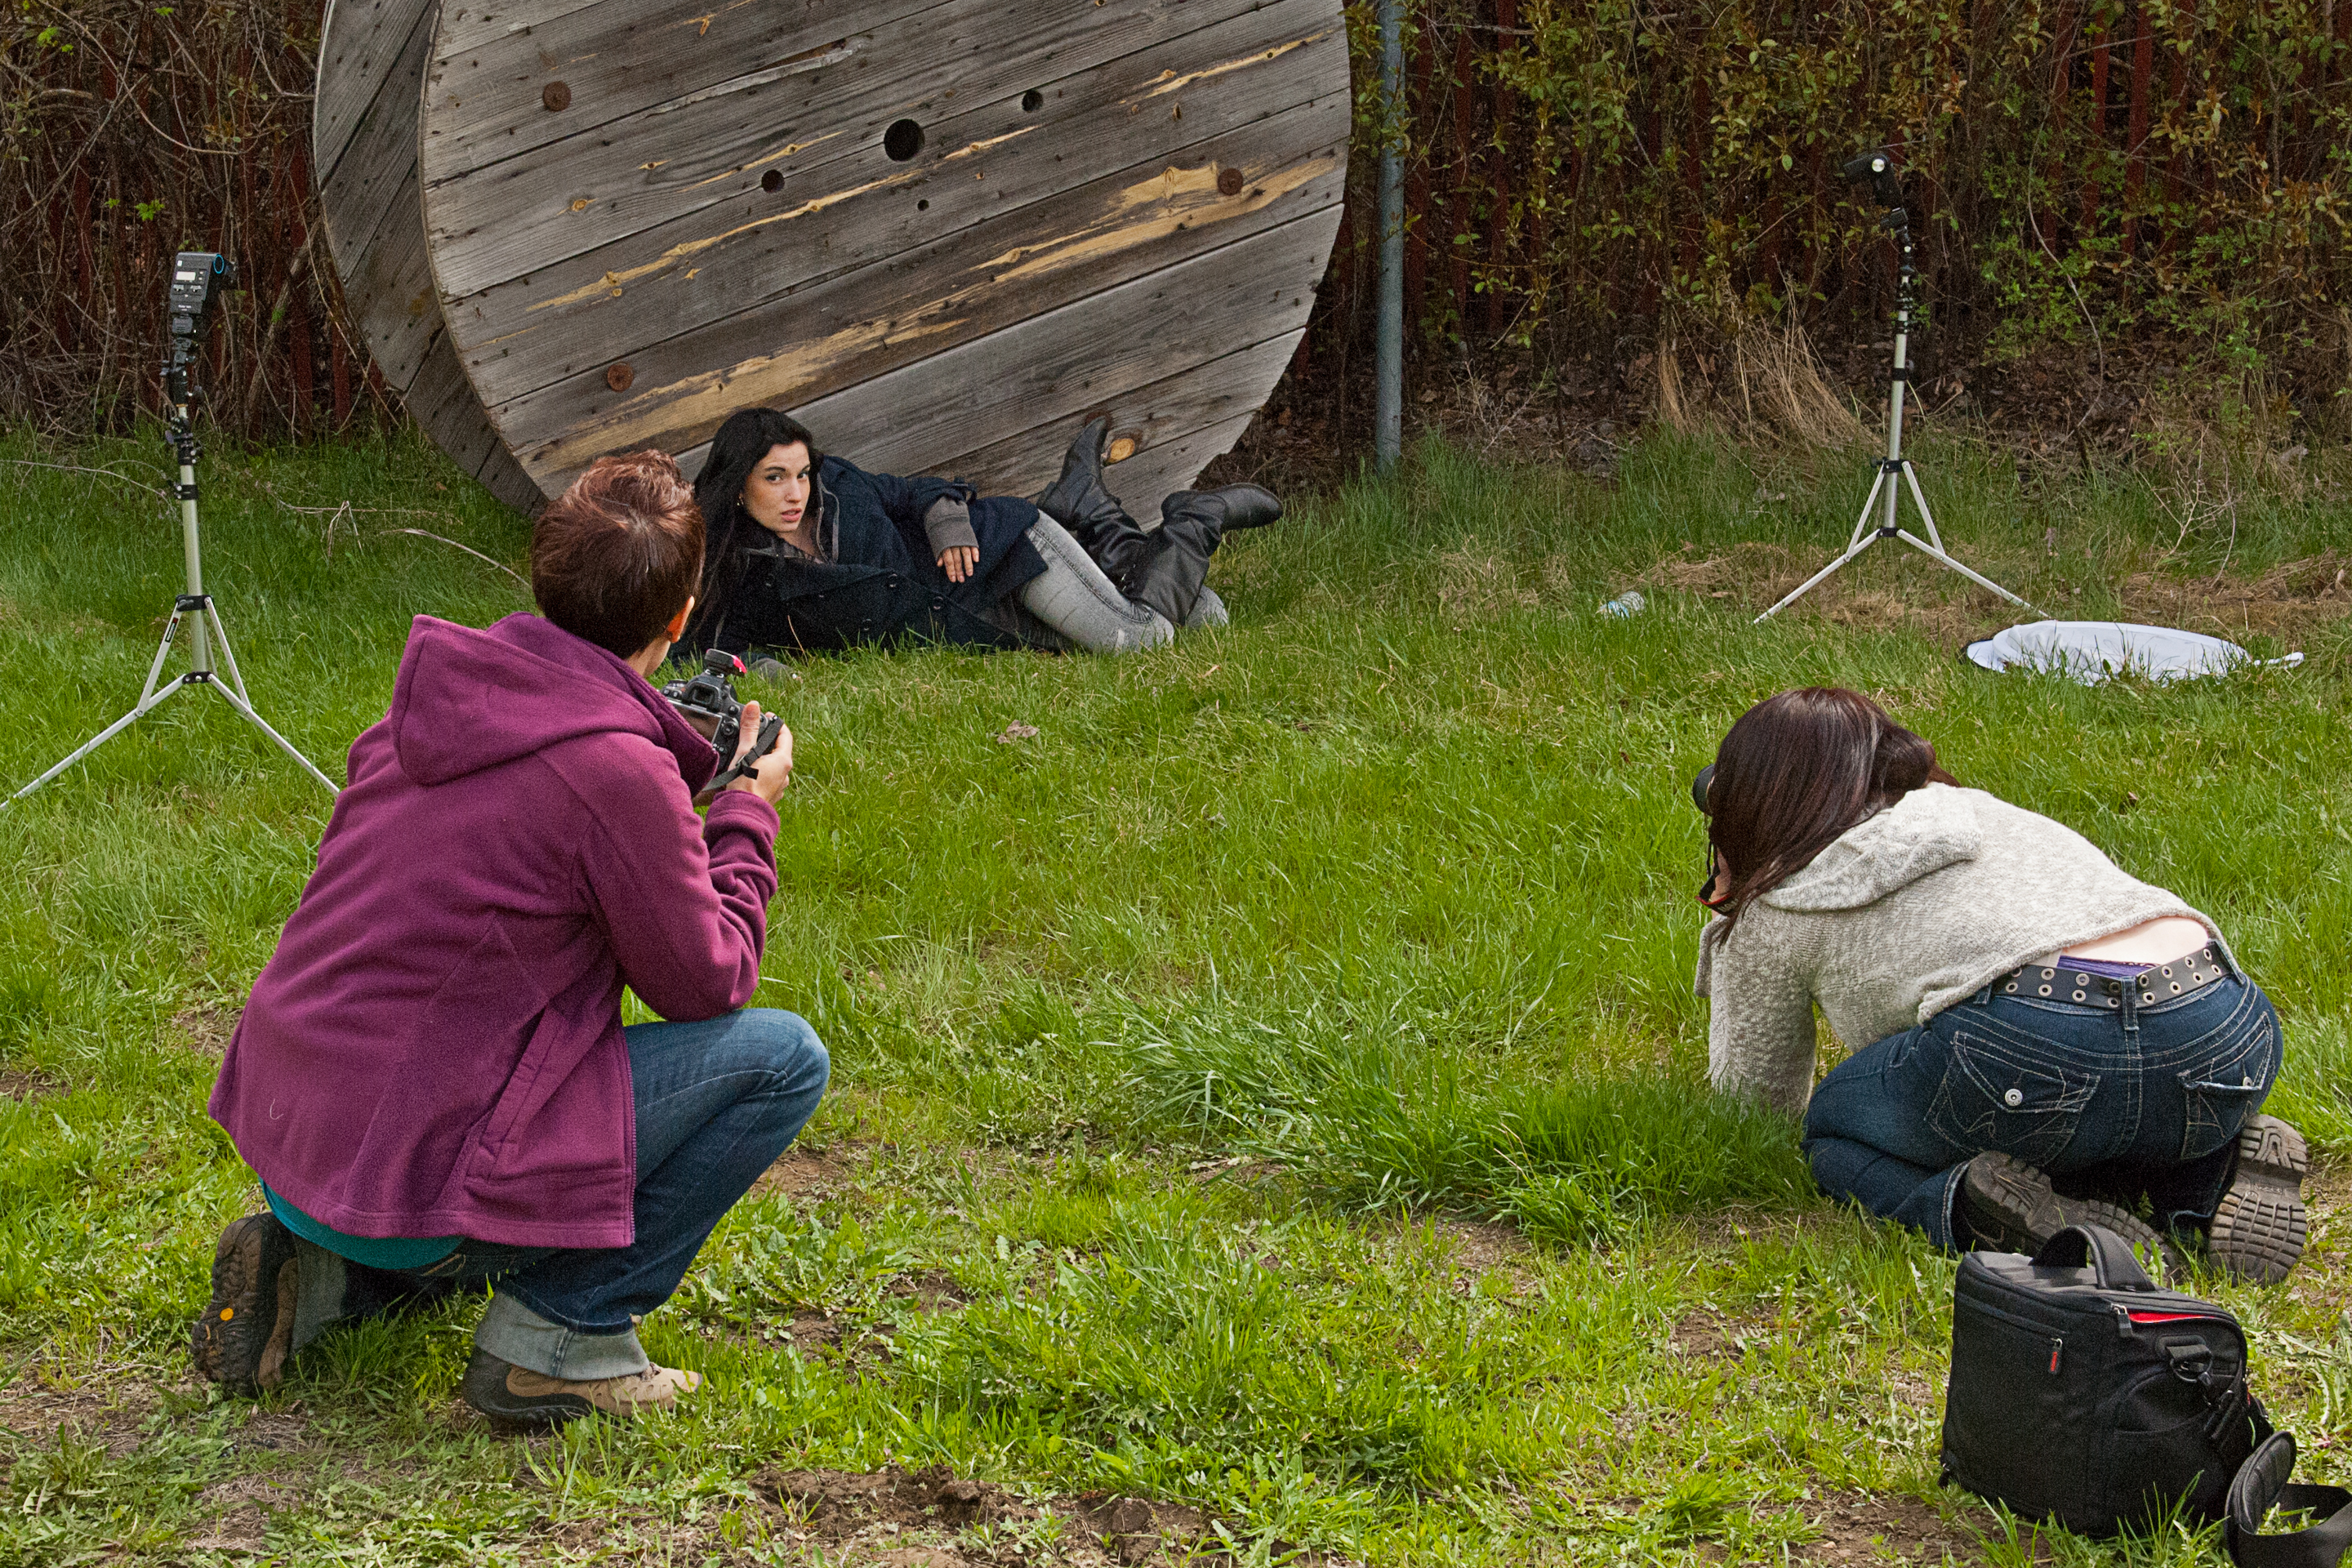
I had off-camera wireless flash setups in three locations, a large barn, a meadow beside a turn of the century horse buggy, and in the long grass where an old abandoned Cadillac rested. The photographers put each location to good use, and now I am looking forward to the next session. The few images I have seen so far are excellent and I am certain spending another day helping and watching each photographer’s progress is going to be a lot of fun.

Comments? I do like all comments. Thanks, John

My website is at www.enmanscamera.com


Having Fun Lighting Flowers With Off Camera Flash

Spring Crocus    Crokus5

The snow has finally, and at last, left the north side of our house. It’s barely been gone about two weeks, however, that means two weeks of new growth in my wife’s garden.

I had been making notes in preparation for a workshop on using flash outdoors that I will be leading the first two Sundays in May, when my wife mentioned the crocuses were coming up everywhere, and I thought I would take a look to see if there were any left after a weekend visit from our two granddaughters who like to pick flowers, and I thought it might be nice to walk around her garden.

As it turned out the girls hadn’t got them all, and, anyway, there were many more coming up thru the ground every day. Discovering there were lots remaining I decided I should select a couple plants to photograph before the bloom was over.

Keeping in mind that I have been thinking about the upcoming outdoor lighting class I thought why not photograph the flowers just as I would do a portrait of a person.

I got out my small 2’x2’ backdrop and placed it behind some of the flowers. That small backdrop, especially constructed for flowers and other small items, is made of black velvet material attached to sharpened dowels that easily poke into the ground.

I mounted two Nikon wireless flashes on light stands, and put a 40-inch umbrella on one that I placed shoulder height to my right, and a 30-inch on the other positioned low to the ground and to the left.

Needing to shoot low, I used my favorite garden tripod, the uniquely flexible Benbo. The Benbo tripod allows each leg to be independently positioned, and instead of a vertical center column configuration most tripods have, the Benbo has a column that fits off center and when the legs, that go in almost any direction, are splayed out flat, the camera can be positioned just off the ground.

I mounted my 200mm macro lens on my camera. That focal length let me situate the camera several feet away from my subject crocuses, and I wouldn’t have to put an end to the new growth coming up everywhere in my wife’s garden while still letting me have a close focus.

The exposure was made exactly the same way I would have made it as if photographing a person in an outdoor studio; slightly underexpose the ambient light, reposition the flashes for the best light direction, and continue to make tests until I got the lighting that would flatter the subject.

Lighting a subject with off-camera flash is fun, and putting up a backdrop ensures that it is even more so. It doesn’t matter who, or what, the subject is. There isn’t really a choice when I have a chance to use a flash because I use a flash always. For me it is all about adding light. It was also really nice to spend some time outdoors in the garden and see it coming to life in the spring.

I always appreciate your comments. Thanks, John

My website is at www.enmanscamera.com


Photographers – What is your studio lighting setup?

My inexpensive and very portable "Portrait kit". Works easily for indoor or out of doors lighting.

My inexpensive and very portable “Portrait kit” works easily for indoor or out of doors lighting.

Last week an online forum in which I participated asked the question, “What is your studio lighting setup?”

Most participants were posting the brand name they used, and how many lights they owned, however, my post was about what I would call “kits”, that I used for each different situation or environment.

My opinion has always been that there are different tools for different jobs, and I have four individual lighting setups that fit particular photographic undertakings.

My “event kit” consists of four TTL hot shoe flashes. My “portrait kit” consists of three older manual hotshoe flashes mounted on wireless receivers. I also have two “studio kits”. The first studio kit, for those situations where I can find power, has a 1000w power pack with four strobe heads. The second kit is a battery-operated 280w strobe that will go anywhere.

Some forum members complained that they would have to wait till they had the money before a home studio lighting situation could be set up. I believe they only paid attention to those responders that included the manufacturer’s names for their expensive studio type lighting setups.

Yes, I agree, if one wants big powerful studio strobes there will be a considerable price attached.  And each manufacturer will hope to sell their own brand of light stands and light modifiers along with the lighting units. Yes indeed, all that will be expensive.

Most home photography studios are in the basement, or in a spare room to be quickly set up for a portrait session. However, the big name brands never discuss light volume or power vs. studio size.

My opinion is, if the room is less than twelve feet high, thirty feet long and only used for small group or single person portraits, those big, powerful, fast recycling, and expensive studio lights might be overkill, and a real hassle when one wants to soften the background by shooting a wide aperture because there is just too much power.

I wrote about the four kits that I use for different situations. The small hotshoe flashes I use for events and portraits, and the bigger less portable units I use with large groups, moving subjects, or when I just want coverage out of doors. I think those photographers intent on setting up small home studios for portraits and small groups don’t need to go to the expense of the brawny, studio type lights. Photographers can easily, and without much initial cost, set up a studio with what I called my “portrait kit”.

My portrait kit only has three hotshoe flashes, each with it’s own wireless receiver and two stands. Depending on the space a client provides for me to use, I use a small shoot-through umbrella, an umbrella brolly box, once in a while I use a soft box, and sometimes include a reflector. And it’s the inexpensive and easily stored “portrait kit” that I would recommend for most first-time, home studio photographers.

Wireless senders and receivers come in all sorts of incarnations, and can be, depending on brand and manufacturer, if one shops around, purchased for prices less than $100 for two receivers and a sender.

I use the inexpensive sender/receivers that fit under my flash, seated on a light stand bracket, and holds an umbrella, a brolly, or sometimes a softbox. And I use three Vivitar 283 flashes dating from the 1970s that I bought used.

My total cost for 3 flashes, the wireless sender & receivers, 2 shoot through umbrellas, stands, and 2 flash/stand brackets, and a small tabletop tripod that I can place behind my portrait subject was under $400 Canadian.  All of this is much less expensive, and a lot easier to store and/or move around than the big. studio-type flash units.

I make lighting tests before the person who I will be photographing arrives to get the correct exposure, and when he/she does show up, I take two or three more test shots as I move the lights for the most flattering effect.

Even if there were a wad of cash burning a hole it your pocket, my advice would be to proceed slowly, and learn how best to photograph a person first. Using hotshoe speedlights off-camera will be perfect for that educational process, and when they are no longer a good fit with your creative growth, the choices as to the next step in lighting equipment will be educated decisions instead of emotional.

As always I look forward to any comments. Thanks, John

My website is at www.enmanscamera.com

TTL Flash Photography in my Wife’s Garden

Tulip 1 Blue Muscari Arbis Sempervivum Pennesetum grass - fountain grass

This is beginning to be a busy spring. I expect that isn’t news to those in my area that have spent all day doing yard work the past few days. But for many photographers thoughts kept wandering to, “That could make a good picture.”

I really wanted to do some photography in my wife’s garden. The nights are still cold, but the days have been almost hot, and with that heat the first of her flowers are beginning to bloom. My goal is always to photograph what happens in the garden with the changing seasons.

There is always something in the garden no matter the weather, be it snow, rain, or like today, high clouds. The slight overcast day was perfect for my subjects. Bright sunny days increase the contrast of scenes, making it hard to capture details in the extremes and I wanted to retain what details I could. The diffused daylight reduced the number of f/stops from black to white.

My setup is a 200mm macro lens and depending on my mood and the light, either a ring-flash, a reflector, or as I used this afternoon, a wireless, off-camera flash.  Outdoor portraits, whether of people or flowers, in my opinion, aren’t that interesting when one only relies on illumination from the sun. Flash, on or off-camera, or even a reflector, adds dimension and depth that makes for a much better image.

I mounted my flash on a small 2-foot stand and carried a tiny six-inch tripod if I needed the light to be lower to the ground, and I this time I didn’t use a tripod because the few flowers were close to the ground and I prefer shooting very low level. That means almost every shot is made while lying on the ground.

By the time I could get out to the garden the sun was low and, sometimes, a heavy overcast. Perfect light. All I had to do was put the flash to one side and adjust my shutterspeed to decrease the bright ambient light.  Today’s TTL (through the lens) flash is amazing.  Previous generations recall when the flash/camera sync speed was limiting and we could only use a flash at 1/60th of a second! How did one survive?  Today I moved my shutter between 200th of a second and 8000th of a second. That gave me lots of control over the ambient light and easily allowed me to move my aperture to increase or decrease depth of field. My advice is check your camera’s manual, read about, and set the camera to hi-speed flash sync, if available.

I’ll include a brief explanation of TTL flash. When the shutter is tripped, the light from the flash fires off and hits the subject. Then that light from the flash bounces back to the camera, and a sensor reads it as it builds up exposure. The in-camera computer determines when the light has massed enough light for the correct exposure and turns off the flash.

The photographer controls the flash rather than the flash controlling our photography. With TTL technology the camera’s computer provides the correct exposure regardless of the aperture, or flash-to-subject distance.  TTL technology puts the control of depth-of-field back into the hands of the photographer.

Most of the time I kept my flash on TTL, increasing or decreasing the power depending on how far I positioned the flash from a flower, and only selected manual flash as I began loosing the light.

Books on garden photography recommend morning when everything is fresh, but I didn’t get a chance till late in the afternoon, as I was occupied building a temporary yard for six new chicks. We had an early morning marauder a few months ago, probably a bobcat, reducing my laying hens to two. I now have reinforced the chicken yard and think everybody’s safe now. I’ll give the garden another couple week’s growth and try for that fresh morning (and hopefully some overcast) light.

I’ll repeat what I wrote about garden photography last February, “Just about anytime is good for a dedicated photographer to make photographs. My advice is to be creative, have fun, and don’t worry about failures. Open them up on the computer, learn something from them, then quickly delete.  Of course, some tweaking with PhotoShop always helps and, for those photographers that are like me trying for something different, anytime and any conditions will be just fine.”

I always appreciate your comments. Thanks, John

My website is at www.enmanscamera.com

Another Strobist Meet-up for Photographers

Demetra Koutsopdiotis  Monica Nicklas   Monica Nicklas 2

My friend, Dave Monsees, decided to host another Strobist Meet-up at his photography studio, and I was definitely up for that. I like trudging around photographing snowy scenics, but, the thought of spending a photo-filled day in a warm, wood-heated studio was enticing, and when he extended the invite I didn’t hesitate to accept.

My request to the other photographers was to continually change the two lighting setups  that we were using. I had participated in past meets, and, they were fun and photographers got to make lots of pictures of models; however, even though the resulting pictures were great, the lighting remained basically static for every image. For this day I wanted to change the modeling lights and modifiers every hour.

That meant photographers and models had to rethink what they were trying to do, but after the first change everyone got into the swing and began to get really innovative. Photographers changed lenses, shooting angles, helped each other out by moving the lighting around, and our models went through several clothing changes and were as involved in the creative process as the photographers.

The studio had lots of lighting equipment set up with wireless camera connectors for each photographer. There were two different backdrop set-ups, and we had our choice of lights and modifiers like softboxes, umbrellas, snoots, barn doors, and reflectors.

When I wrote about the last studio meet-up I attended I said that photographers always need to explore and experiment, and get-togethers like this are perfect for practicing off-camera lighting in a studio (that most photographers don’t have access to) without the pressure of actual clients, and it is a fun way to refine one’s skills. Monsees commented that he liked being around fun people with a true passion for photography, and dedicated to off-camera flash.  He also said that he enjoyed himself so much that he intends to try to have photographer and model get-togethers in his studio every month if he can.

Although photographers have been using off-camera light nearly as long as they have been making portraits of people, that practice has really been limited to a few that owned studios. Recently all that has been changing what with quickly advancing camera technology, and the word “strobist” now refers to a photographer who uses off-camera flash to take pictures, instead of the usual pop-up flash, or hotshoe flash attached on top of the camera.

I am often asked, “Why use off-camera flash?” Instead of using just a camera, one must lug around a light stand and a flash. That means carrying extra weight. Sometimes a photographer would require an assistant since weather conditions might knock over the light when shooting outdoors.  My response to the question is, “Better pictures.” Light is the language of photography. Without light there are no photos. With off-camera light one adds light and control over the final image. Adding light might introduce drama in a picture and can increase detail or hide it. The extra work greatly affects the output.

I like quotes and here is one regarding light from George Eastman, American innovator and entrepreneur, who founded the Eastman Kodak Company and invented roll film. He summed it up for me when he said, “Light makes photography. Embrace light. Admire it. Love it. But above all, know light. Know it for all you are worth, and you will know the key to photography.”

I always appreciate your comments, Thanks

My website is at www.enmanscamera.com

Cold Weather Photography

Snowy vineyard Jim Vineyard pruning Vineyard tractor  John

It’s beginning to be a long, cold winter. Lots of snow, wind, crappy roads, and well, I suppose that’s just winter in British Columbia.

I have been getting out with my camera (chasing the light as it were) whenever I can and just having fun photographing as many different subjects as I can.  Sometimes, however, I have to remember to make a living. So I packed up my camera and flash when I received an email from the owners of a vineyard I have been photographing since spring reminding me it was time to get pictures of the seasonal pruning.

I have written about my excursions in the winter snow, but on those I could take my time. I would wait for, or follow the sun, and when the weather got too windy or too cold all I had to do was go inside.  On this occasion I couldn’t do that. The day was very overcast, flat, and gray. The temperature on the high, flat, plain along the river wasn’t painfully cold, but even at minus 5 degrees Celsius the constant wind made fingers and ears uncomfortable quickly.

The vineyard workers slogged through sometimes knee deep snow and were all bundled up against the wind and cold as they pruned the acres of vines. My job was to make pictures that were more than just documents of people working at a local winery.

I put on my warm winter boots, several layers of clothes, and my convertible fingerless mitts. My biggest problem wasn’t the weather; my concern was the light, or at least, the lack of it. I didn’t want to be limited to a wide aperture. Limiting my depth of field would put foreground and background out of focus, and I wanted vines and/or people on both sides of my subject to be in focus.

To compensate, I increased my ISO to 800, selected 1/250th shutter speed, and tried to keep my aperture at F8 or smaller. For any close shots of the vineyard workers pruning vines I had a flash mounted on a flash bracket attached to my camera. I like that bracket. It positions the flash about ten inches above my camera so it doesn’t get shadow from my big lens hood like the pop-up flash, and I can easily move the flash off-camera to light subjects from different directions.

I didn’t have to worry about the vineyard people being camera shy because by now they are pretty used to me, and most have an easy smile and are happy to discuss their work and don’t seem to mind me joining into a conversation and even pose a bit to make my pictures better. That’s my style anyway. I’m not one to hide behind a camera. Whenever I am involved in an event I change my position a lot, and am never concerned with getting my clothes dirty or wet. I work to keep everyone relaxed and I quickly lift my camera to make an image, and just as quickly lower it do keep contact with my subject.

After the cold, windy hours of photography I hitched a ride on a tractor back to the barn. Those fellows were happy to get out of a long day in the cold snow and wind, returning to their warm homes to relax and pack ice on their sore, right hands. The hours of pruning comes at a cost.

For me it was a productive day. And, even though I now have lots of images for my clients I’ll keep an eye on the light for the next week and return to the vineyard hoping to get a few more shots.

I do appreciate any comments, Thanks

My website is at www.enmanscamera.com

Metering to Achieve the Right Exposure

I was leading a workshop about off-camera flash and had been discussing lighting. I paused and to make sure everyone was following and asked if there were any questions. One participant responded, “I don’t know what you mean by metering each light differently?  What is a meter?”

Caught off guard, I replied, “It’s how you get a proper exposure”.  He blankly looked at me, but fortunately, before I confused him more, another in the class said, “no, he means in his camera”.   I realized he had just asked a question (maybe one of the most important of the day) I should have anticipated early in my lecture.

Today’s high tech cameras are wonders at balancing all the light in a scene and many photographers unfortunately choose one of the programmed modes, point their cameras, release the shutter, and never look at anything on the camera but the LCD again.  Even using a flash, just the right amount of light almost always seems to be perfect. However, if we want to control and master light, whether it’s the sun, a reflector, a camera mounted flash, or off camera lights, we need to understand how that light is bouncing off the subjects we are about photograph.  Why would we bother when these newfangled cameras are marvelous?

That photographer in my lighting workshop had never used his camera on anything but the Aperture priority mode. That means he selected the aperture and the camera’s computer selected the shutterspeed.

In this workshop we were directing one flash to brighten the background, one to create a highlight on the subject’s cheek, and another high to the front as main illumination. Each of those lights had different intensity, and it’s the meter (consider it a tool) in the camera that we use to easily tell us what each individual exposure is so we can control the image.

Here is an example of critical metering I wrote about on 6 September; “The guest had a perfectly good camera, but criticized it, and said he wished he had a better one because the backlighted couple we were photographing were being recorded as silhouettes.”  That photographer had his camera set on a program mode and was of the belief the camera was capable of solving the high contrast lighting.

The camera’s computer couldn’t determine correct exposure with a strong changing backlight, and since he didn’t know how to use the camera’s meter all he could do was claim it was the camera’s fault.

On that day I began by metering to determining the overall exposure. I started with an ambient exposure, and by reading my camera’s meter, I decided to stop down enough to make the ambient backlight an underexposure, then added a flash slightly off camera which brought up the luminance of my subject so that, unlike that confused photographer that didn’t use or pay attention to his meter, I ended with a very usable photograph that didn’t need to be saved in postproduction.

I prefer using my camera on manual, but in both situations those photographers could also have used their camera’s Exposure Compensation (EC) feature. EC works great, and worth reading the instructions to learn, but for the application at my workshop, and at that fast moving outdoor wedding I prefer the “M” or manual mode. However, I must admit that although I like using exposure compensation, as it is fast and efficient, I get involved thinking about other things and forget to reset the EC. Staying on manual, and using the meter display at the bottom of my viewfinder helps me to remember.

Using the metering tool determines how the camera sets exposure, and today’s cameras make it easy for the photographer to choose a metering mode for the shooting conditions. Understanding the meter tool allows for control over the different exposure modes that determine how the camera will set the shutter speed and aperture.  I can only stress that readers who have DSLR cameras learn to use the meter.

Everyone’s comments are welcome.

My website is at www.enmanscamera.com

Photography in the Garden on a Rainy Day


Two weekends in a row have seen me climbing up steep, loose, shale-covered cliffs to photograph eagles where they live high above a long, green, lake-filled, British Columbia valley.  However, this last week the weather has been cool, pretty wet, and certainly not good conditions for climbing or wildlife photography.  Oh, well, I had intended to stay away from those eagles until the chick was ready to fly later in the summer anyway, and I expect the interior of this province was getting a bit dry so the rain is welcome.

As I drank my morning coffee to a forecast of another day of rain I forgot about those birds and instead decided to go out into my wife’s garden to do some photography of her very wet plants. Hmm… I seem to make a lot of decisions over that first cup of coffee.  Just after a good rain is a favorite time to do garden photography and the dripping, spring morning was perfect.  When I mentioned I was going out, my wife, Linda, grabbed her camera and rubber boots and joined me.

Linda placed a ring flash on front of her 70-180mm macro lens and I used a 200mm macro and included a stand-mounted, off-camera flash. Adding light on the overcast day gave our images contrast and “pop” in the otherwise flat and limited lighting conditions of the rainy day. We both used monopods to steady our cameras as we moved around in the wet landscape.

When photographing plants I meter much the same as I would if I were doing an out of doors portraiture of a person. Selecting the camera’s manual exposure mode, I meter for the proper ambient, or existing, light exposure of my subject, and stop down to reduce the overall exposure. Then I add light. If the flash is set to TTL, then I use its exposure compensation feature to increase or decrease the power. If the flash is set to manual I move the flash closer or further away from the subject (in this case, the flower) until I get the illumination I want.

We enjoyed our photography in spite of the steady drizzle and I’ll mention that it is a good idea to keep wiping the slowly accumulating water off one’s flash. I don’t worry about my camera because it’s weather sealed, but the electrically charged flash is another matter. I know many photographers would opt for the dry comfort of home on a day like this, but sometimes we need to make our own photographic opportunities and even though this isn’t as exciting as hanging off a high ledge photographing eagles, I personally can’t think of any kind of photography I find more enjoyably relaxing than ambling through a garden capturing interesting light on interesting shapes, and the addition of rain drops on leaves and flower petals makes everything all the more creative.

We don’t have to go far to find something interesting to photograph. For my wife and me that location is just outside our front door and on that rainy day we would walk back to the cover of the porch to view and discuss the images on our camera’s LCD, and then we would step back into the garden and continue. There were no camera bags to be packed, trip planning, or driving of a car to a distant destination.

I am sure that is why I got interested in garden photography in the first place. It isn’t so much that I am fascinated with flowers, however, as a photographer, I am interested in colours, shapes, shadows and how easy it is to access all that. When I first started venturing into my wife’s garden, I would do it as a way to relax after a day of work.  Now it’s just fun photography that I recommend to any photographer wanting to be active with their camera.

Be sure to click the “follow” button.

Or, at least, select the “like” button.

See my personal website at www.enmanscamera.com