The Camera’s LCD.                

Of all the modern technology conveniently packed into our DSLRs there is one major trap DSLR users should be aware of when attempting to find a correct exposure. And that, in my opinion, is relying on the camera’s LCD.

That little picture screen will lead you astray faster than believing a politician’s promises. It should never to be trusted.

This past week I talked to two different photographers that were wondering why their photos were improperly exposed when they downloaded them into their computer. However, when they handed me their cameras in hopes I would correct some programing error I immediately saw their problem.

The LCD is great for previewing and checking for closed eyes and composition, but it’s never completely trustworthy, and committing the following three transgressions are a sure way to give yourself an unpleasant surprise when you download your images for processing.

I’ll begin with the LCD’s Brightness. If you leave your camera on auto it will change the brightness based on ambient lighting and that can be confusing when one reviews images.

I suggest setting the LCD’s brightness manually for a more reliable way to judge the image. Some photographers even change it for different events so they know exactly how their image is meant to look for different ambient light levels. However, for most of us, a static setting will be just fine. Whatever brightness we our LCD to, it’s going to be better than auto.

My next thought goes to the Histogram. Even with the LCD set to manual brightness, many still only rely on that JPEG preview without paying attention to, in my opinion, one of the best features on digital cameras; The Histogram. The histogram gives a mathematical bar graph representation of the image’s tones. It is also a quick and easy indicator of an under or over exposed capture. And most importantly when the graph shows clipping on the far right or far left, that the photograph is losing detail.

Reading the histogram may be a bit daunting at first, but it’s just a simple bar graph and with a little research and practice reading the histogram will become second nature.

And finally the Highlight alerts. Highlight alerts are a flashing overlay that can be set up to alert when there are clipped highlights. This means that some areas of the photograph are to bright and have no detail recorded at all. The flashing areas on the LCD that many affectionately call, “blinkies” show us where the detail is missing.

It is important to remember that what we are looking at is, in fact, a JPEG preview and hopefully you are shooting raw and won’t actually lose that all that data when opening the image to post-process. However, if a large portion of the image is flashing your camera is alerting you that much of the data may not be recoverable.

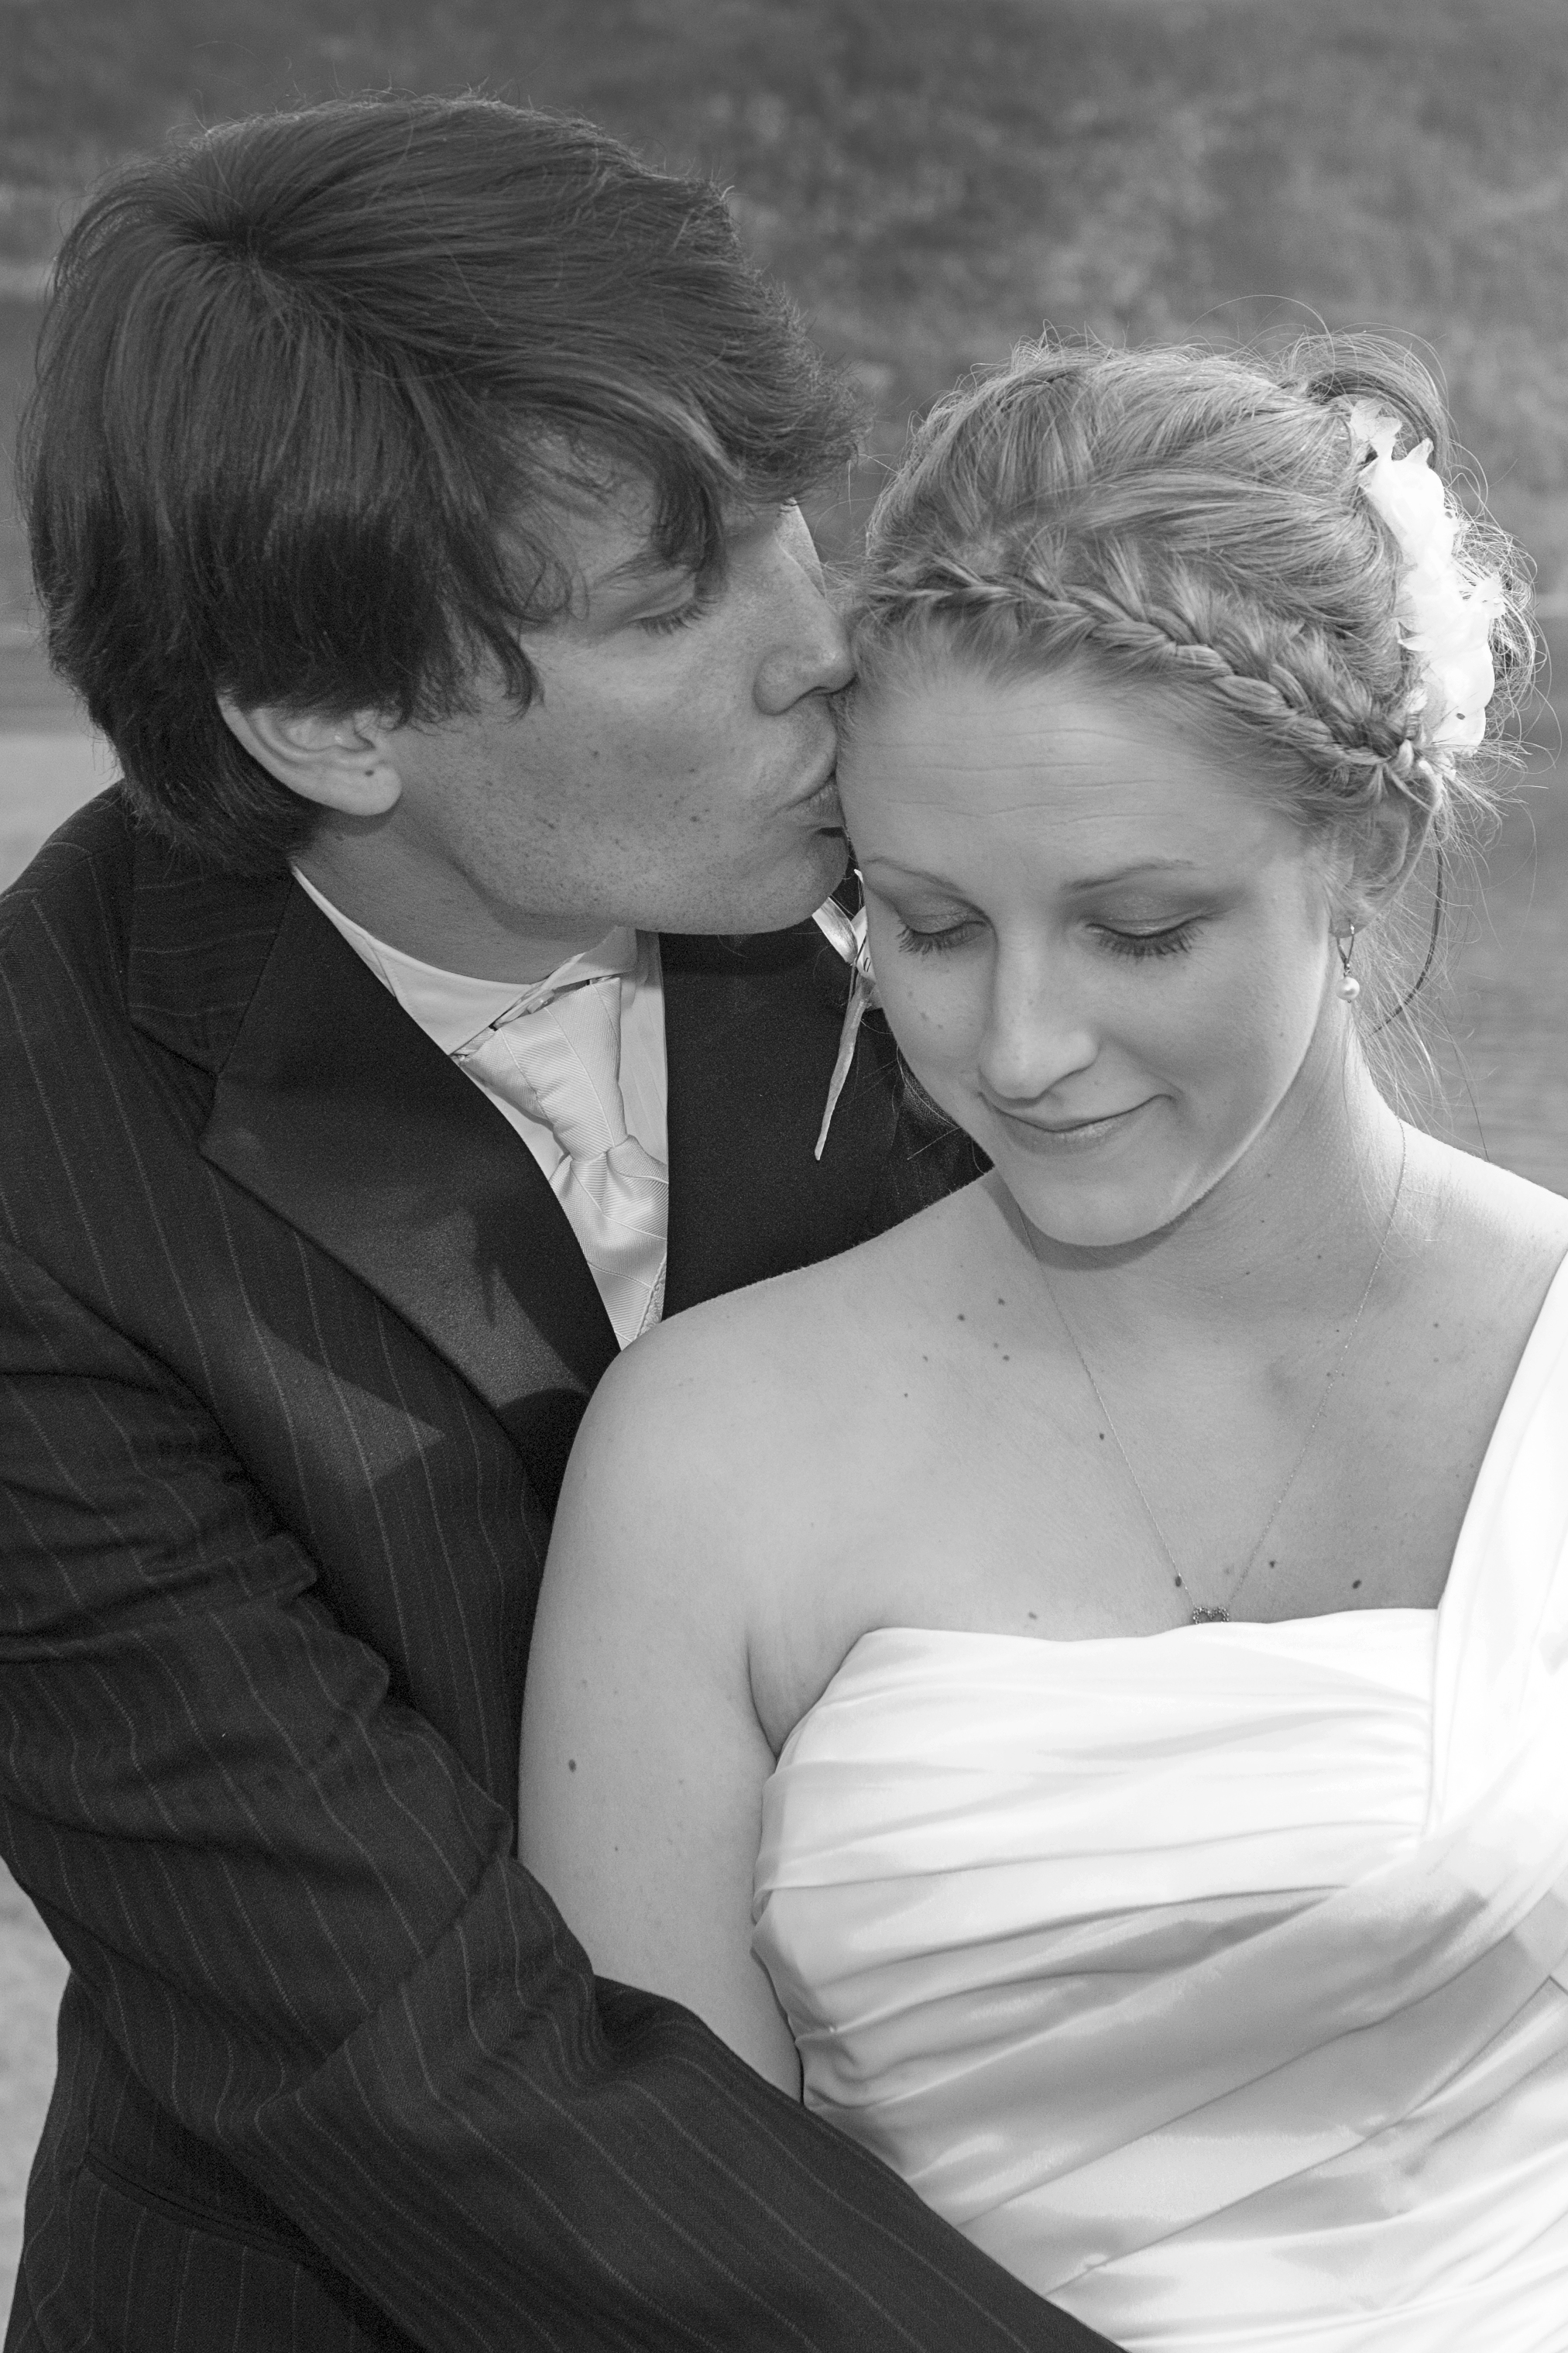
If the subject is a bride and her white gown is flashing on the camera’s LCD, you’re in trouble and need to dial back your exposure or face a very angry bride when she sees her expensive gown is reduced to a wash of pure white.

Every camera should come with an instruction manual. The Instruction Manual is one of the most important accessories you have with your camera. And if the camera was purchased second hand it is very easy to find the instruction manual on line. The instruction manual will help you understand and control the three important LCD features I have dicussed.


What is a Good Photograph?

Just what defines a good photograph is, and will always be, a topic of heated discussion with serious photographers; and in my opinion, is one that is certainly worth regular examination because, simply put, a “good photograph” is what those who enjoy this medium want to make.

There are, of course, those that believe a good photograph must capture an image absolutely true to life, while others might say it’s totally about how creative the photographer is, however, if one relies on they number of “likes” they receive on social media sites a good photograph probably depends on the beauty of the subject.

When I taught photography I told my students that a good photograph includes acceptable composition, exposure, and an interesting perspective.

I also said that a good photograph makes us have a connection with, or think about the subject, and might help us understand what the photographer feels about that subject; and if successful, evokes some kind of mood, whether good or bad.

American photographer Ansel Adams said, “A great photograph is one that fully expresses what one feels, in the deepest sense, about what is being photographed.” And he elaborates, “Simply look with perceptive eyes at the world about you, and trust to your own reactions and convictions. Ask yourself: “Does this subject move me to feel, think and dream? Can I visualize a print – my own personal statement of what I feel and want to convey – from the subject before me?”

And Adams reminds us, “There are always two people in every picture: the photographer and the viewer.”

Another of my favorite scenic photographers, Elliott Porter, commented, “You learn to see by practice. It’s just like playing tennis; you get better the more you play. The more you look around at things, the more you see. The more you photograph, the more you realize what can be photographed and what can’t be photographed. You just have to keep doing it.”

Vogue magazine Editorial photographer Irving Penn, wrote, “A good photograph is one that communicates a fact, touches the heart and leaves the viewer a changed person for having seen it. It is, in a word, effective.”

What is a good photograph? That might only be in the “eye of the beholder”. If one is a camera club member there will be rules on how a photograph is judged. And when I graded my students’ work I was mostly interested in their knowledge.

Sometimes we see a photograph that moves or inspires us, makes us feel, think and dream. And when a photographer is able to convey that to viewers he or she has truly made a good photograph.

Photographers Must Remember to Consider the Background

Brewster copy 2  Spirit

Gracie 1

Fat Cat

chuck port copy

Looking Scout

Rikkonna 1

Much of the time photographers get so excited about the subject before their camera that they don’t pay any attention to anything else that is captured by the camera’s sensor when the exposure is made. Of course, things can be cropped out during postproduction, but what if the background is so busy that it obscures the intended subject of the photograph? The background can impact a subject in many ways and much of the time it interferes with the subject.

In the past I have written about composition, depth of field, and even bokeh. Composition can be as simple as creating an interesting photograph by using basic guidelines or compositional strategies for a balanced image. Depth of field is that area in front of and behind the subject that is acceptably clear, and bokeh refers to that portion of an image that is out of focus. Using those three mechanisms or strategies as a way to isolate a subject help photographers increase the impact their photographs have for viewers.

A serious wild life photographer once told me that it is important to have a background that is neutral and non descript. I had one experienced birder giving me tips on photographing Loons, explain that soft green water made better pictures than contrasty blue water. I think that this may be his personal opinion, but I have to agree that of the photos I took that day I liked way the green water looks better.

I recall a photographer who had exhibited his photograph in a local exhibition being angry because he didn’t get a mention by the judges on his photograph of an eagle posing on a branch. He had exposed it properly and displayed it sharply. He was so proud of his photograph of that bald eagle that he was unable to see the busy background and how it negatively impacted on the overall photograph. I believe the judges did see that.

My advice to that photographer would be to curb his excitement and spend some time examining his subject and its surroundings. Using the term, coined by Ansel Adams, that I mentioned in my 26 June 2014 article, he should “previsualize” the image for its best impact.

Compose and isolate the center of interest, and decide how to use the background to the best effect; whether the background should be in, out, or partially focused, or to have it clear or cluttered, and if it is appropriate for inclusion or to be excluded. A busy background distracts viewer’s attention.

Backgrounds present both opportunities and challenges to photographers. Here are four very simple suggestions other photographers have told me take into consideration to make the background work.

1. Check your background before pressing the shutter;
2. Pay attention to your shooting angle;
3. Use the aperture or the focal length to blur the background;
4. Fill the frame with your subject.
They are all great tips, or thoughts for us all to remember, and I personally like the words of Ansel Adams that fits well,  “A good photograph is knowing where to stand.” And I’ll add, remember to consider the background.

I enjoy all comments. Thanks, John

My website is at http://www.enmanscamera.com

Photographer Didn’t Understand the Purpose of a camera’s Meter.

Wedding Kiss Touching Noses

A few weeks ago I wrote about digital camera terminology. I expected some readers may have skipped reading that to find something more advanced, however, I received lots of comments, and some good discussions on terminology I had not included, supporting my contention that many photographers are perplexed at the new jargon.

My article was in response to a customer confused about how to discuss her camera, however, this week I was reminded again that many photographers aren’t only confused with pixels, resolution, and bit depth, but also basic camera functions.

A photographer that had recently taken a local photography class complained to me, “I don’t really understand what the meter does, or how I would use it.”  The instructor had pointed out how to select the different camera modes, but neglected to include why one might select one over another for particular subjects. He told me the class ignored Manual mode, and left him thinking that only the three automated modes were worth using. The word exposure was only mentioned in passing when referring to those automated modes and guidance concerning the camera’s meter, and how to effectively use it didn’t seem to be part of the class.

I told the photographer that the meter is the measurement tool that allows users to control light, and suggested using the Manual mode as an easy way to access the two important camera mechanisms, the Shutter and the Aperture, to increase or decrease the amount of light reaching the sensor.

I explained that the Shutter blocks light from the sensor until the shutter release button is pressed, then it quickly opens and closes.  Setting the camera’s shutter speed controls the length of time light reaches the sensor.  The Aperture is an opening that lets light pass through the camera’s lens and is measured in f-stops. In actuality, it is a hole (aperture) that photographers control by opening it wider (wider aperture) for more light, and closing (smaller aperture) for less light, similar to the pupil of our eye.

Photographers can use the meter to determine under-exposure or over-exposure of their subjects, for example, I might want to slightly under-expose a highly reflective, white gown on a bright sunny day, or conversely, brighten it up on a heavily overcast day. In both instances I would use the manual mode to check a particular subject’s exposure with my camera’s meter, especially underexposed areas or subjects wearing a black suit.

To sum this all up, photography is all about reflected light and my recommendation to that beginning photographer was to pay attention to the camera’s meter and start using the Manual mode when he decides it is best for the job at hand. The camera is a tool with many functions, and one is never limited, and can choose as the situation demands.

Learning to use the camera’s meter and getting comfortable using manual exposure mode to manage shutter speed, and/or the aperture settings gives the advantage of full control without as many chances of the camera being fooled by unexpected changes in light. It gives optimal command, when needed, over the amount of light that still shows details in both the shadows and the highlights, allowing mastery over how photos are viewed and interpreted.

Don’t hesitate, I enjoy you comments.

My website is at www.enmanscamera.com

Metering to Achieve the Right Exposure

I was leading a workshop about off-camera flash and had been discussing lighting. I paused and to make sure everyone was following and asked if there were any questions. One participant responded, “I don’t know what you mean by metering each light differently?  What is a meter?”

Caught off guard, I replied, “It’s how you get a proper exposure”.  He blankly looked at me, but fortunately, before I confused him more, another in the class said, “no, he means in his camera”.   I realized he had just asked a question (maybe one of the most important of the day) I should have anticipated early in my lecture.

Today’s high tech cameras are wonders at balancing all the light in a scene and many photographers unfortunately choose one of the programmed modes, point their cameras, release the shutter, and never look at anything on the camera but the LCD again.  Even using a flash, just the right amount of light almost always seems to be perfect. However, if we want to control and master light, whether it’s the sun, a reflector, a camera mounted flash, or off camera lights, we need to understand how that light is bouncing off the subjects we are about photograph.  Why would we bother when these newfangled cameras are marvelous?

That photographer in my lighting workshop had never used his camera on anything but the Aperture priority mode. That means he selected the aperture and the camera’s computer selected the shutterspeed.

In this workshop we were directing one flash to brighten the background, one to create a highlight on the subject’s cheek, and another high to the front as main illumination. Each of those lights had different intensity, and it’s the meter (consider it a tool) in the camera that we use to easily tell us what each individual exposure is so we can control the image.

Here is an example of critical metering I wrote about on 6 September; “The guest had a perfectly good camera, but criticized it, and said he wished he had a better one because the backlighted couple we were photographing were being recorded as silhouettes.”  That photographer had his camera set on a program mode and was of the belief the camera was capable of solving the high contrast lighting.

The camera’s computer couldn’t determine correct exposure with a strong changing backlight, and since he didn’t know how to use the camera’s meter all he could do was claim it was the camera’s fault.

On that day I began by metering to determining the overall exposure. I started with an ambient exposure, and by reading my camera’s meter, I decided to stop down enough to make the ambient backlight an underexposure, then added a flash slightly off camera which brought up the luminance of my subject so that, unlike that confused photographer that didn’t use or pay attention to his meter, I ended with a very usable photograph that didn’t need to be saved in postproduction.

I prefer using my camera on manual, but in both situations those photographers could also have used their camera’s Exposure Compensation (EC) feature. EC works great, and worth reading the instructions to learn, but for the application at my workshop, and at that fast moving outdoor wedding I prefer the “M” or manual mode. However, I must admit that although I like using exposure compensation, as it is fast and efficient, I get involved thinking about other things and forget to reset the EC. Staying on manual, and using the meter display at the bottom of my viewfinder helps me to remember.

Using the metering tool determines how the camera sets exposure, and today’s cameras make it easy for the photographer to choose a metering mode for the shooting conditions. Understanding the meter tool allows for control over the different exposure modes that determine how the camera will set the shutter speed and aperture.  I can only stress that readers who have DSLR cameras learn to use the meter.

Everyone’s comments are welcome.

My website is at www.enmanscamera.com

Pictures Shot in the Bright Hot Sun


Bright sun and clear sky might be great for some scenic photographers, but it can cause many problems when photographing people.  My assignment this week was to photograph an event that began at 2:30 under almost clear skies, and where even in the shade the temperature hovered in the mid-30 degrees celsius. The location was on a south-facing, treeless, hill top with a sprawling vineyard in the background.

The event, other than a large group shot of all the guests, was held under five large, white tents, and my goal was to balance my flash and exposure to lighten up my subjects without glare, or shadows, and properly expose the field’s sun-drenched background.

The contrast in light from shadows to highlights on a very sunny day can be too extreme for a camera’s sensor to capture. I always look for open shade, or place the sun behind my subjects and use a flash.

I meter for the mid tones like the grass, or, in this case, large open field, and underexpose about two stops, then balance the overall image using my flash. My flash sits on a bracket and the flash is attached to my camera with a wire so I can remove the flash and hold it at different angles if I need to. I did notice people wielding point and shoot digital and a couple photographers with DSLRs trying to use their pop-up flashes, but I am sure they were disappointed with their results on that sunny day as the extremes from black to white are just too much for digital sensors.

Fortunately, photographers can load images into PhotoShop and no matter if they are JPG or RAW files can be optimized using Adobe RAW – an amazing application that gives additional control over exposure, shadow, and highlight detail. Adobe RAW can even help with those not-so-well focused images.  I use that program to polish my images and make them all that they can be which is much better than settling for photographs mass corrected at a big box lab.

After selecting the best images I correct the white balance and colour using Photoshop.  I make the photo look pretty much the way they appear through the camera and the images taken in the bright sun now have lots of detail.

Another program I regularly use (and think is amazing) is by Nik Software Inc. and is called Viveza.   Viveza allows selective control of light and colour. With that program I can maintain the colour and tonality while changing the background and blending the effect exactly.  All this isn’t much different than I used to do in my old film darkroom except now it is more precise, the process can be duplicated, and overall everything is easier.   Between the two programs I am able, without spending too much time in post-production, to provide my clients with polished and balanced images that do not show the harsh environmental realities of that day.

Sure, sunny clear days please us all and when planning an outdoor event we prefer that to rain, but for photographers the sun and harsh unflattering shadows on people’s faces isn’t the best outcome. My advice is not to approach this type of photography the same way as a scenic and to begin with test shots and constantly pay attention to the exposure and absolutely use a fill flash for the best outcome.

My website at www.enmanscamera.com

A photographer asked me, “What is a Good Photograph?”

A photographer asked , “What is a good photograph, and how do I take it?”  That was two good questions I received from a young photographer in my shop last week. The “how to” part was the easiest answer and I talked about taking some classes. However, the response to the first question wasn’t as simple an answer.  I suggested that a good photograph includes proper composition, exposure, and an interesting perspective, but that was, again all “how to” stuff. That question and the discussion that followed was so very much like what I wrote about in  post I made in September of last year, I wrote the following at that time and hope I won’t  bore those that already read it.

A good photograph is one that makes us have a connection with, or think about, the subject.  Or, it could help us understand what the photographer feels about that subject; and can, if successful, evoke some kind of mood, whether good or bad.

When I see a photograph that I like, because of my nature and because I have been studying photography and other photographers for years, I begin dissecting it and try to figure out how the photographer made it.  When the photograph is good I am aware that the photographer had an understanding of the equipment and the subject he or she used to make the picture.  However, I sometimes have to stop myself from doing all of that and just enjoy the photograph.

As I mused about the question of a good photograph I thought it might be of interest to include quotes from some of the great photographers.  On the subject of a great photograph Ansel Adams said, “A great photograph is one that fully expresses what one feels, in the deepest sense, about what is being photographed.”  He continues,  “There are no rules for good photographs, there are only good photographs.”  And then he says, “Simply look with perceptive eyes at the world about you, and trust to your own reactions and convictions.  Ask yourself: “Does this subject move me to feel, think and dream? Can I visualize a print – my own personal statement of what I feel and want to convey – from the subject before me?” “

I also like his short quips,  “You don’t take a photograph, you make it.”  And “A good photograph is knowing where to stand.”  Then he reminds us, “There are always two people in every picture: the photographer and the viewer.”

The famous photographer, Elliott Porter, maker of spectacular scenic colour images, commented, “You learn to see by practice.  It’s just like playing tennis; you get better the more you play. The more you look around at things, the more you see.  The more you photograph, the more you realize what can be photographed and what can’t be photographed.  You just have to keep doing it.”

Irving Penn, known for his editorial photographs in Vogue magazine, stated, “A good photograph is one that communicates a fact, touches the heart and leaves the viewer a changed person for having seen it.  It is, in a word, effective” and in a lighter mood he said, “Photographing a cake can be art.”

I read the words of these famous photographers and think how each one has inspired me to work harder at making photographs that go beyond just a documentary of a particular subject.  I do extend my knowledge with continual viewing of other photographer’s images, and by reading, taking classes and practice.