Don’t Miss Photographic Opportunities

OLYMPUS DIGITAL CAMERA  Eagle Horses in fieldFalkland backroad

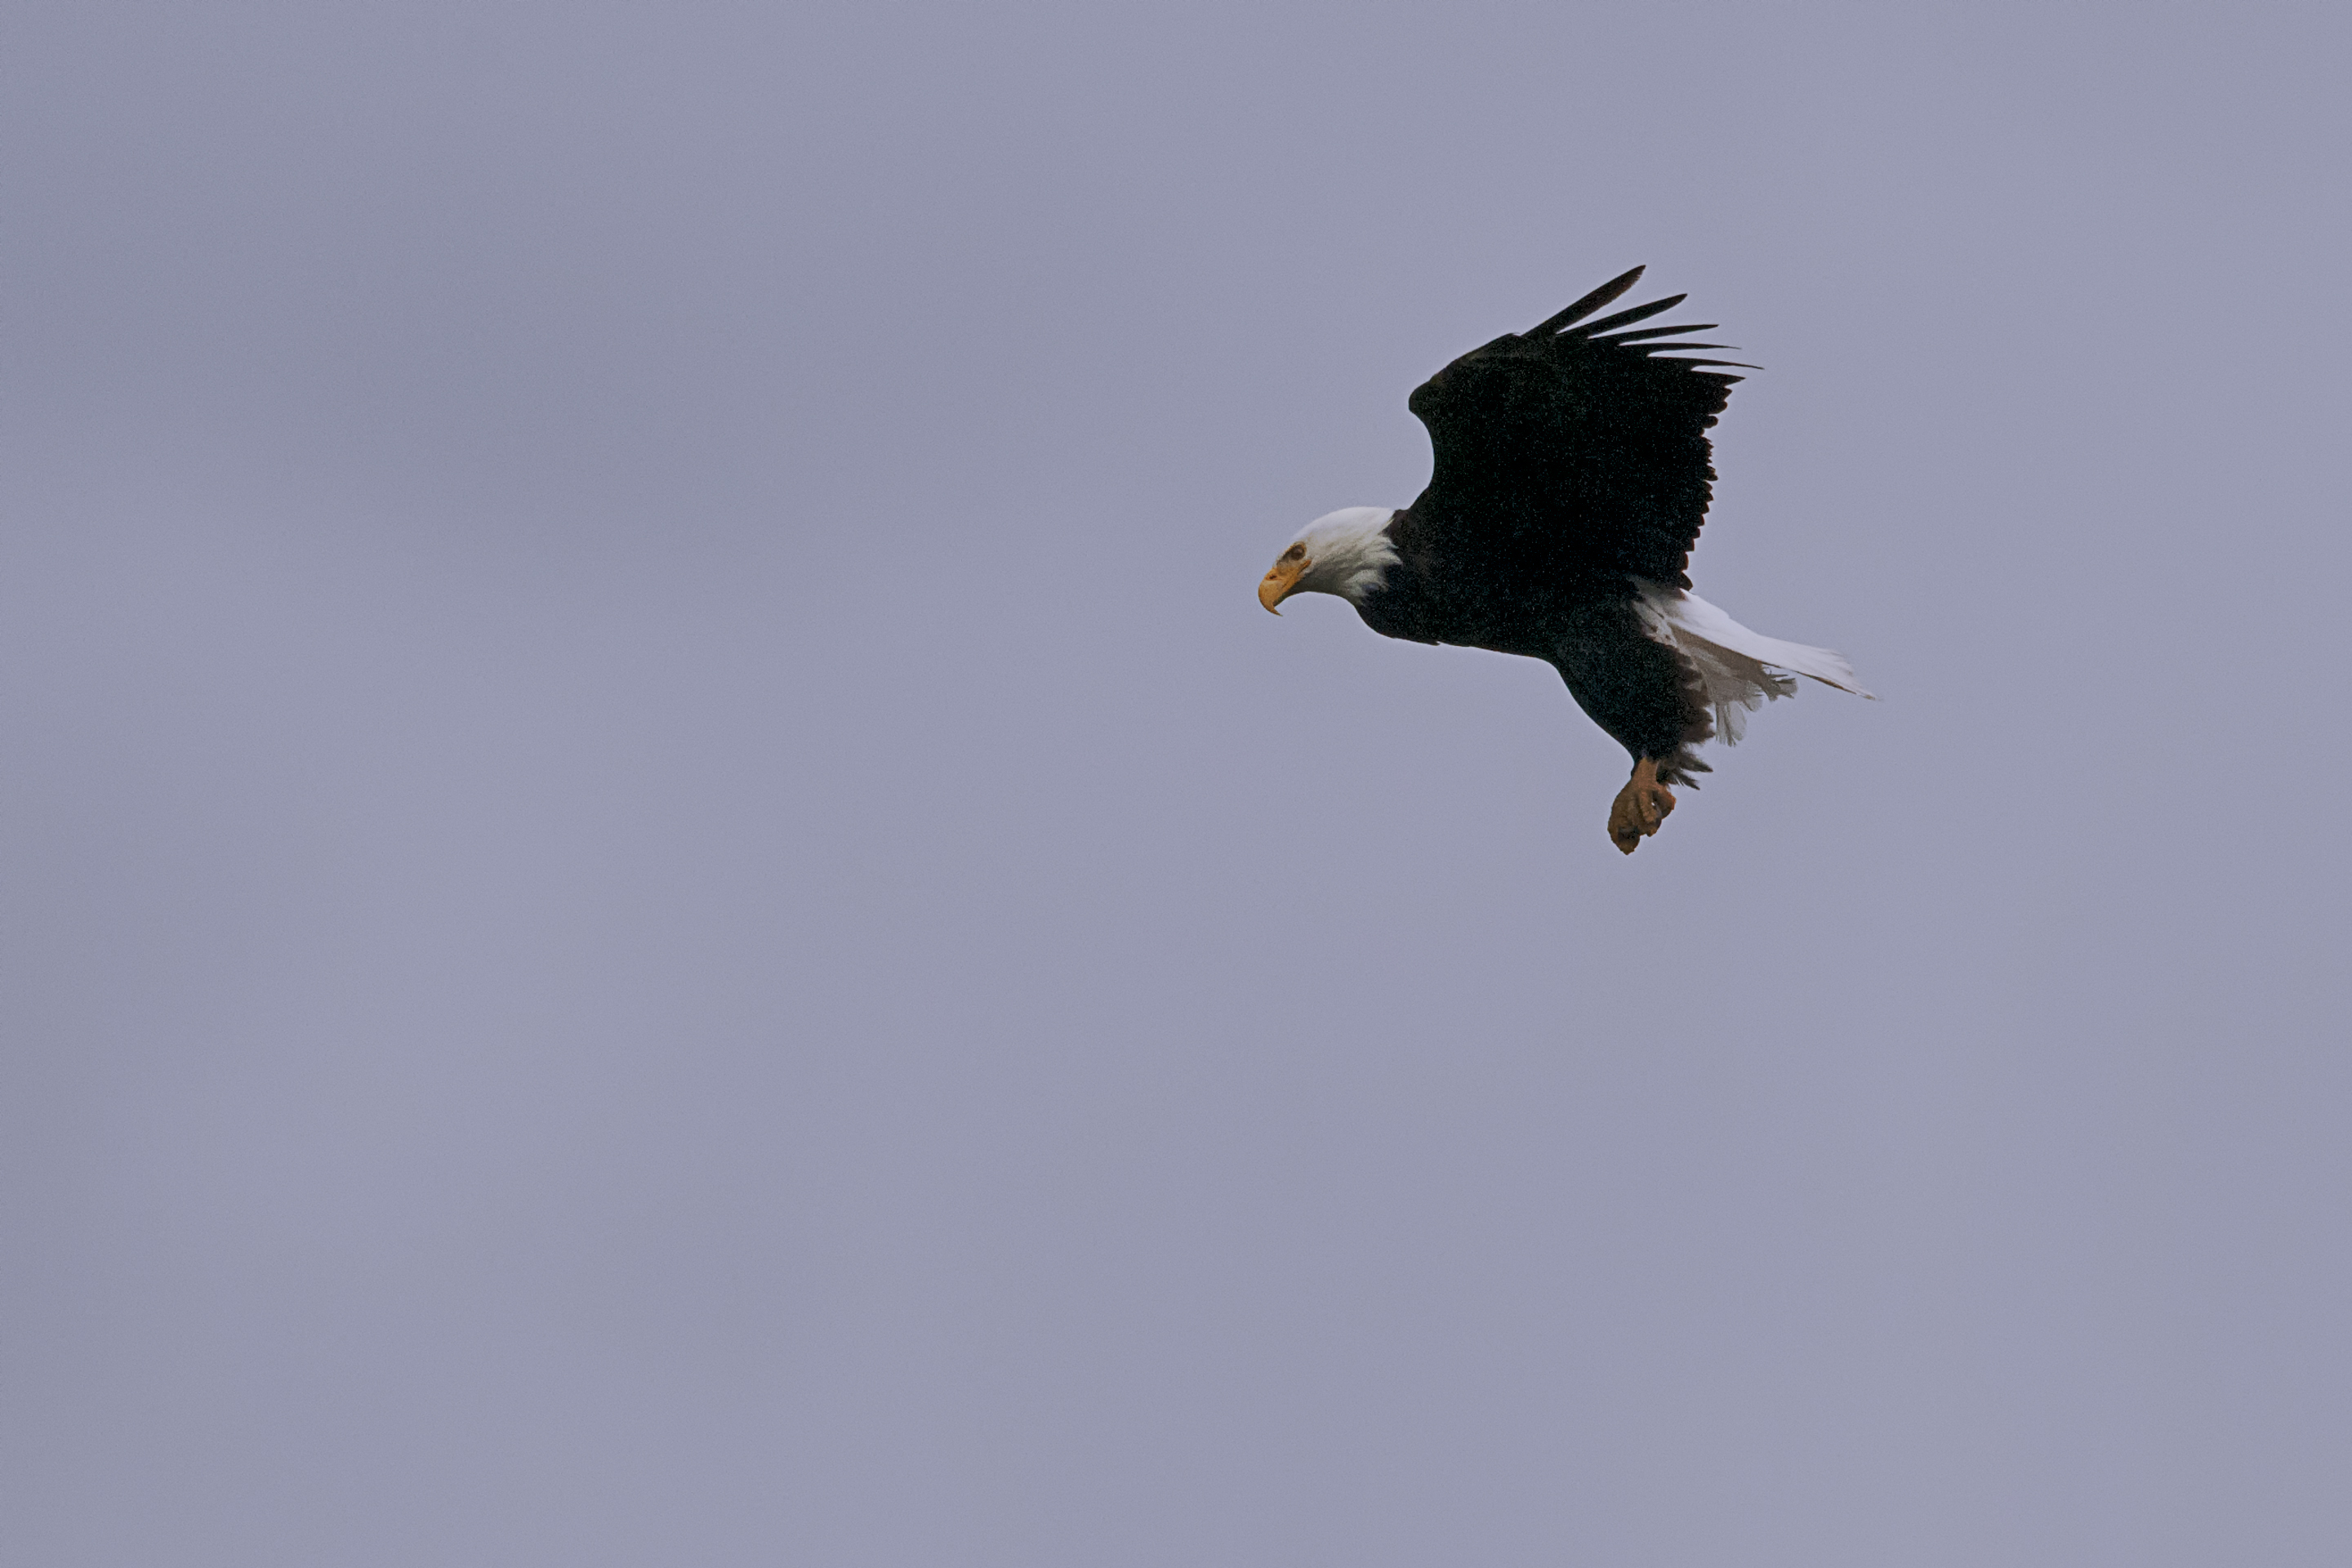
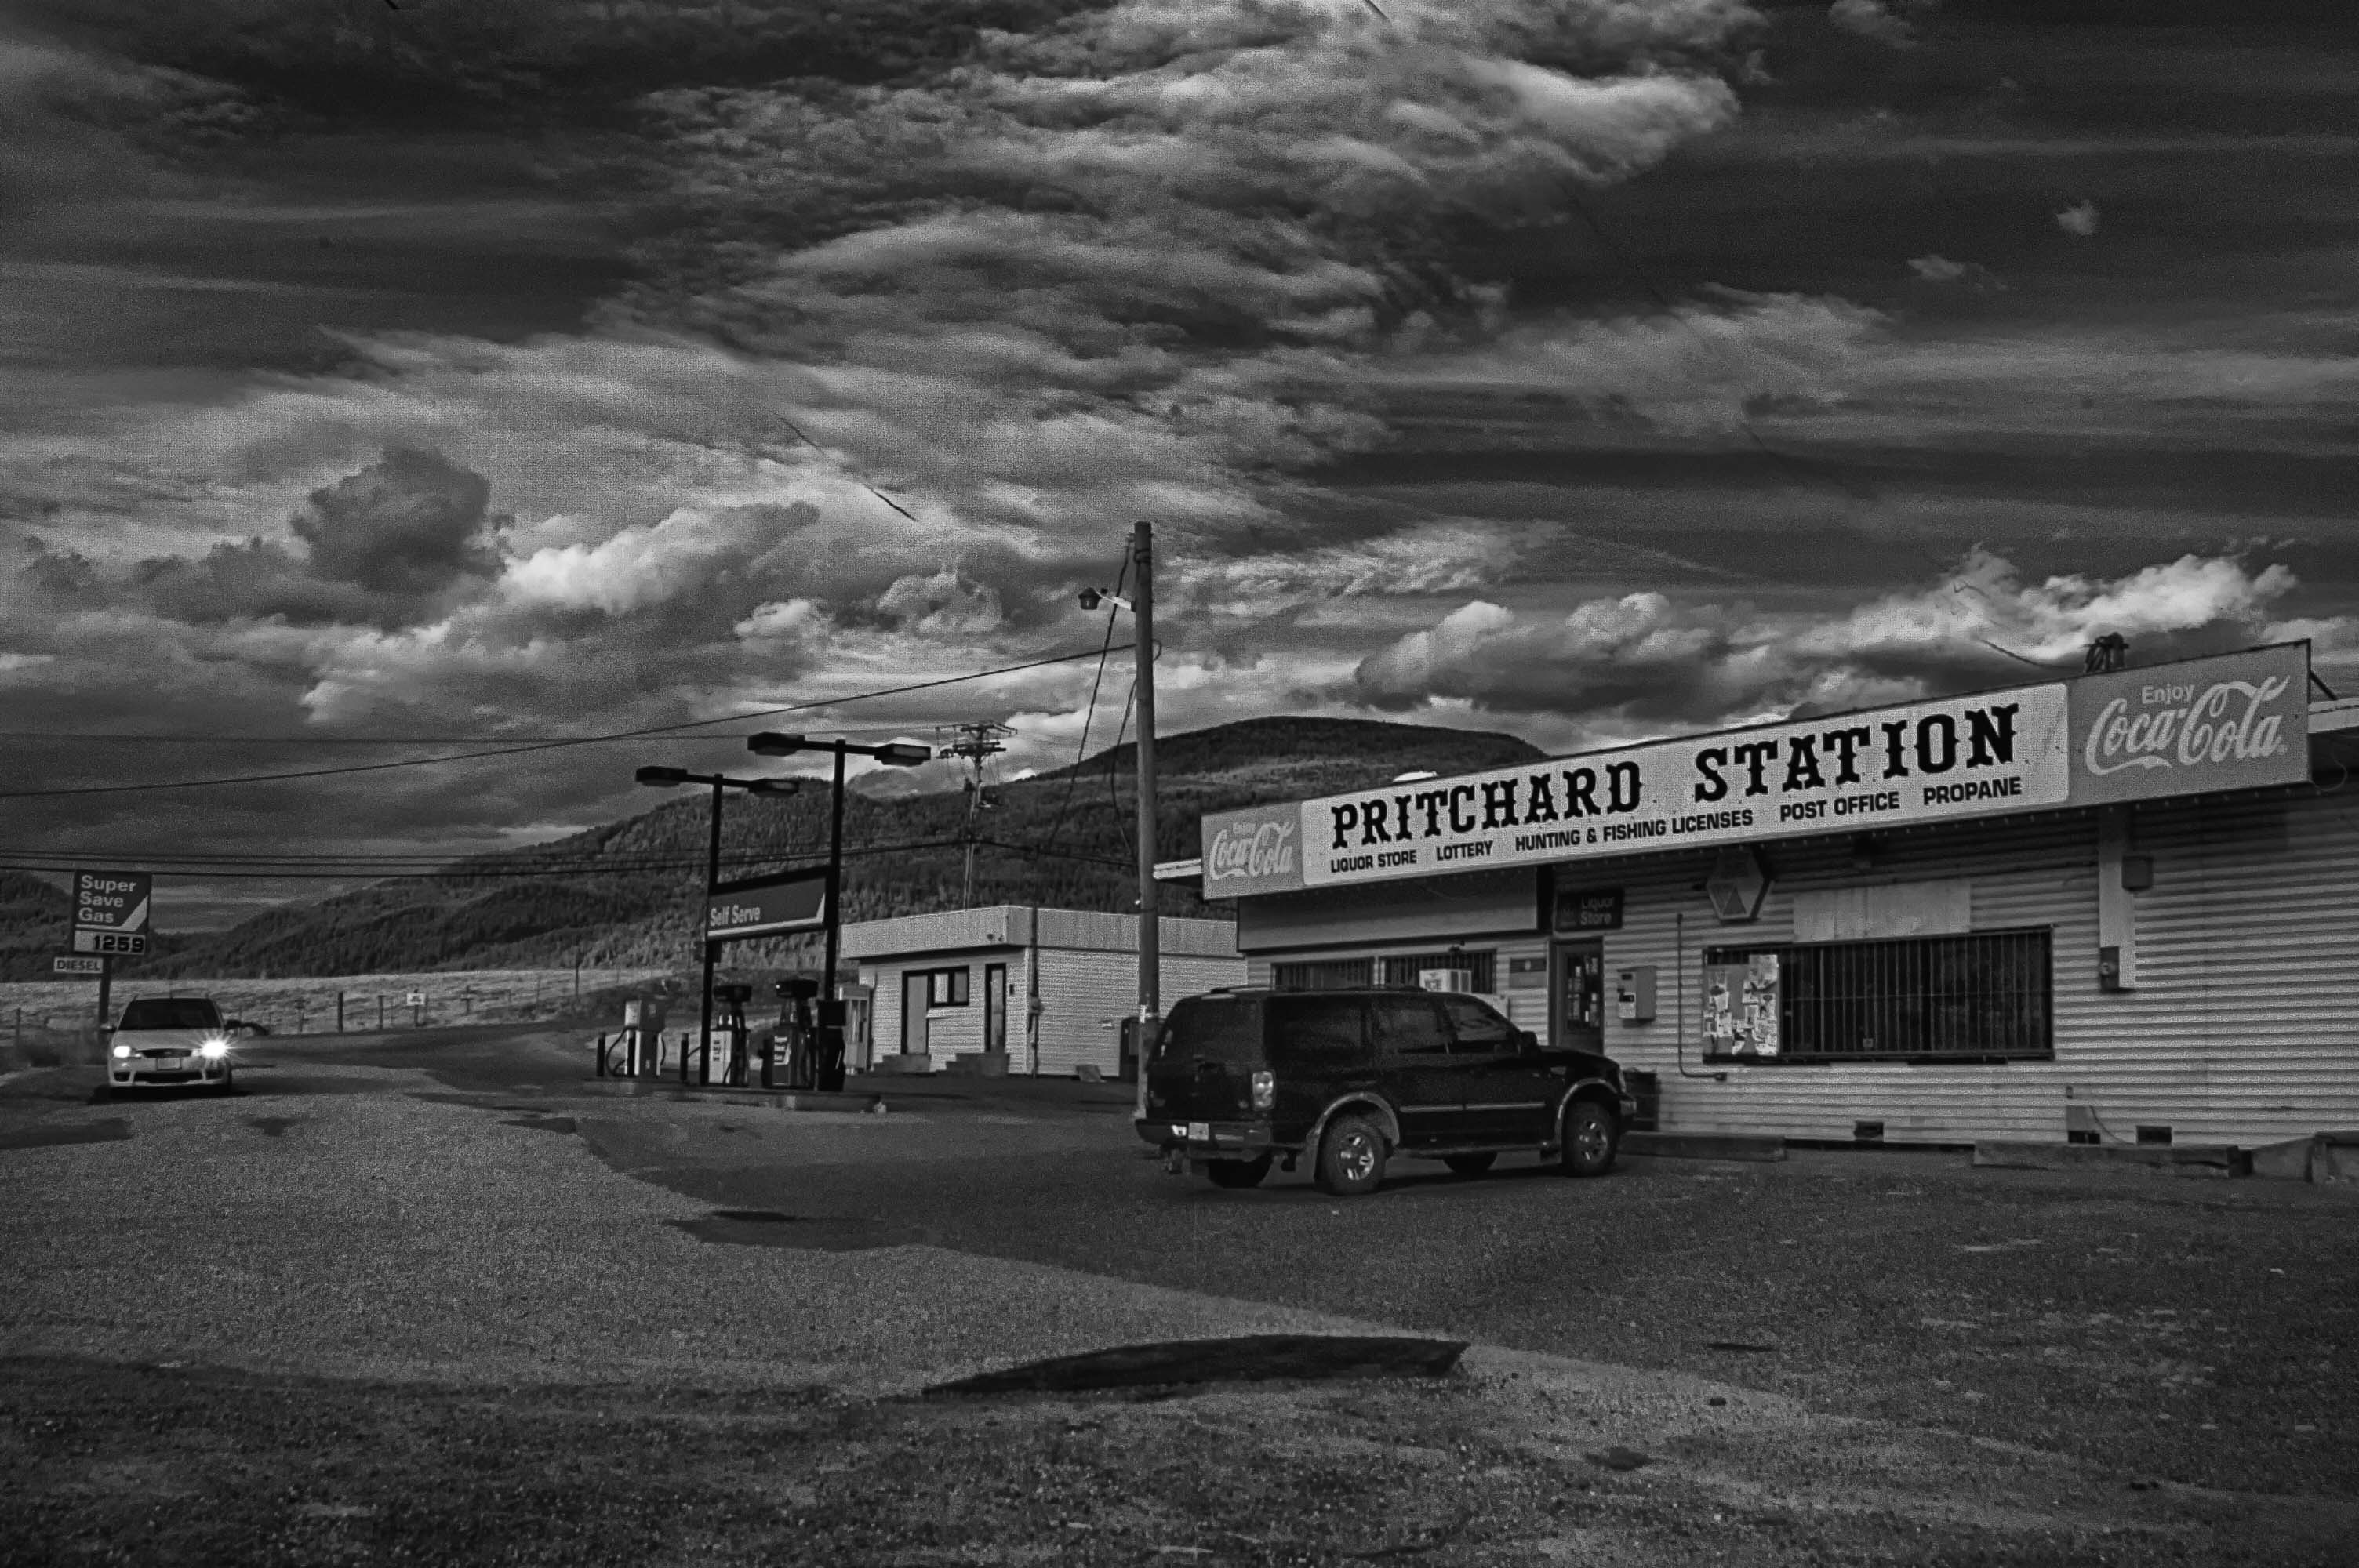
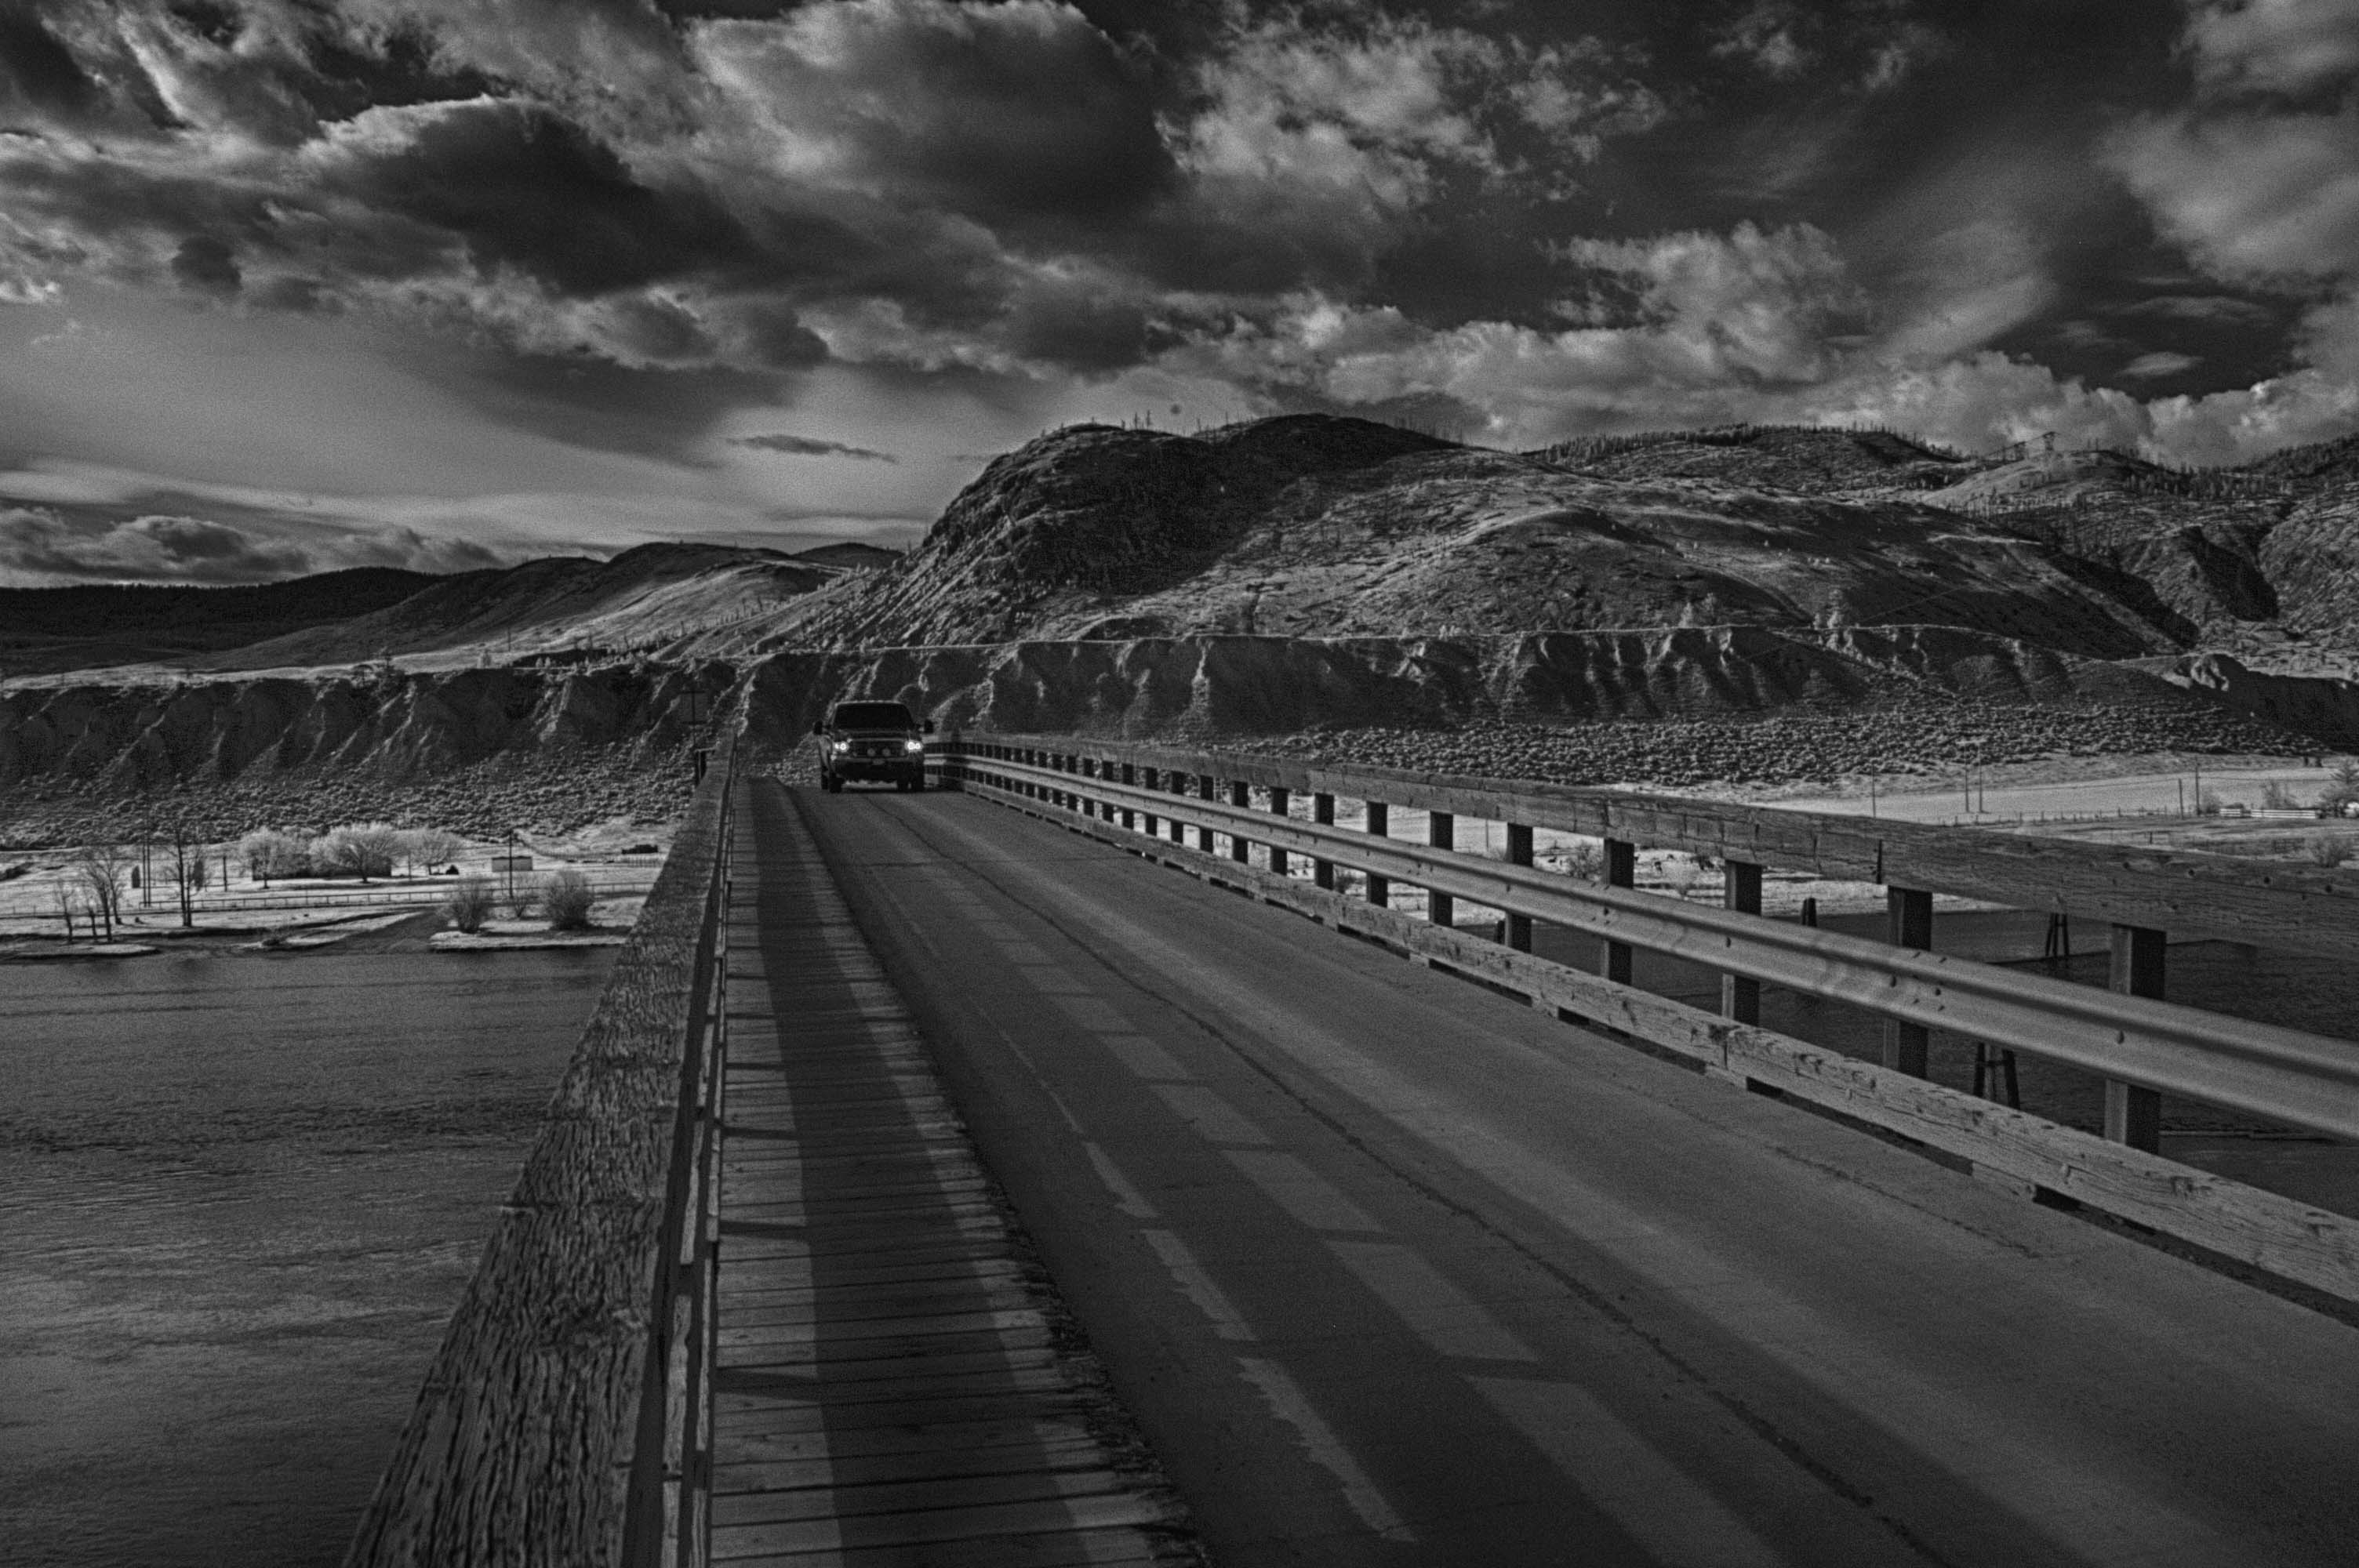
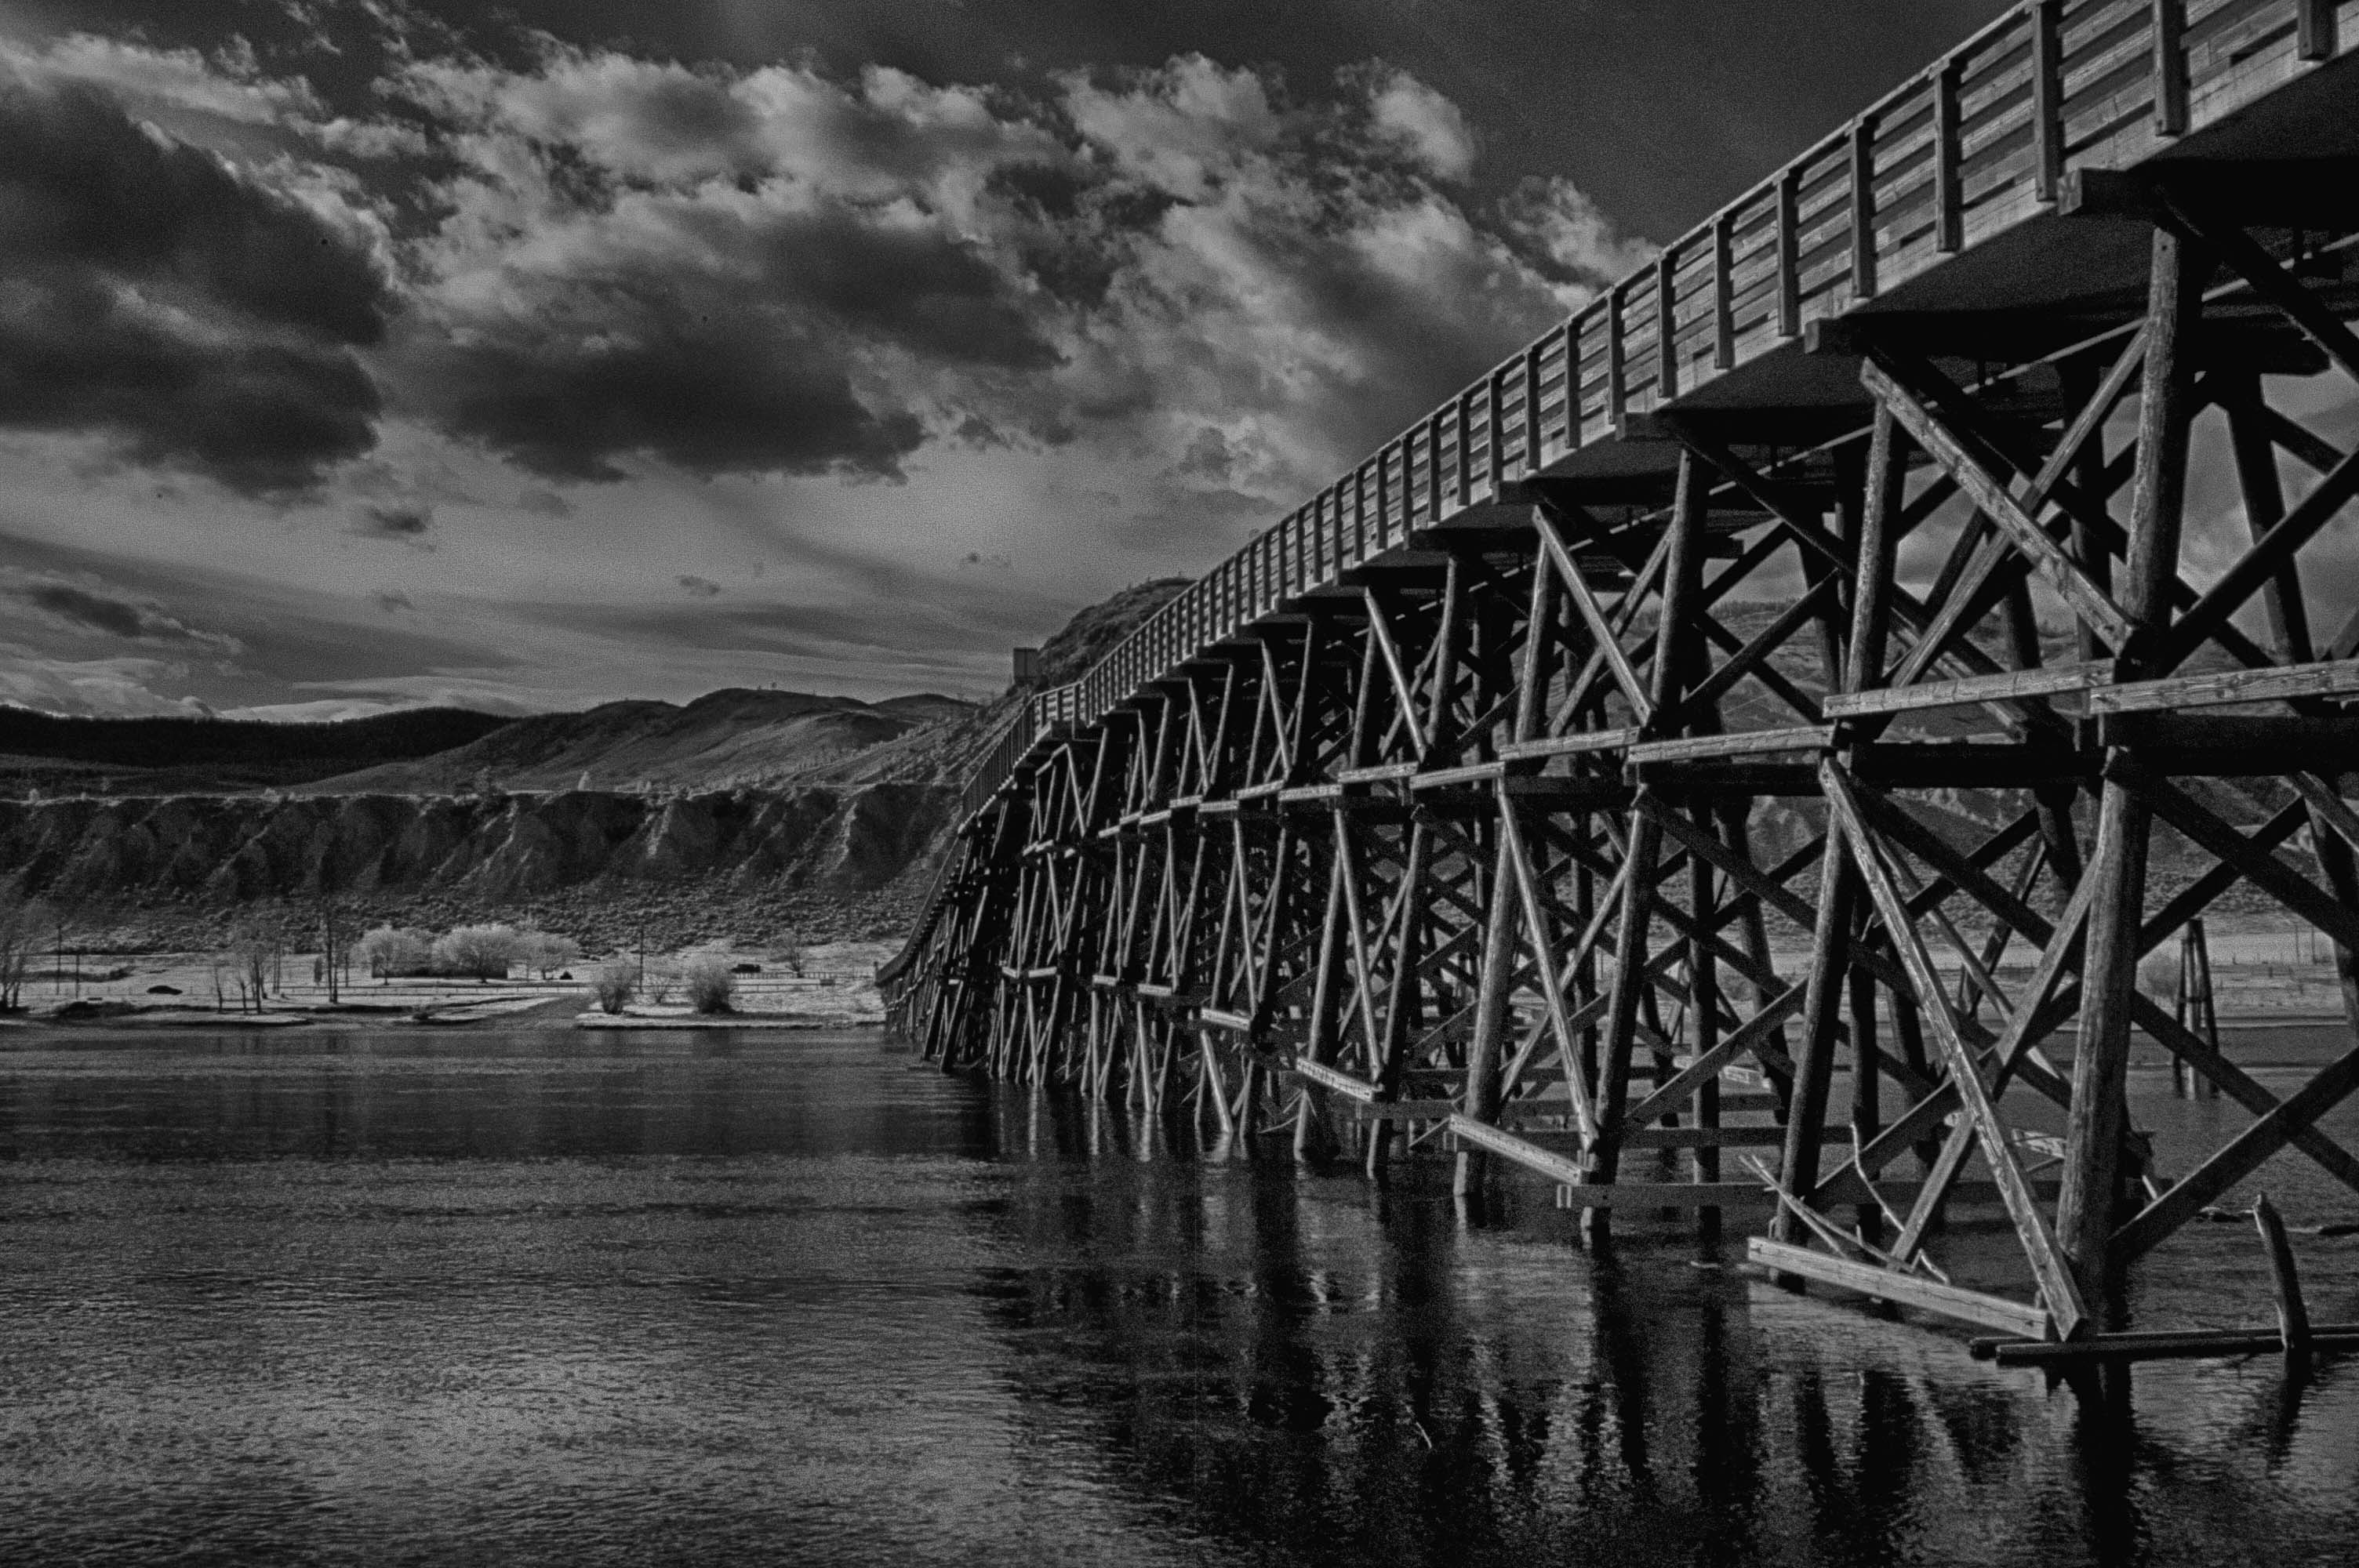
As my wife and I were rushing on a two hour drive to an appointment in Kelowna, British Columbia for which we couldn’t be late, we both lamented on the photographs we were missing – a heard of deer along the road, some coyotes hunting in an open field, eagles, a farmers field turned into a lake because of the spring run-off, and the sun glowing on white lakeside cliffs we were passing.

Linda reminded me of a long trip to Utah we made some years ago. Our route was to head east to Calgary, Alberta then turn south, follow the Missouri river as it snaked it’s way through canyons and gullies, and then head west to Salt Lake City.  We left later than we should and we were driving with as few stops as possible because I had promised my brother I would be at his house for a family event the next day. What a wonderfully scenic drive that was.  We kept realizing we should stop again and again, and we didn’t.  Linda said “We will never do that to ourselves again”, we need to leave lots of time, even days, to photograph subjects when we see them.

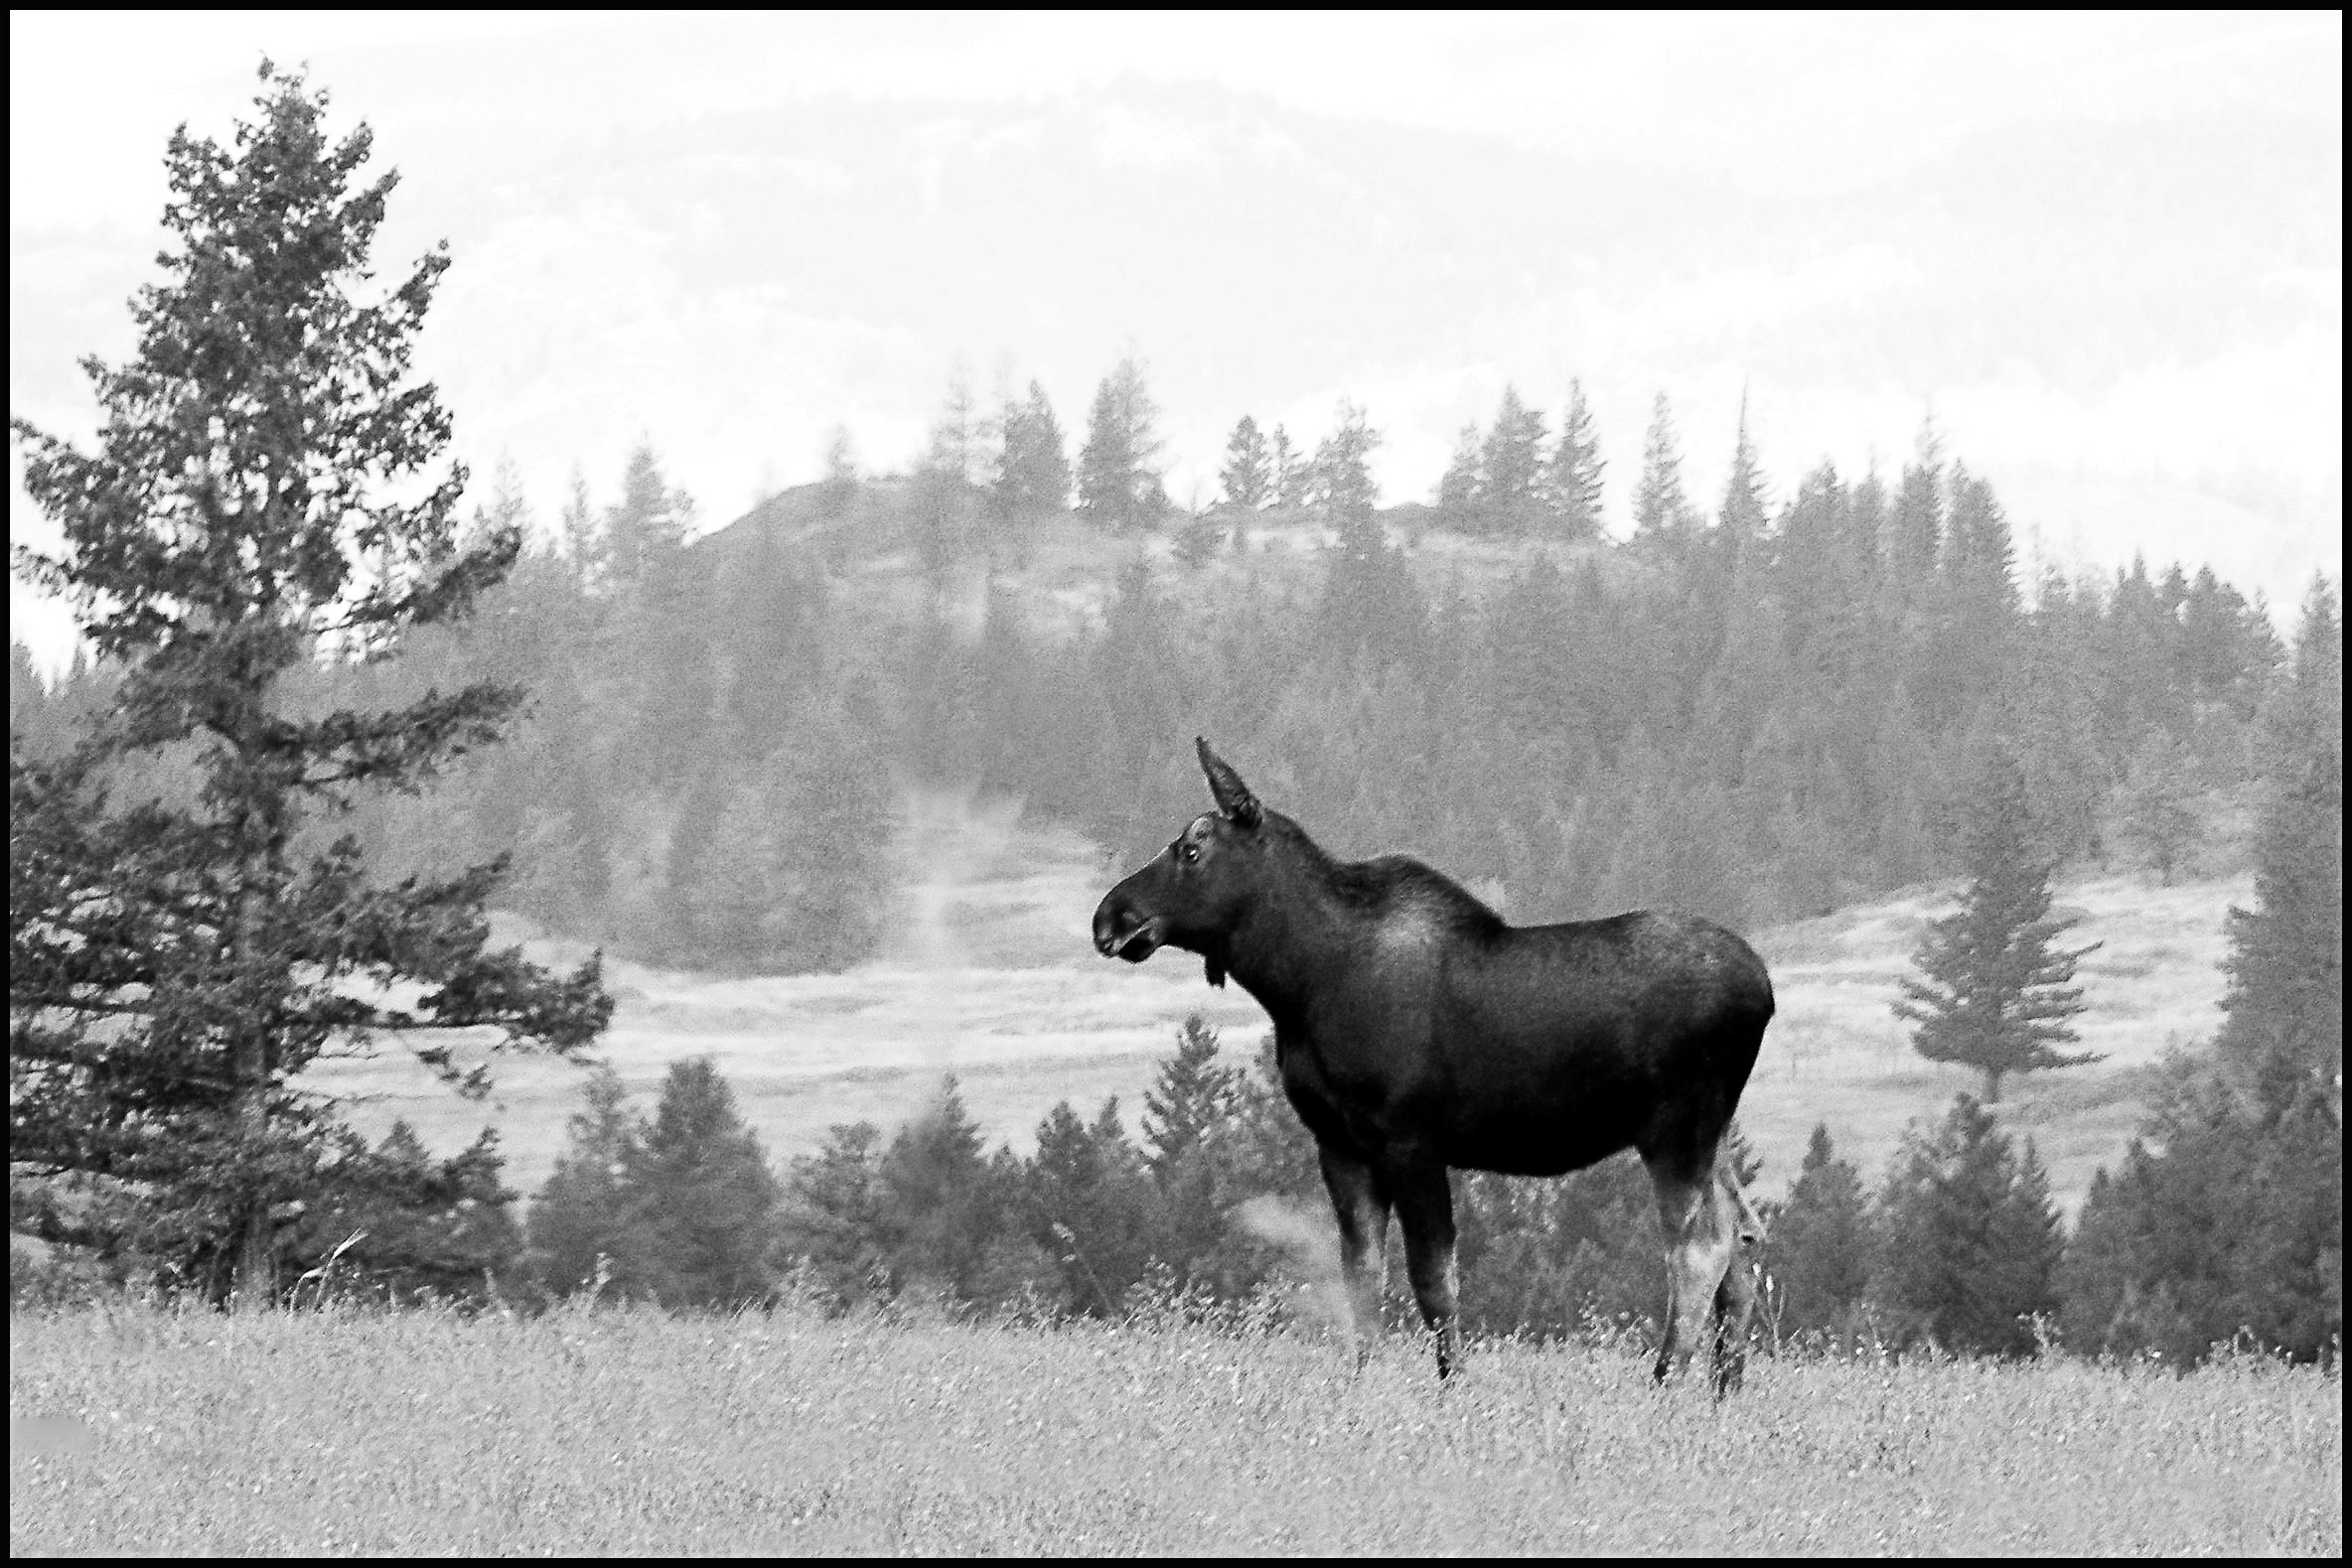
I think that many photographers have had the circumstance where the chance at a great photograph was missed because of the wrong lens or camera.  I remember a photograph of a moose in the hazy morning fog that I made with a little digicam because it was the only camera I had with me. At least I had a camera with me and I did get the shot, but the photo was lacking because of the limitations of the camera’s small sensor, the lack of a telephoto lens, and a tripod would have helped also. I spent time working on it in Photoshop, changing it to a black and white because I couldn’t correct the purple cast caused by the early morning’s low light on the camera’s tiny sensor.  I was able to make a passable 8×10 print, however, it lacked the quality I could have had by using a DSLR camera with a telephoto lens.

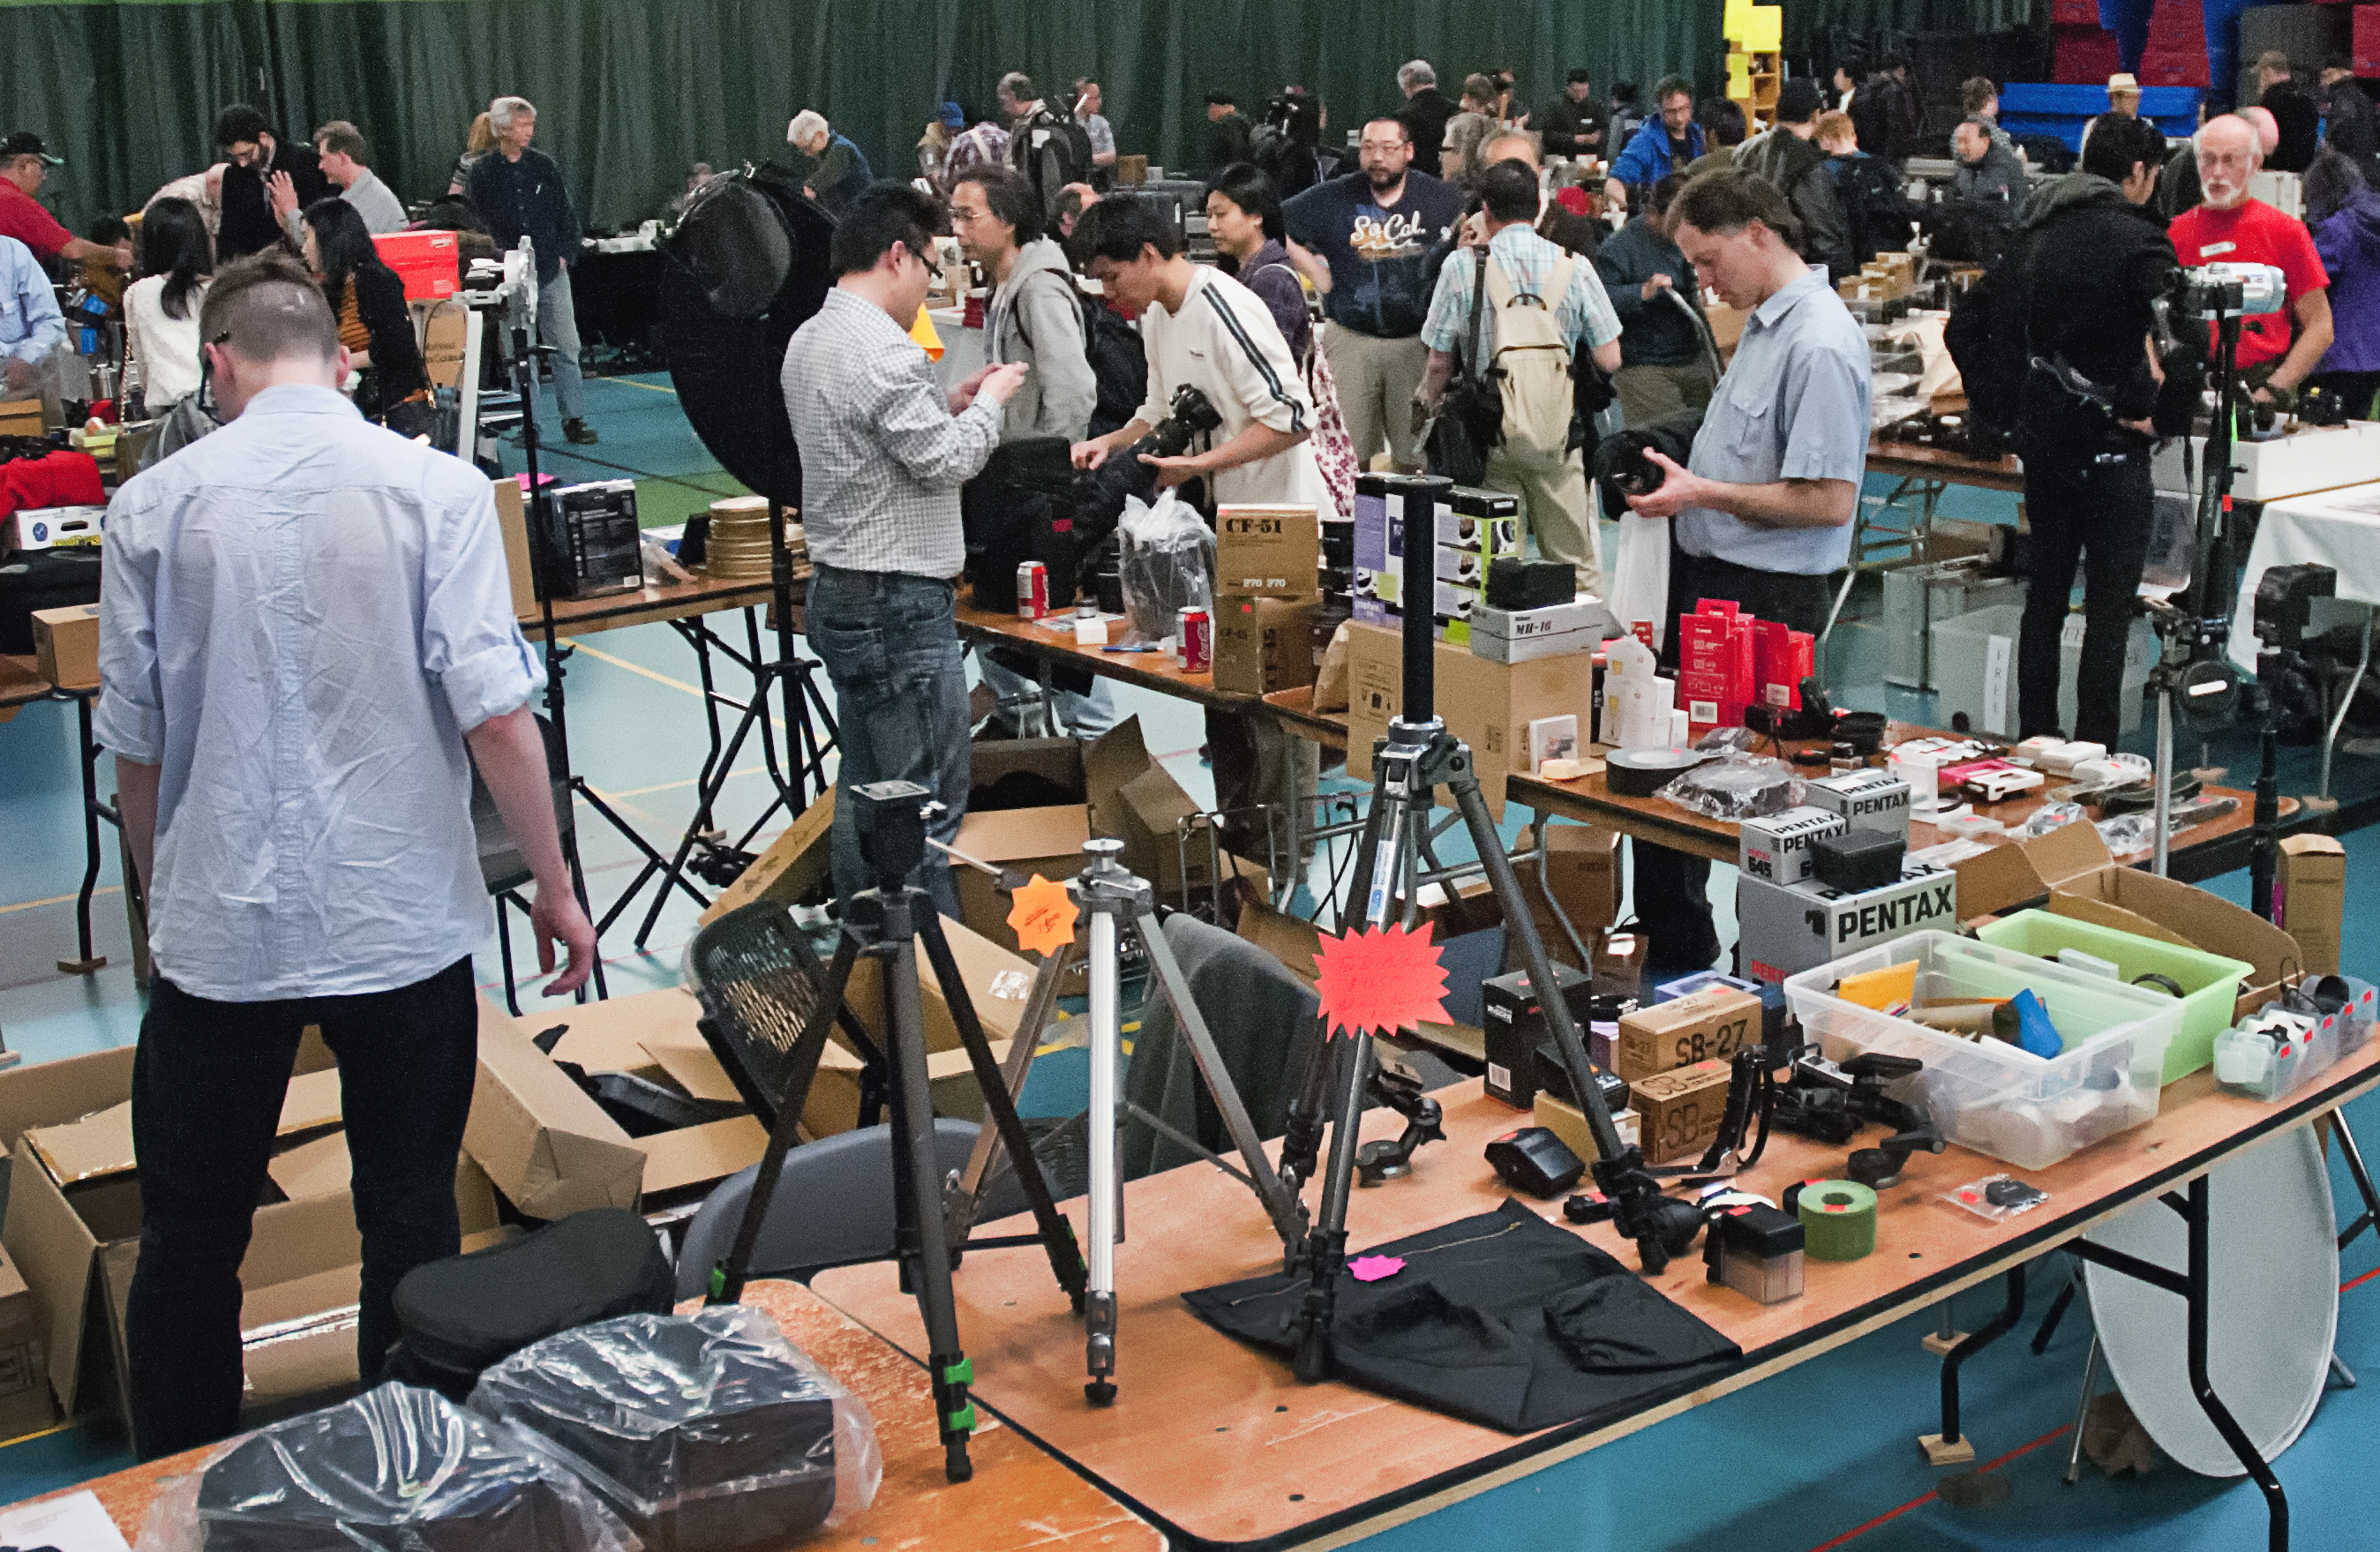
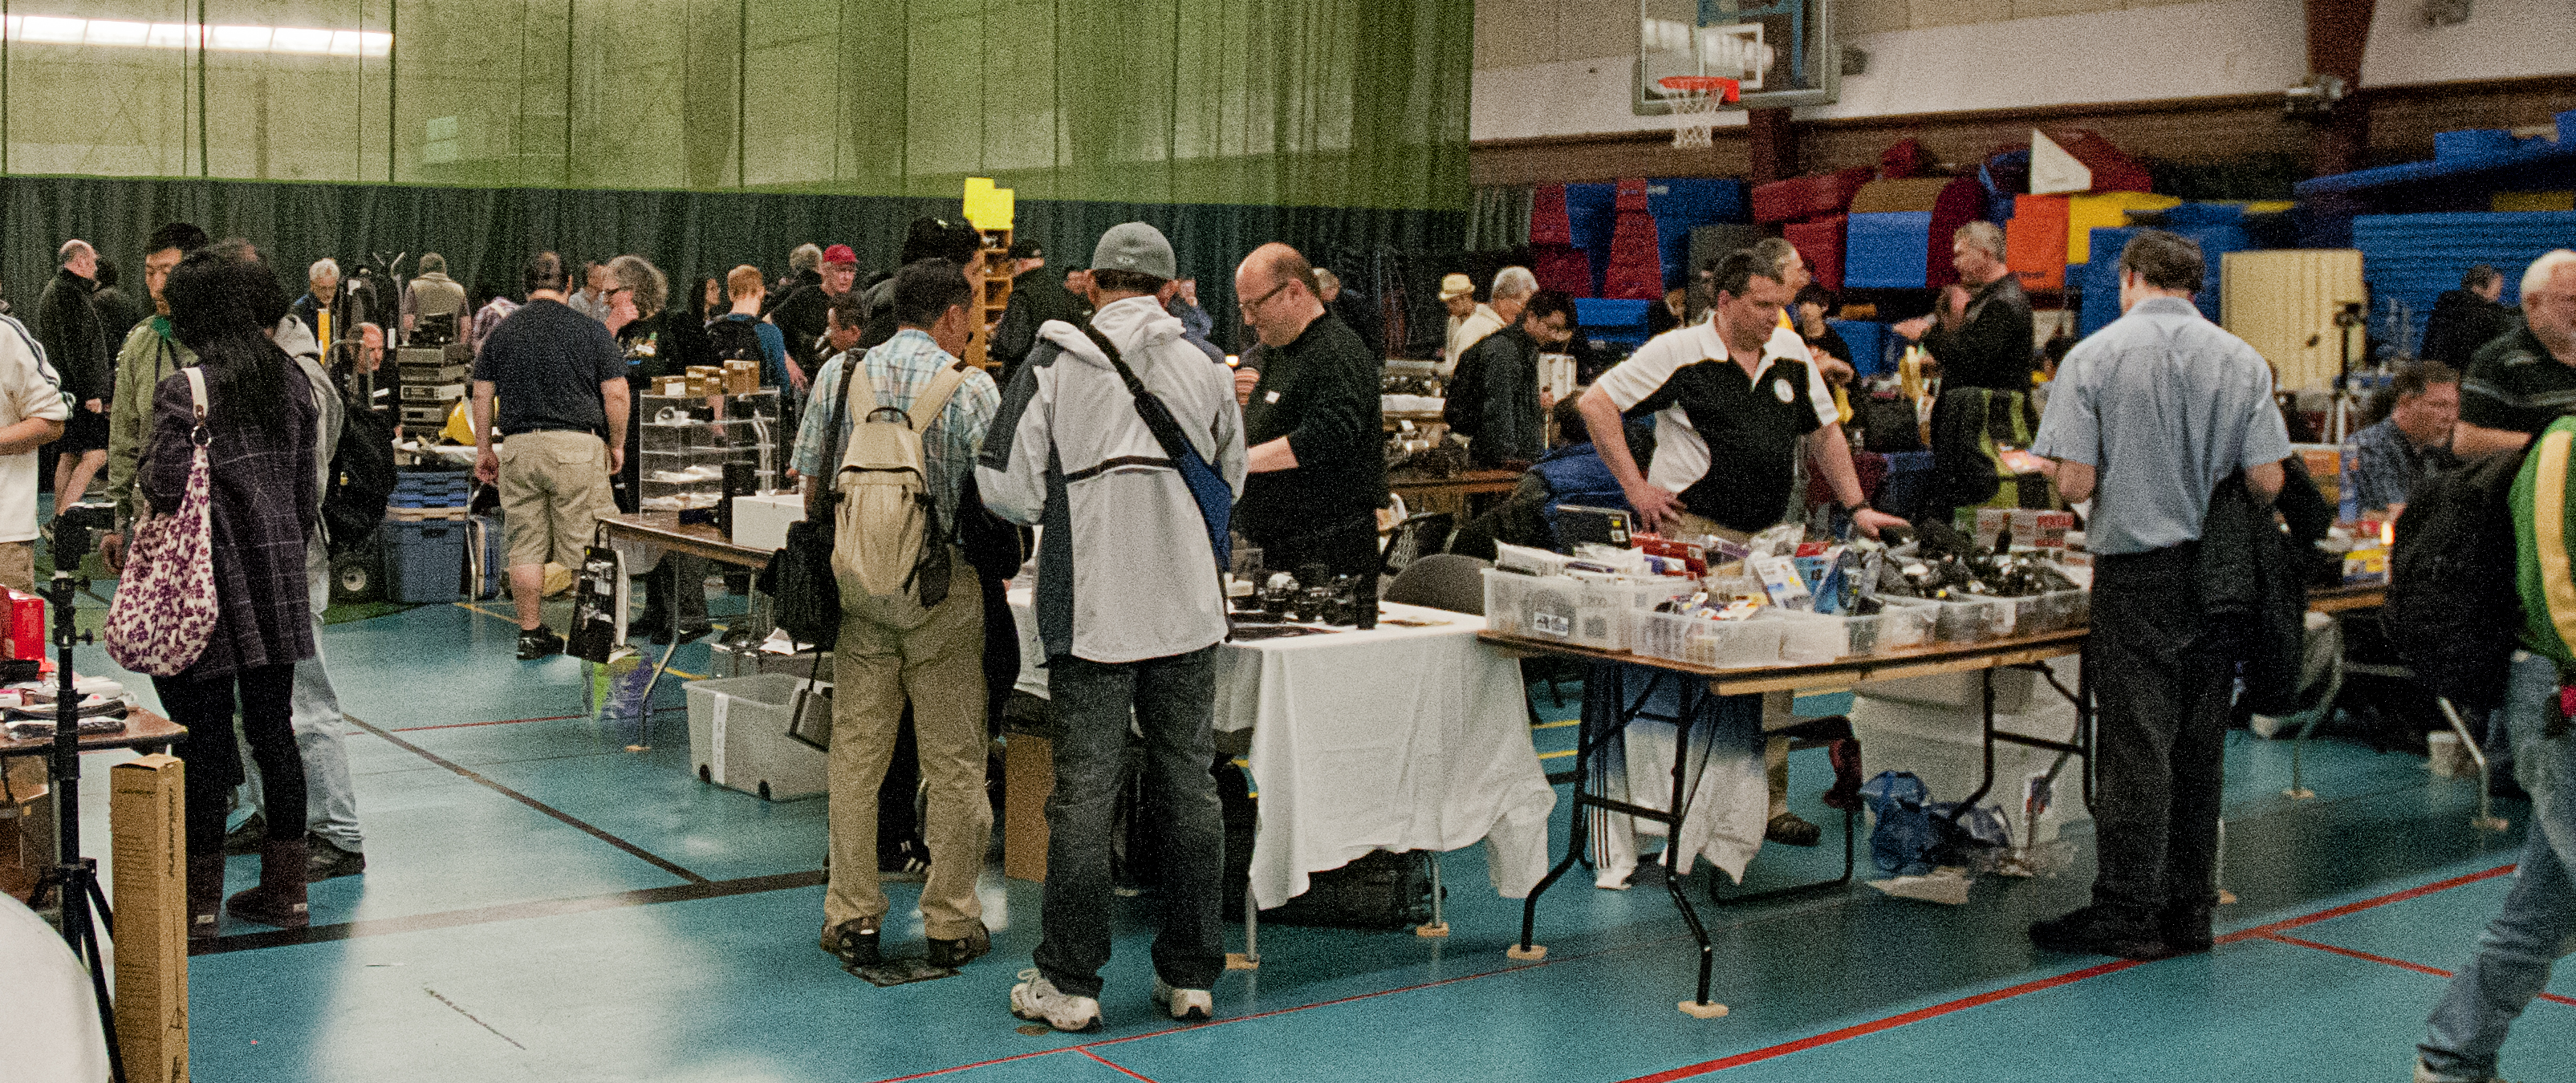
The Boy Scouts state, “Be prepared”, and I think that is a good idea for photographers. When film use was common, most serious photographers had more than one camera; one would be loaded with black and white film, the one with colour negative film, and sometimes one with colour slide film. Since digital imaging began many photographers now own only one camera, as colour, or black and white images can be manipulated in the computer.  I have my main camera, and can borrow my wife’s camera if I require a backup camera that uses the same lenses. My cameras get lots of use and I need to have a backup in case of equipment failure while I am working.

Sometimes I like the portability of a little digicam. I mainly use it for those subjects that are close to me and rarely use it for scenics. If I do, I prefer to use it with an old monopod that quietly languishes in the trunk of my car. It’s pretty beaten up, but it keeps my camera steady. Trying to take a scenic with arms extended and expecting a sharp image is asking too much of the technology.

These days it is easy to carry a camera around, and taking lots of pictures doesn’t cost anything except time, until one starts making prints.  As I began to write this article I thought about my father.  His chances of taking a good picture were pretty good because he was a prolific, dedicated photographer. As a contractor he worked all over the southwestern United States, and he usually had a beat-up, dirt-covered camera jammed under his pickup seat, or somewhere in his excavator, and he rarely missed an opportunity to photograph anything that interested him. The sheer volume of pictures he took outweighed the bad pictures. He mostly used slide film, and, as kids, my brothers and I looked forward to his evening slide shows. There were always lots of interesting (and sometimes unusual) photos and it was fun to view pictures that he hand-turned using our family’s old projector.

Like my father, photographers should be continually looking for photographic opportunities and always be prepared for them by having some kind of camera with us. And when we miss that photograph because the equipment we have is wrong, or because we aren’t using it correctly, we should at the very least learn from that so in the future we won’t have missed opportunities.

As always, I appreciate your comments. Thanks, John

My website is at www.enmanscamera.com

Use the Right Tool to Copy Old Photos

Harvey & Violet Walch 2  Wedding Day

Using the wrong tool usually leads to unacceptable results in one way or another, for example, when a butter knife is substituted for a screwdriver.  That was what came to mind when I was asked if I could make quality copies of old photographs that a family wanted to use for a book of genealogy they planned on publishing. They required image files with enough quality for good enlargements, and usable for the intended family book.

They began by trying to copy several images using home scanners that worked great for documents, but only produced pictures that lacked detail. I suspect many of those originals photos were a bit over or under exposed in the beginning.  Some family members tried copying the old photographs with their little digicams, however, that resulted in bright white reflection spots from the flash that obscured features in their family photos. They decided to shoot from the side hoping to reduce the glare, but only got unusable foreshortened pictures; by that I mean the closest frame edge was large and distorted and the far frame edge was small.

They told me that even though their photographs had a bit better detail the results were still unacceptable.  That is what I mean by using the wrong tool. A camera with an on-camera flash will produce glare on reflective surfaces, and angled shots don’t make for good documentation of flat artwork because things close to the camera lens appear larger and those farther away become smaller, and while inexpensive document scanners are great for documents they rarely produce quality reproductions of photographs.  The result was they were having trouble all around.

The right tool for them would have been a camera attached to off-camera flashes, with the flashes set off side from the painting at a 45-degree angle. When I copy photographs I use two umbrellas to diffuse the flash, but one could get reasonable results by placing some translucent material in front of, or bouncing, the light from the flashes off large white cards.  In any case, the light needs to softly and broadly, not sharply, expose the old photograph’s surface.  The wonder of digital technology is how quickly one can review the image and retake the photo if needed. I also recommend taking several shots at different apertures.  For that, the right tool is a camera that one is able set to manual exposure.

When photographing oil paintings or other uneven reflective surfaces I prefer working with slightly under exposed image files.  That way I can bring the detail up using PhotoShop without loosing the highlights.

If the next question is, “What kind of camera?” my answer will be that it depends on what is the desired outcome.  If it is for, as in this case, faded old photographic prints for reproduction in a book, the image file needs to be large and for that I prefer a DSLR (digital single lens reflex) camera, but for a small newspaper, or website image, a digicam that will accept an off-camera flash will do just fine.

If there isn’t access to an off-camera flash then wait for the opportunity to place the painting in “flat” daylight.  Today, as I write, I see out my window that it is cloudy and overcast, perfect for even, flat lighting. One could place the picture on any support that will allow tilting right, left, up, and down. Then as exposures are made and checked, the picture can be moved around until there is no reflection.

Two umbrellas allow me to balance the light. I lay the photographs flat and mount my camera on a copy stand that I have had for years, and use a small level to make sure the camera lens and the photographs are parallel. Then I make a test shot to check the exposure for reflection. My first and then finished image of one photo is posted ate the beginning of this article.

The final step for me is PhotoShop, which I use to color balance, then for cropping, contrast, and sharpening. I could purchase an expensive scanner, but I already have lots invested in a camera, and lenses that work perfectly well, and which I think may be faster to use.

I do appreciate your comments. Thanks, John

My website is at www.enmanscamera.com

Another Enjoyable Event – Vancouver Camera Swap Meet

Swap 4 Swap 3Swap 2Swap 1

Another one of my favorite events, and one I look forward to attending every year: The Vancouver Camera Show and Swap Meet was held this past weekend at the Cameron Recreation Centre in Coquitlam, British Columbia.

This long-running show, put on by the Western Canada Photographic Historic Association, and organized by Siggi and Brigitte Rohde, has now reached it’s 37th year and makes the claim of being the largest (and maybe the best) in Canada with well over 1,000 people walking through the doors.

Speaking of walking through the door, participants that did walk into the large photographic-equipment-packed hall joined an amazing diversity of other photographers all looking for deals and eager to exchange information and ideas. In my opinion, there isn’t better way of spending a spring day than being surrounded by a vast array of cameras and photography equipment, all the while getting a chance to talk with other photographers.

My wife and I always make the three-hour drive from Kamloops the day before and lodge overnight so I am fresh for the early 7:30AM setup.  I enjoy the early morning scene and have come to expect an exciting buzz from other vendors who are busy setting up, talking, and buying as one sees lots of early deals before the show even begins. I walked to my table greeting people I have known for years, and organize my table quickly so I’d be ready for the swap meet’s early bird shoppers who pay a premium to shop exclusively starting at 9am.  This year there was a long line of early birds waiting at the door. That line extended all the way down the hall and stretched all the way out into the parking lot.

By the 10am regular admission I was almost out of breath from non-stop showing, demonstrating, explaining, and, of course, bargaining with photographers who were checking out what I had on my table.

Every year I go wondering what the latest trends are, or what is popular with photographers I will meet there. Last year I noted that I saw a change in the attendees in that long time sellers and attendees were absent and replaced by a much younger crowd. I could still repeat some of that this year, but my observation about the younger crowd was far from the truth this year. I’ll use the word “diversity” to describe the mixed bag of photographer types at this year’s Camera Show and Swap Meet. They were of every age, from folks using walkers for assistance, to young people accompanied by their patient parents. That included all kinds of lifestyles and interests, and specialties in photography, film, digital, past and present technology.  They all were excited, searching for some sweet deals that I am certain they got.

In my opinion, other than actually pointing a camera at some inspiring subject to make a picture, an occasion like the Vancouver Swap is the quintessential place of happiness to meet and exchange information with other photographers, and of course look at and check out the many kinds of photographic equipment that would not be so easily available anywhere else.  An interesting example would be my old friend, Hai from Calgary, who said he has become interested in taking 3D photographs and I viewed some of his 3D photos taken in the Vancouver area since he arrived.  I knew of the 3D technology, however, I had not had the opportunity to check out any of the new cameras, until his.

Overall, I had a great time talking with other photographers; the conversations were many and constantly changed depending on who joined me at my table. My day of selling was a success, as it was for most of the dealers I talked to at the end of the day.  And I even had some time to purchase a few things for myself, which is always nice.

As always, I appreciate any comments.

My website is at www.enmanscamera.com

TTL Flash Photography in my Wife’s Garden

Tulip 1 Blue Muscari Arbis Sempervivum Pennesetum grass - fountain grass

This is beginning to be a busy spring. I expect that isn’t news to those in my area that have spent all day doing yard work the past few days. But for many photographers thoughts kept wandering to, “That could make a good picture.”

I really wanted to do some photography in my wife’s garden. The nights are still cold, but the days have been almost hot, and with that heat the first of her flowers are beginning to bloom. My goal is always to photograph what happens in the garden with the changing seasons.

There is always something in the garden no matter the weather, be it snow, rain, or like today, high clouds. The slight overcast day was perfect for my subjects. Bright sunny days increase the contrast of scenes, making it hard to capture details in the extremes and I wanted to retain what details I could. The diffused daylight reduced the number of f/stops from black to white.

My setup is a 200mm macro lens and depending on my mood and the light, either a ring-flash, a reflector, or as I used this afternoon, a wireless, off-camera flash.  Outdoor portraits, whether of people or flowers, in my opinion, aren’t that interesting when one only relies on illumination from the sun. Flash, on or off-camera, or even a reflector, adds dimension and depth that makes for a much better image.

I mounted my flash on a small 2-foot stand and carried a tiny six-inch tripod if I needed the light to be lower to the ground, and I this time I didn’t use a tripod because the few flowers were close to the ground and I prefer shooting very low level. That means almost every shot is made while lying on the ground.

By the time I could get out to the garden the sun was low and, sometimes, a heavy overcast. Perfect light. All I had to do was put the flash to one side and adjust my shutterspeed to decrease the bright ambient light.  Today’s TTL (through the lens) flash is amazing.  Previous generations recall when the flash/camera sync speed was limiting and we could only use a flash at 1/60th of a second! How did one survive?  Today I moved my shutter between 200th of a second and 8000th of a second. That gave me lots of control over the ambient light and easily allowed me to move my aperture to increase or decrease depth of field. My advice is check your camera’s manual, read about, and set the camera to hi-speed flash sync, if available.

I’ll include a brief explanation of TTL flash. When the shutter is tripped, the light from the flash fires off and hits the subject. Then that light from the flash bounces back to the camera, and a sensor reads it as it builds up exposure. The in-camera computer determines when the light has massed enough light for the correct exposure and turns off the flash.

The photographer controls the flash rather than the flash controlling our photography. With TTL technology the camera’s computer provides the correct exposure regardless of the aperture, or flash-to-subject distance.  TTL technology puts the control of depth-of-field back into the hands of the photographer.

Most of the time I kept my flash on TTL, increasing or decreasing the power depending on how far I positioned the flash from a flower, and only selected manual flash as I began loosing the light.

Books on garden photography recommend morning when everything is fresh, but I didn’t get a chance till late in the afternoon, as I was occupied building a temporary yard for six new chicks. We had an early morning marauder a few months ago, probably a bobcat, reducing my laying hens to two. I now have reinforced the chicken yard and think everybody’s safe now. I’ll give the garden another couple week’s growth and try for that fresh morning (and hopefully some overcast) light.

I’ll repeat what I wrote about garden photography last February, “Just about anytime is good for a dedicated photographer to make photographs. My advice is to be creative, have fun, and don’t worry about failures. Open them up on the computer, learn something from them, then quickly delete.  Of course, some tweaking with PhotoShop always helps and, for those photographers that are like me trying for something different, anytime and any conditions will be just fine.”

I always appreciate your comments. Thanks, John

My website is at www.enmanscamera.com

Wandering my Neighborhood with Infrared

Pritchard store infrared  Crossing infrared Riverside infrared Bridge infrared Wolf ranch infrared Tree & fence infrared

Spring is here with cool nights and warm days. The snow has finally disappeared in my neighborhood, except on the mountaintops that surround the river valley in which I live, and everything is starting to get green.

I had decided this should be the week to wander the roads near my home. I selected my camera that I had converted to infrared some years ago, attached a 24-120mm lens, and headed out.  Over the past 37 years I have photographed everything in my nearby landscape again and again, and I won’t try to guess at the number of different cameras, films, and film formats and, of course digital cameras, I have used.

My goal this time (I always like to have some type of goal or plan), was to wait for a cloudy day and make use of the low, dramatic, and directional light at day’s end. I wanted to use my infrared camera as I have many times in the past.

Using infrared is always fun. The resulting images are always different and interesting. Before the days when I had invested in an infrared camera conversion, I had used Kodak infrared film. There wasn’t an exact ISO rating or even very consistent settings for that film. One would make test exposures for the filter density one used and the developing times. Good results would finally be obtained, but always after exposing several rolls of that expensive infrared film.

Nowadays my camera no longer requires a specialized infrared filter, and I don’t have to spend time in a lightless room developing the film. Yes, there was a cost to having my DSLR camera modified so that the image sensor is only sensitive to infrared light, but it has since paid back generously, because it is well worth the expense to be able to create unique images.

Most experts say infrared radiation peaks around noon, however, in my experience morning or evening is better, and the accompanying long shadows makes great pictures in infrared. So I waited a bit after 5pm before stepping out.

I went along the road searching out features I knew well, and that I thought might be perfect in the late afternoon light. My main interest was the sky. I wanted the very dark, hazy skies one obtains with infrared that are so dramatic, compared to those with visible light. As I stood alongside the road I thought about how the pictures I was making would be nice as colour images, but infrared and the black and white conversion I intended to apply would create more impressive, or as one writer called them, “otherworldly” scenes.

All my images from that day received some post-production using PhotoShop and Niksoftware. I shoot RAW so the original files from my camera are red and white. I convert each photograph to black and white, increase the contrast, and sharpen and strengthen the highlights and shadows. The final vision isn’t supposed to be a pretty, scenic document as much as it is my personal artistic vision.

It is possible for photographers who want “infrared-like” pictures to manipulate their normal captures using Photoshop, or any of several other programs that emulate the effects of infrared. However, those photographers like me that are interested in something different can find an older DSLR and send it out to be modified. Since I had my camera modified, there are several companies that have appeared, like www.lifepixel.com. These folks’ webpage begins with the question, “Are you tired of shooting the same stuff everyone else is shooting?”   So I suggest, if you would like to do something completely different, try infrared like me.

I look forward to your comments, John

My website is at www.enmanscamera.com

I like Photographing Buildings

Red wall & Stairway1 blue door1 parking1Northern Junk co.  Captain's ride  porch couch1Brick doorway 1 the yellow door1 Waiting

Strolling along sidewalks with my camera, in cities, large or small, is exhilarating. And whether the architecture is low and flat, or skyscraping, or old bricked, or shiny metal and glass, I always find something different to photograph.  Usually, I approach urban areas with a plan and I don’t just wander about hoping to find something interesting. That’s not my way.

Sometimes I am after the cityscape and watch for shadows, highlights and interesting sky. On other occasions, my plan might be to select a particular area and visually capture the story of how structures and features interact. I might be more interested in the colours, and spend my time using the colour evidence to make a story.

In October 2012, I wrote about images I made while walking along the waterfront in Victoria, and, in February 2013, I showed photographs and discussed the small South Thompson River town of Chase, in the BC interior.  In each instance I approached the municipalities with different photographic goals. Goals that were not so much defining visuals as they were photographic thoughts about the architecture in each place.

Some years ago I spend three days wandering the side streets of Anacortes, a town along the coast of Washington. Although I enjoyed both the downtown and harbor districts of the small American town, what struck me most were those places where people lived. The inhabitants appeared to go out of their way to differentiate each dwelling and my plan came about to document the entrances of the places where people lived.

In that instance and whenever I decide to work my way through, or around, some city I always take some predetermined course of action. I remember a late afternoon in Port Townsend, WA and on that trip I spent my time photographing the unique turn of the century buildings along the narrow, main street using an infrared modified camera. I wasn’t so much documenting the well-known seaport town, as was trying to create a distinct impression of the ornate Victorian architecture.

I once read a quote by an anonymous writer that said, “The difference between the recorder photographer… and the artist photographer… is that the artist will, by experience and learning… force the camera to paint the imagination…the emotion… the concept and the intent… rather than faithfully and truthfully reproduce an unattractive and unflattering record.”

I must admit that my intent isn’t usually to document the cities I visit, as much as it is to create a personal vision of the buildings I photograph. That vision, although uniquely mine, rarely strays much from reality other than when I use my infrared camera. I haven’t entered the artistic world of HDR (high dynamic range) image making yet. HDR is the process of merging multiple exposures into one image.  I expect that it is only laziness on my part, because I am intrigued by how well HDR post-processing with software like Photomatix, http://www.hdrsoft.com lends itself to the creative architectural work. I anticipate that I will tackle that process at some time in the future when I make plans to photograph my way along another city’s streets.

I will mention that I rarely use lenses that are wide enough to exaggerate the foreground or make those dramatic vistas. My camera isn’t a cropped sensor so an 18mm lens would be, effectively, only a 28mm. That allows me to include lots of visual details and limits the distortion between near and far objects.

Summertime is quickly approaching and with that my wife and I expect to do some driving around British Columbia and possibly stray into Washington State, and those trips will always include architectural photography opportunities in the towns and cities we pass through, or stop and visit.

As always, I appreciate your comments and please let me know you were here.

Thanks, John

My website is at www.enmanscamera.com

Basics of a Good Story

Canon beach 1 Canon beach 2      Canon beach 3

A discussion with friends about doing photo-essays reminded me of an article I wrote a few years ago entitled, “Telling a Story”. My thoughts on that, and visual story telling, are worth revisiting this week.

When I was in high school I gave an oral report in class about a story I was supposed to have read called the “Sentinel”. I hadn’t actually read that story, but really, I was taking on a dare by some of my friends that I could successfully get away with making up a story in the minutes before class started, and give a report that would have our teacher thinking I actually read it.

My friends and I waited outside the classroom door till just before the room change school bell rang.  One guy suggested the title of  “The Sentinel,” and being young guys they also thought it should be about a deer.

Even at that young age I knew that the basics of a good story was to make it interesting enough to engage the audience, that it needed an original perspective, and I knew I needed to create a mood right away. The story I made up as I talked was about a big deer that lived on a mountaintop, and I also got a good grade.

That was a long time ago. a story is similar to putting together a series of photographs. Whether one is consciously building a photo essay or, as an example, photographing a wedding; the process, start to finish is the same.

Photographs of people can visually stand alone, or might need several photographs to tell a complete story. As I perused a wedding I recently photographed, I looked for those that worked the best to explain a particular moment. I like images that show people interacting and I thought how weddings are perfect venues for creating interest, capturing moods, and experimenting with visual perspective.

Creating a photograph that is strong enough to stand on it’s own goes beyond just being a good visual image because it is filled with nice colours, or pretty people. It needs to give the viewers information that they can make into a story. I think a good photograph is one that makes us have a connection with, or think about, the subject. And just as in any good story one must engage the audience, have an interesting perspective, and, of course, create a mood.

At any event the photographer’s first goal is to successfully document everything that happens. The second is to compile enough images to be a narrative of the occasion. Third, and maybe most importantly, to create photographs that by themselves tell individual stories of those that attended, or are the main focus of the function.

Telling a story with photography, then, becomes more than putting the high-tech camera on program mode and randomly aiming around. It involves light, not just metering correctly, but adding light when it is needed so the main subjects are highlighted. Then selective focus is taken into consideration to isolate the subject, or include the subject of the photograph with other features, or the background; and then, positioning oneself so as to be at the right place at the right time.

Adding light might be from a reflector, or from an on-camera flash; selective focus is about just understanding and applying depth-of-field; and being at the right place at the right time takes some forethought, and the willingness to place oneself in front of the action. Sometimes, that means asking people to move out of the way, or (I know it may seem rude) stepping in front of others.

Successful storytellers are after fleeting moments that say something to the viewer, and sometimes depend on luck for that perfect camera angle. As I wrote, the story might be a succession of photographs or it might be that one picture, it’s really not that much different than the basics of a well-written story. Make it interesting enough to engage the audience, try for an interesting perspective, and create, or photographically capture, a mood.

I always appreciate comments, John

My website is at www.enmanscamera.com

Photographing a yard of old cars

Red hood 1Sentinal 1 Gunshot Fading away Gunshotsnowed in 1

This week my wife and I decided we were long overdue a visit to friends Mike and Leslie. Like us, they have a rural home tucked up and near a forest not far from Kamloops.  It’s always fun sitting around the kitchen table in their woodstove warmed home talking and catching up on each other’s lives. Mike makes his living as a rock scaler and blasting contractor helping to keep British Columbia roads clear of impending rock slides and Leslie is one of those artistic people that will amaze you whether singing, drawing or aiming a camera. Leslie also operates a good size organic farm that gives them most of the food they eat.

On this visit I hoped the snow was melted enough that I could wander around in Mike’s car yard. Mike is a collector of old cars of all years and models and has created a wonderful metalscape that becomes a photographer’s paradise if you like cars like I do.  Rust, paint, dents on cars of all years and parts of cars are everywhere.  I could spend the day there just making pictures.  Each time I get the chance to wander in Mike’s car yard I discover something different.

We arrived mid afternoon and after a good while of yawing and discussing our lives I realized the sun was getting low and beginning to create shadows on the cars. Perfect for prowling the diverse collection of car bodies looking for sculptural details. I remember the first time Mike showed me his cars. I only had a little Olympus point and shoot with me that day, nevertheless, I almost filled the camera’s small memory card, and since then I have been back many times with better cameras.

On this day I mounted my trusty 18-200mm lens on my camera that was set to manual mode as usual. The slightly wide to slightly long lens was perfect for those shots of hard-to-get-to cars. I knew I’d be climbing around, so I set an ISO of 200 in the bright clear afternoon light that also gave me lots of depth of field when I wanted and could be I easily reduced when I softened focus in front of and behind some features.

Some cars have lost fenders, hoods, and windows as they are dismantled and sold. Others seem to be loosing a battle with the elements and there are always newer cars added, so the landscape changes each time I roam the yard.

This time I began with shots that showed car after car resting in the melting snow. Then I started tightening my view, eventually working the light reflecting of the changing colours of the metal, and narrowed my visual search to small features.

I could have spent several hours, but reluctantly wove my way out remembering I was ignoring my hosts. Yes, they are used to me being preoccupied when I have a camera, but all the same I shouldn’t be neglecting them.  Still, I had to make one more stop when I saw their scrappy old tomcat resting on an upturned car seat in front of a 1969 Camaro super sport. I was happy enough just to get a photo of that classic car, but that cat was the frosting on the cake for me.

As I sat writing I thought about how I enjoyed the day that began with a drive along a winding country road, then a long visit with good friends, and finally a really good time making pictures. Can it get much better than that?

I always enjoy your comments. Thanks, John

www.enmanscamera.com

An Enjoyable Group Photography Process

Demetra 1a  Monica 7a

When I write my blog each week,  my goal is to educate, to be entertaining, and to have a new topic each week. My topics are usually the result of something I have been involved in (like this week’s post), or my thoughts on discussions I have had with other photographers. Sometimes, my wife refers to my discussions as rants about whatever issue has hit my “hot” button the previous week. It could be about joining other photographers to do scenics or wildlife photography, however, this week I am going to discuss a great time I had on the previous weekend.

Last Sunday I got together with friends Demetra, Monica, Dave, and Nancy in a photographic modeling session that was different than what I had been used to.  Demetra and Monica worked in front of the camera as models, while Dave, Nancy, and I were behind the cameras.

Monica 10a Demetra 3a

I usually write about photographers, but this time I wanted to include the models who were just as much a part of a fun and interesting photography process as the photographers. I don’t know what it would be like to put on a play that included input from actors, directors, producers, etc., but on this day five friends collaborated in a photo studio to see what we all could come up with and I likened it to a theatrical experience.

Normally I come prepared with ideas that I have creatively worked through before I start directing my subject. I rarely show the subject the images on my camera’s LCD; and, usually they must be content with my approval of what we shot as we move to the next pose. However, we were game for a new experience, and the thought of working together as a group to produce photographs seemed like a good time.

Dave and I began by searching for some sample pictures with different poses and lighting that we thought would be fun to emulate and presented them to the group before starting our day at the studio. Then we all joined forces and laid the pictures out so every one, models and photographers alike, could see them, as we worked out camera angles, lighting and posing.

Monica and Demetra took turns posing as Dave and I adjusted studio lights. Nancy kept making test exposures that we would all look at, and then we would compare with the sample pictures to see if the effect was what we were seeking.  We weren’t trying to copy the original sample, inasmuch as we were using the poses and the lighting as guides. Then once the poses and lighting were set each photographer would choose a way to personally interpret the original in a way that seemed best.

Demetra and Monica are both new to this, but were willing to work, I expect, as hard as any professional, and being involved in the decision of how they would appear in a final image appealed to them.

Nancy is familiar with posing subjects and the lighting process, but her subjects are usually students, or beauty pageant portraits, so working with models and other photographers was unique and entertaining. Dave is the newcomer to photographing models, however, after years of scenic and personal work he had decided to try something new. He converted a vacant building on his rural property to a full functioning studio filled with all types of lighting, light manipulators, and several choices of backdrops. The studio includes a full functioning kitchen, which we made full use of during this session.

We had all previously participated in the “shoot-what-ya-can” whirlwind Stobist meets, so this group style of working was familiar. As stated earlier, photographers and models interpreted the pose in their own way and then chose respectively slightly different perspective camera angles and physical stances.  I am sure the photographers will finish their images slightly differently in PhotoShop.

I have not talked to, or seen, Dave or Nancy’s pictures yet, but in the next week they’ll drop by my shop with their final image files and I will make CDs for Monica and Demetra.  I like to hang out with other photographers, and enjoy watching them work, but I prefer being the prime photographer when I do portrait work; however, I must admit I enjoyed this group process and hope we can get together again sometime in the future.

I appreciate any comments. Thanks, John

My website is at www.enmanscamera.com

Photography viewed as Art

Green wall in alley

A photographer friend, Nancy, told me about once entering a hand-coloured, black and white photograph in a local art exhibition.  The organizers advised her that they had a problem deciding where to place it, with paintings or with photography.

Wanting to be creative, and a bit traditional, she had used black and white film to photograph a scene and printed it in the old way, using chemicals in trays, with black and white photo paper. She then used translucent oils to colour specific areas of the black and white photograph.  Please remember that hand-colouring black and white photographs has been in practice as long as photography has been around.

The individuals, who organized the exhibition being ignorant of the history of photography (I was told they were all painters), believed that because she had applied something on the surface of the emulsion-coated paper that her photograph now had become a painting. I think that, lacking respect for photographers as artists, they regarded her work as something one would do with a colouring book.

We both wondered what the opinion of those exhibition judges would have been if she had captured a scene with a digital camera, used PhotoShop to convert the image to black and white, and then placed colours on some areas of the image.  She could have erased some items in the image, cloned others, or added items into the image that came from different photographic digital files. Would they still call it a photograph?  The artist had used the medium of photography to create the final image, but I have met people that would not want to call that photography.

Ignorant of the strong tradition of creative modification by photographers, many will refer to film-created images as “real” photography, and digitally created images as “digital” photography that are somehow unreal, as if film based photographs have never been altered or manipulated.

It is not bad enough that many patricians of other artistic mediums have a hard time including photography as art; but there are also photographers that want to dismiss digital or digitally manipulated images as not being “real” photography.

In my opinion if the original image file or “negative” (whether it be paper, or film-based, or digital) came from a camera of some sort, the final print, no matter what is done to it between the time light is captured on a sensor or film and presented as a final picture, should still be called a photograph.

I am excited that the medium of photography is continually changing with modern technology. Film emulsion has gone through an amazing amount of changes since 1826 in France when Nicéphore Niépce produced the first permanent image. Incidentally, his picture took eight hours to expose.  I can only presume that if he were handed one of the latest digital cameras he would be excited, and would not foolishly hold on to outdated technology, and as a photographic inventor he probably would be happy to experiment with today’s cutting-edge technology.  Yes, if we want we can still produce images with 100-year-old techniques and materials; or we can embrace the medium as it changes.

The problem those judges had with photography might have been is that it is used in so many different ways and has become so accessible.  Try to find some aspect of our society that is not impacted by photography. The medium has reached a place that, through emerging technology, makes it very usable for many people.

There are those that use it only to document their lives, but it can also be used easily for creative purposes.  One only has to check out the multitude of online photography sites to find the truth in that. That might also be why those judges struggled to accept changes to my friend’s original image.

Nancy photographed an interesting subject, and, instead of choosing to use a digital file, or colour film, she decided to use black and white film to create a mood to help the viewer feel what she felt when she released the shutter. Then further, she continued to visually discuss the subject and the surrounding scene by adding hand colouring to enhance specific elements of the photo and produced an image that was able to go beyond being a documentary of a moment in time. I think photographers like Nancy are as much artists as those in any other creative medium.  There should not have been a problem in deciding if her print was a photograph or a painting.

I am surprised that there aren’t many exhibitions held in towns and villages here in British Columbia solely for photography. Yes, photography clubs hold private exhibitions, but those aren’t generally open to the public at large. I think lots of people would participate and lots more would attend. I certainly would.  I suggest that if there are not ongoing photography exhibitions in your community, get together with some other photographers and make one happen.

I really do appreciate your comments, John

Visit my website at www.enmanscamera.com