Thoughts on Street Photography

Thrift shop

Great shopping

Bakery

Rope guy

Waiting at the Festival

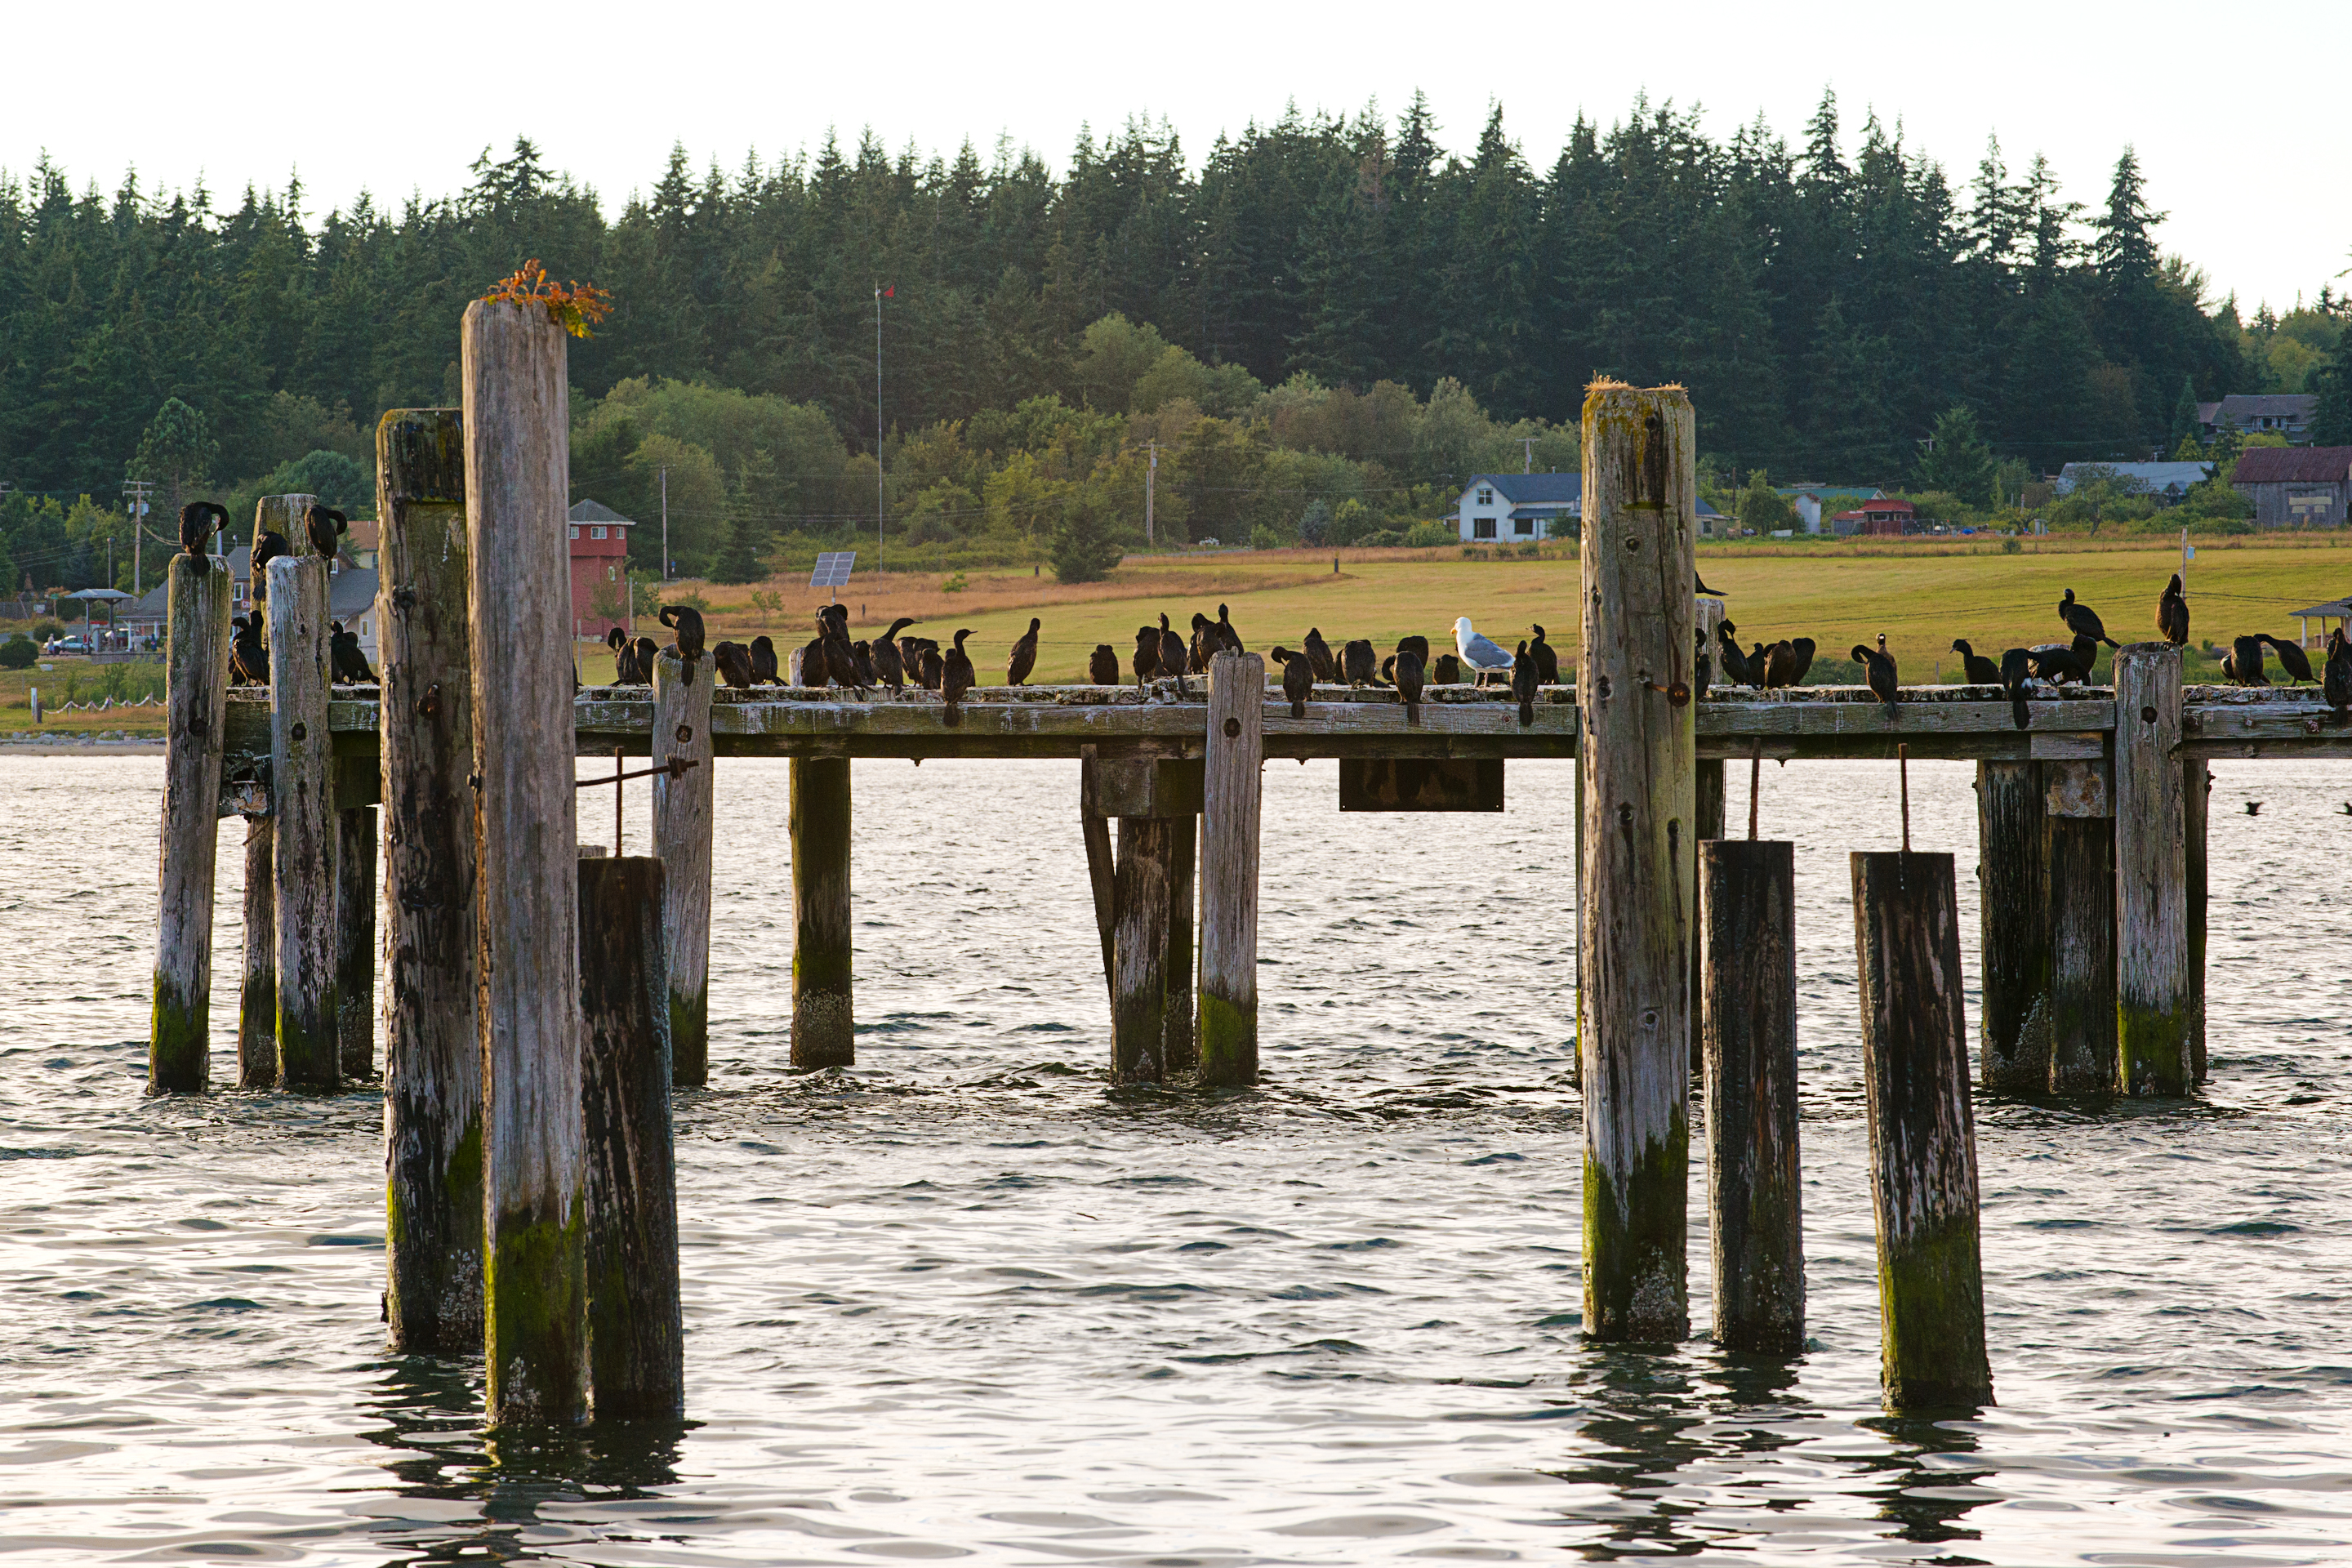
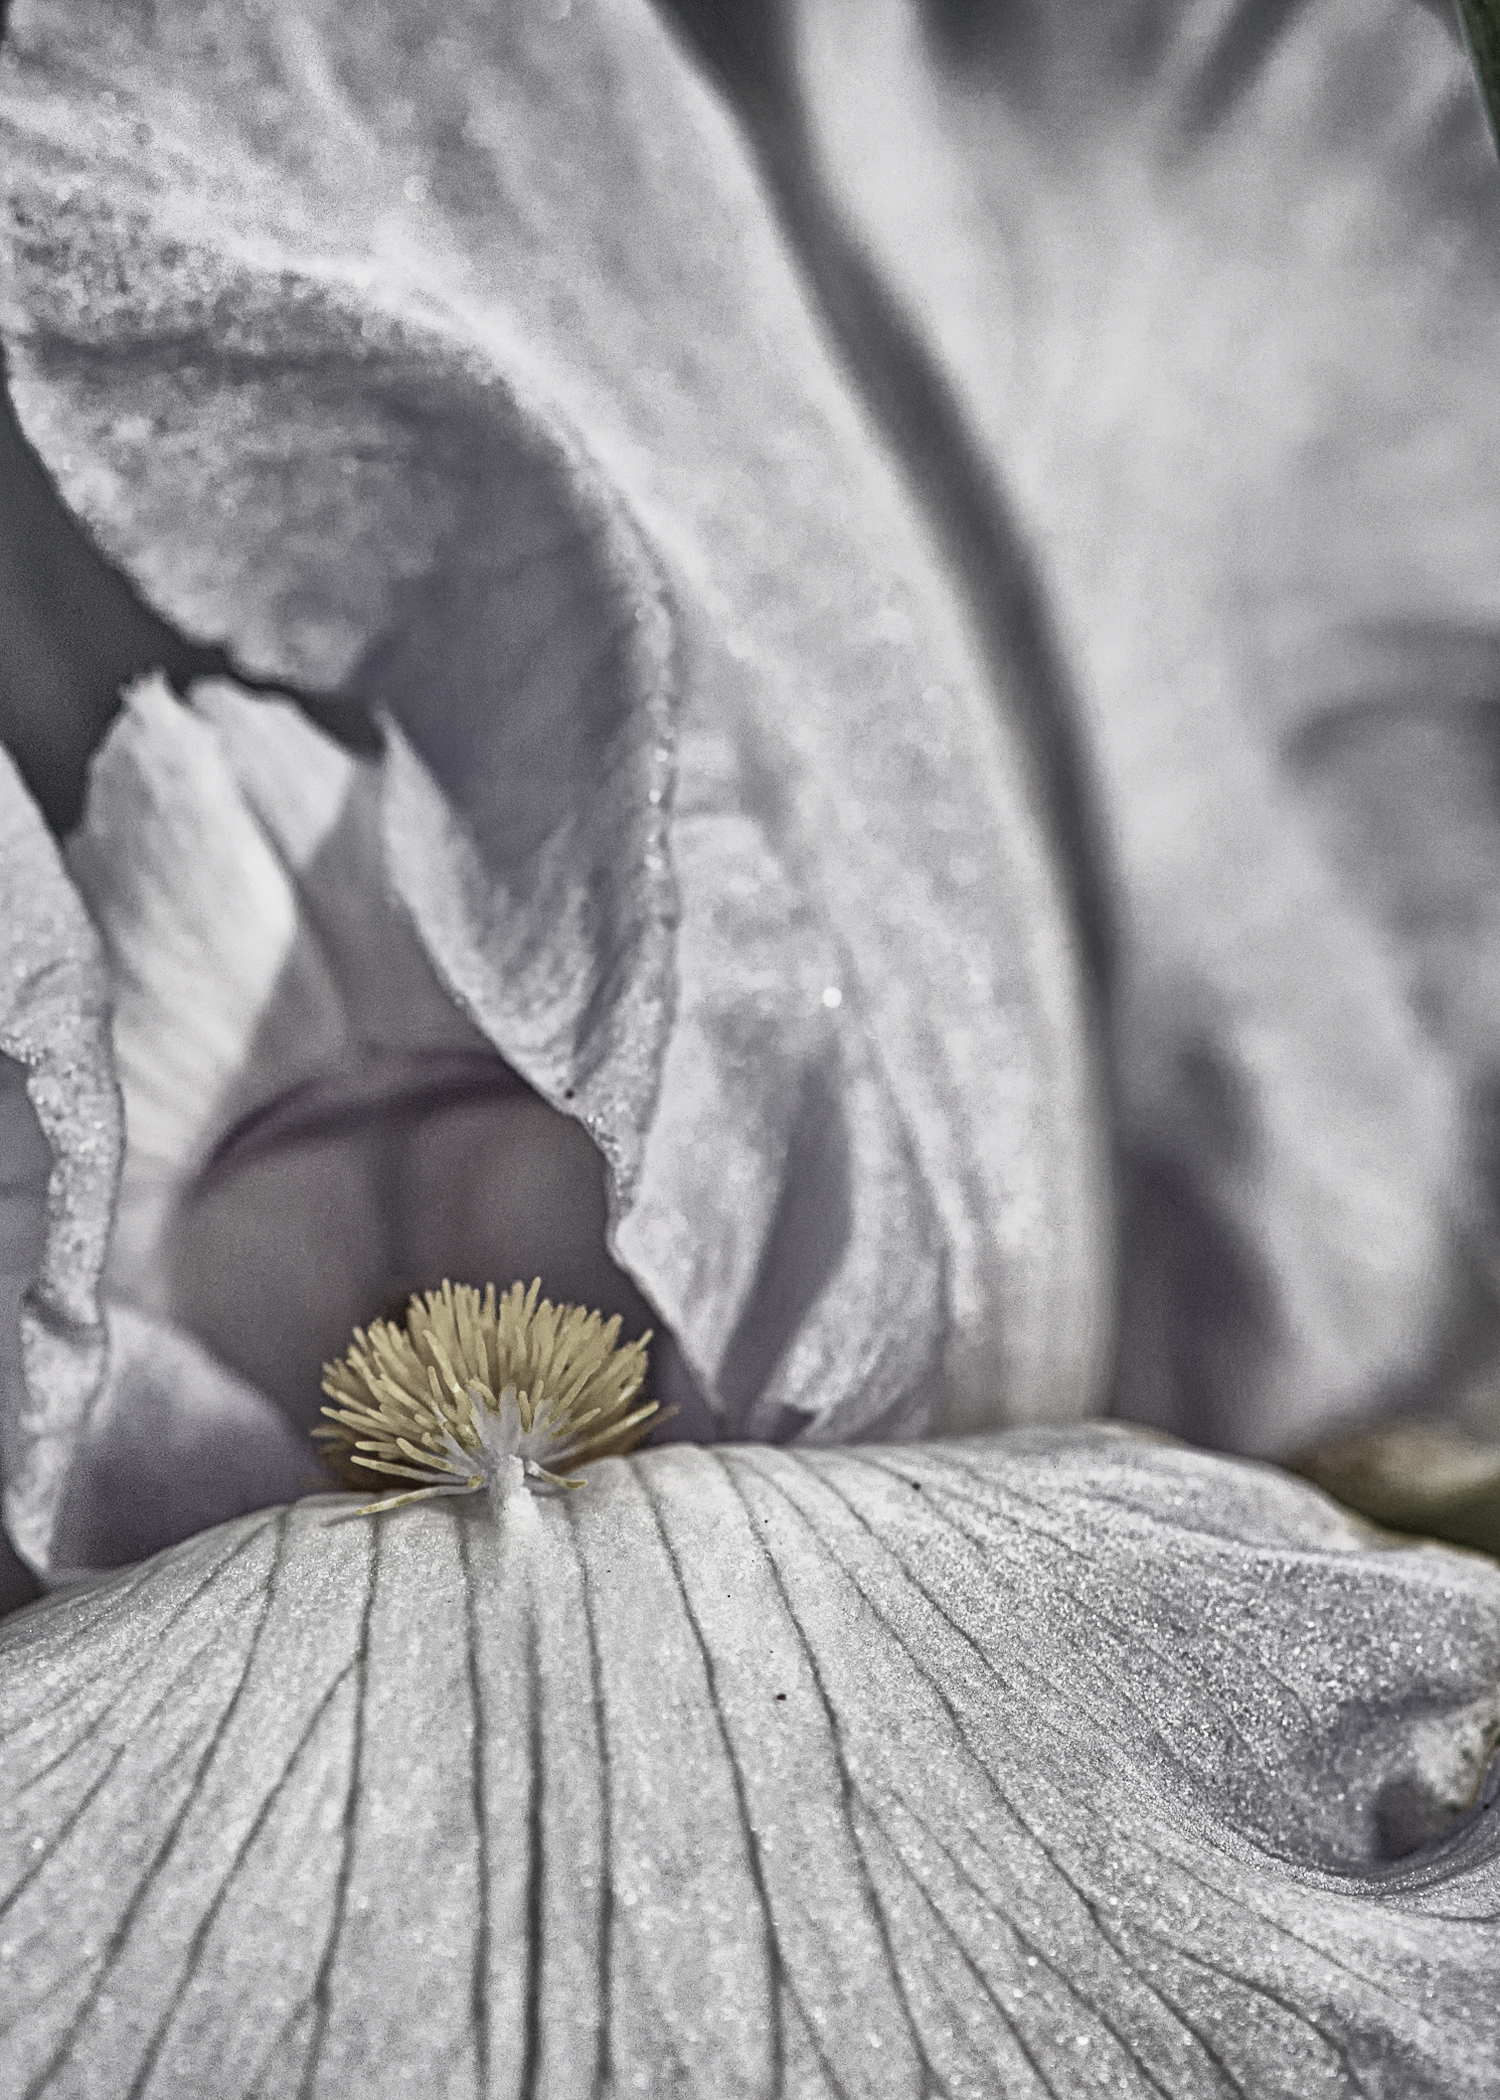
Of all the recent trends that has increased in popularity since digital cameras, it is street photography that intrigues me the most. Street photography is not a new phenomenon and has been around since the beginnings of photography. Just check out the work of French photographer Eugene Atget in the late early 1800’s, or Fred Herzog’s photos in 1950’s and 1960’s Vancouver, Canada. In spite of the long history the pastime is still a niche in the broad spectrum of interests that photographers have. However, I am spending more and more time viewing intriguing images of life on streets around the world captured by talented modern day photographers.

Wikipedia says, “Street photography is an art photography that features the human condition within public places and does not necessitate the presence of a street or even the urban environment…The origin of the term ‘Street’ refers to a time rather than a place, …when workers were rewarded with leisure time…and people engaged with each other …more publicly and therein the opportunity for the photographer.”

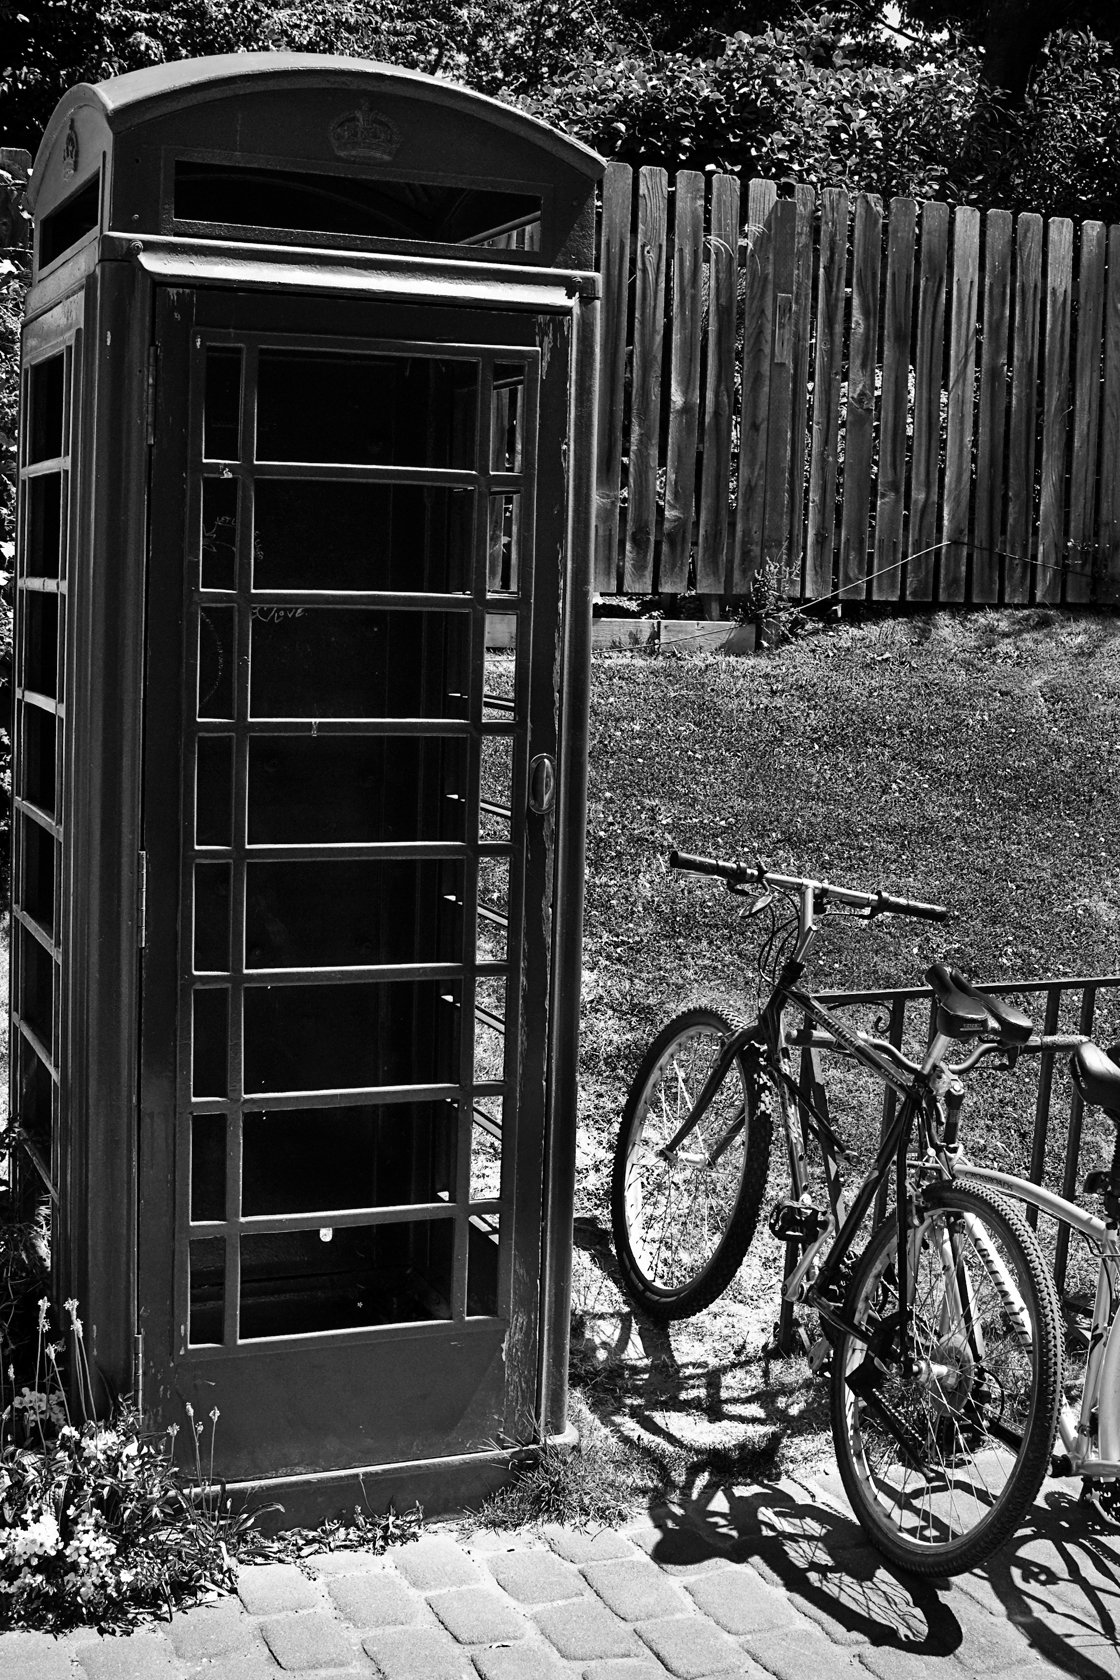
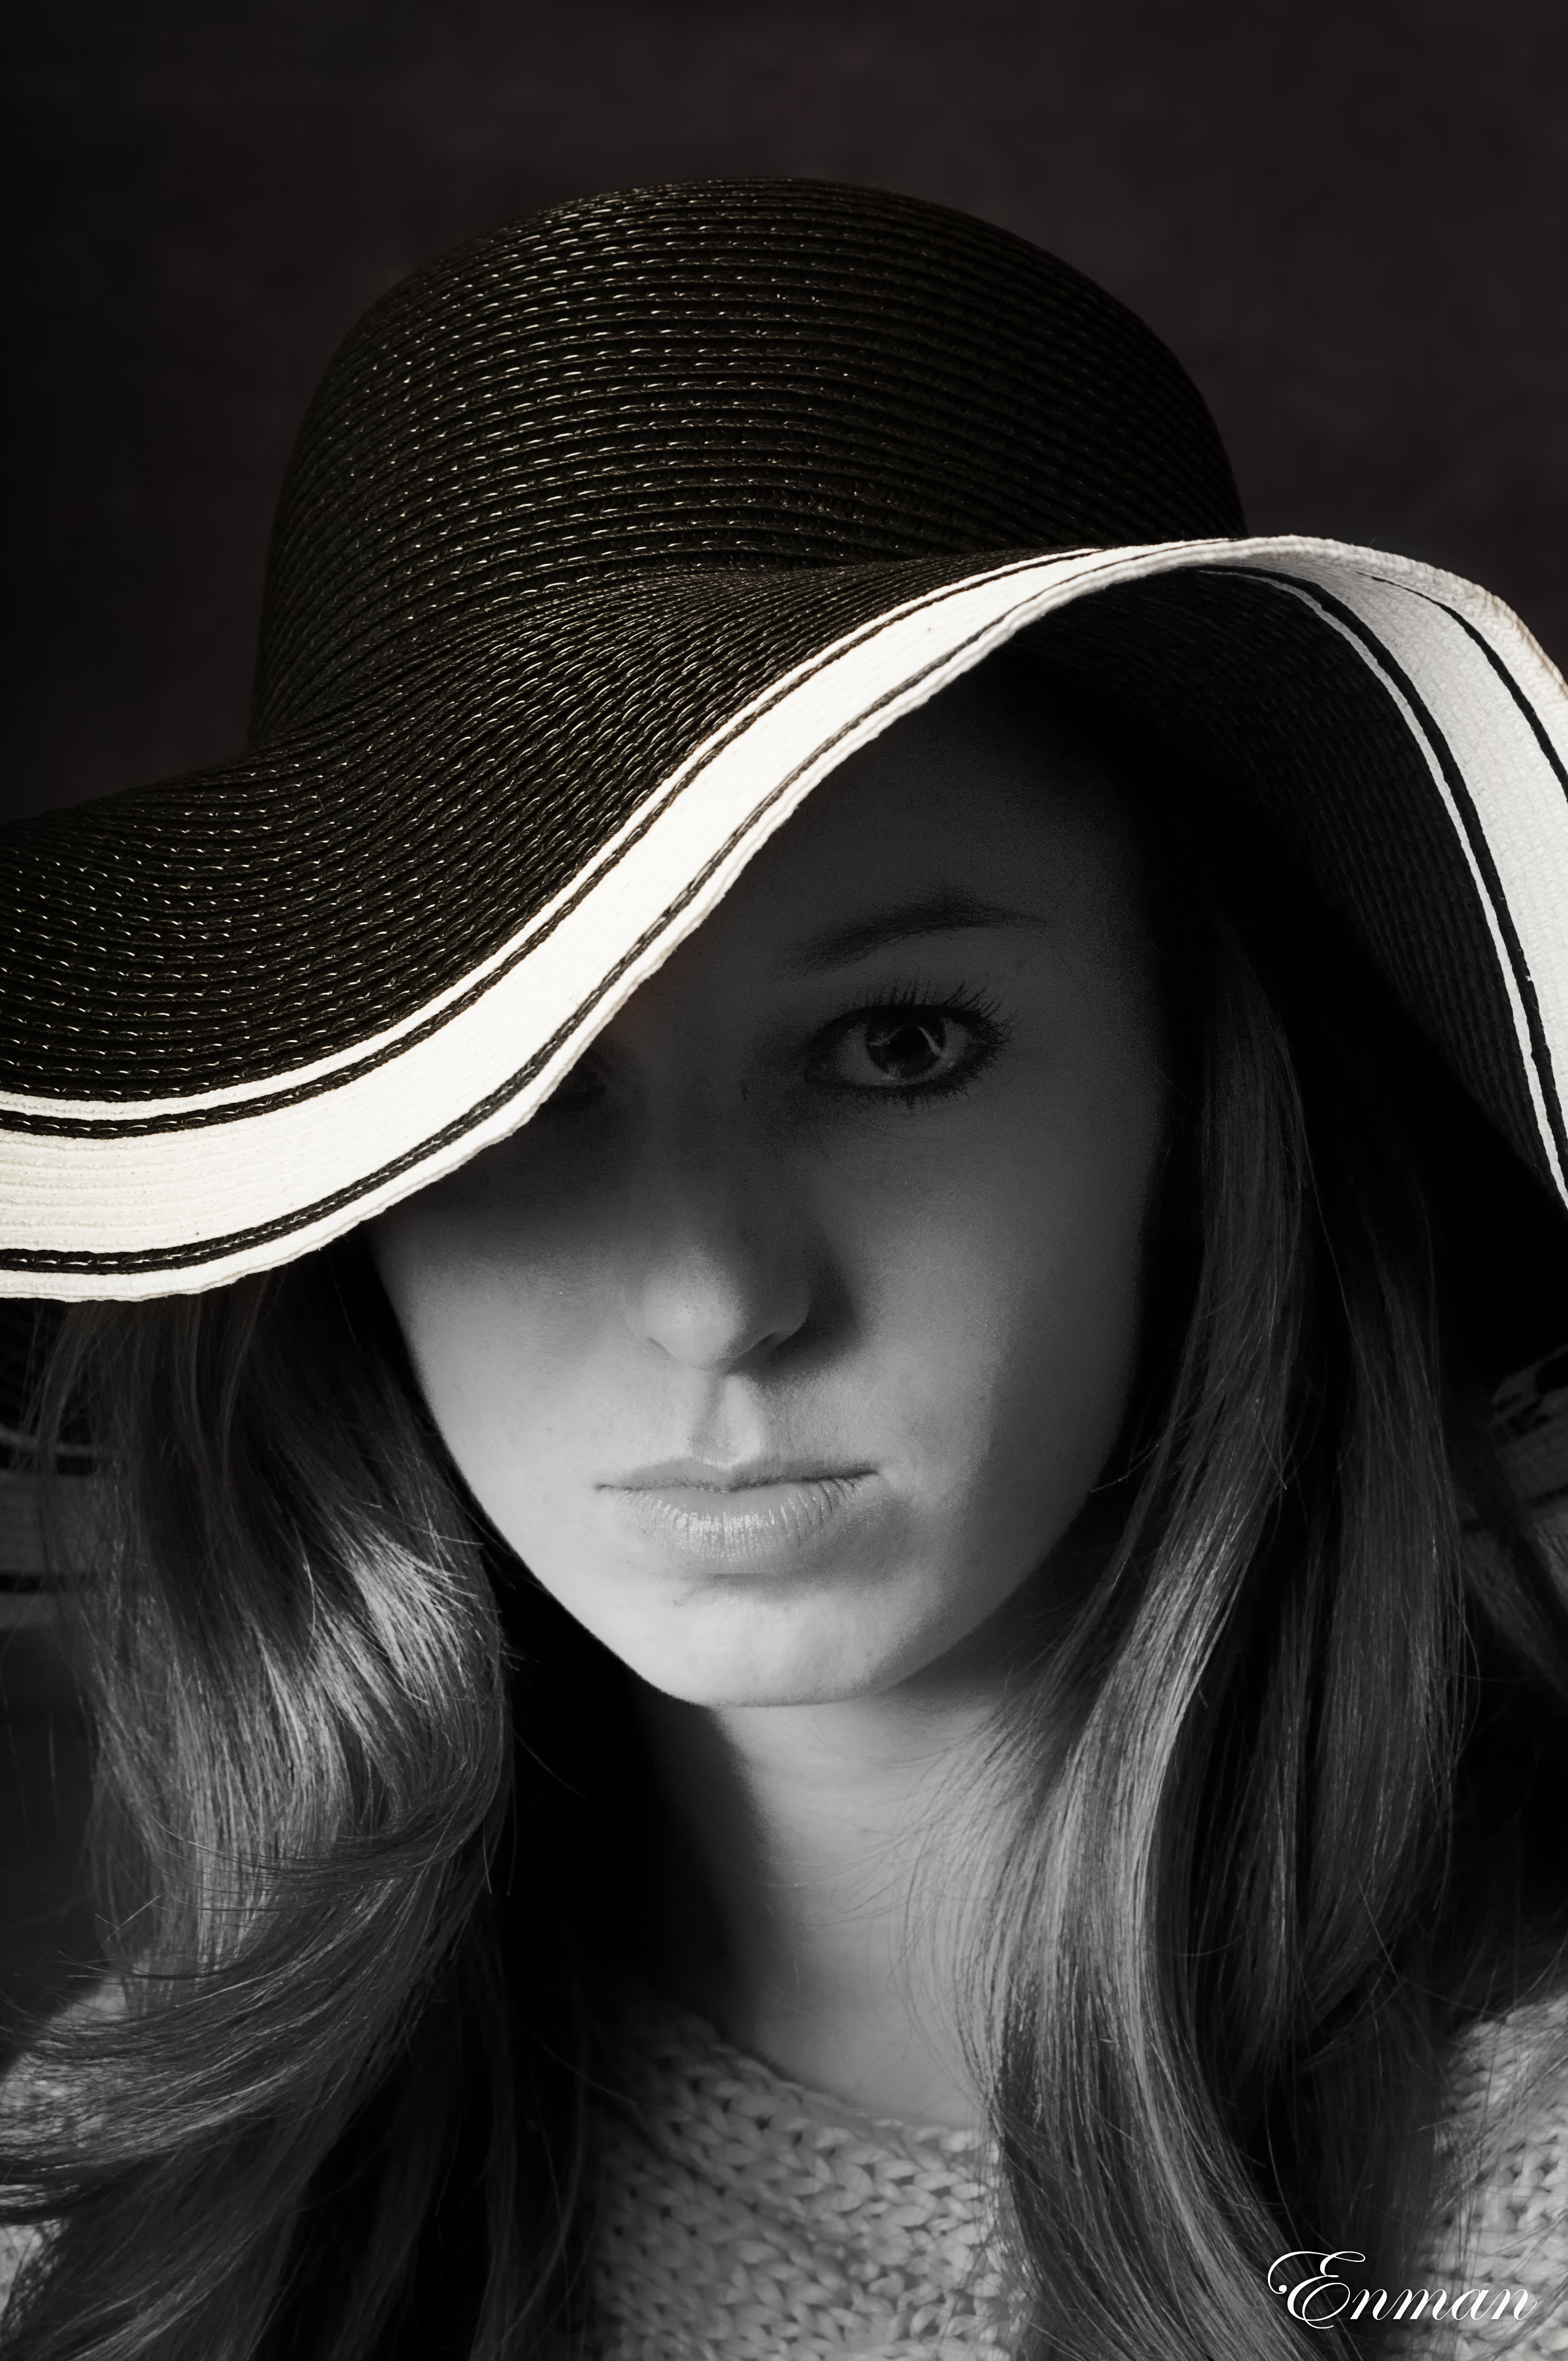
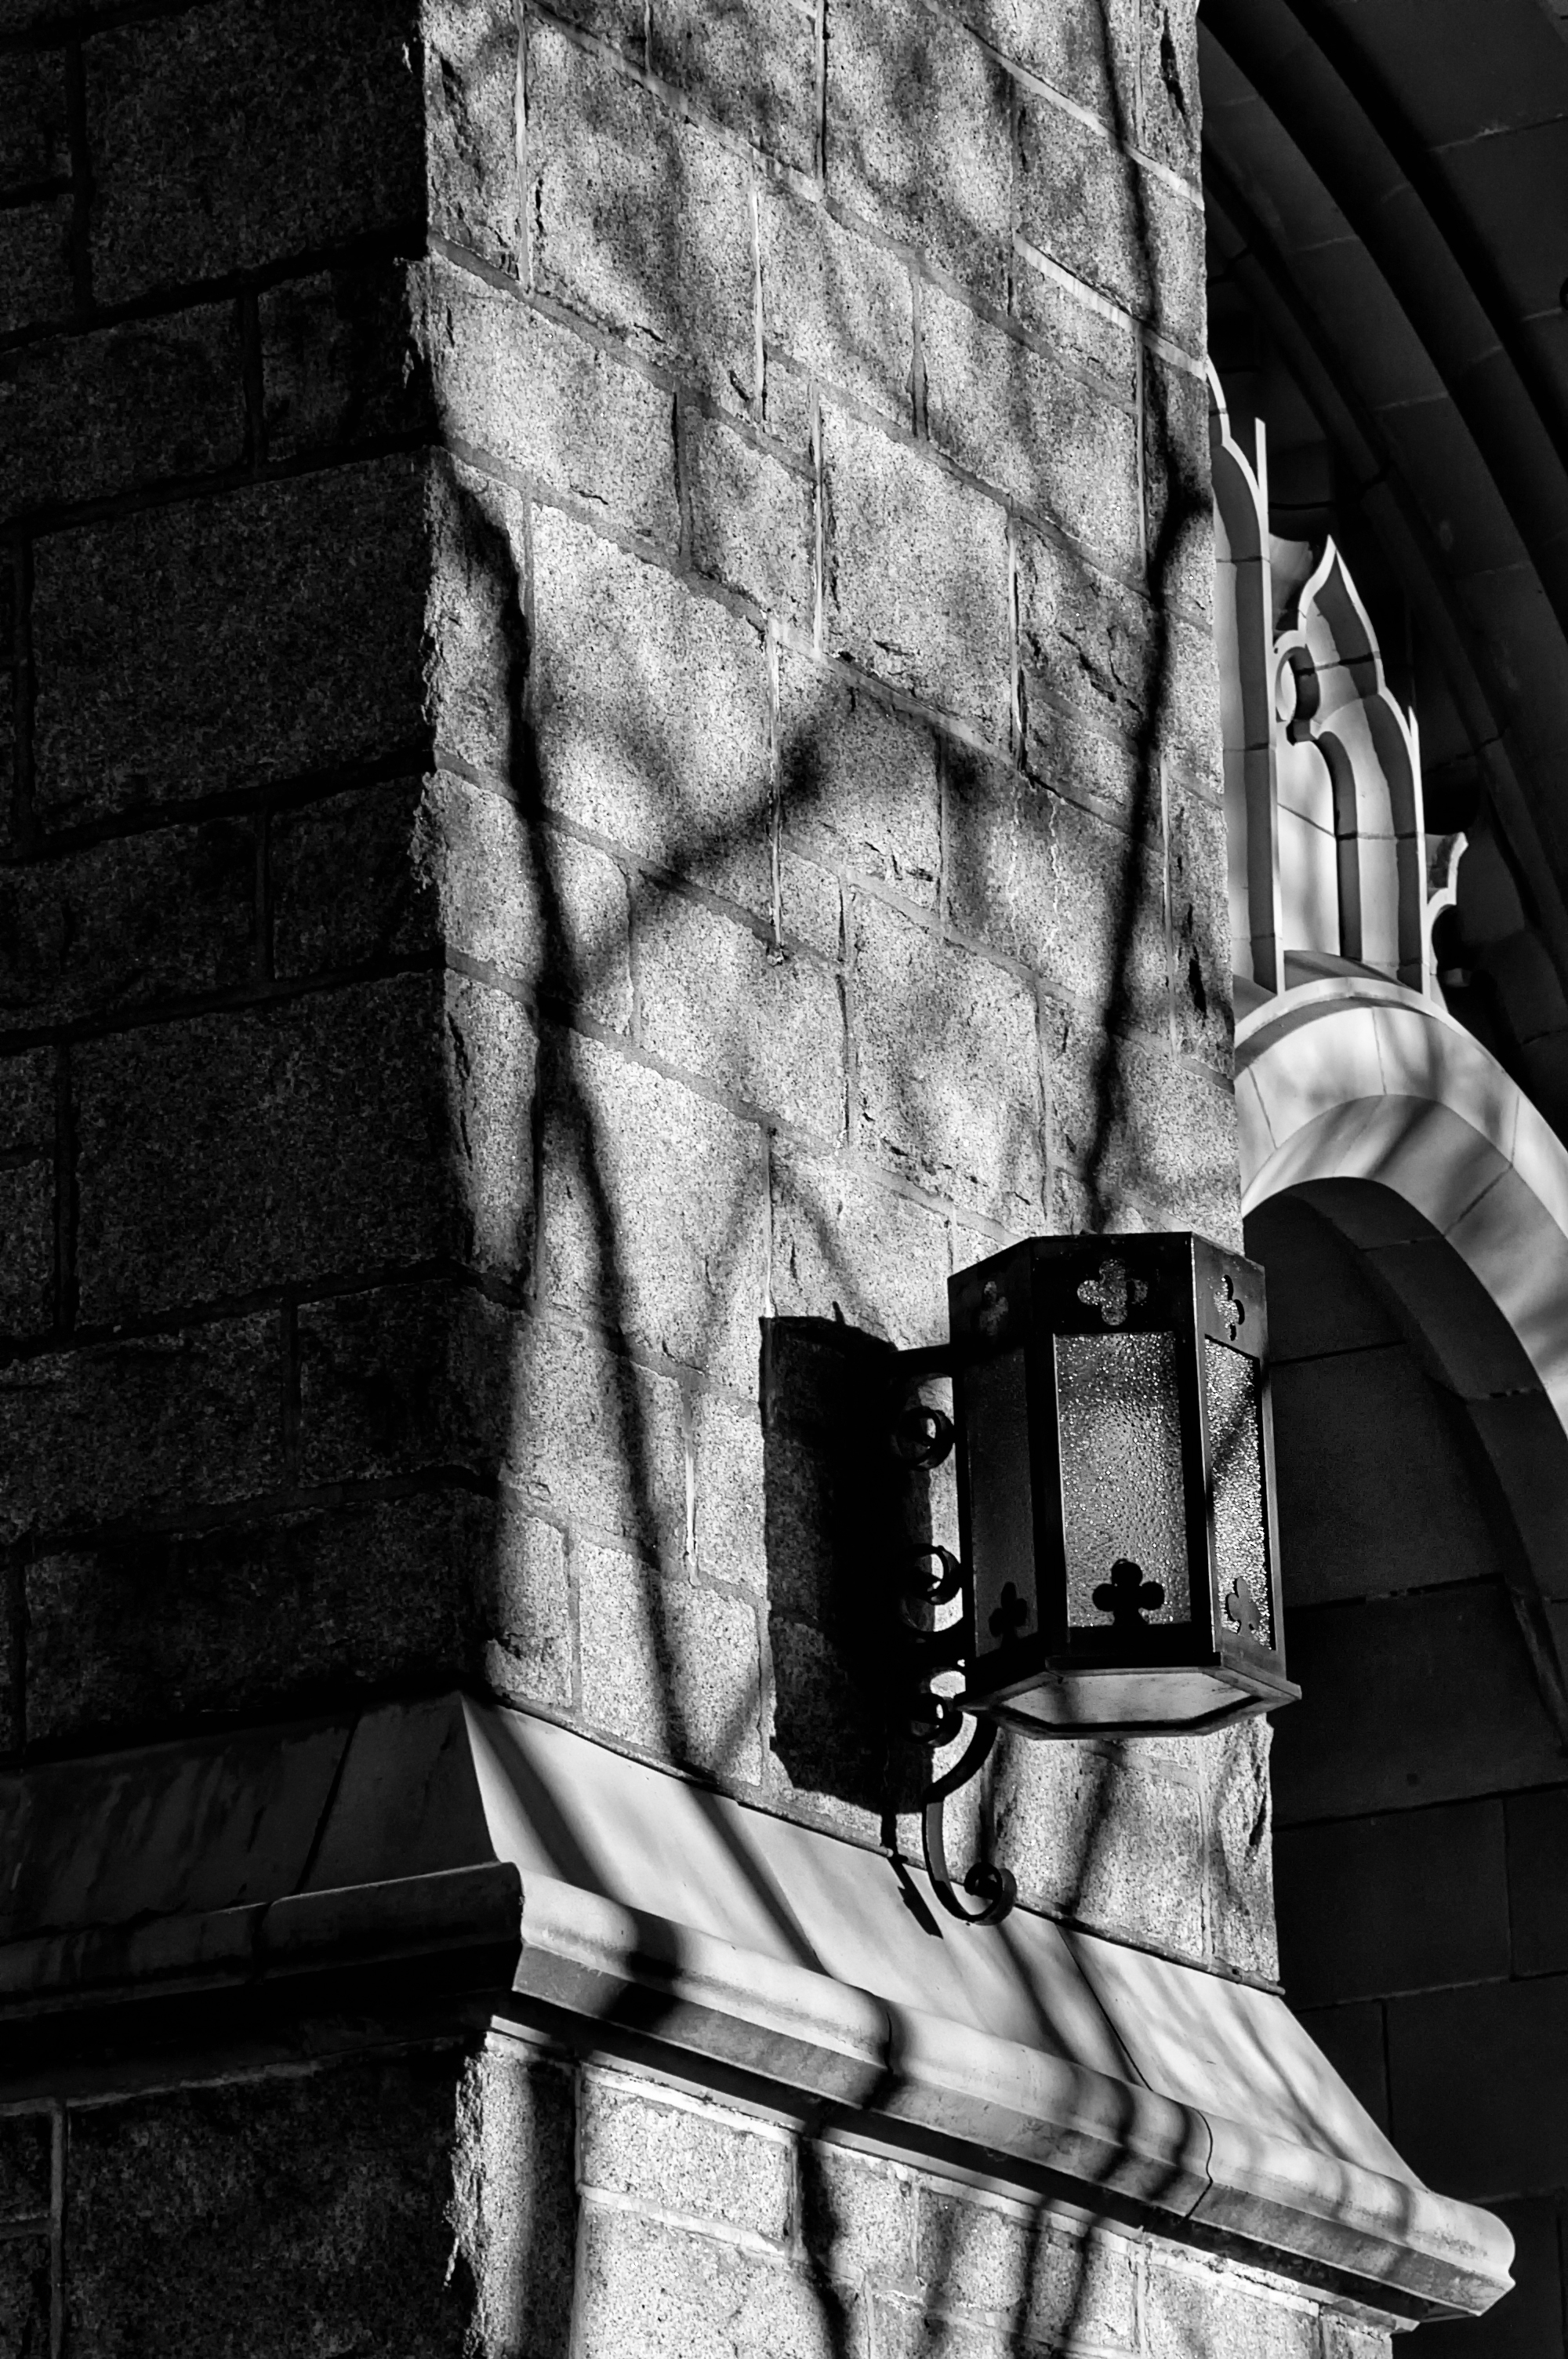
I’ve never been good at street photography. I have made a few pictures worth viewing, but I become more occupied with man-made things and get side tracked with some building’s shadow and miss those interesting people shots captured by photographers adept at seeing what I pass by.

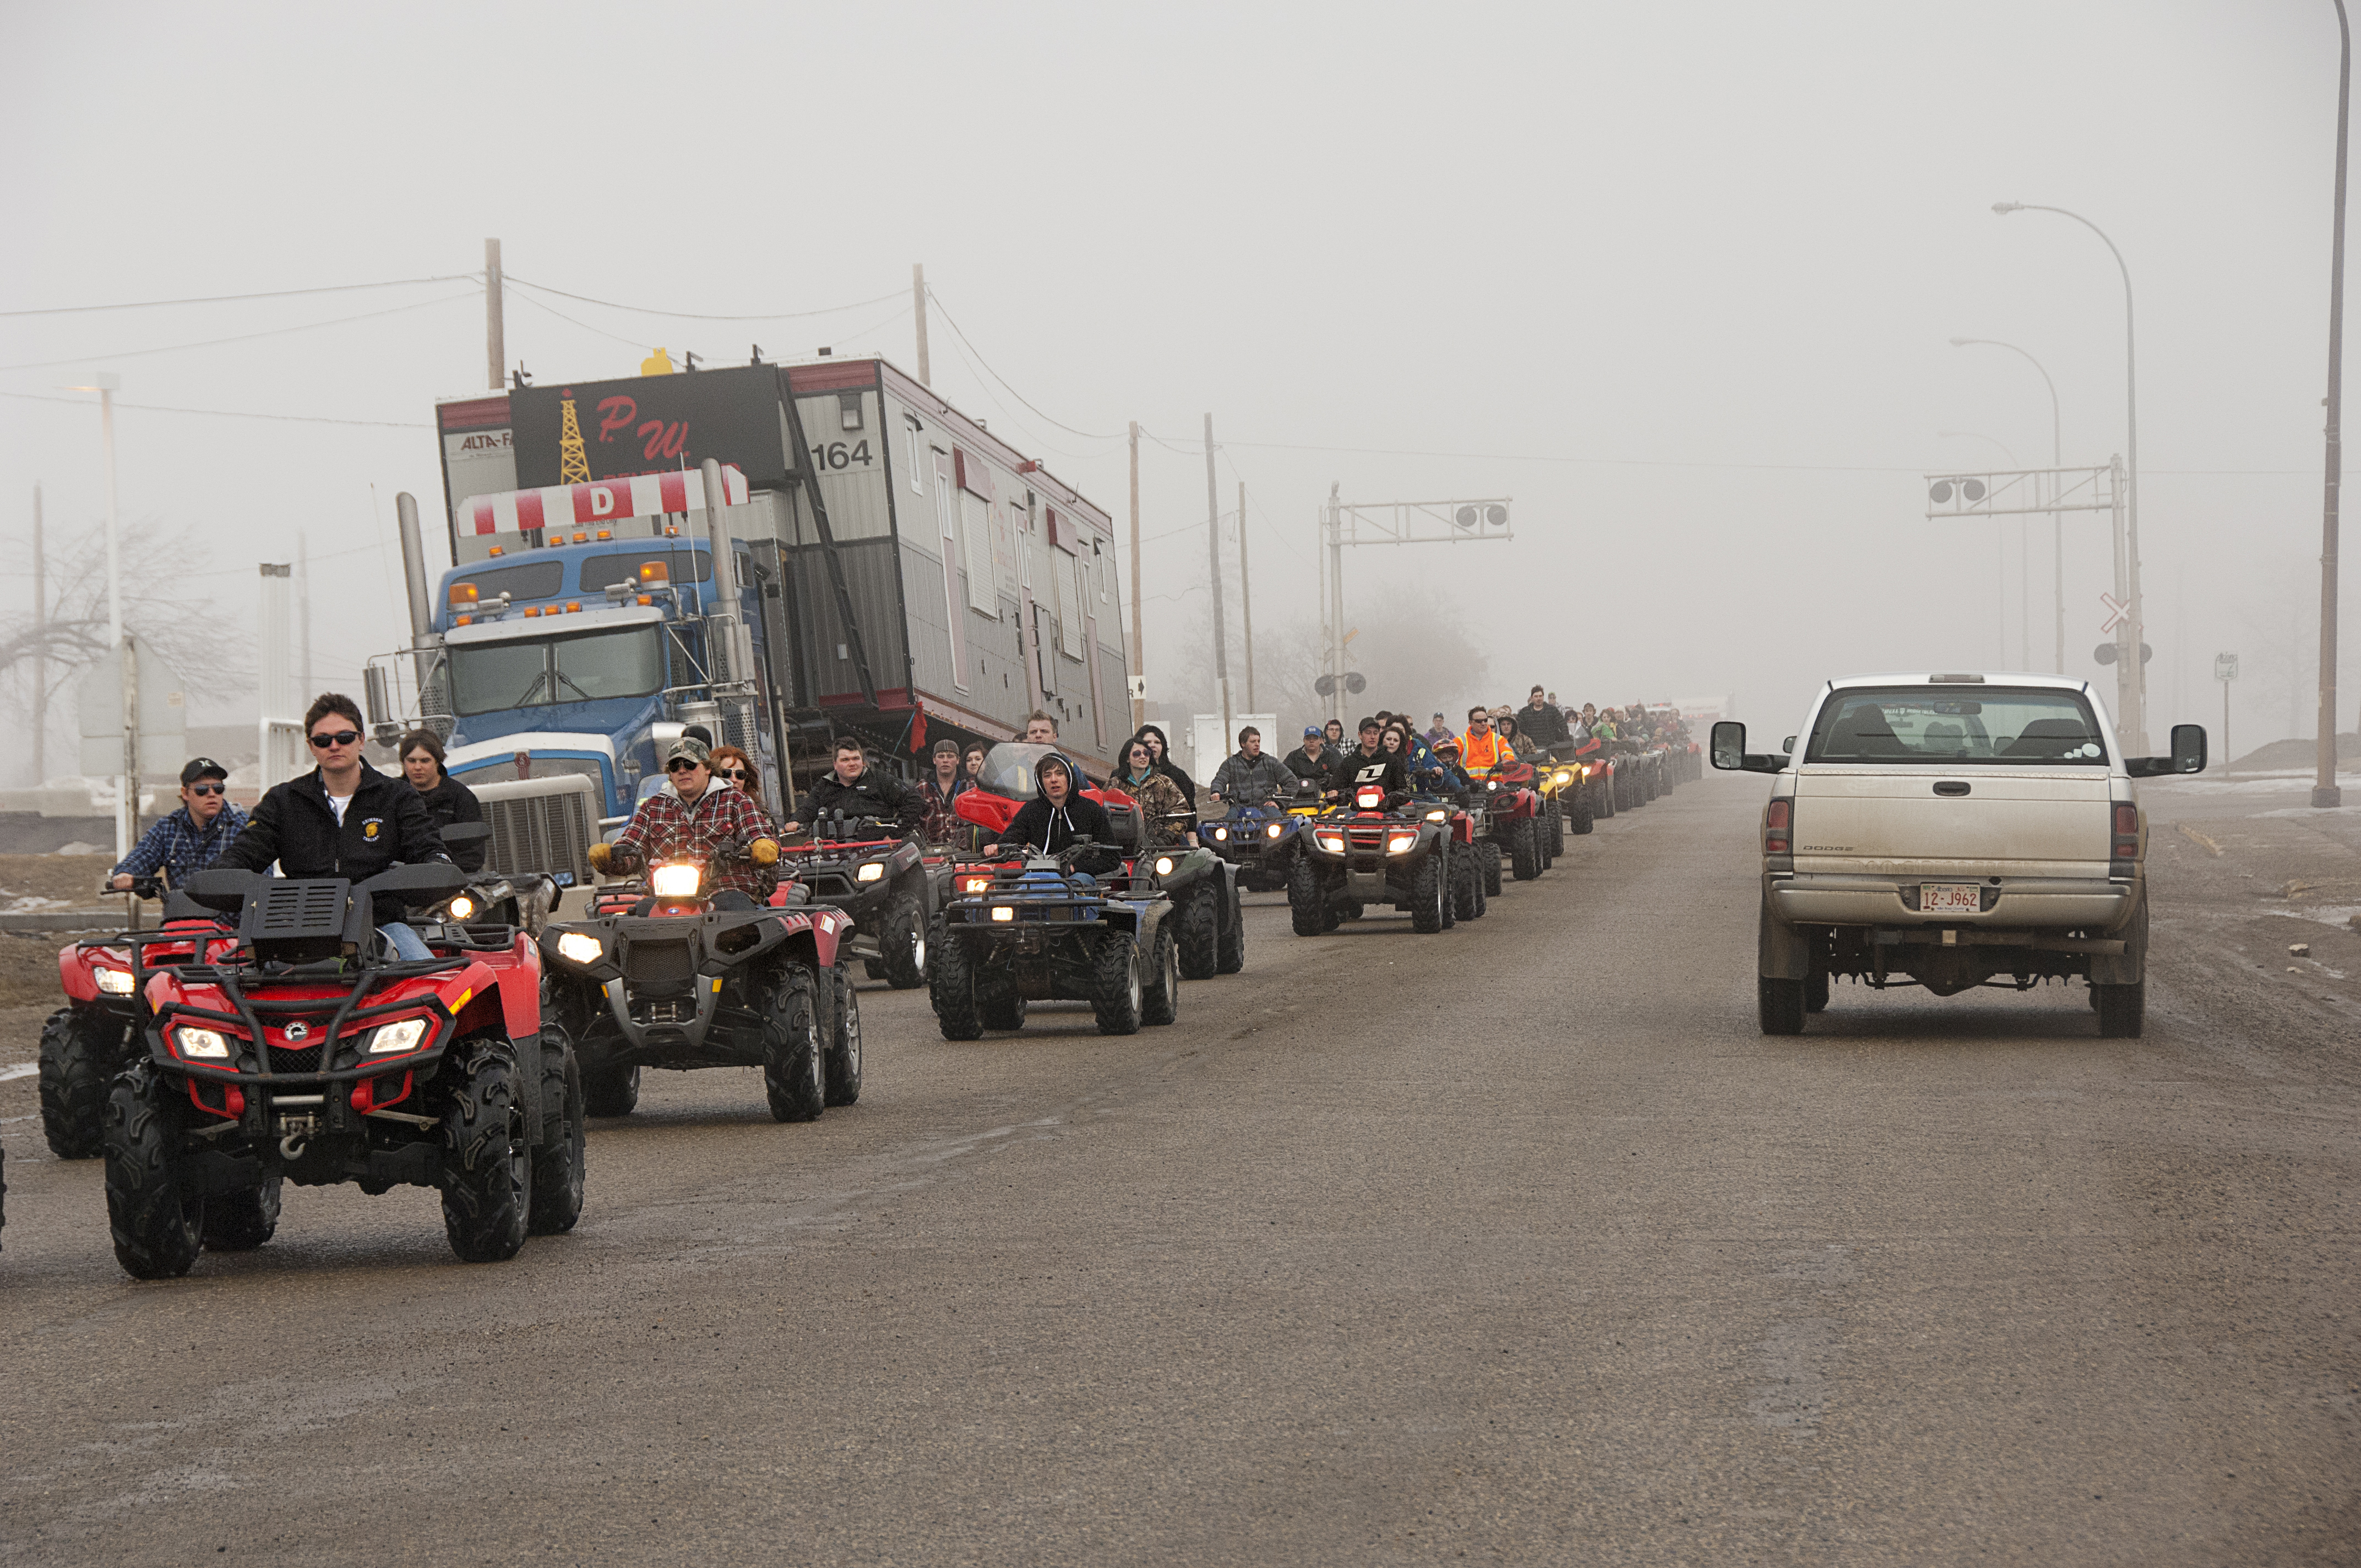
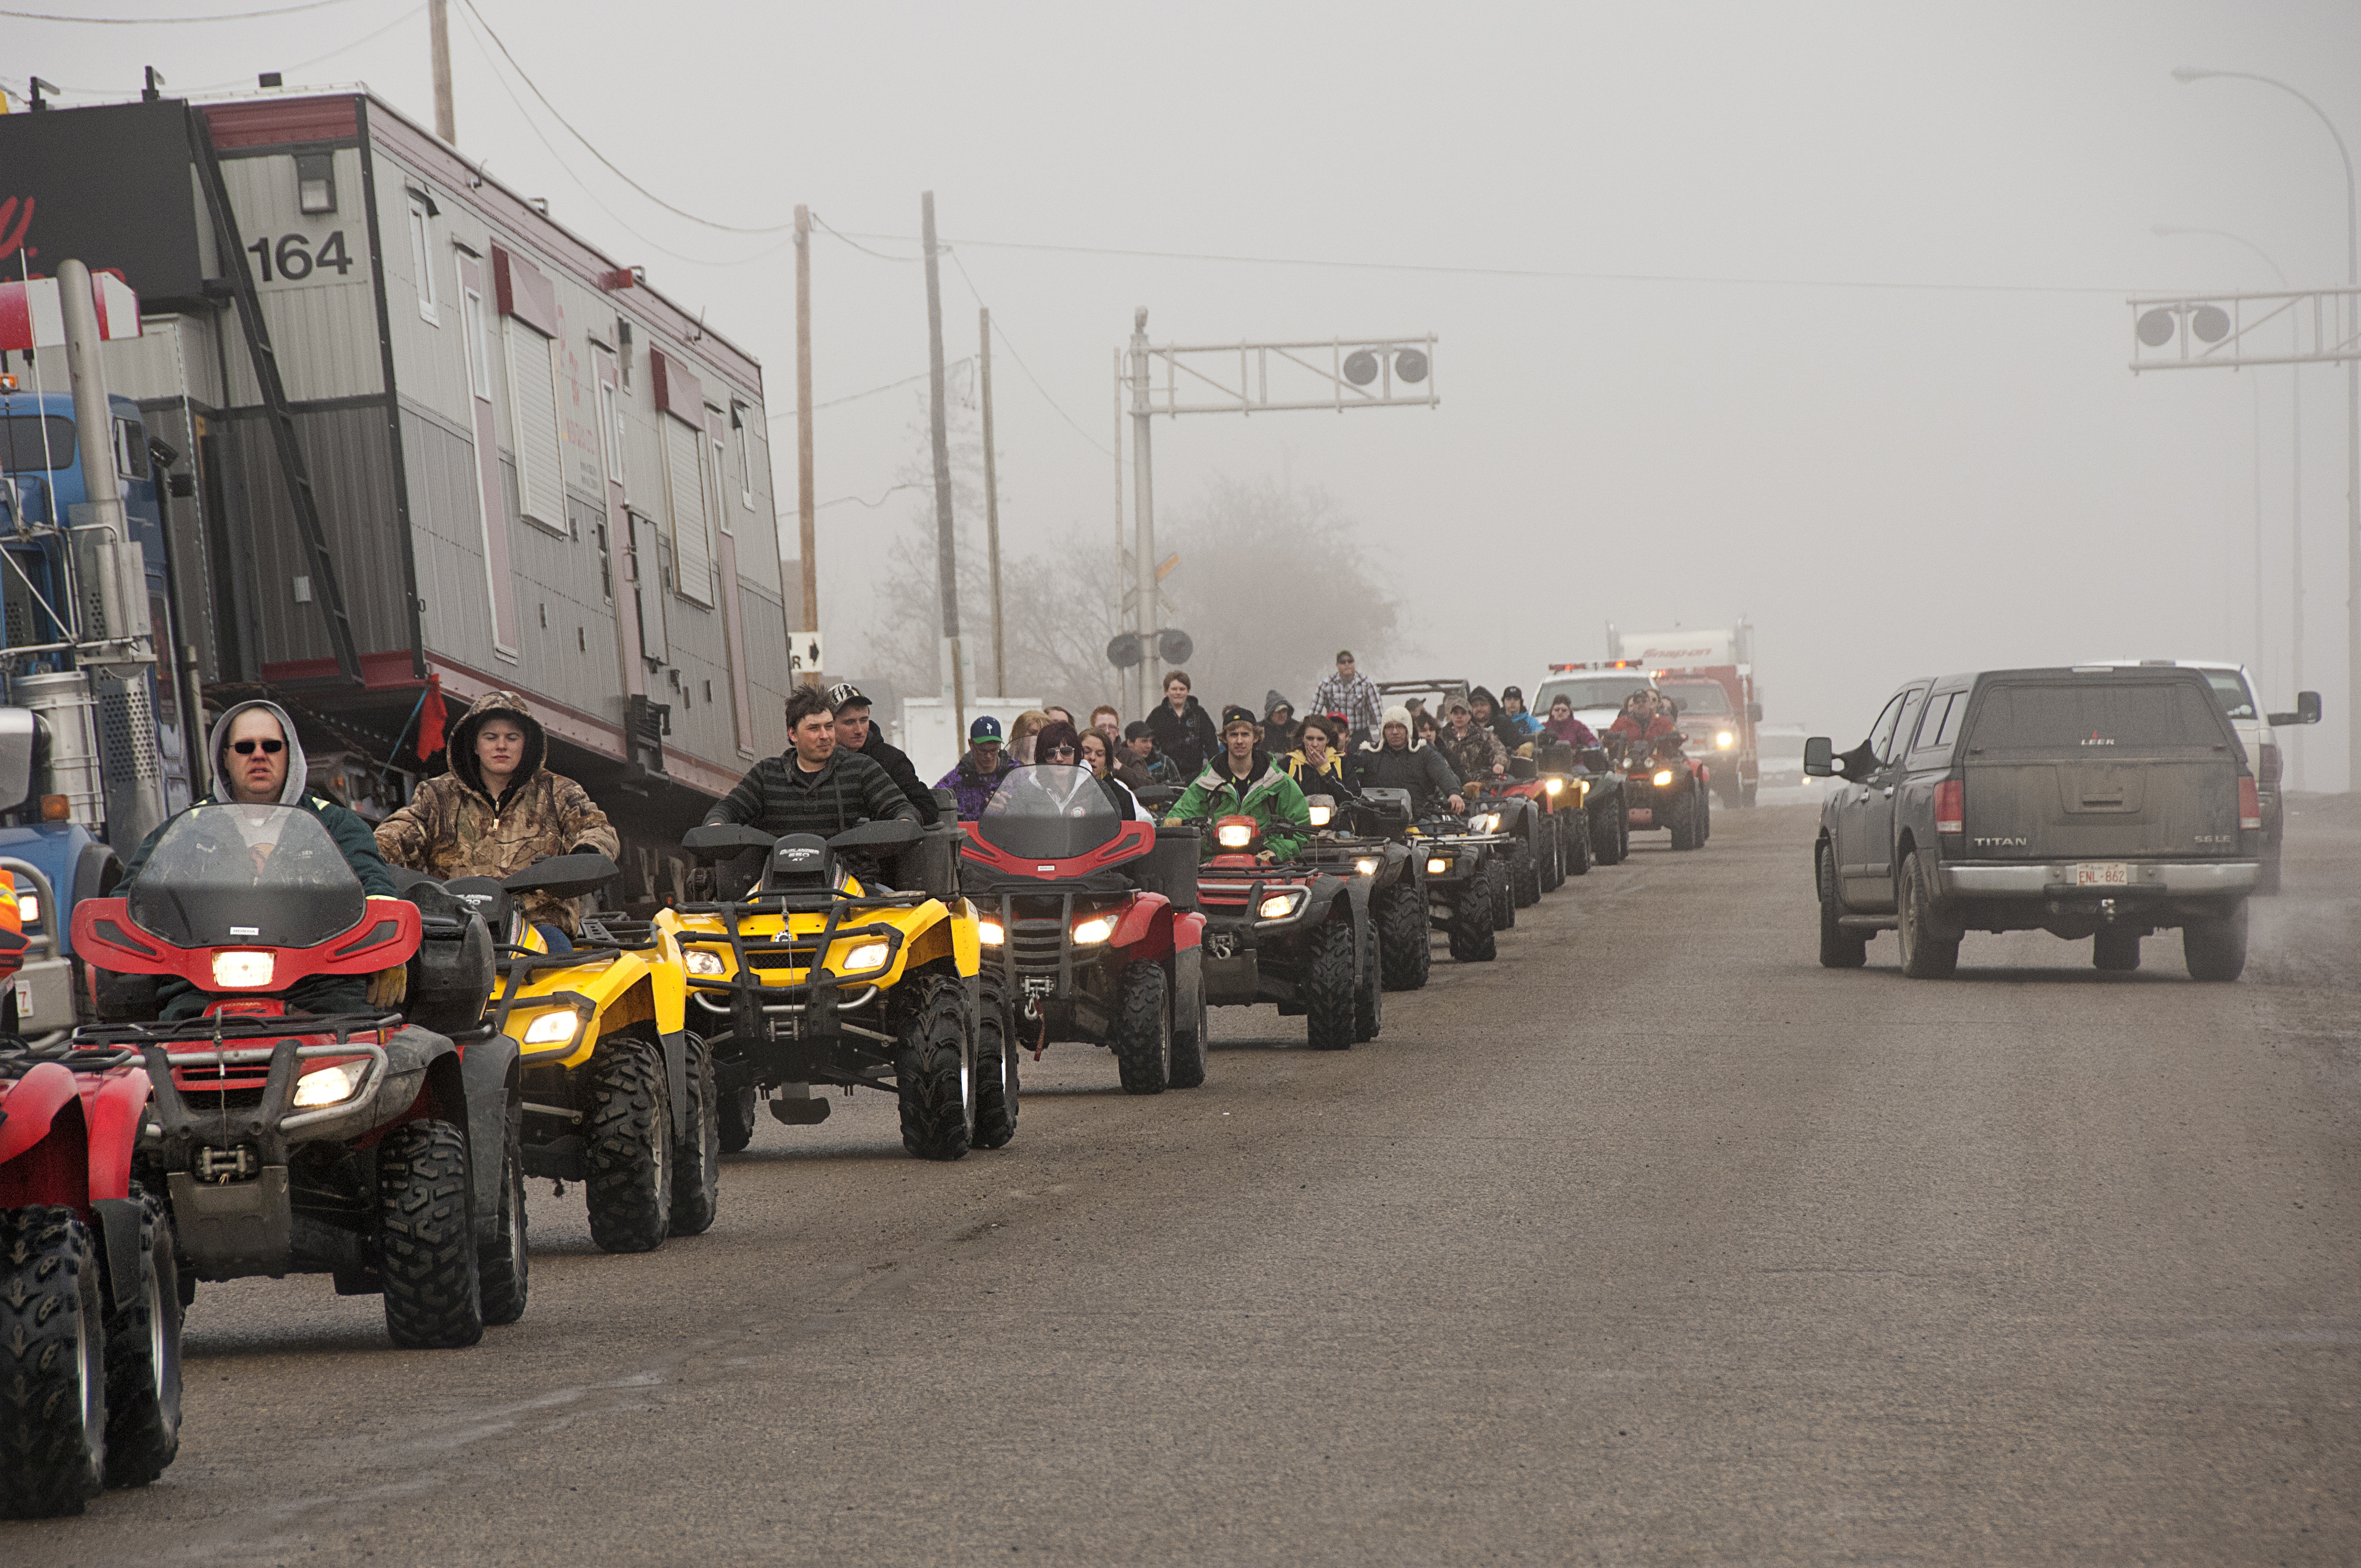
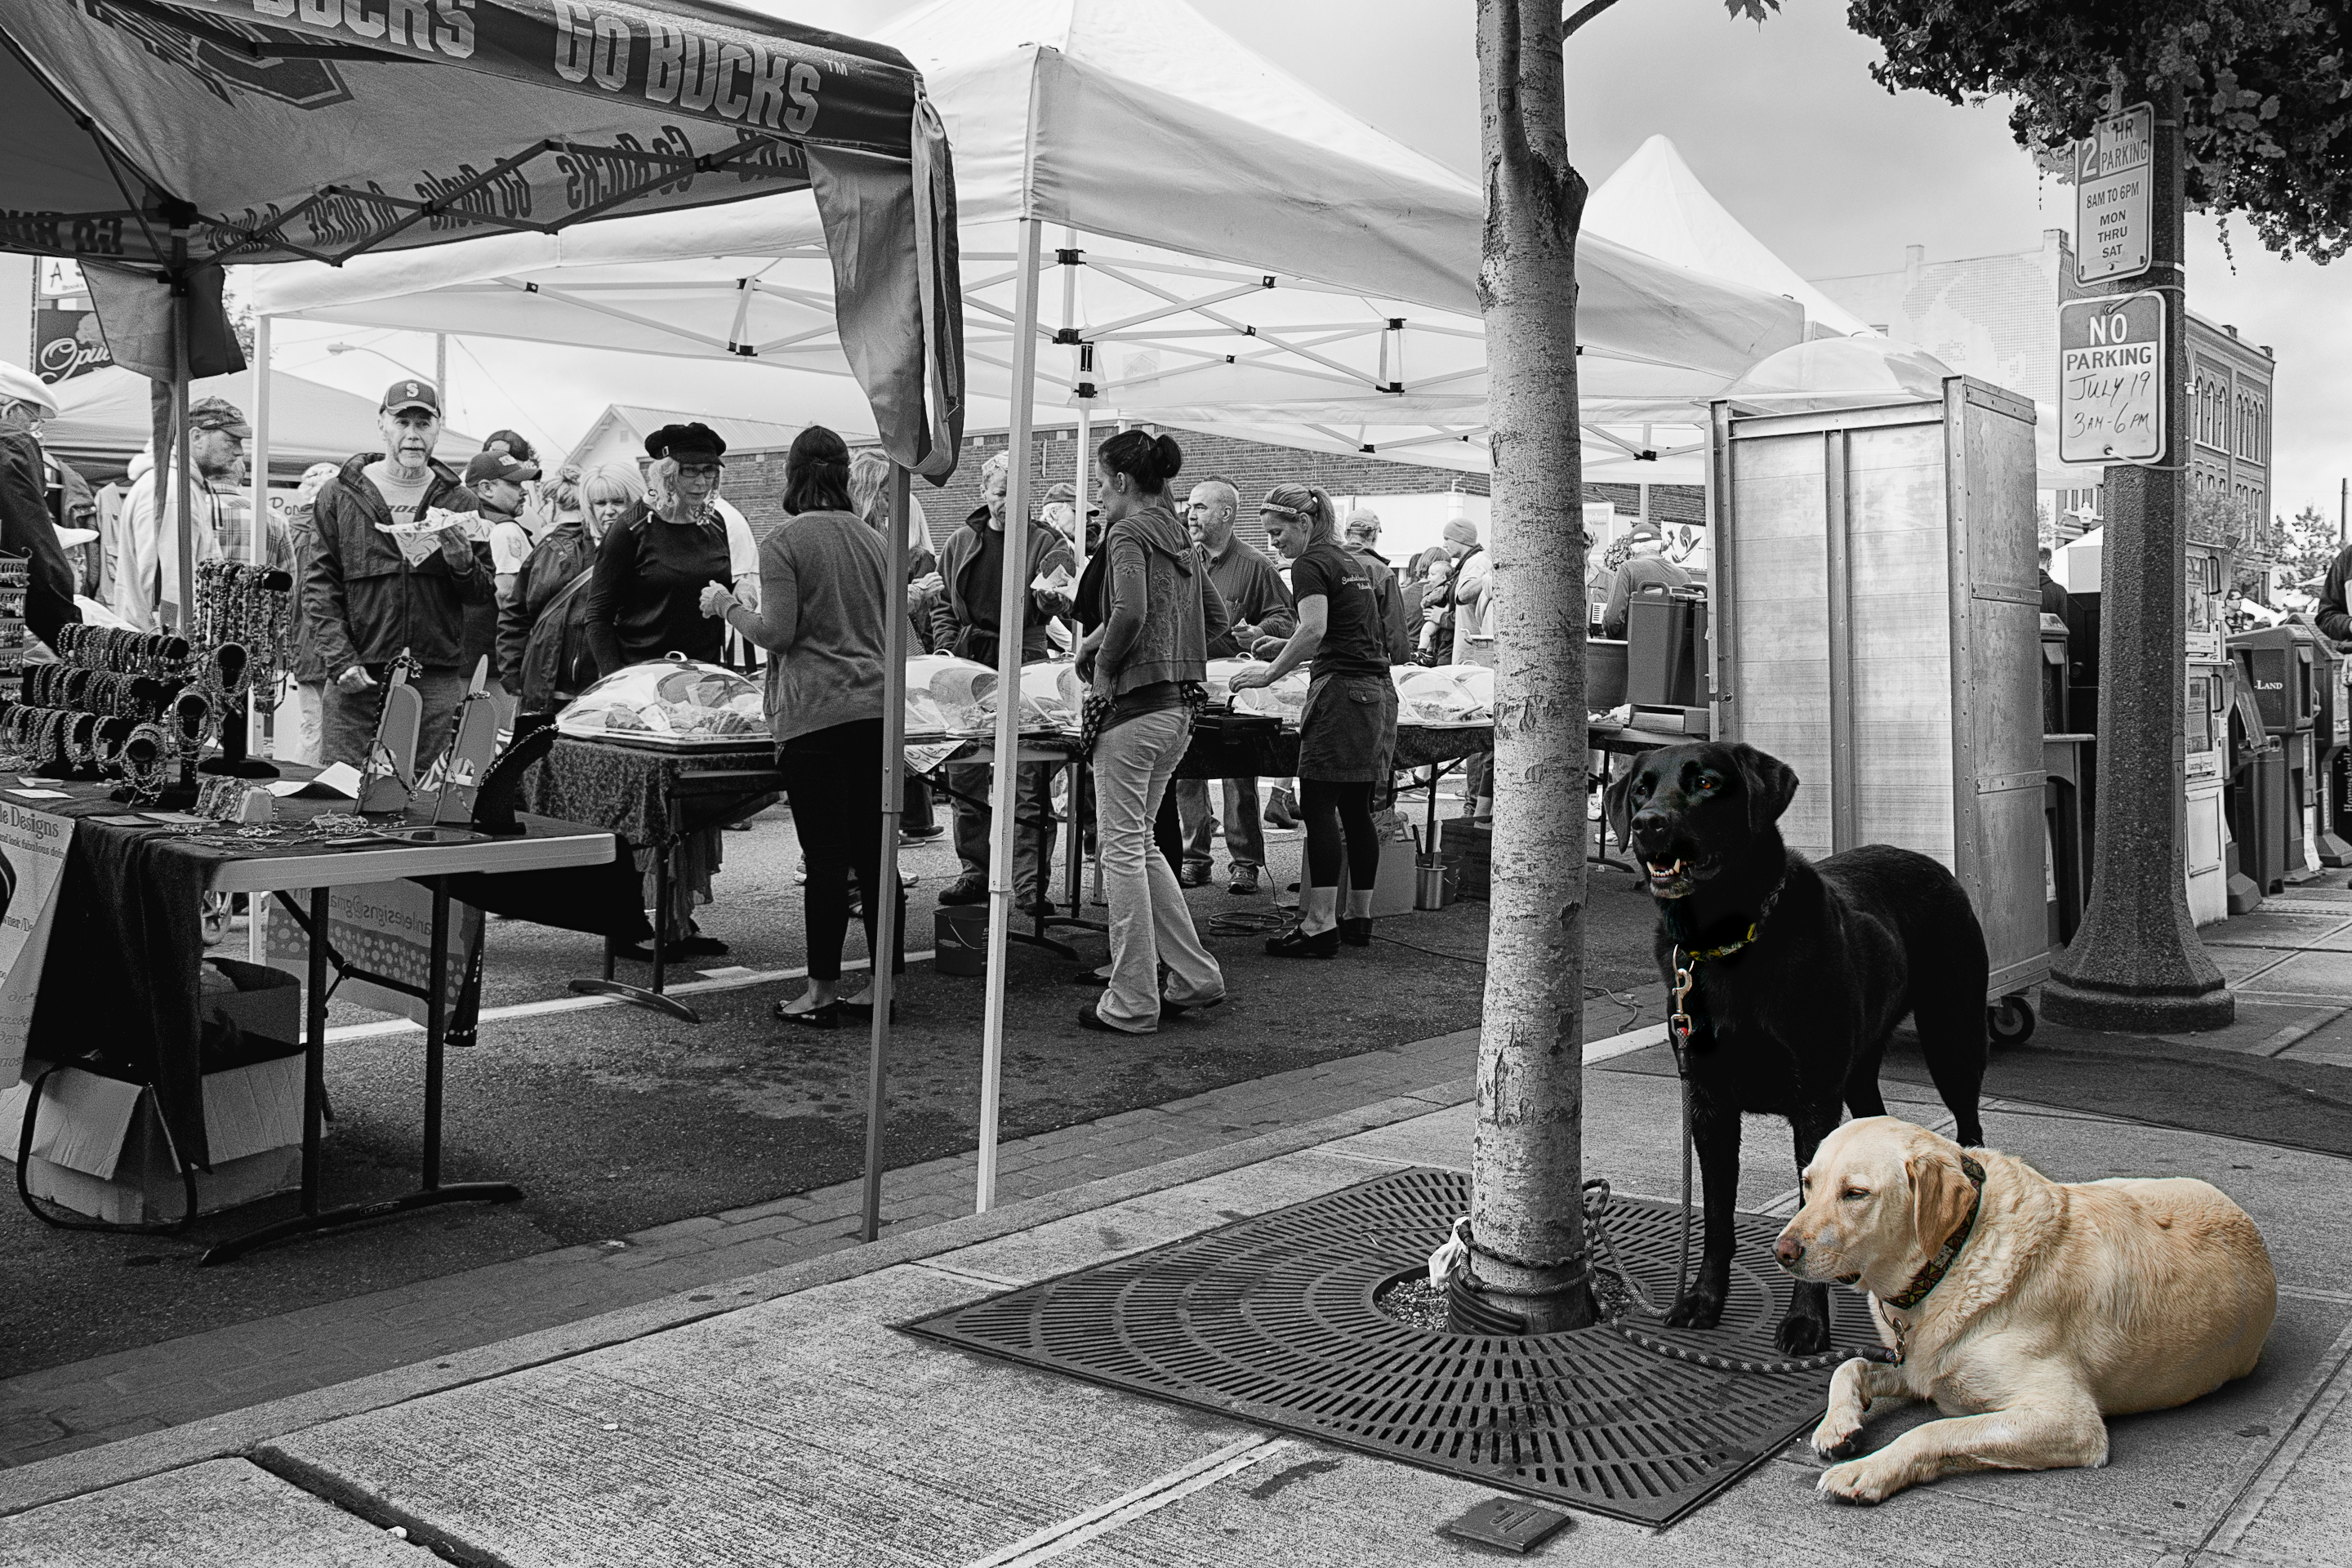
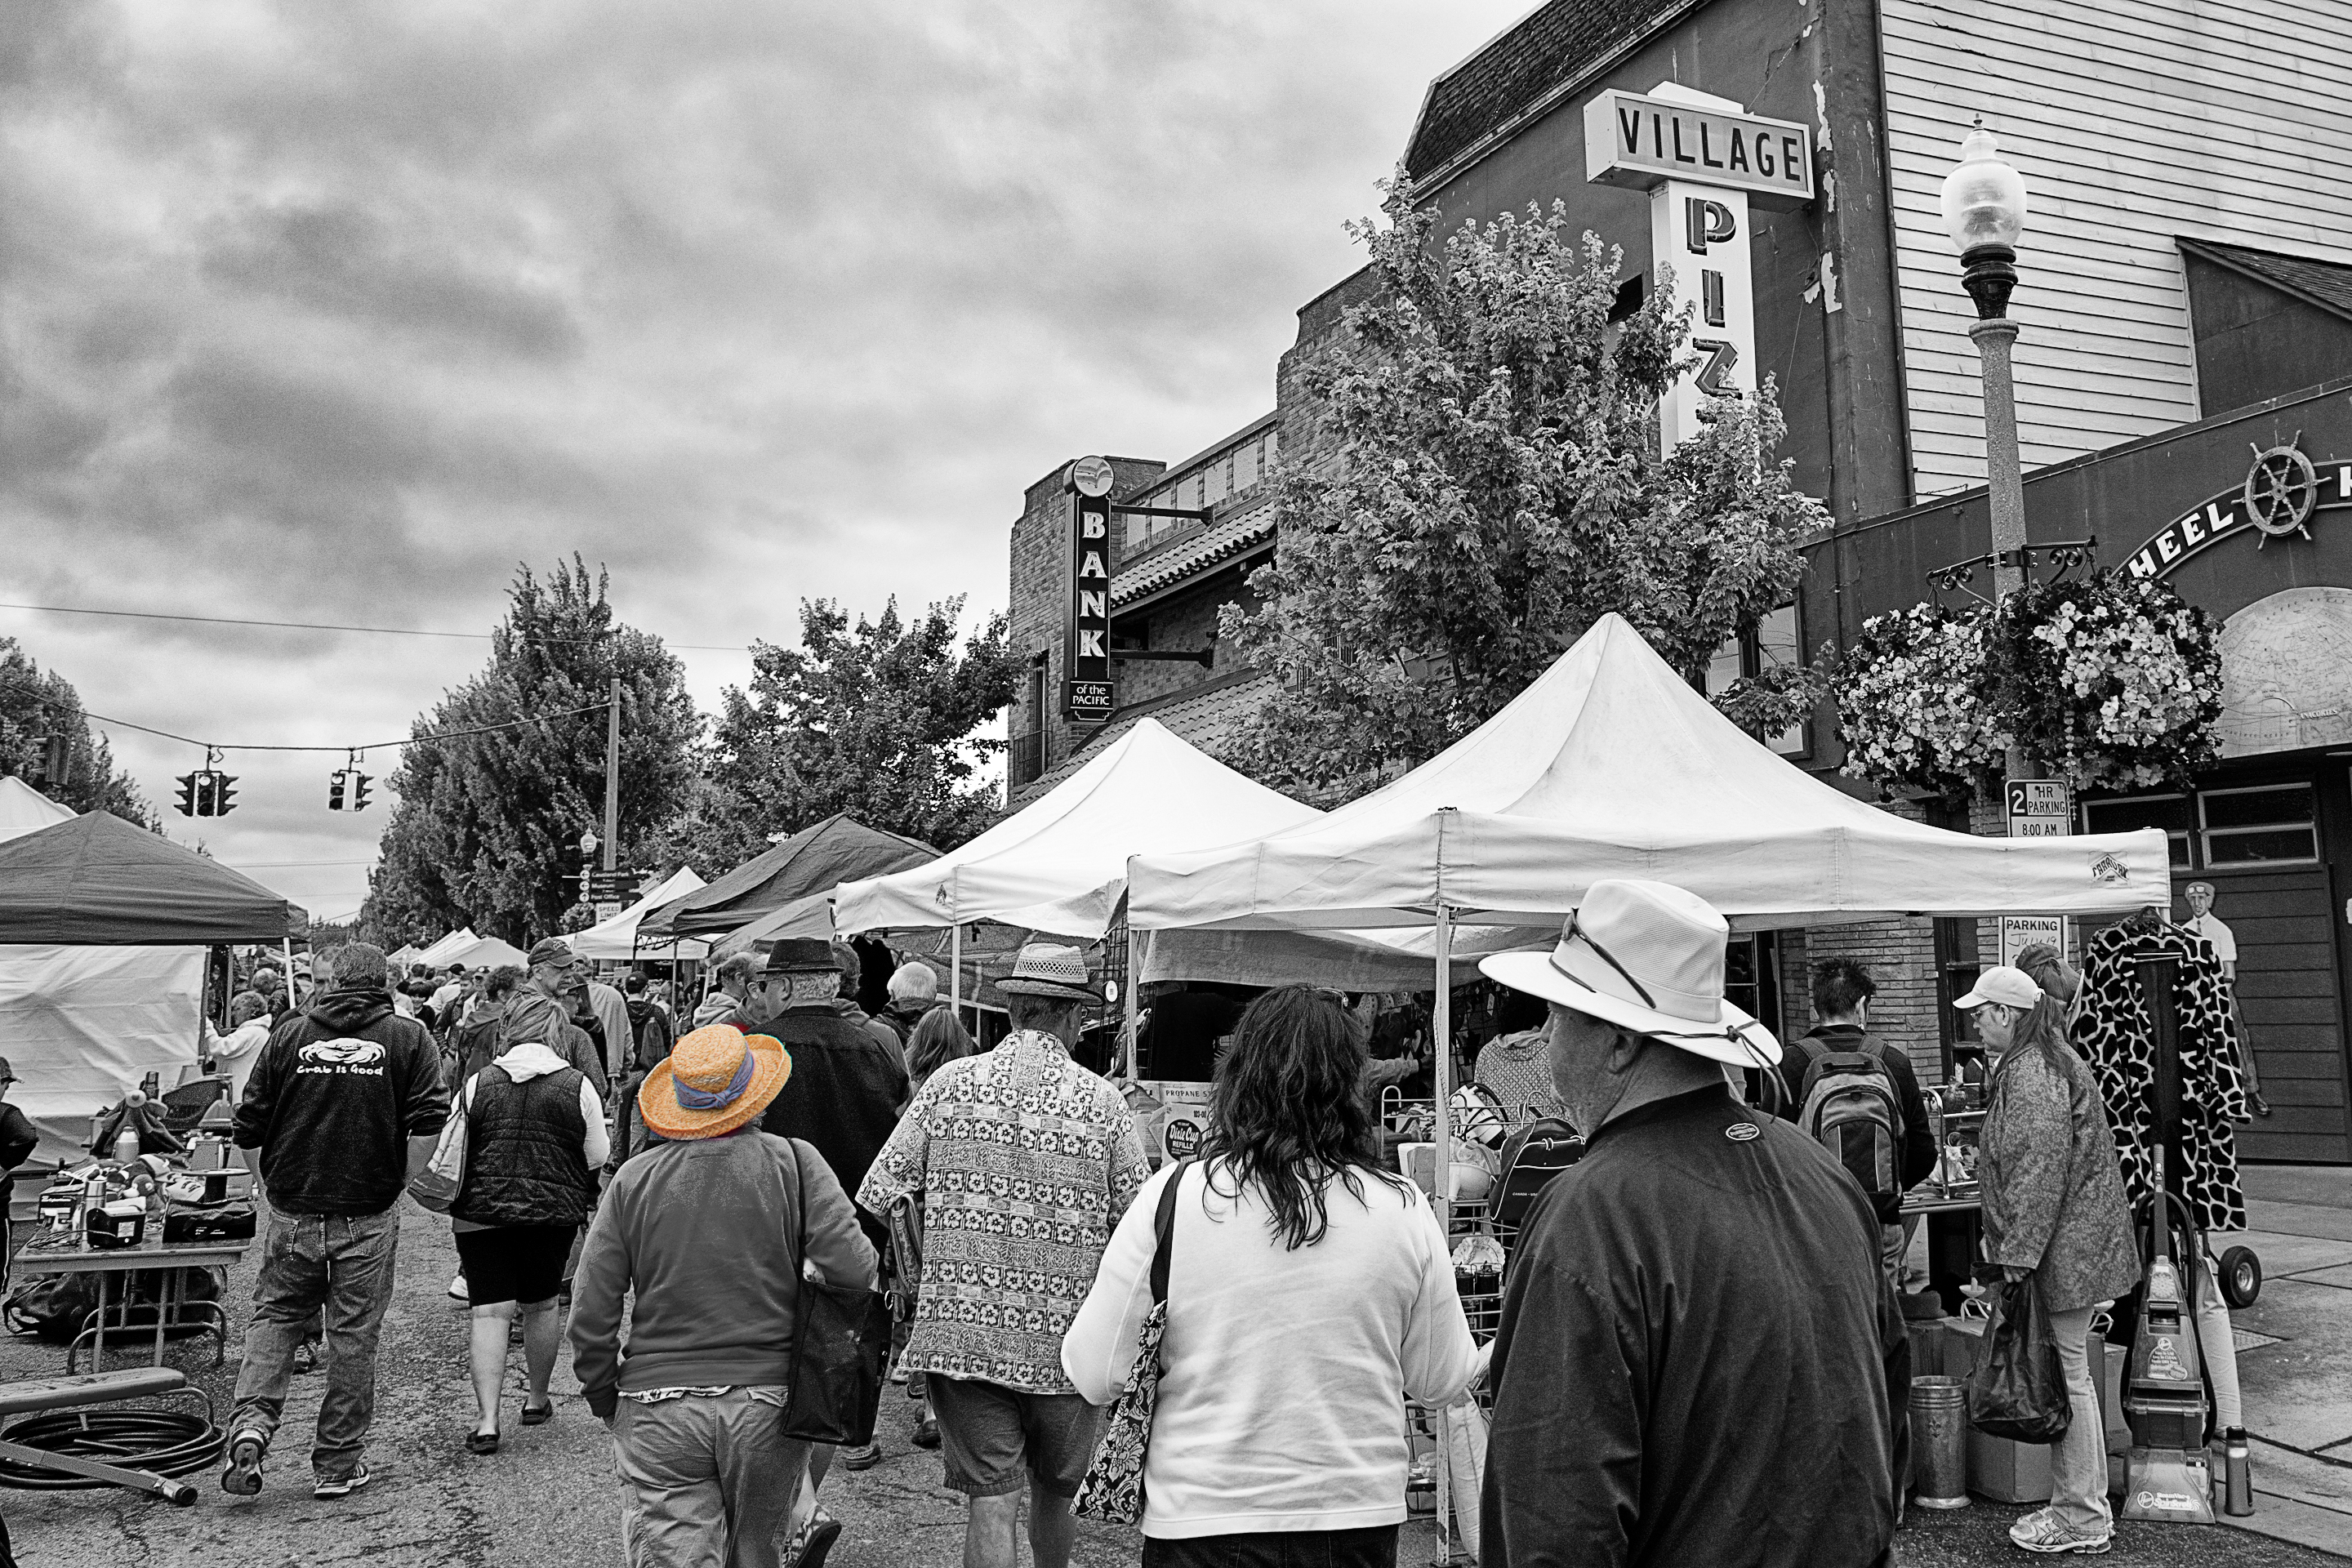
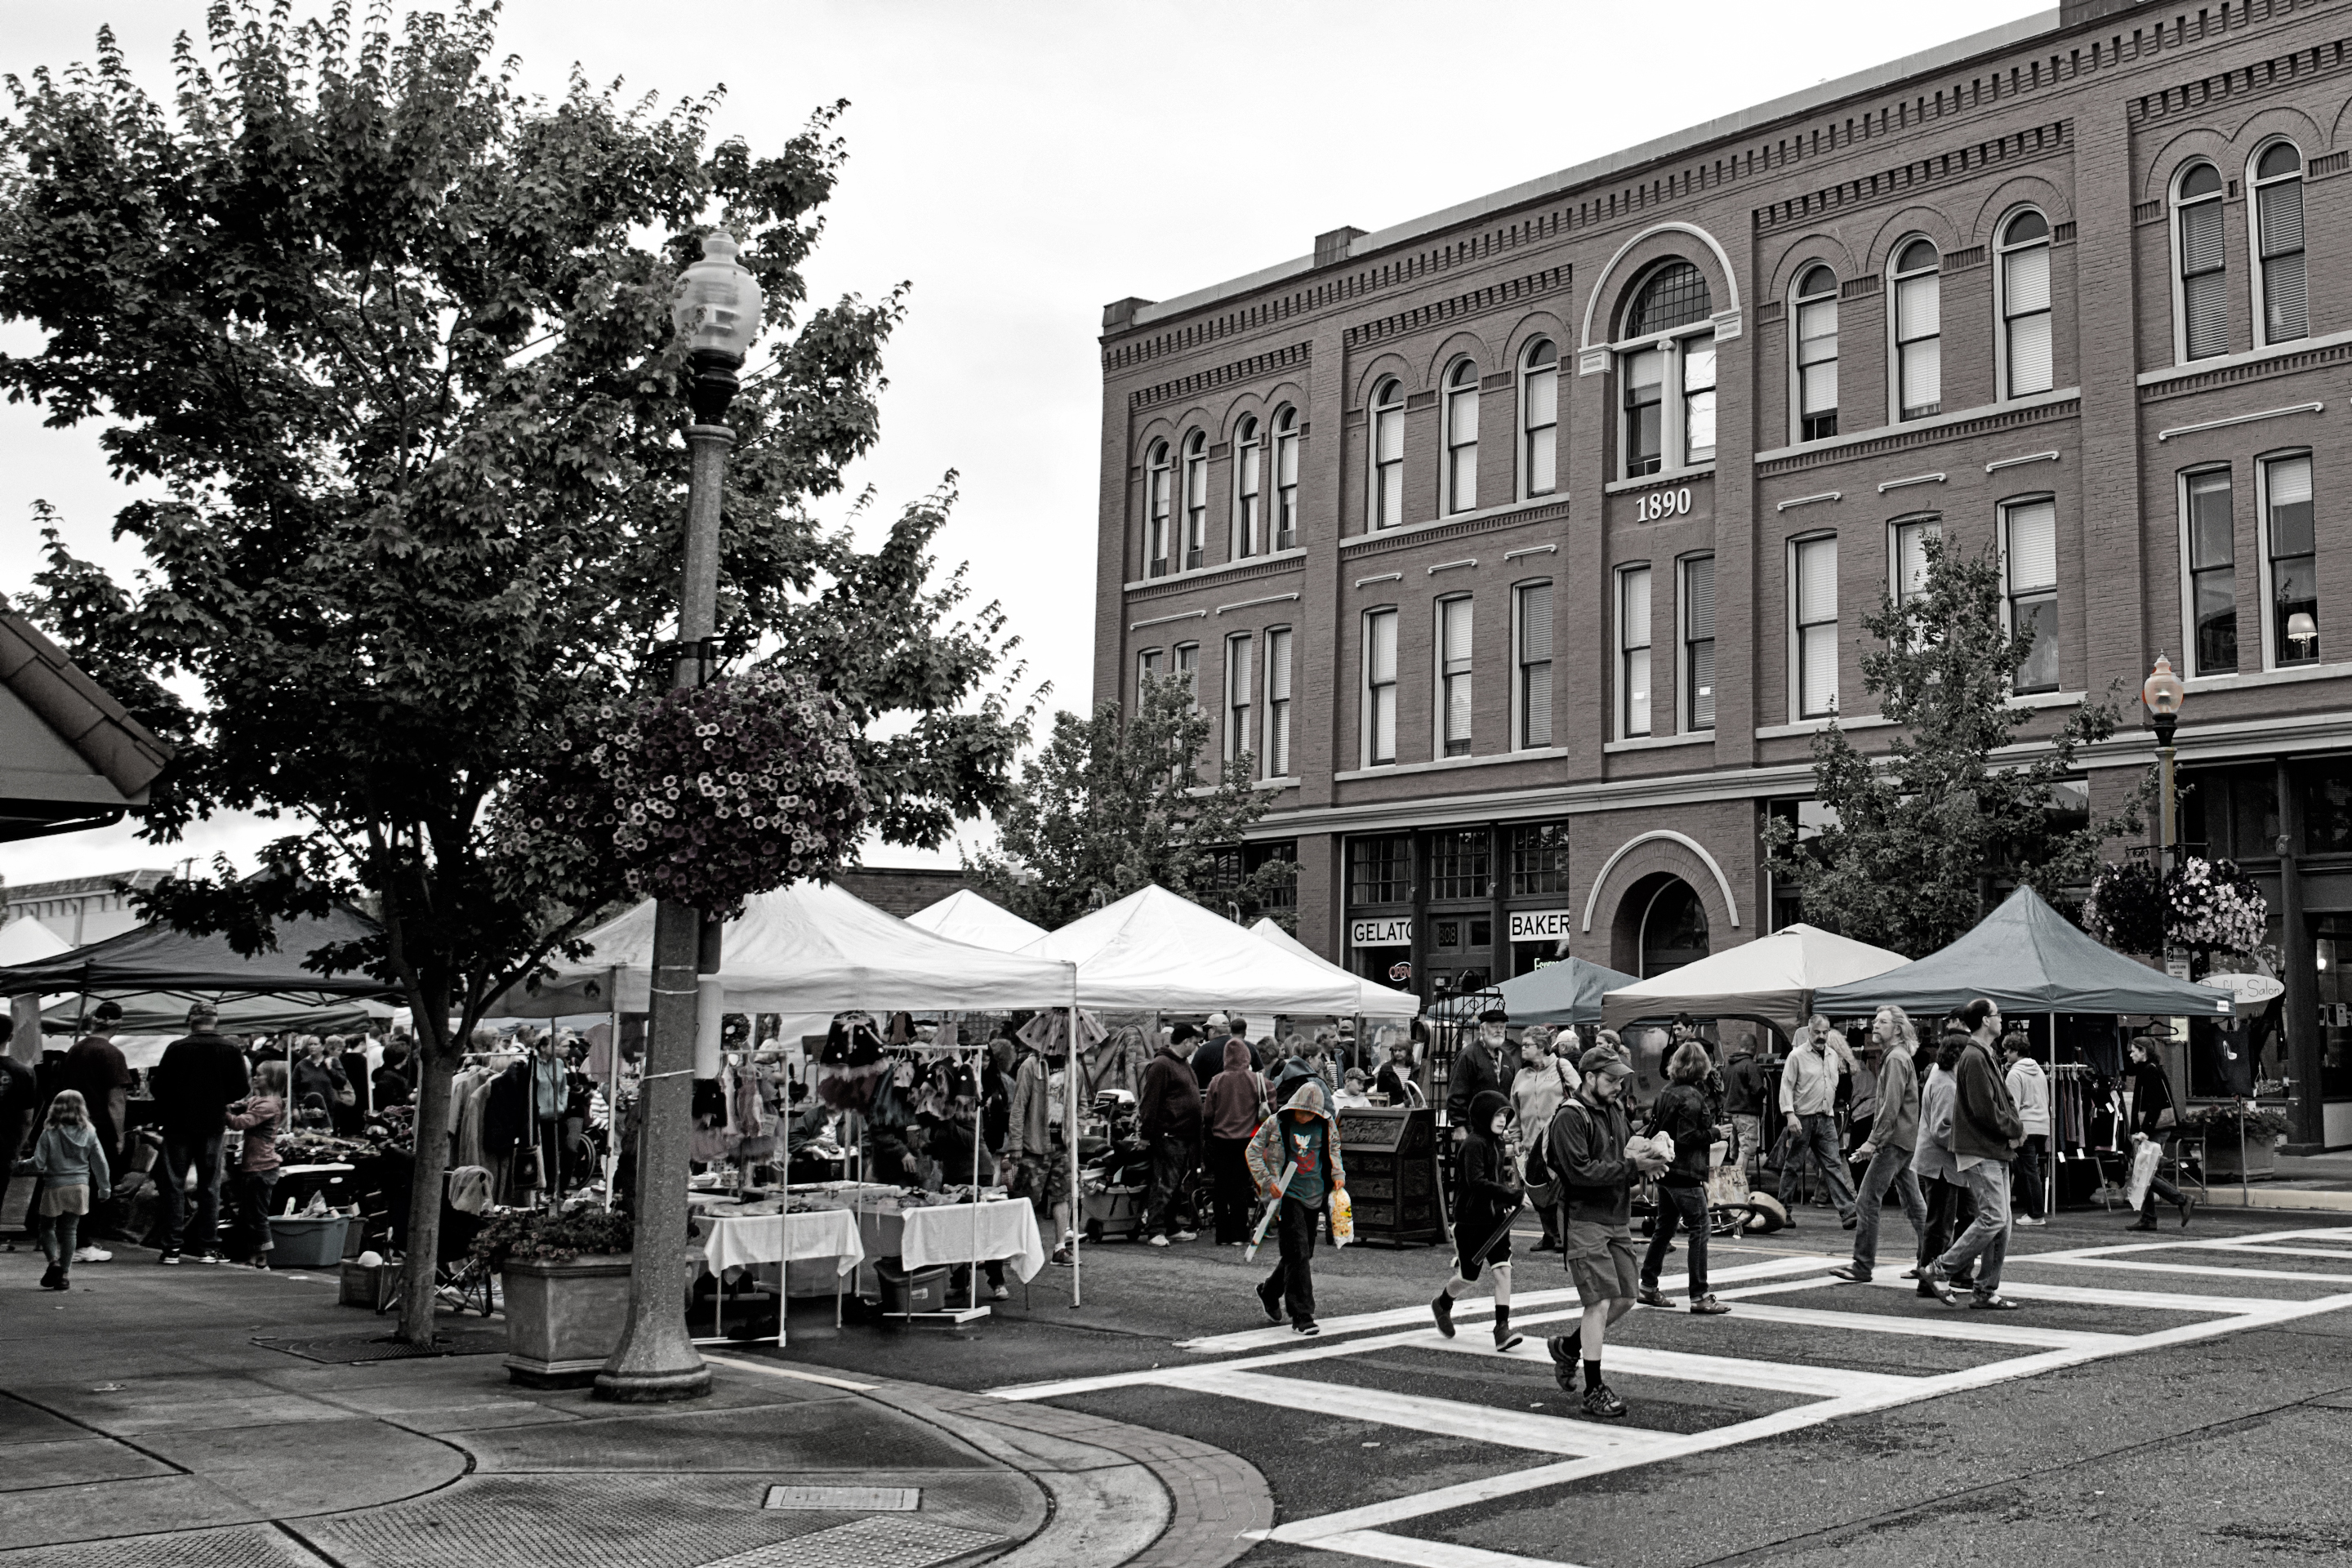
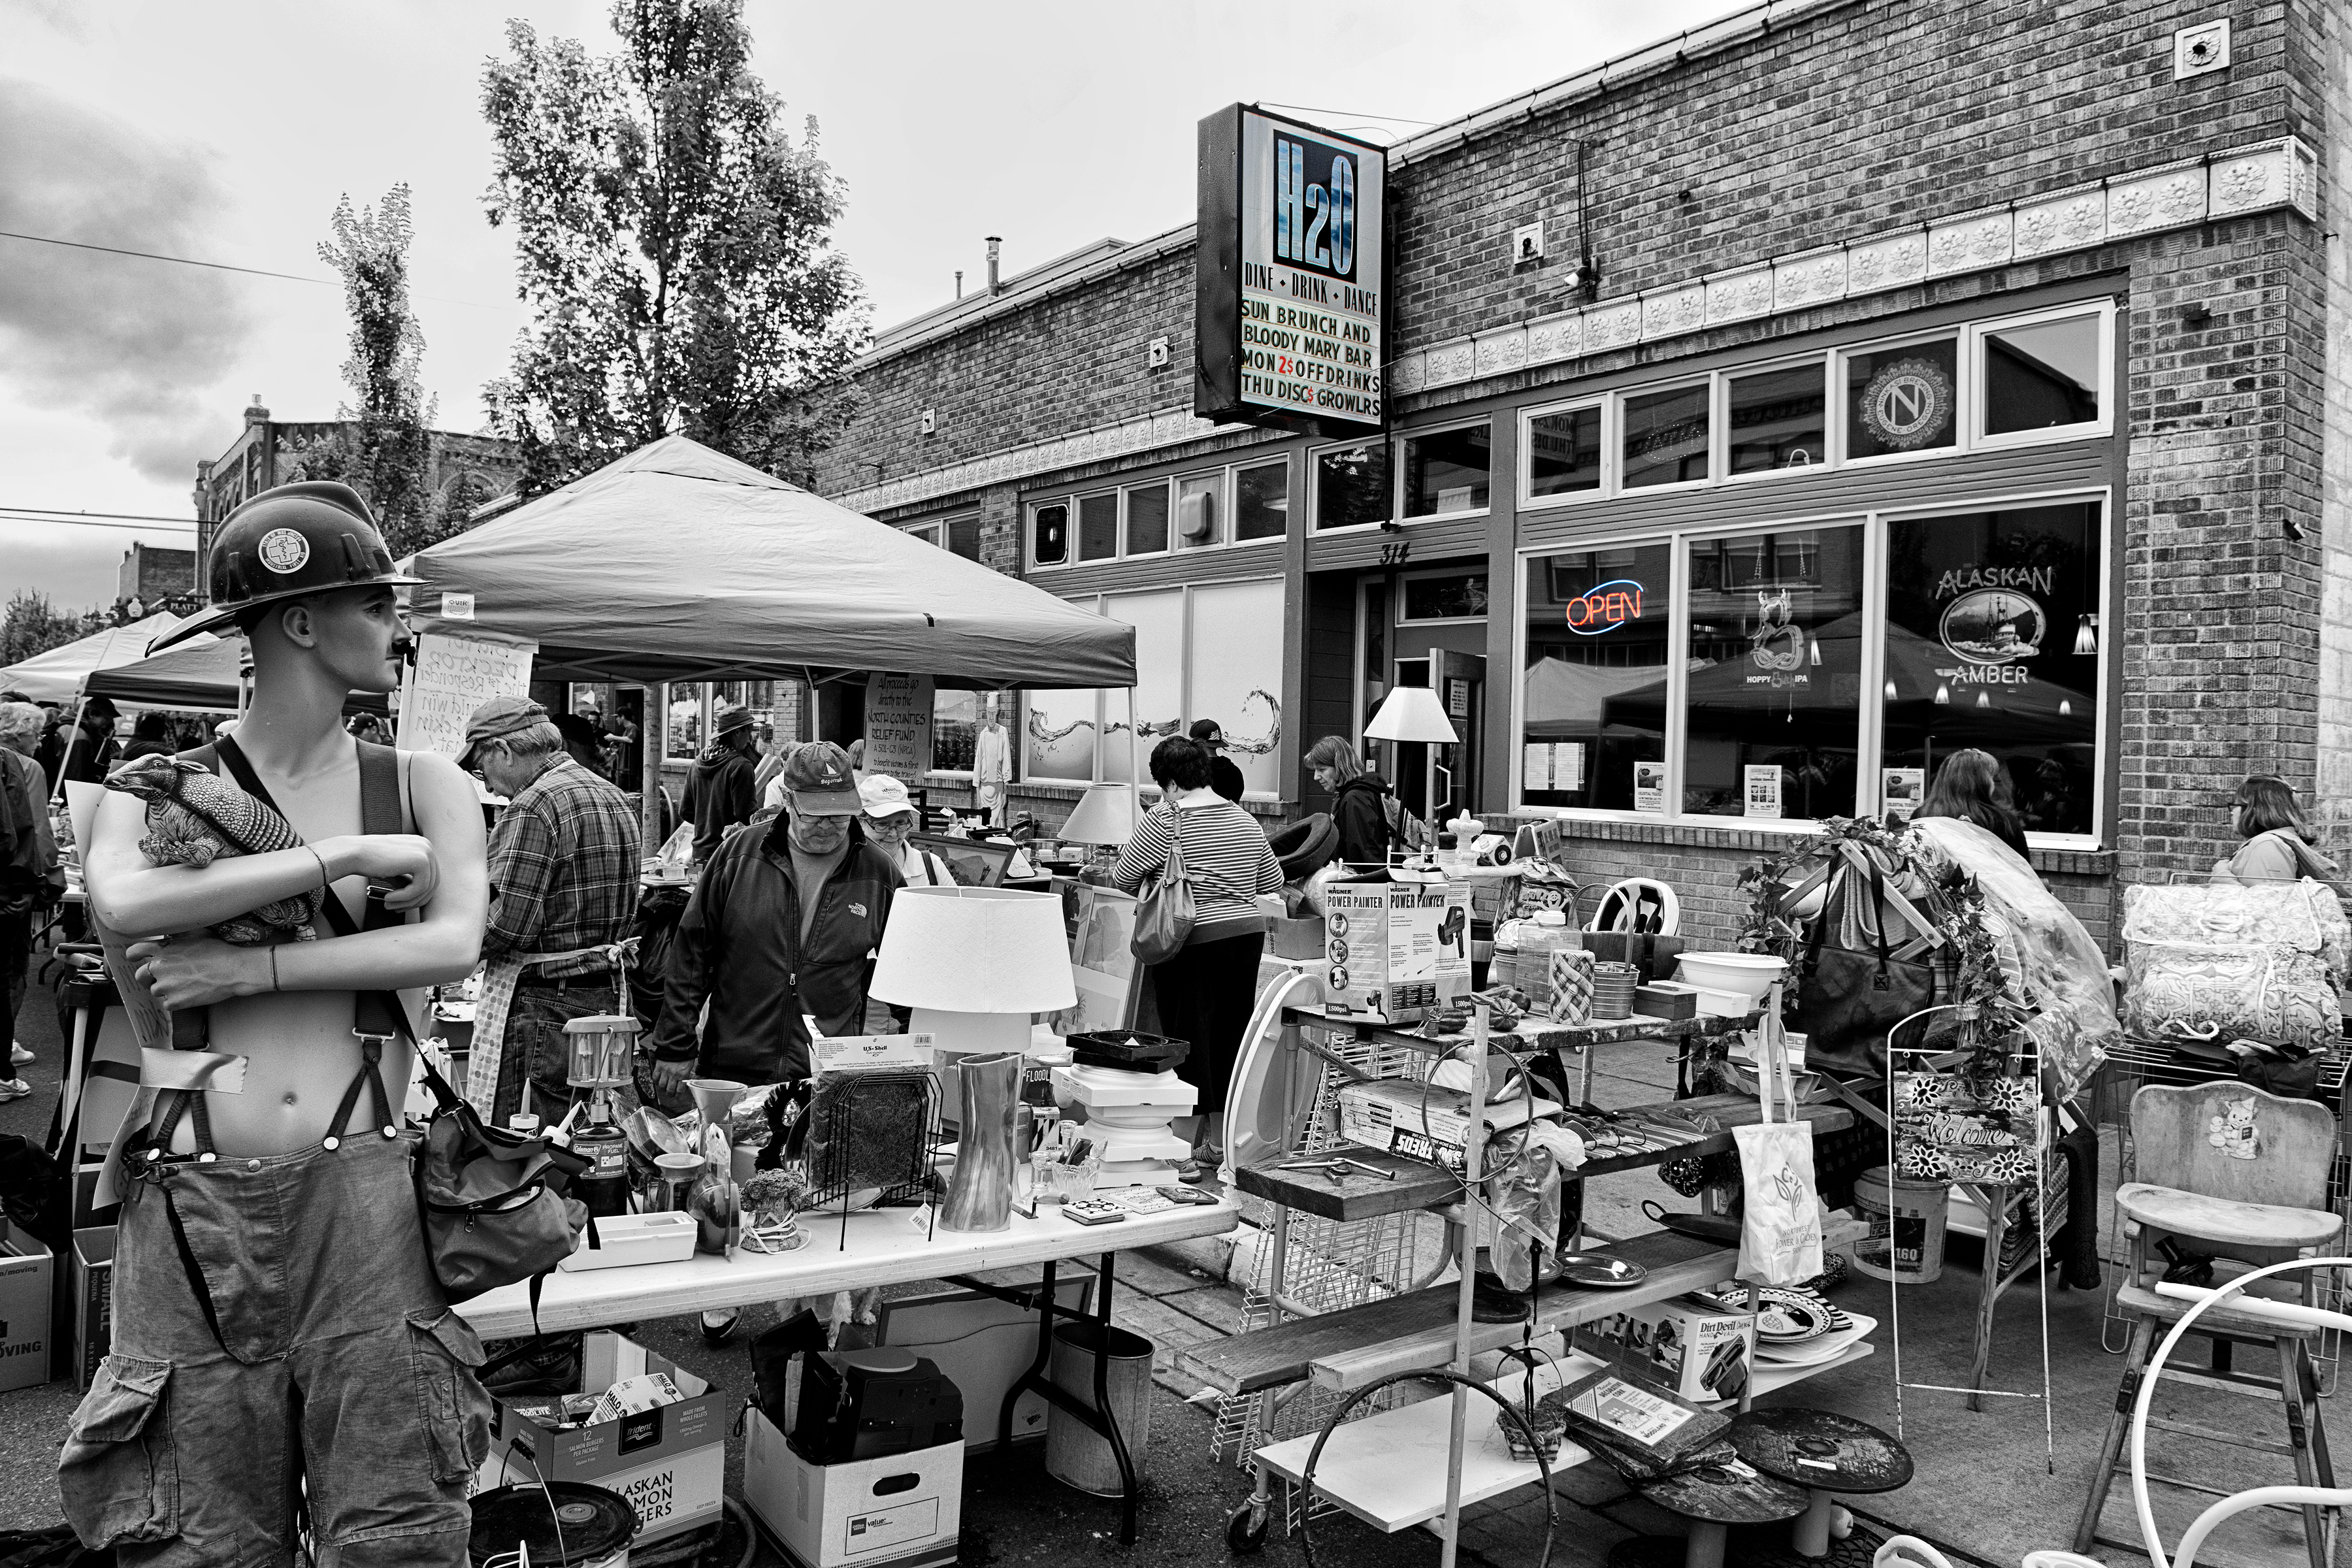
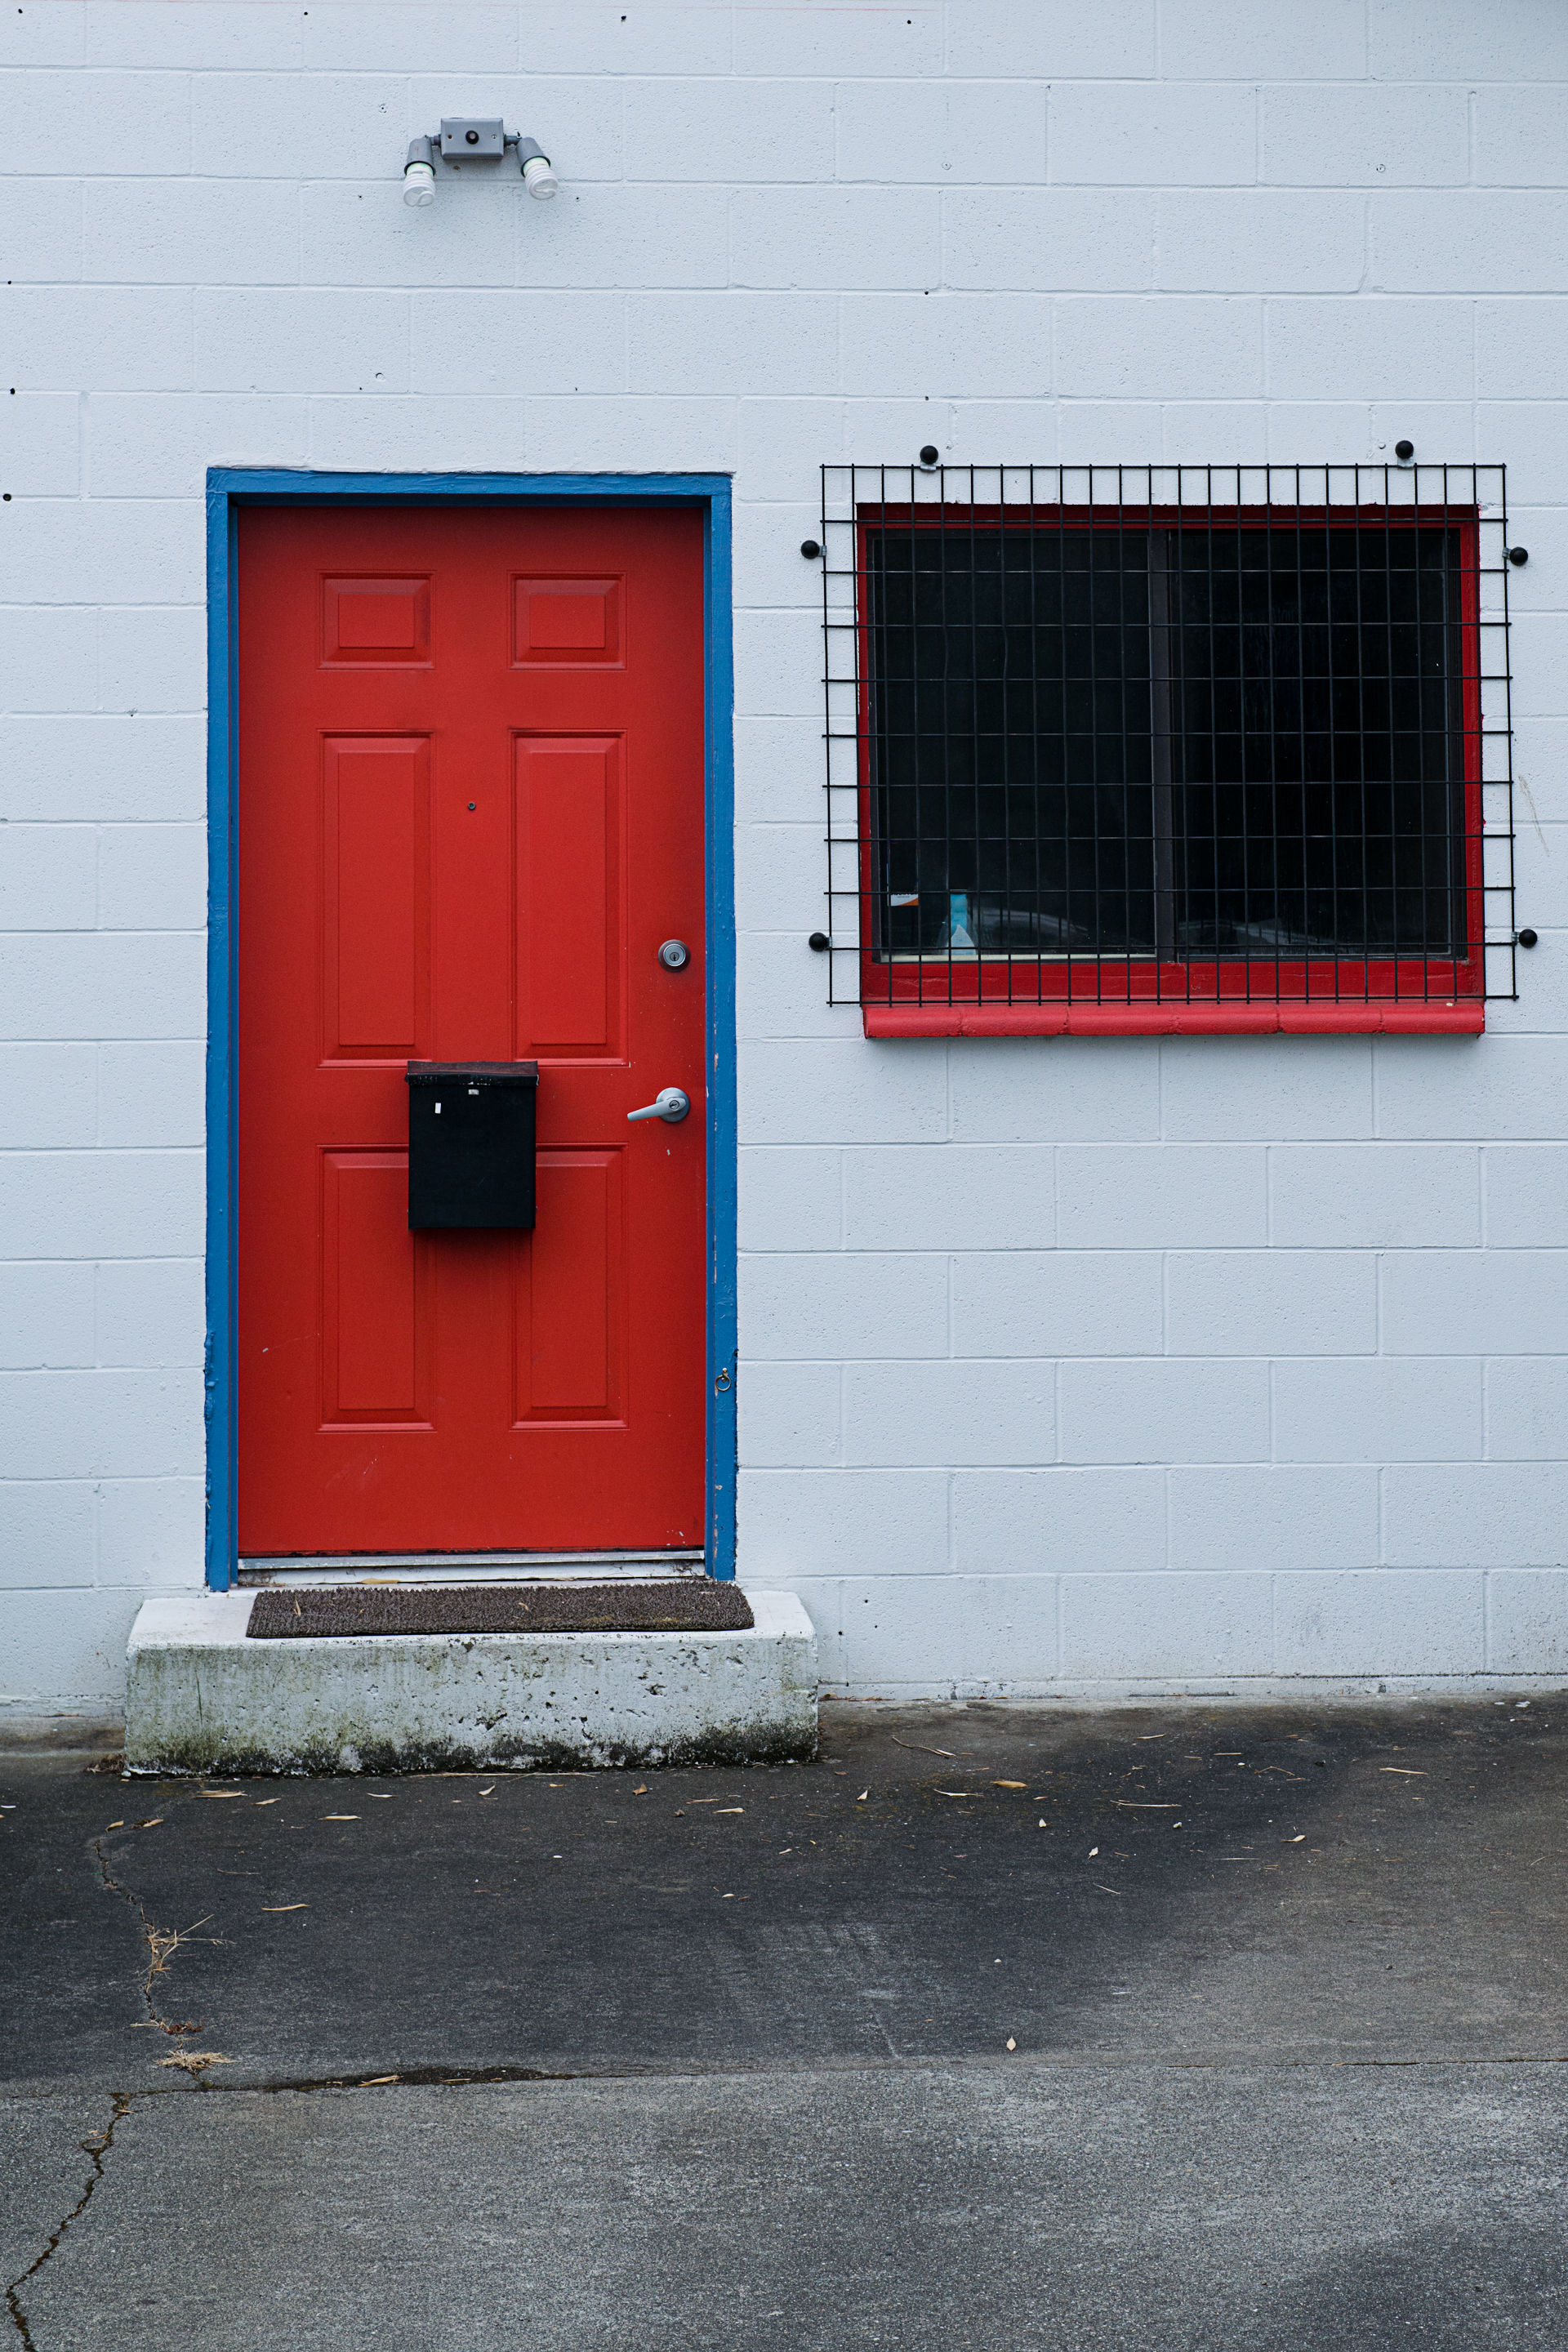
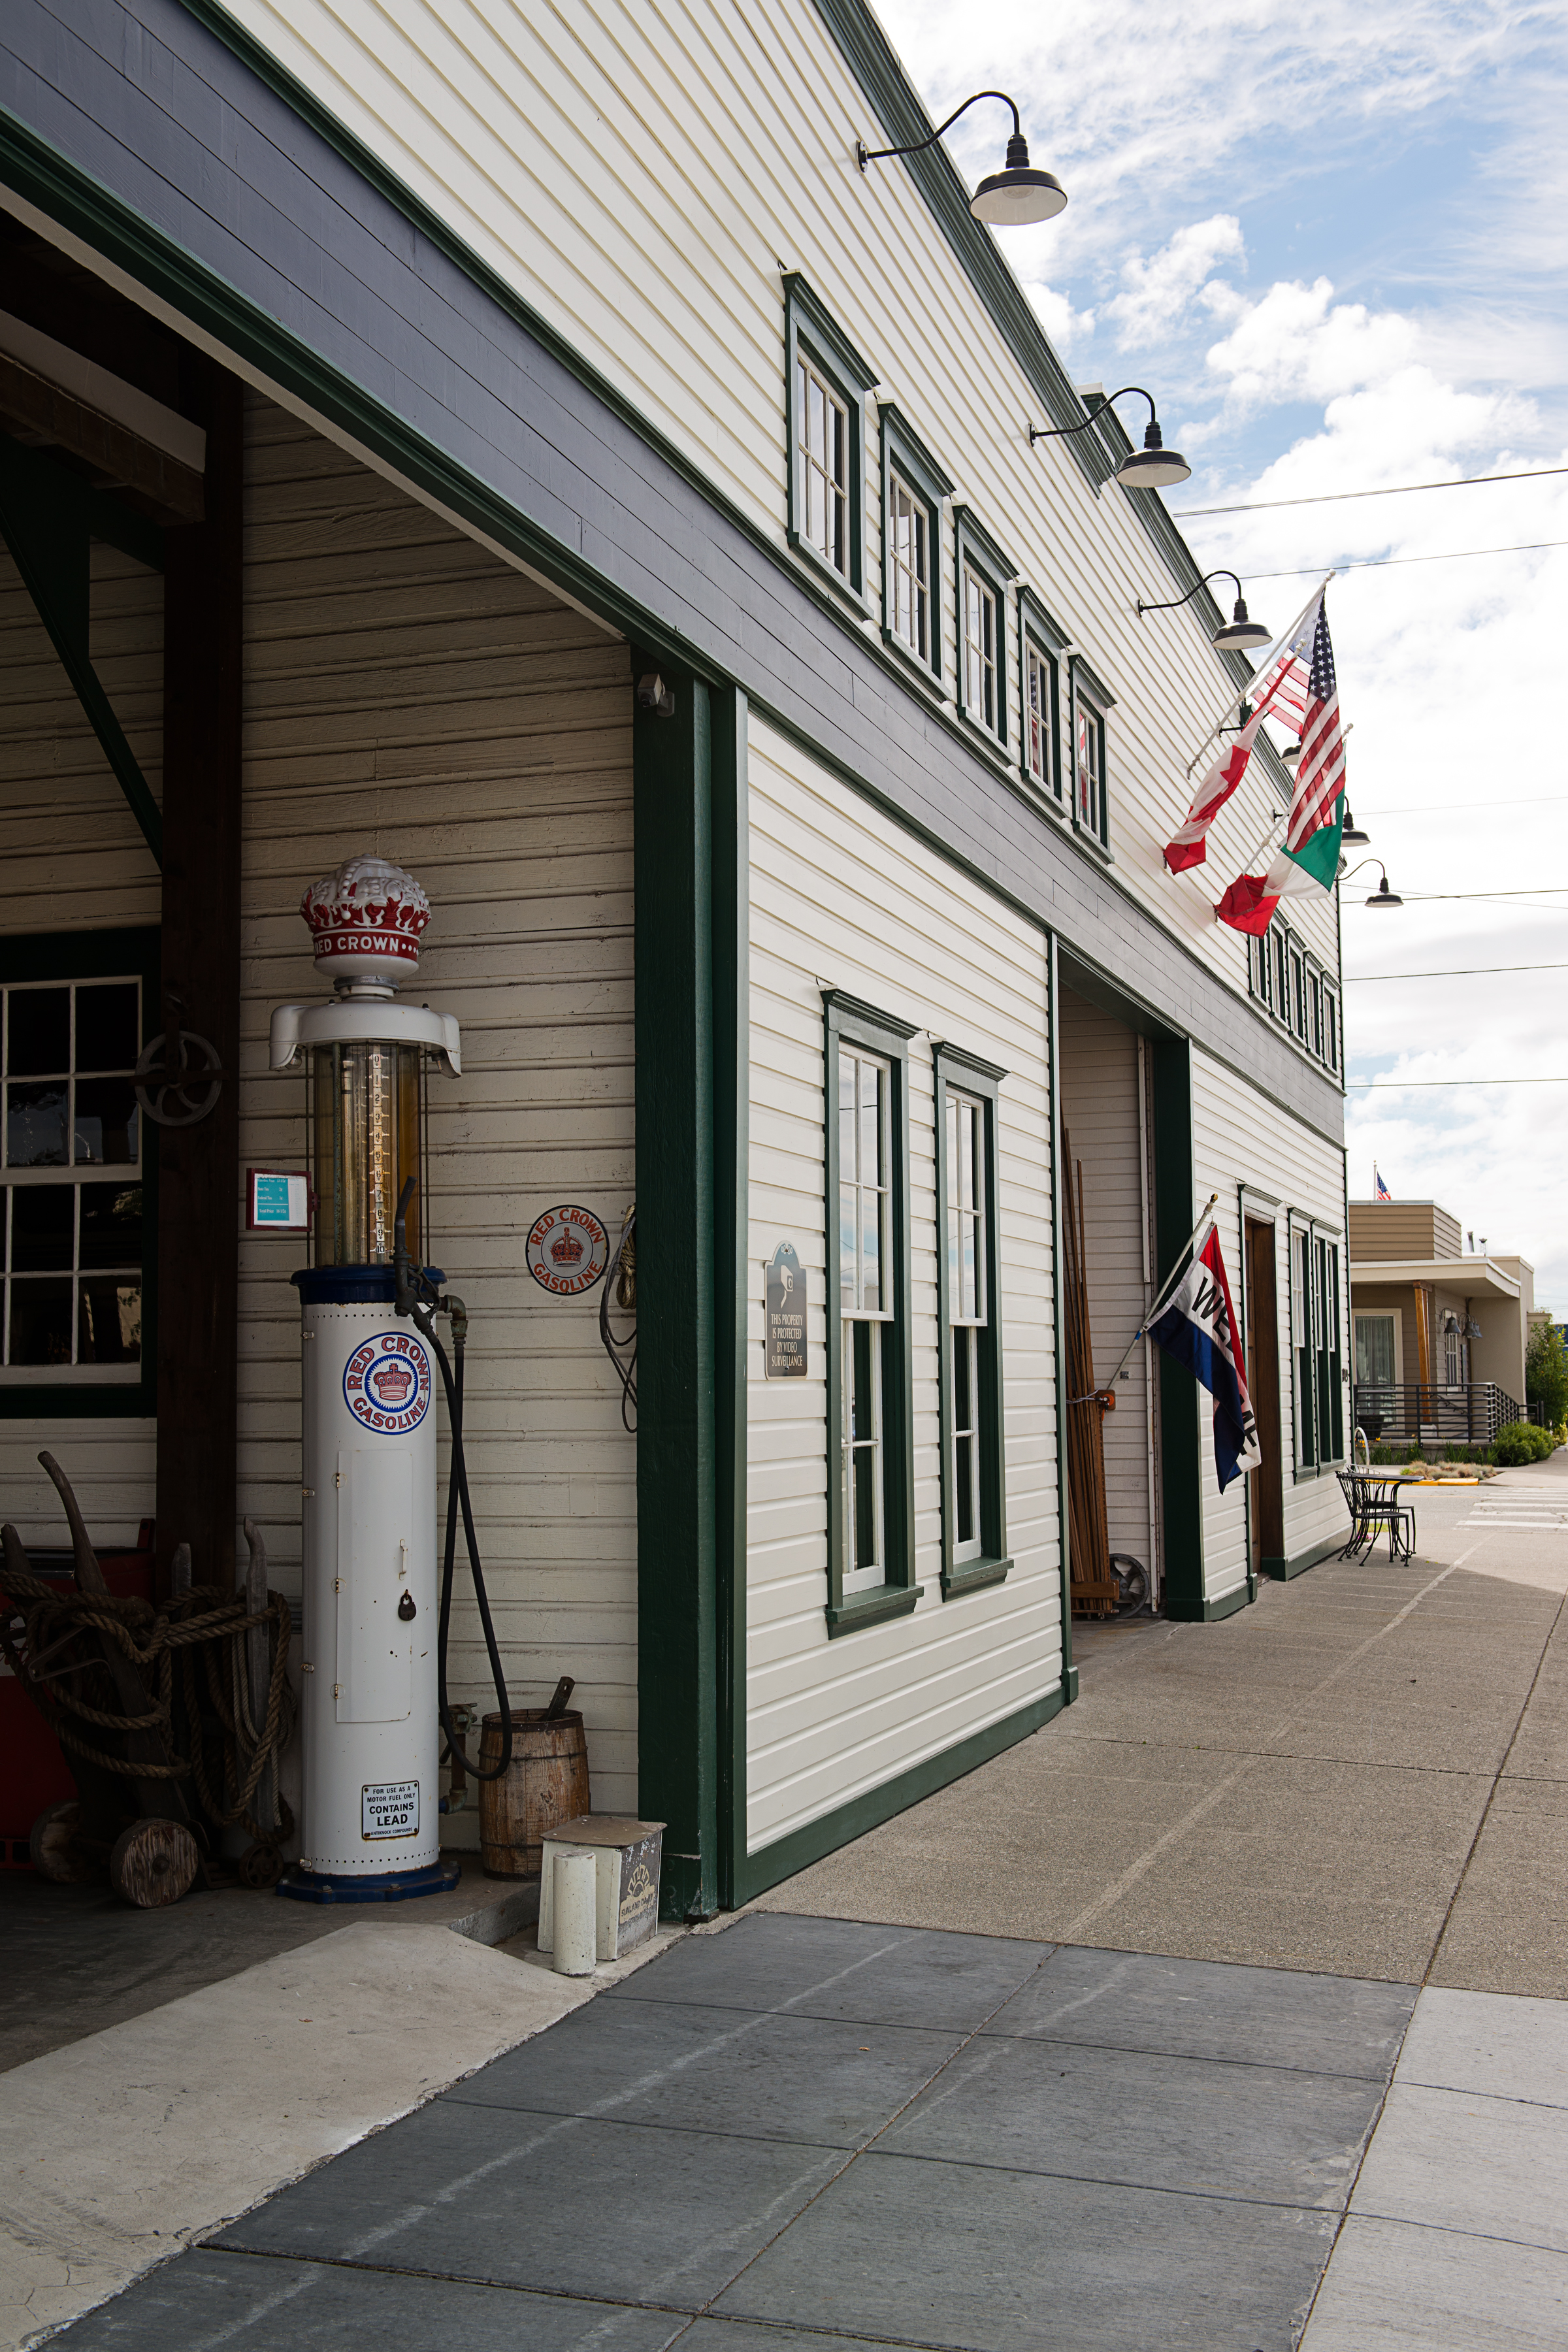
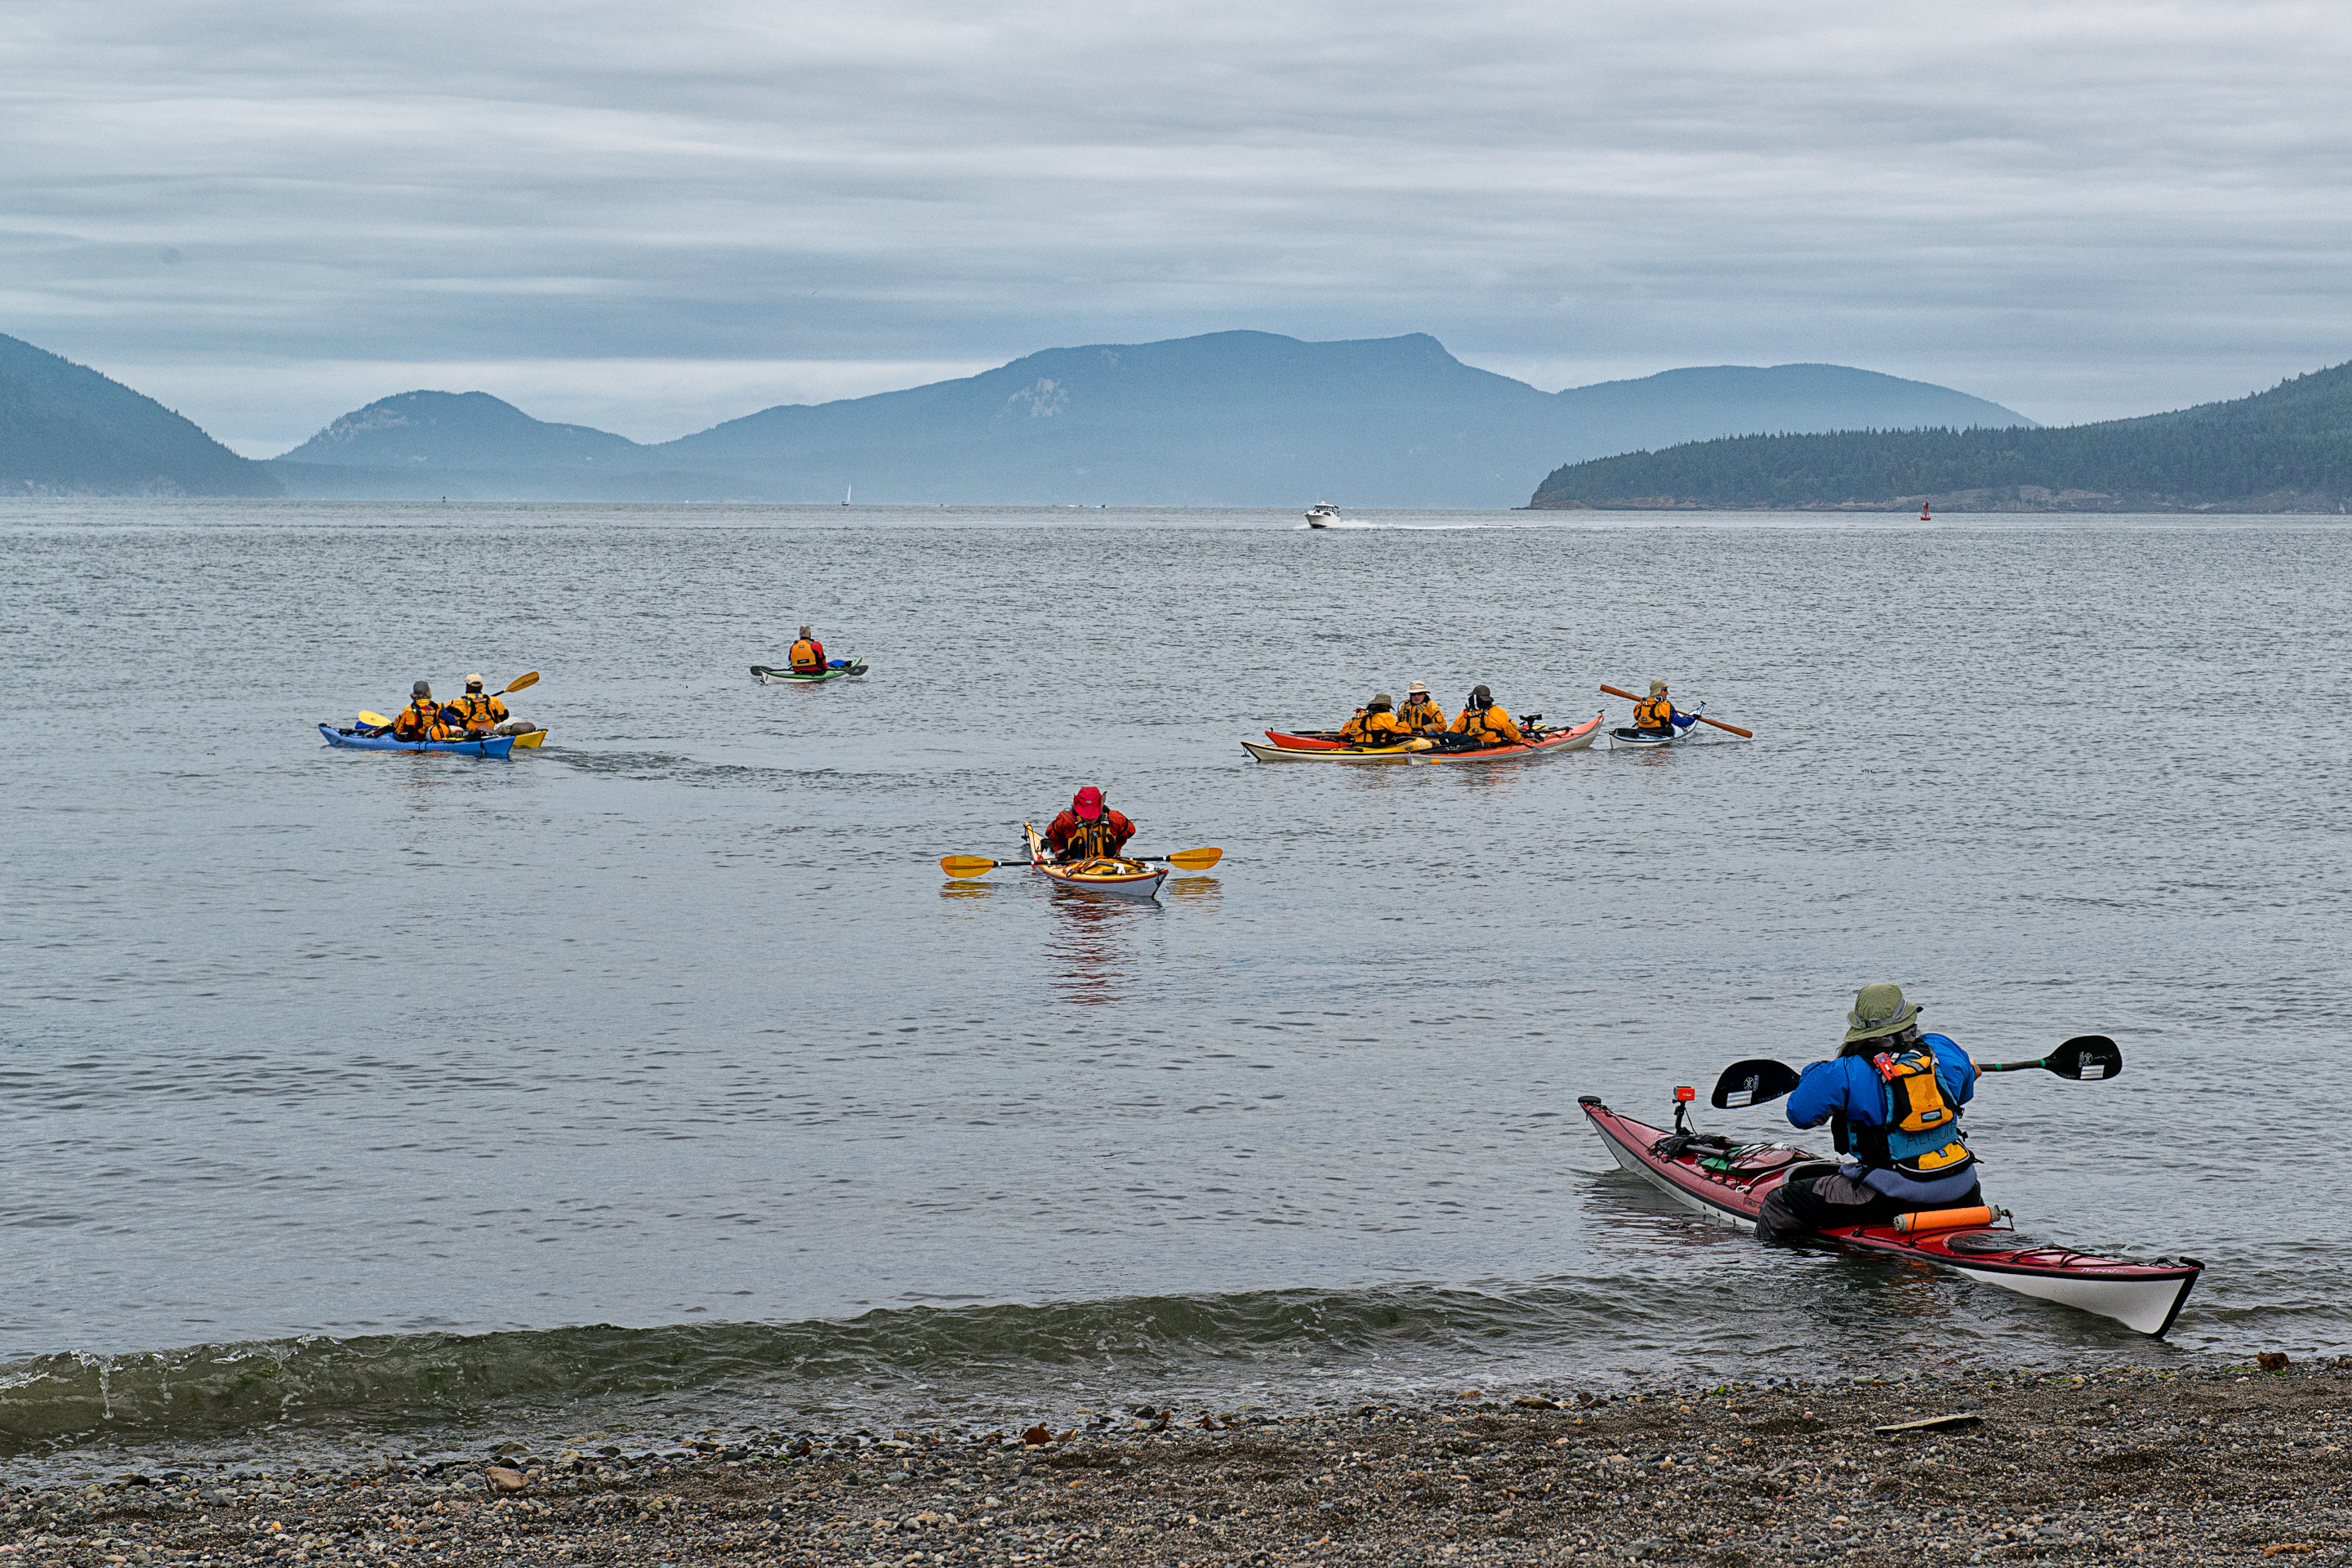
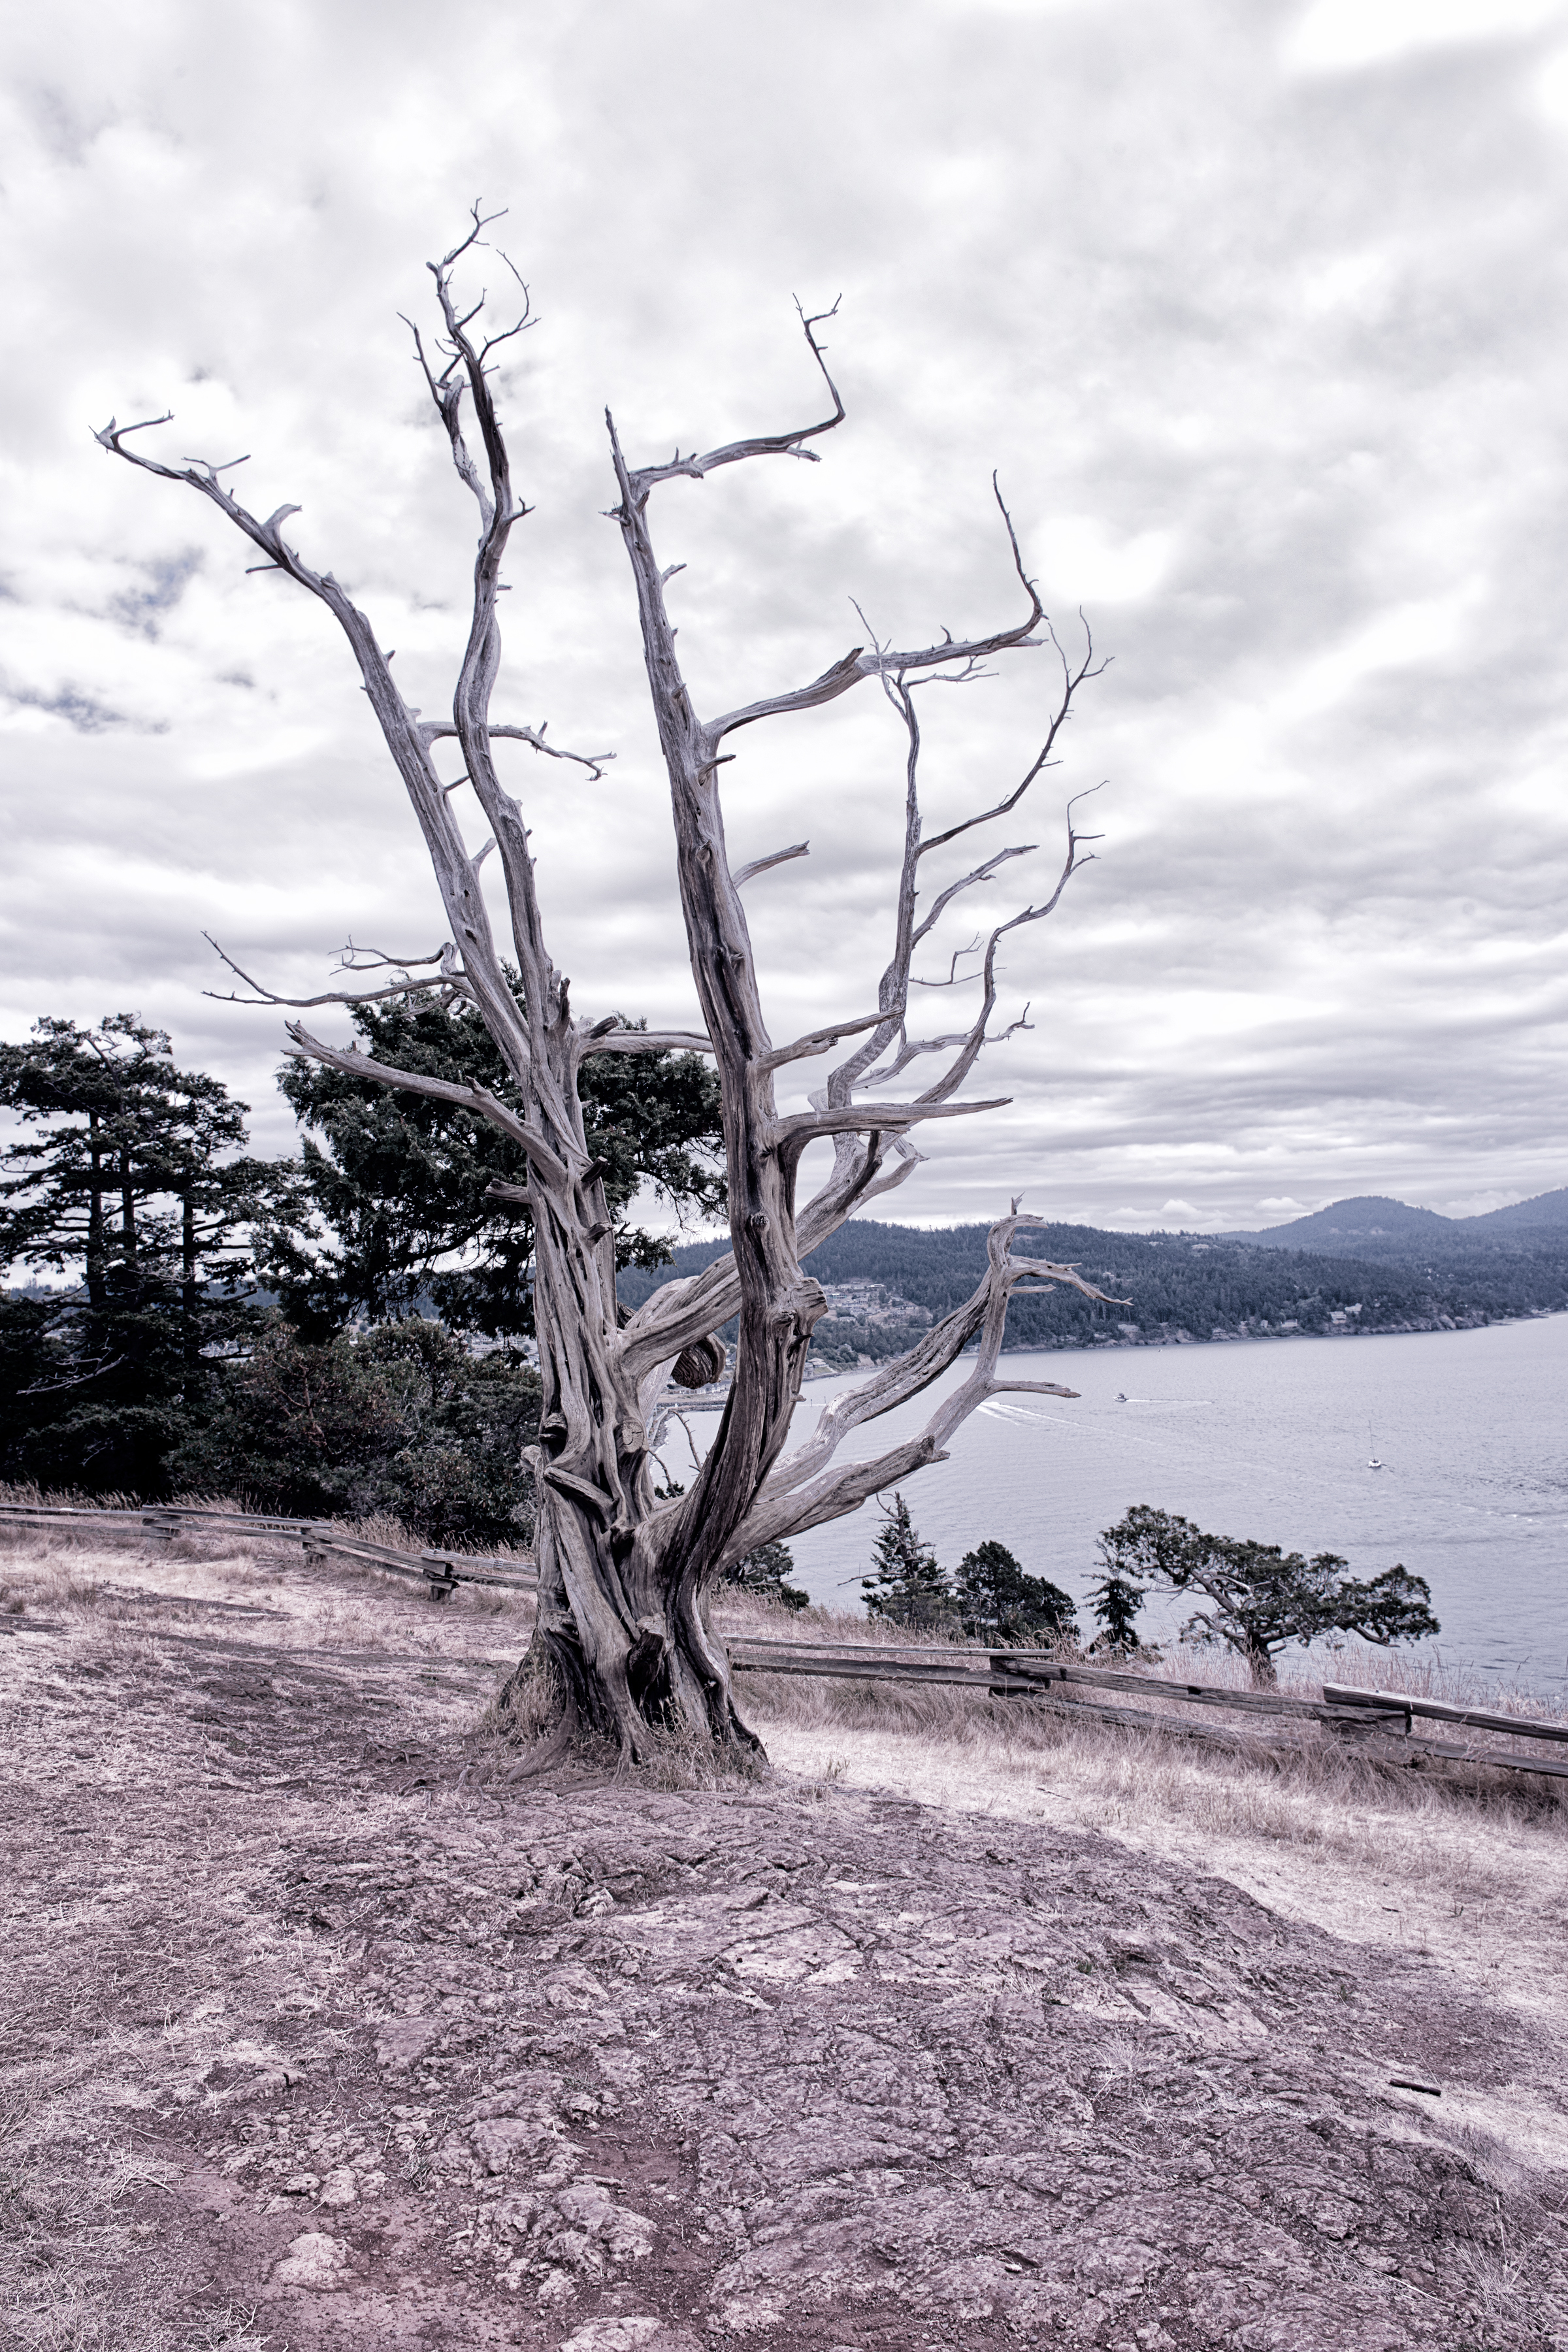
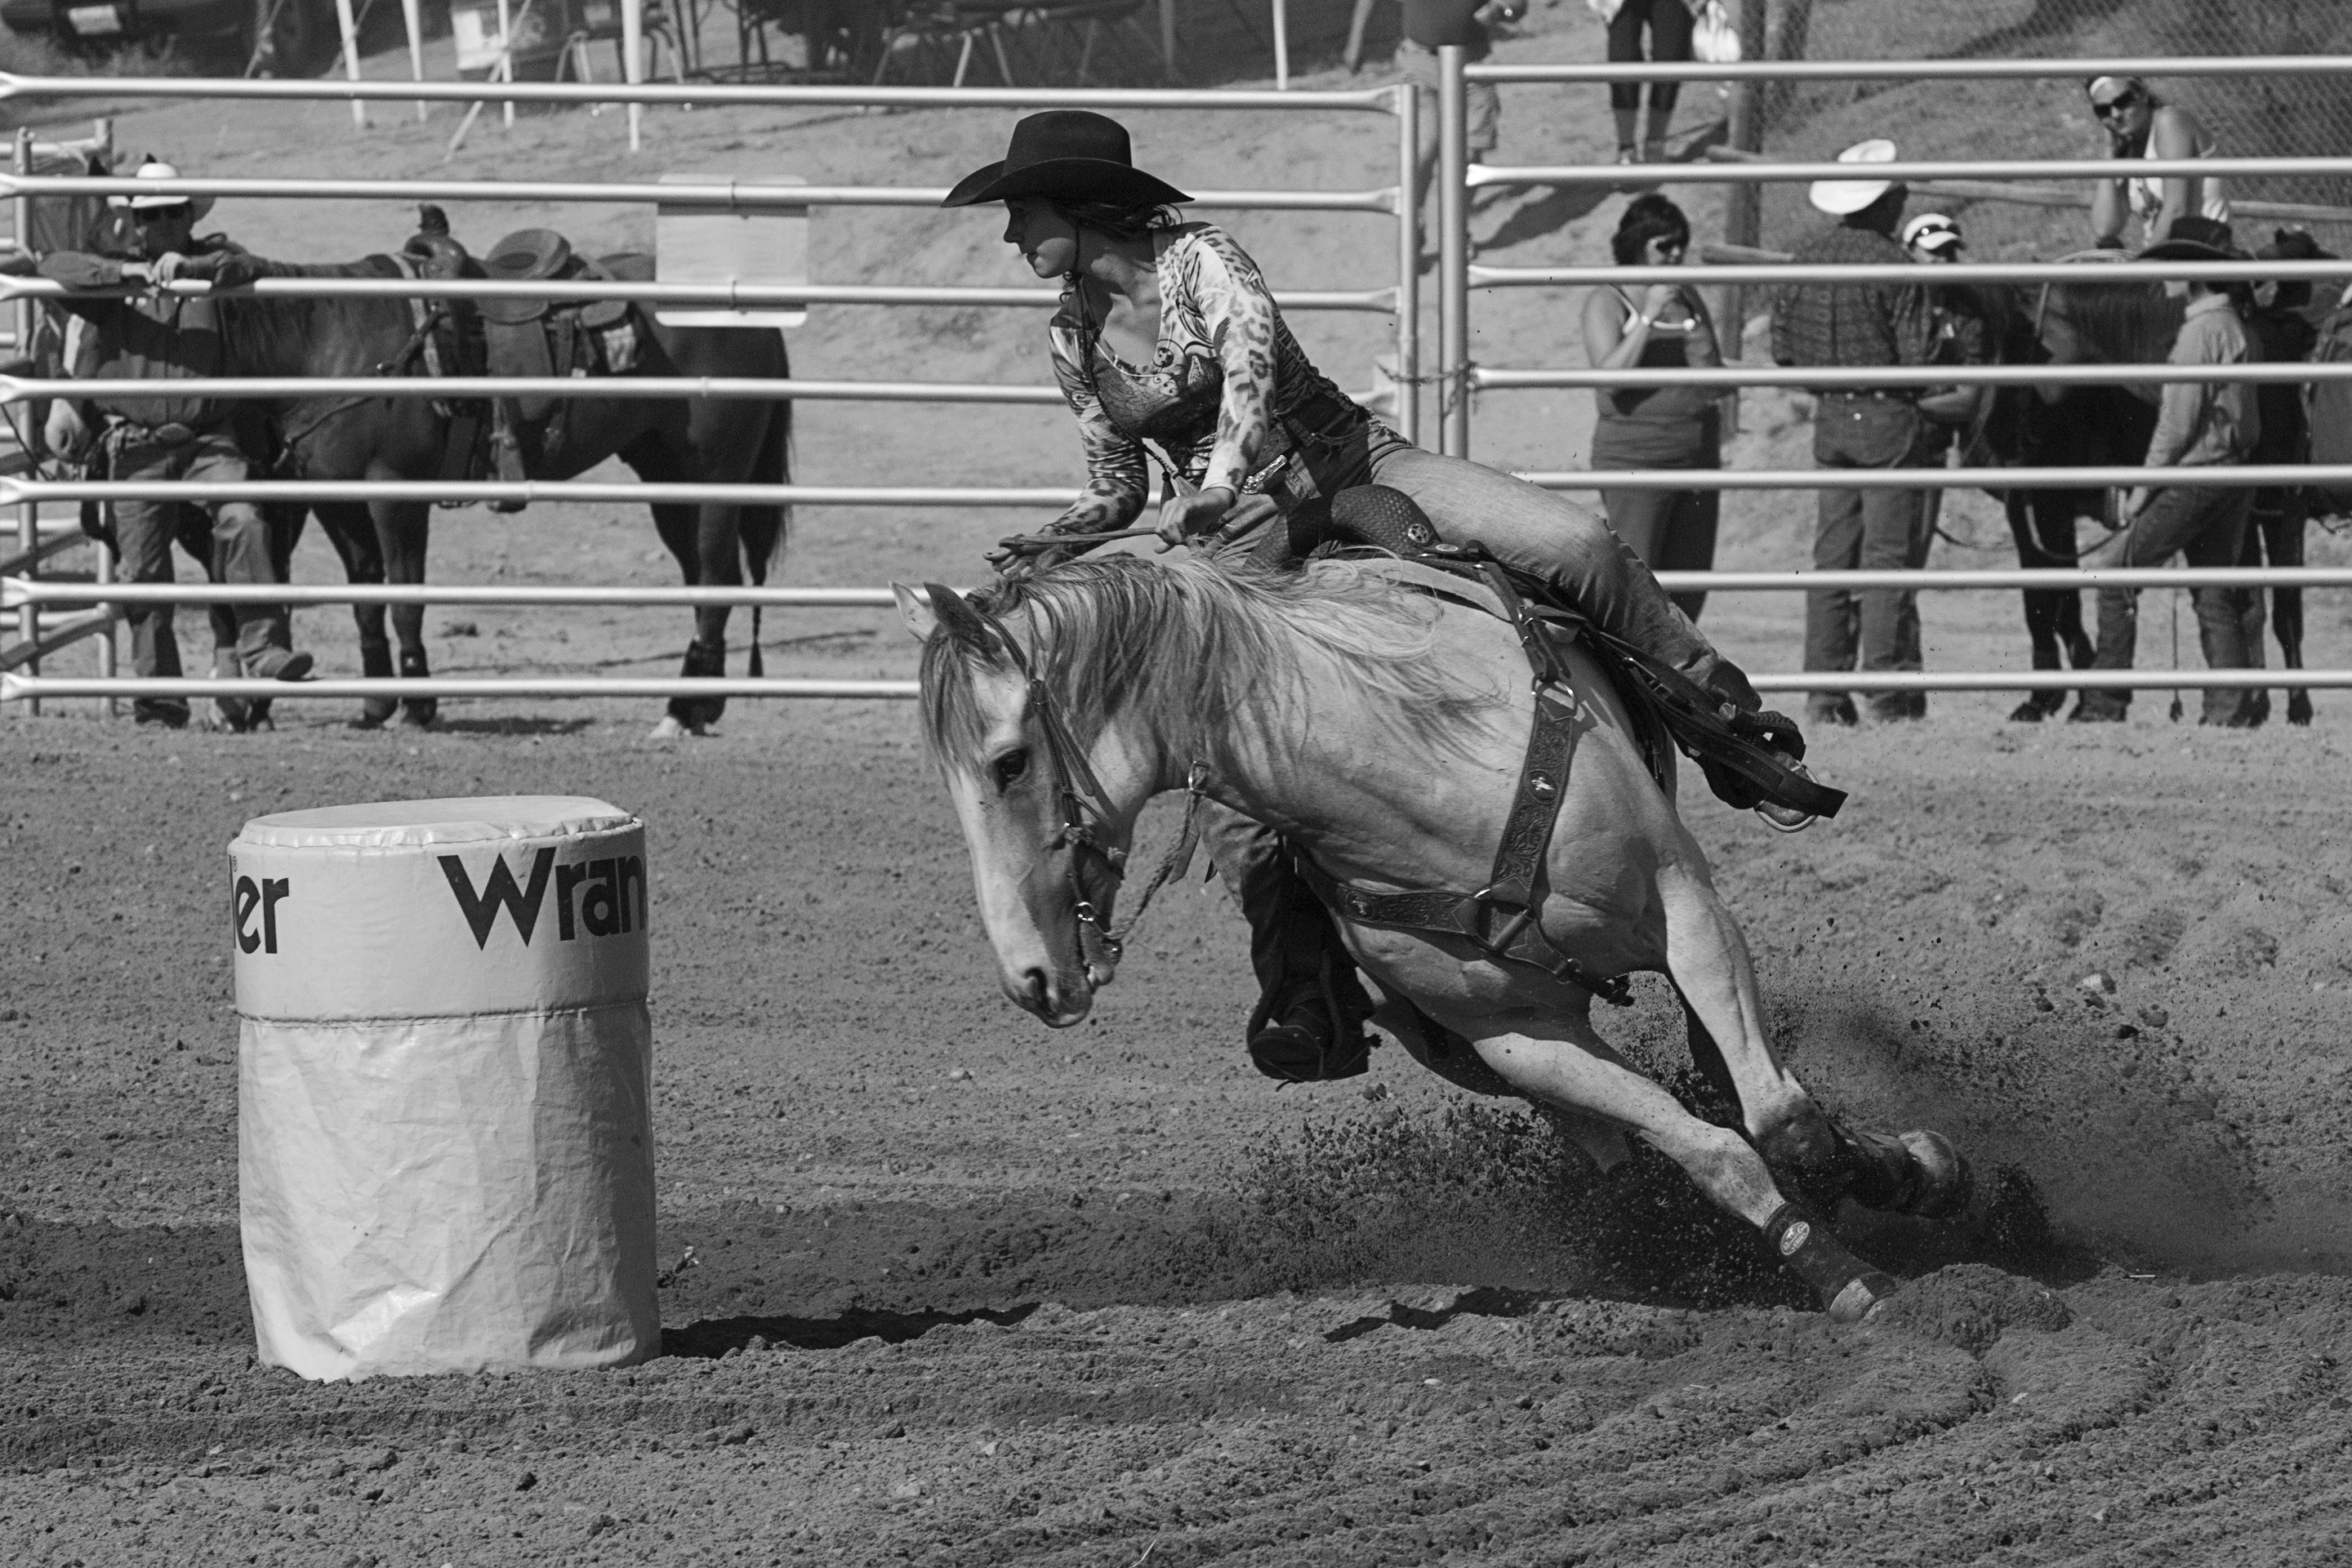
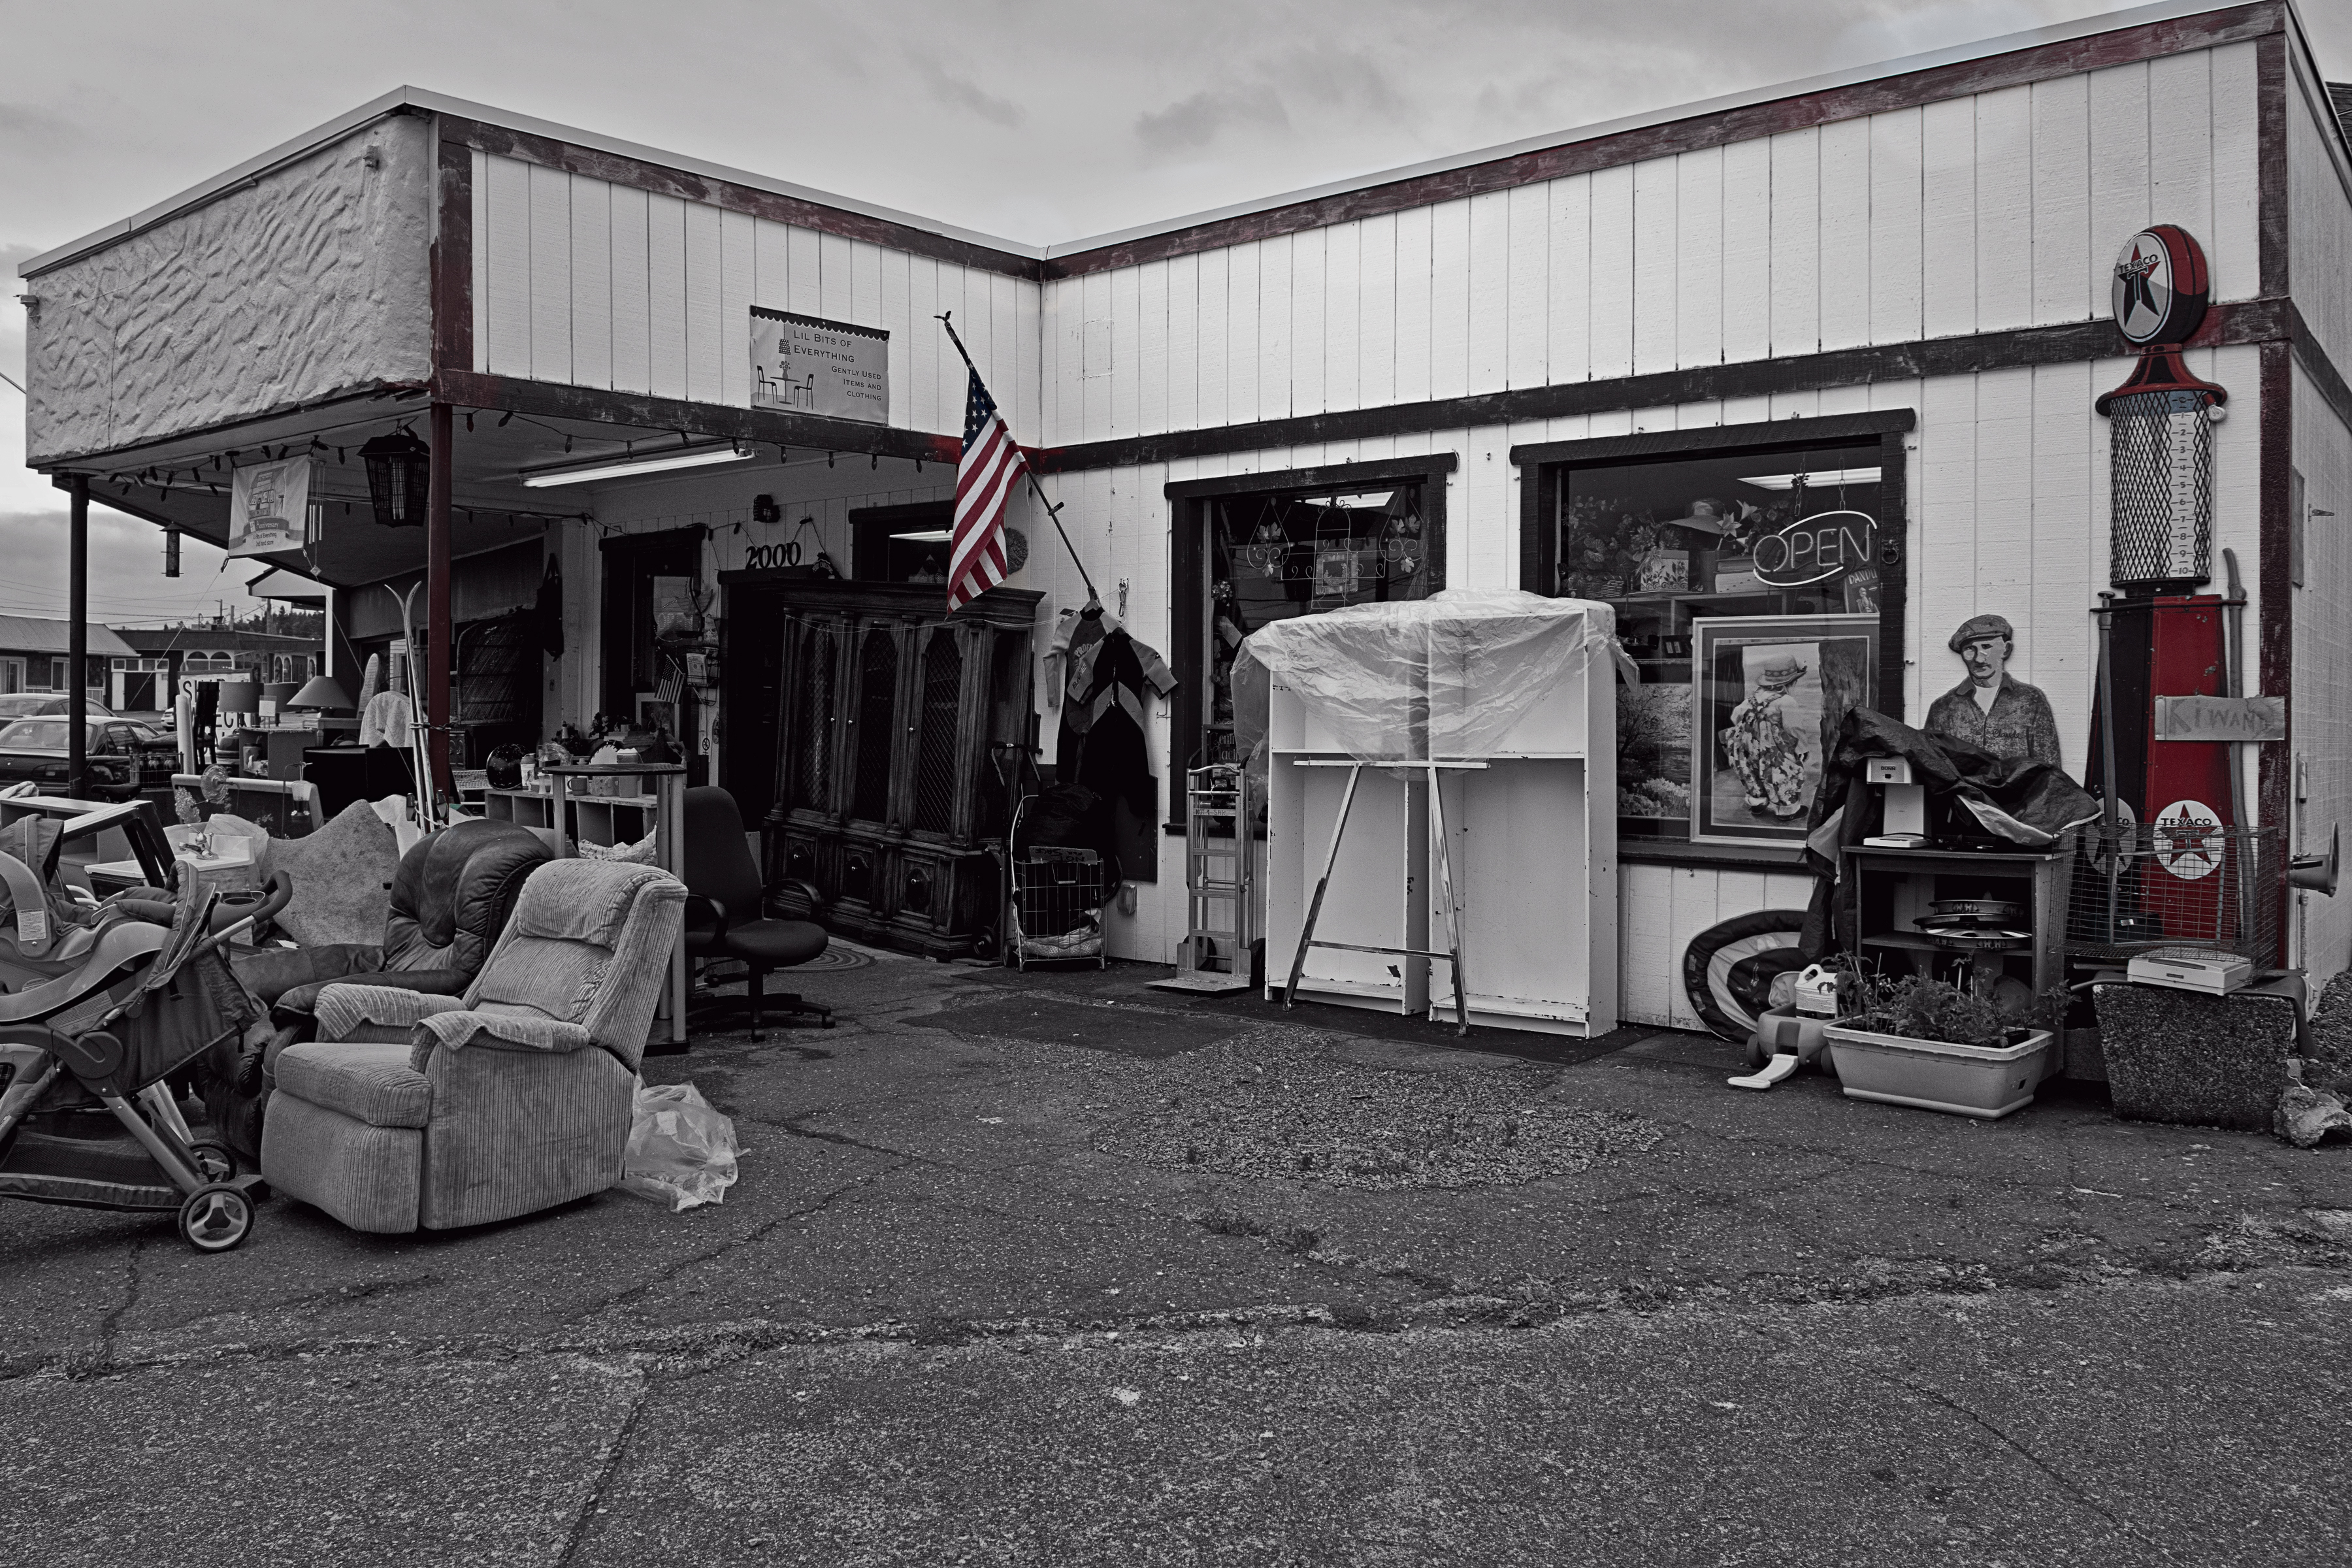
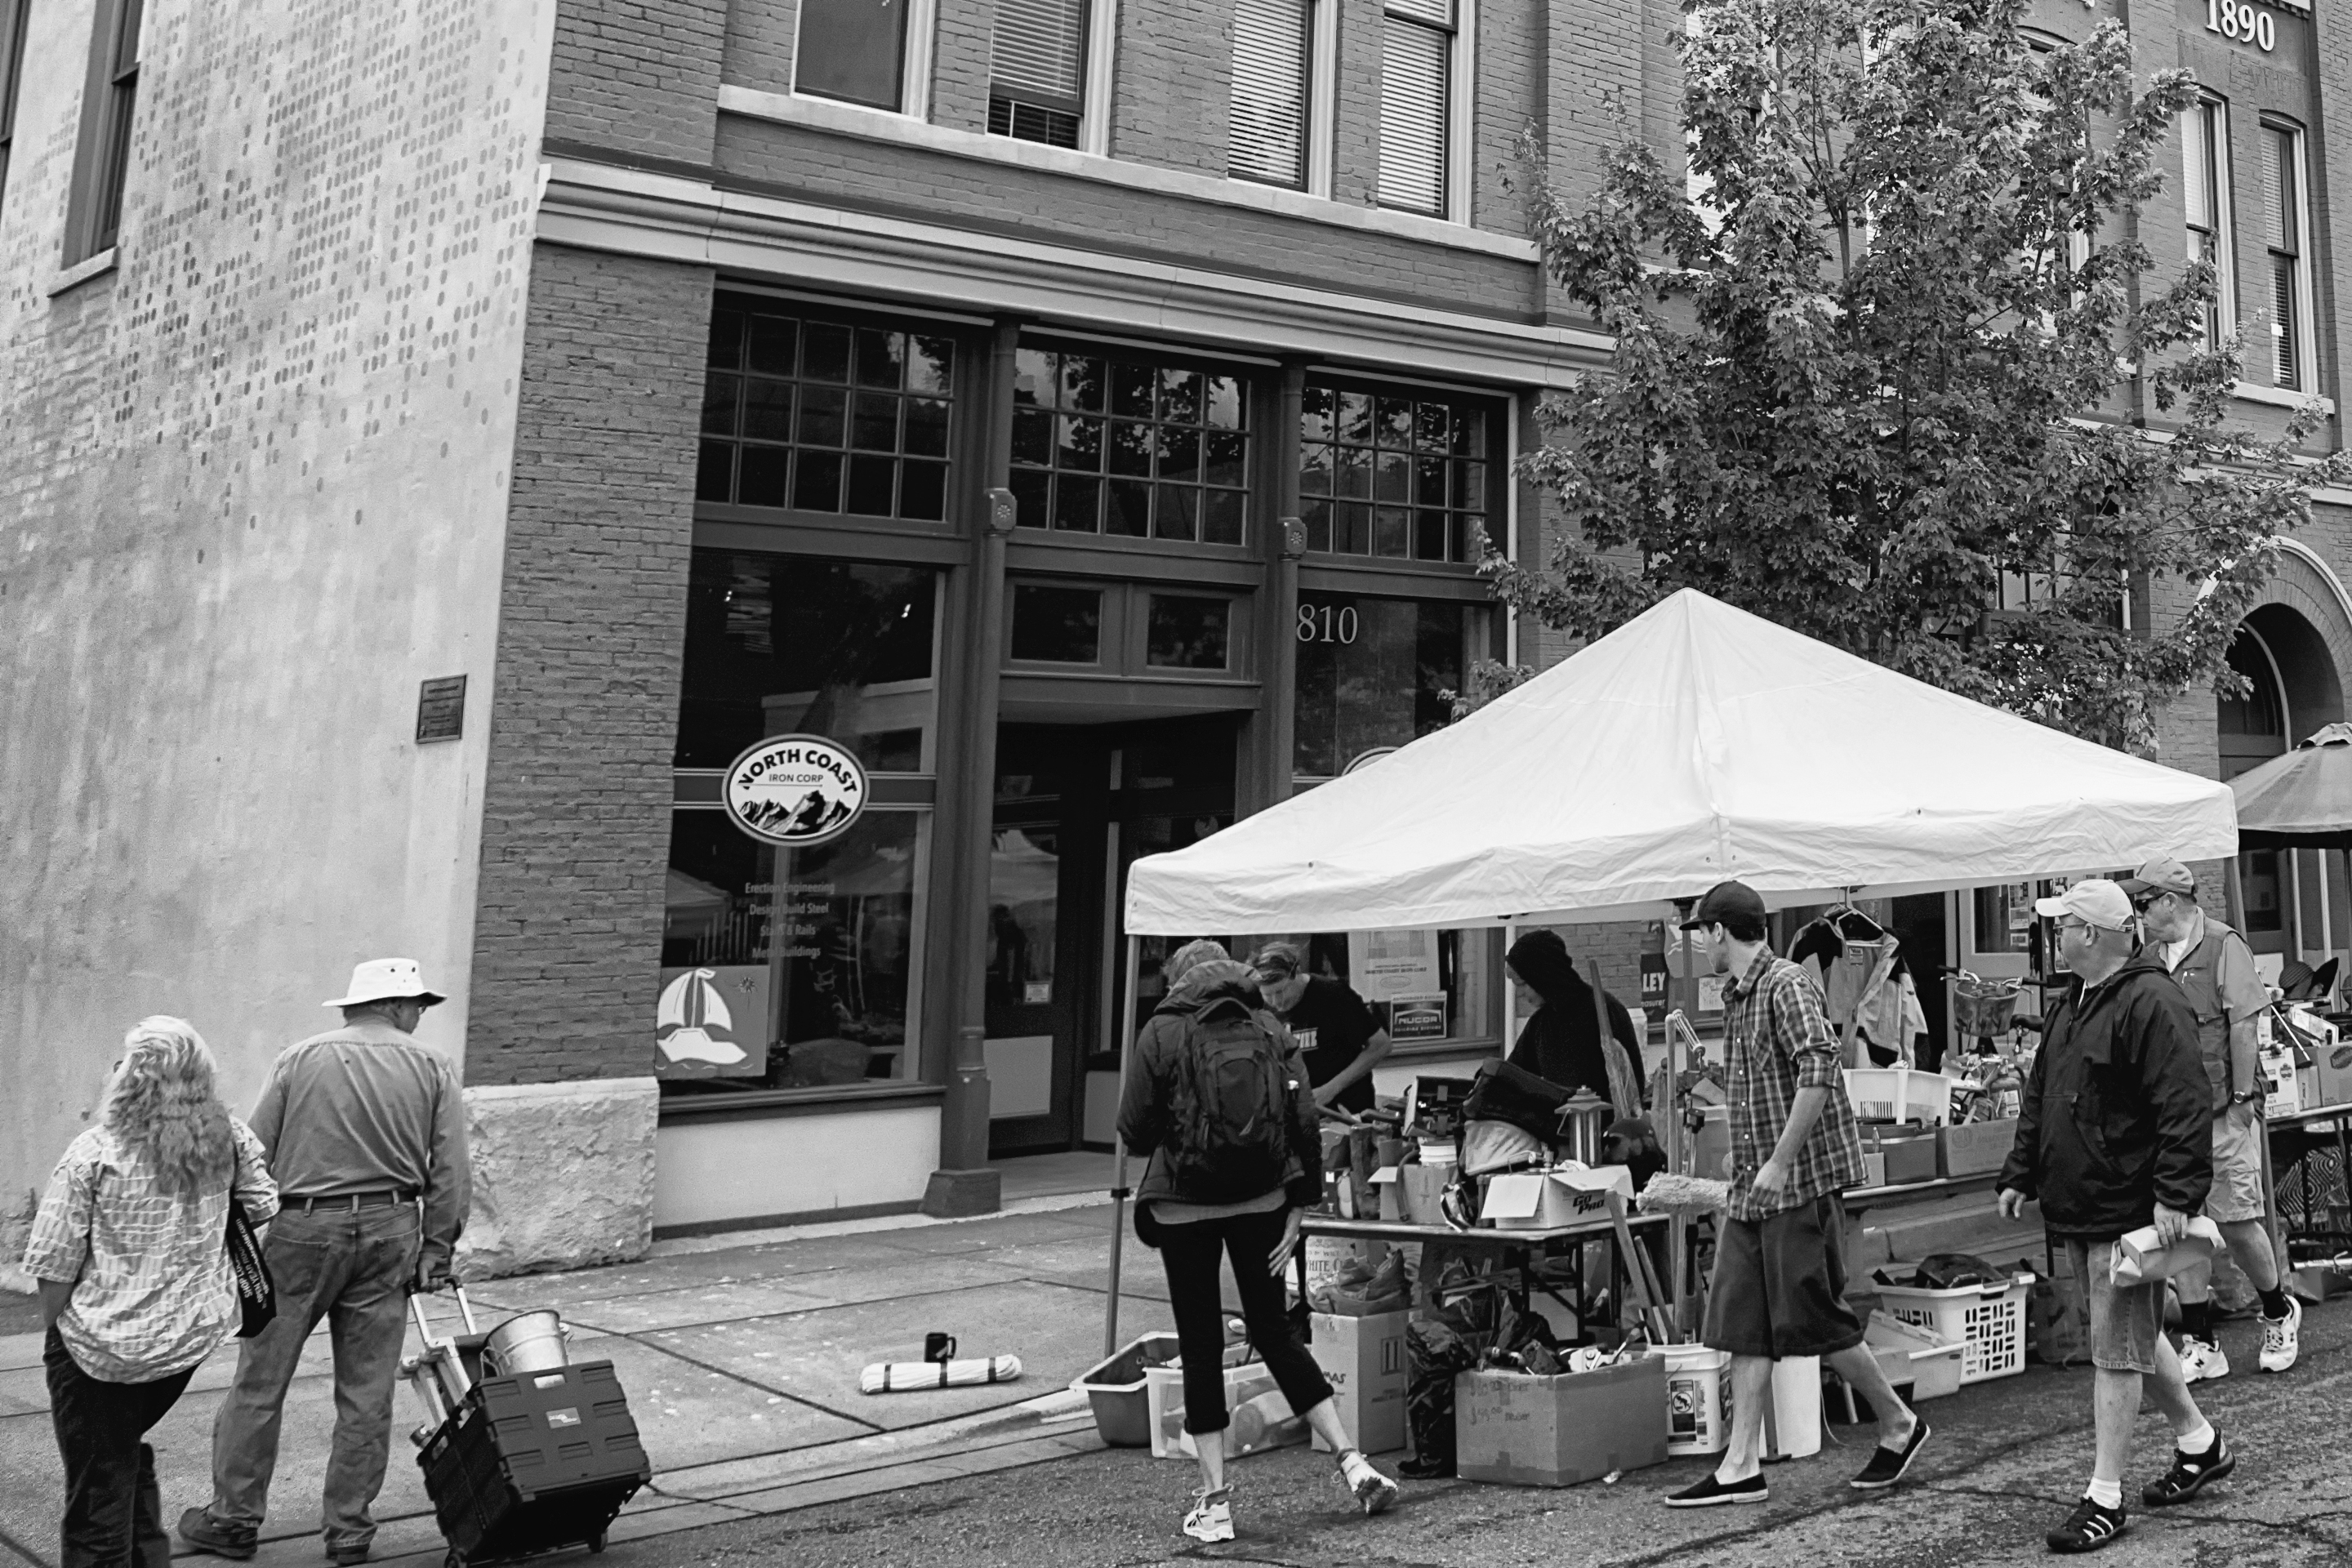
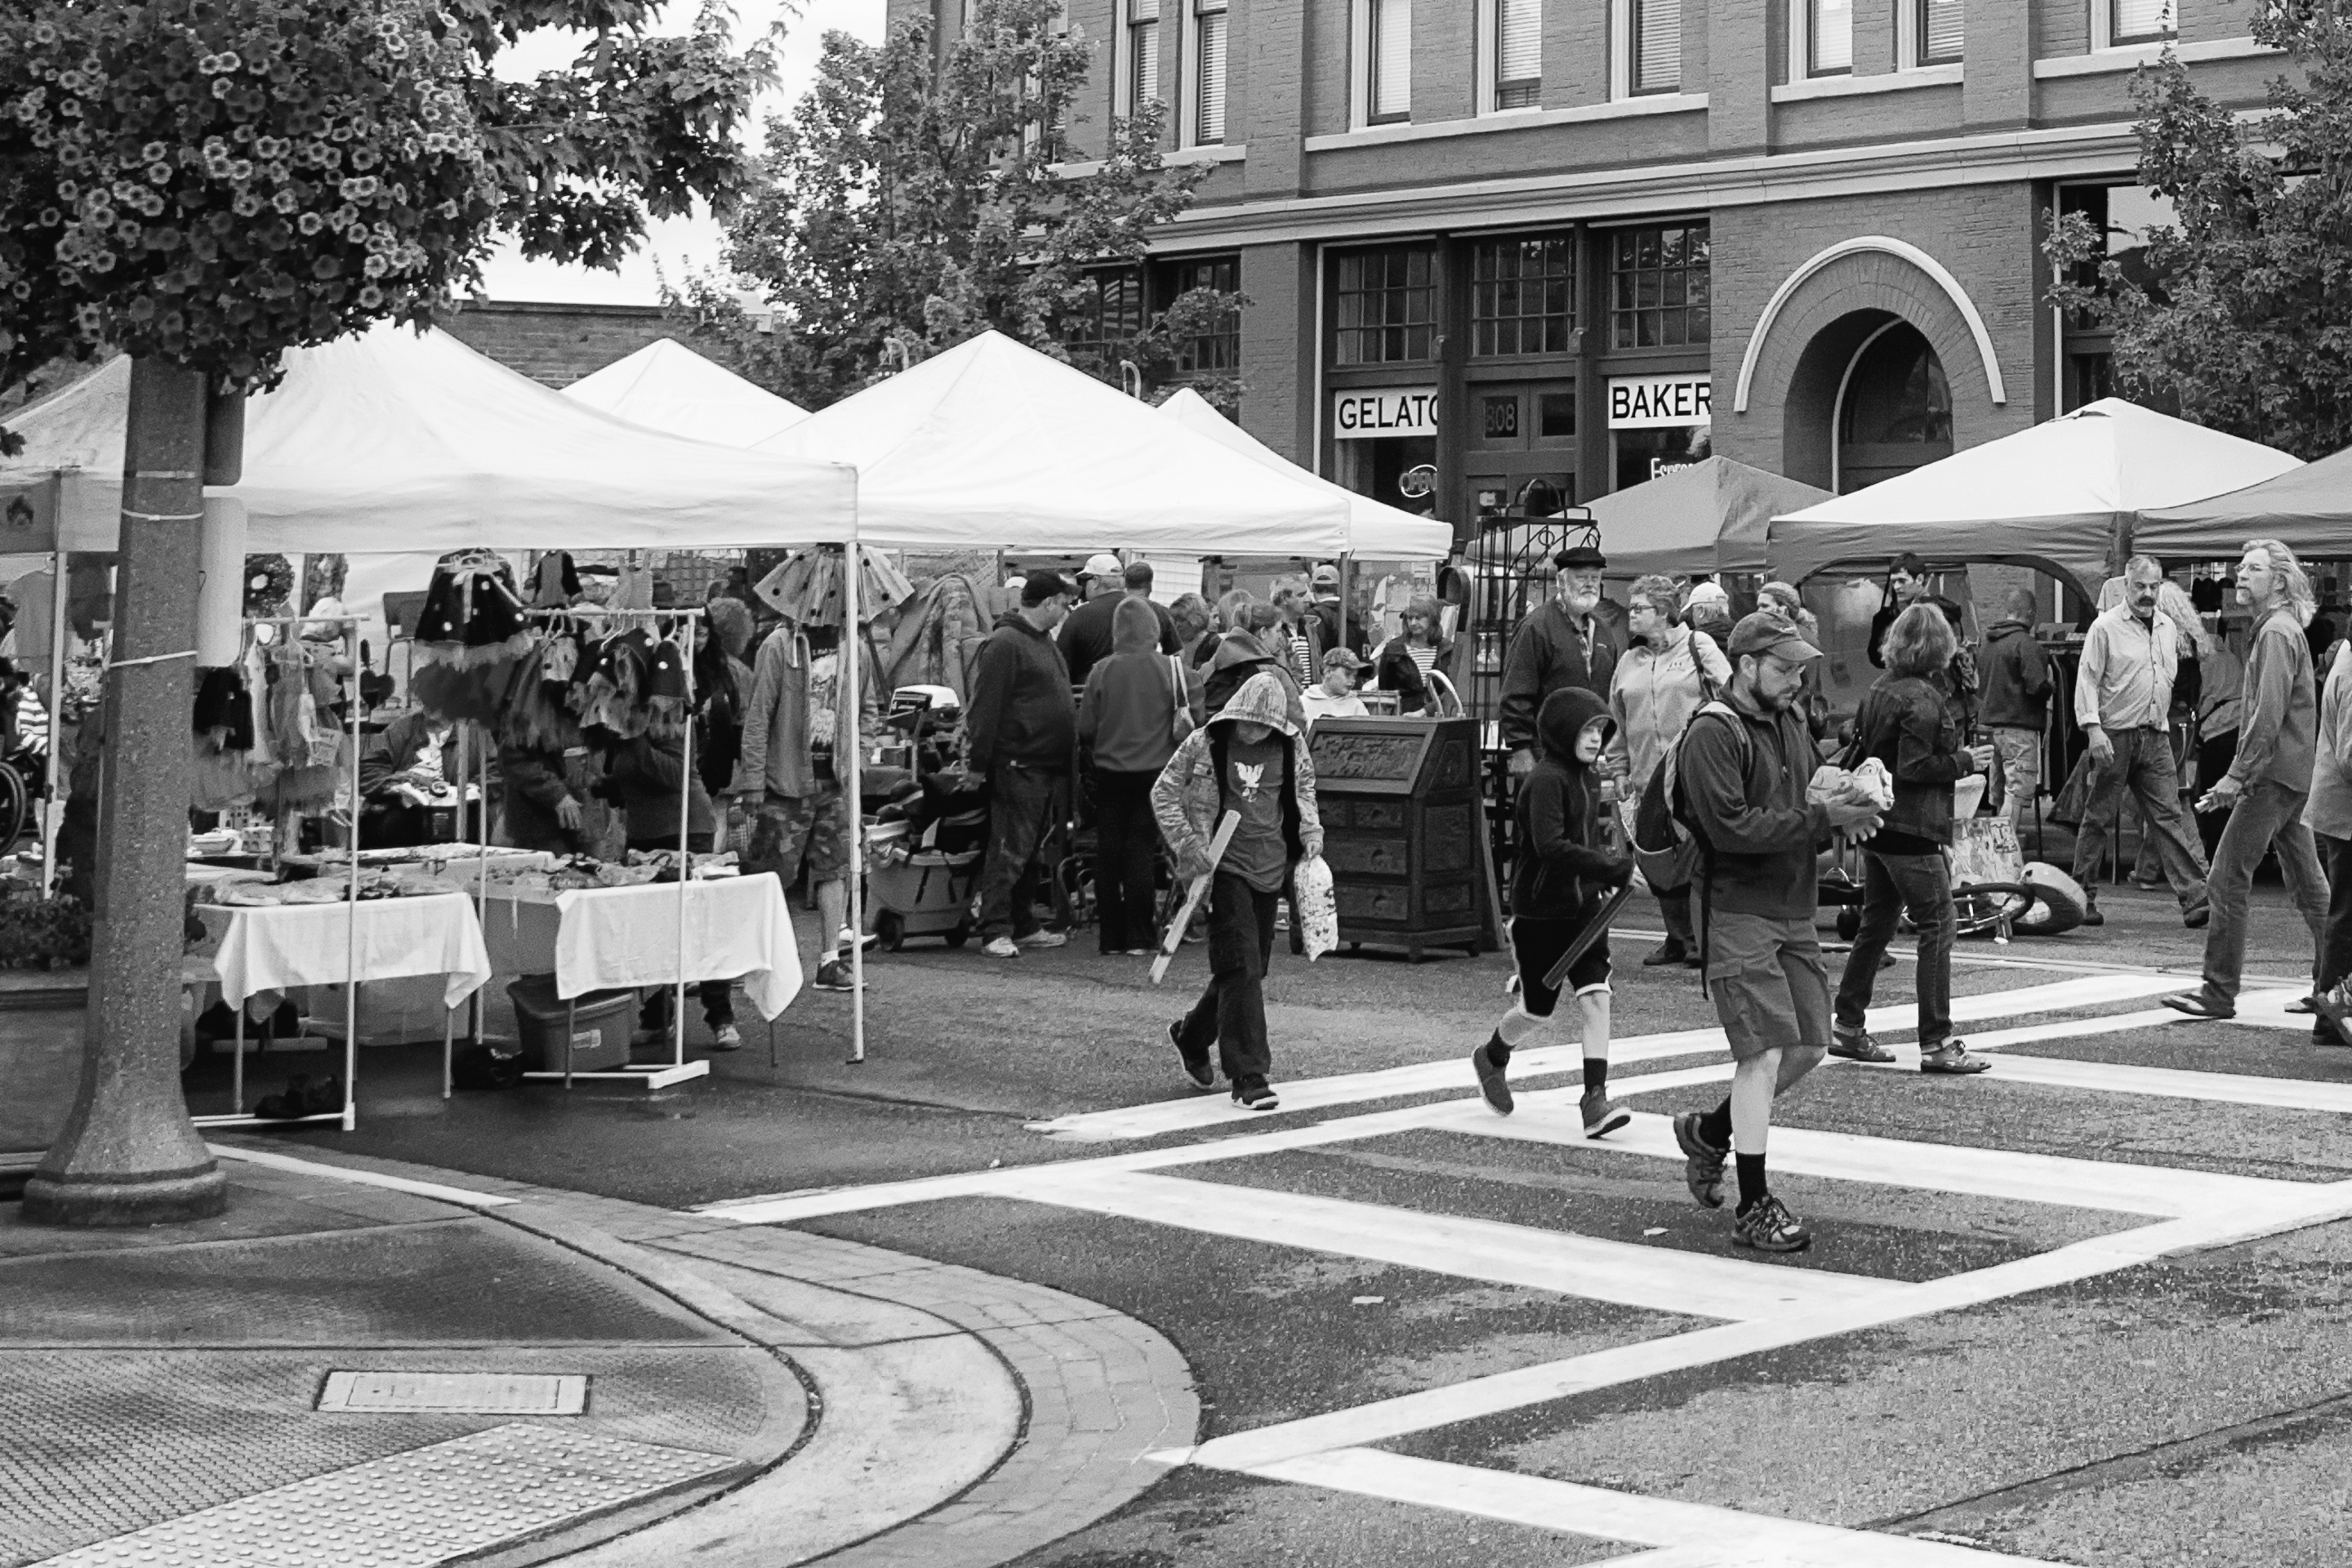
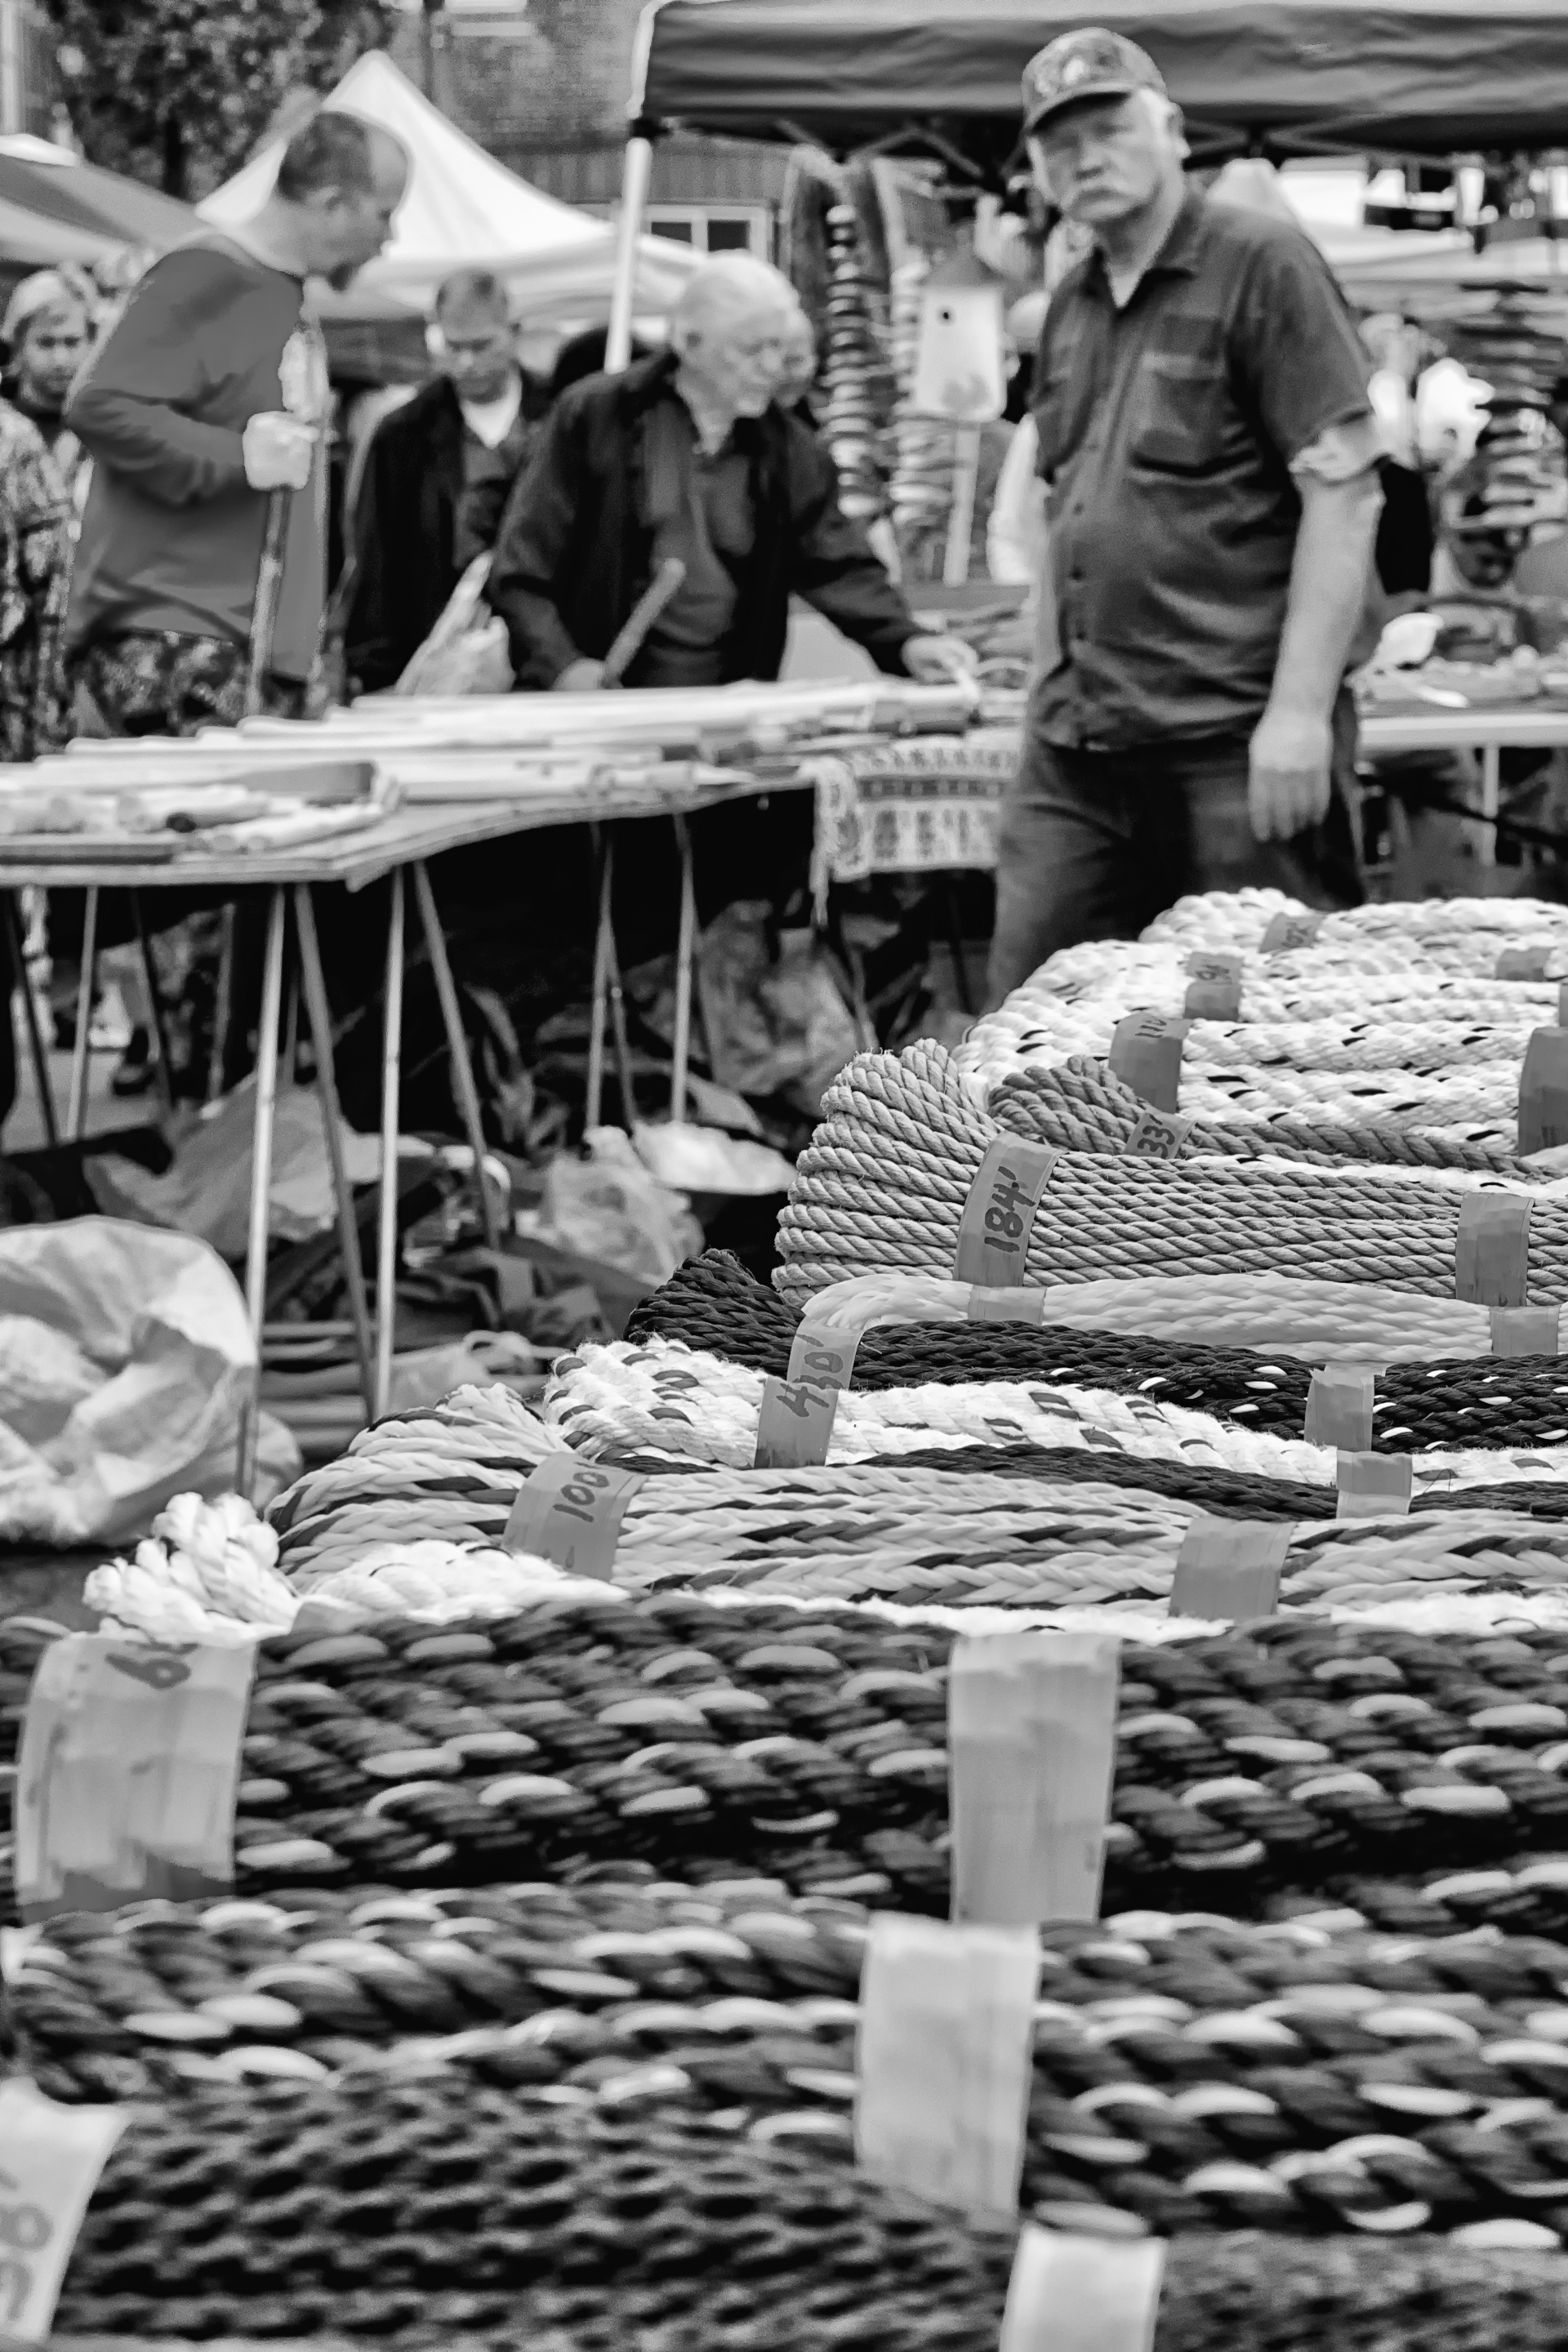
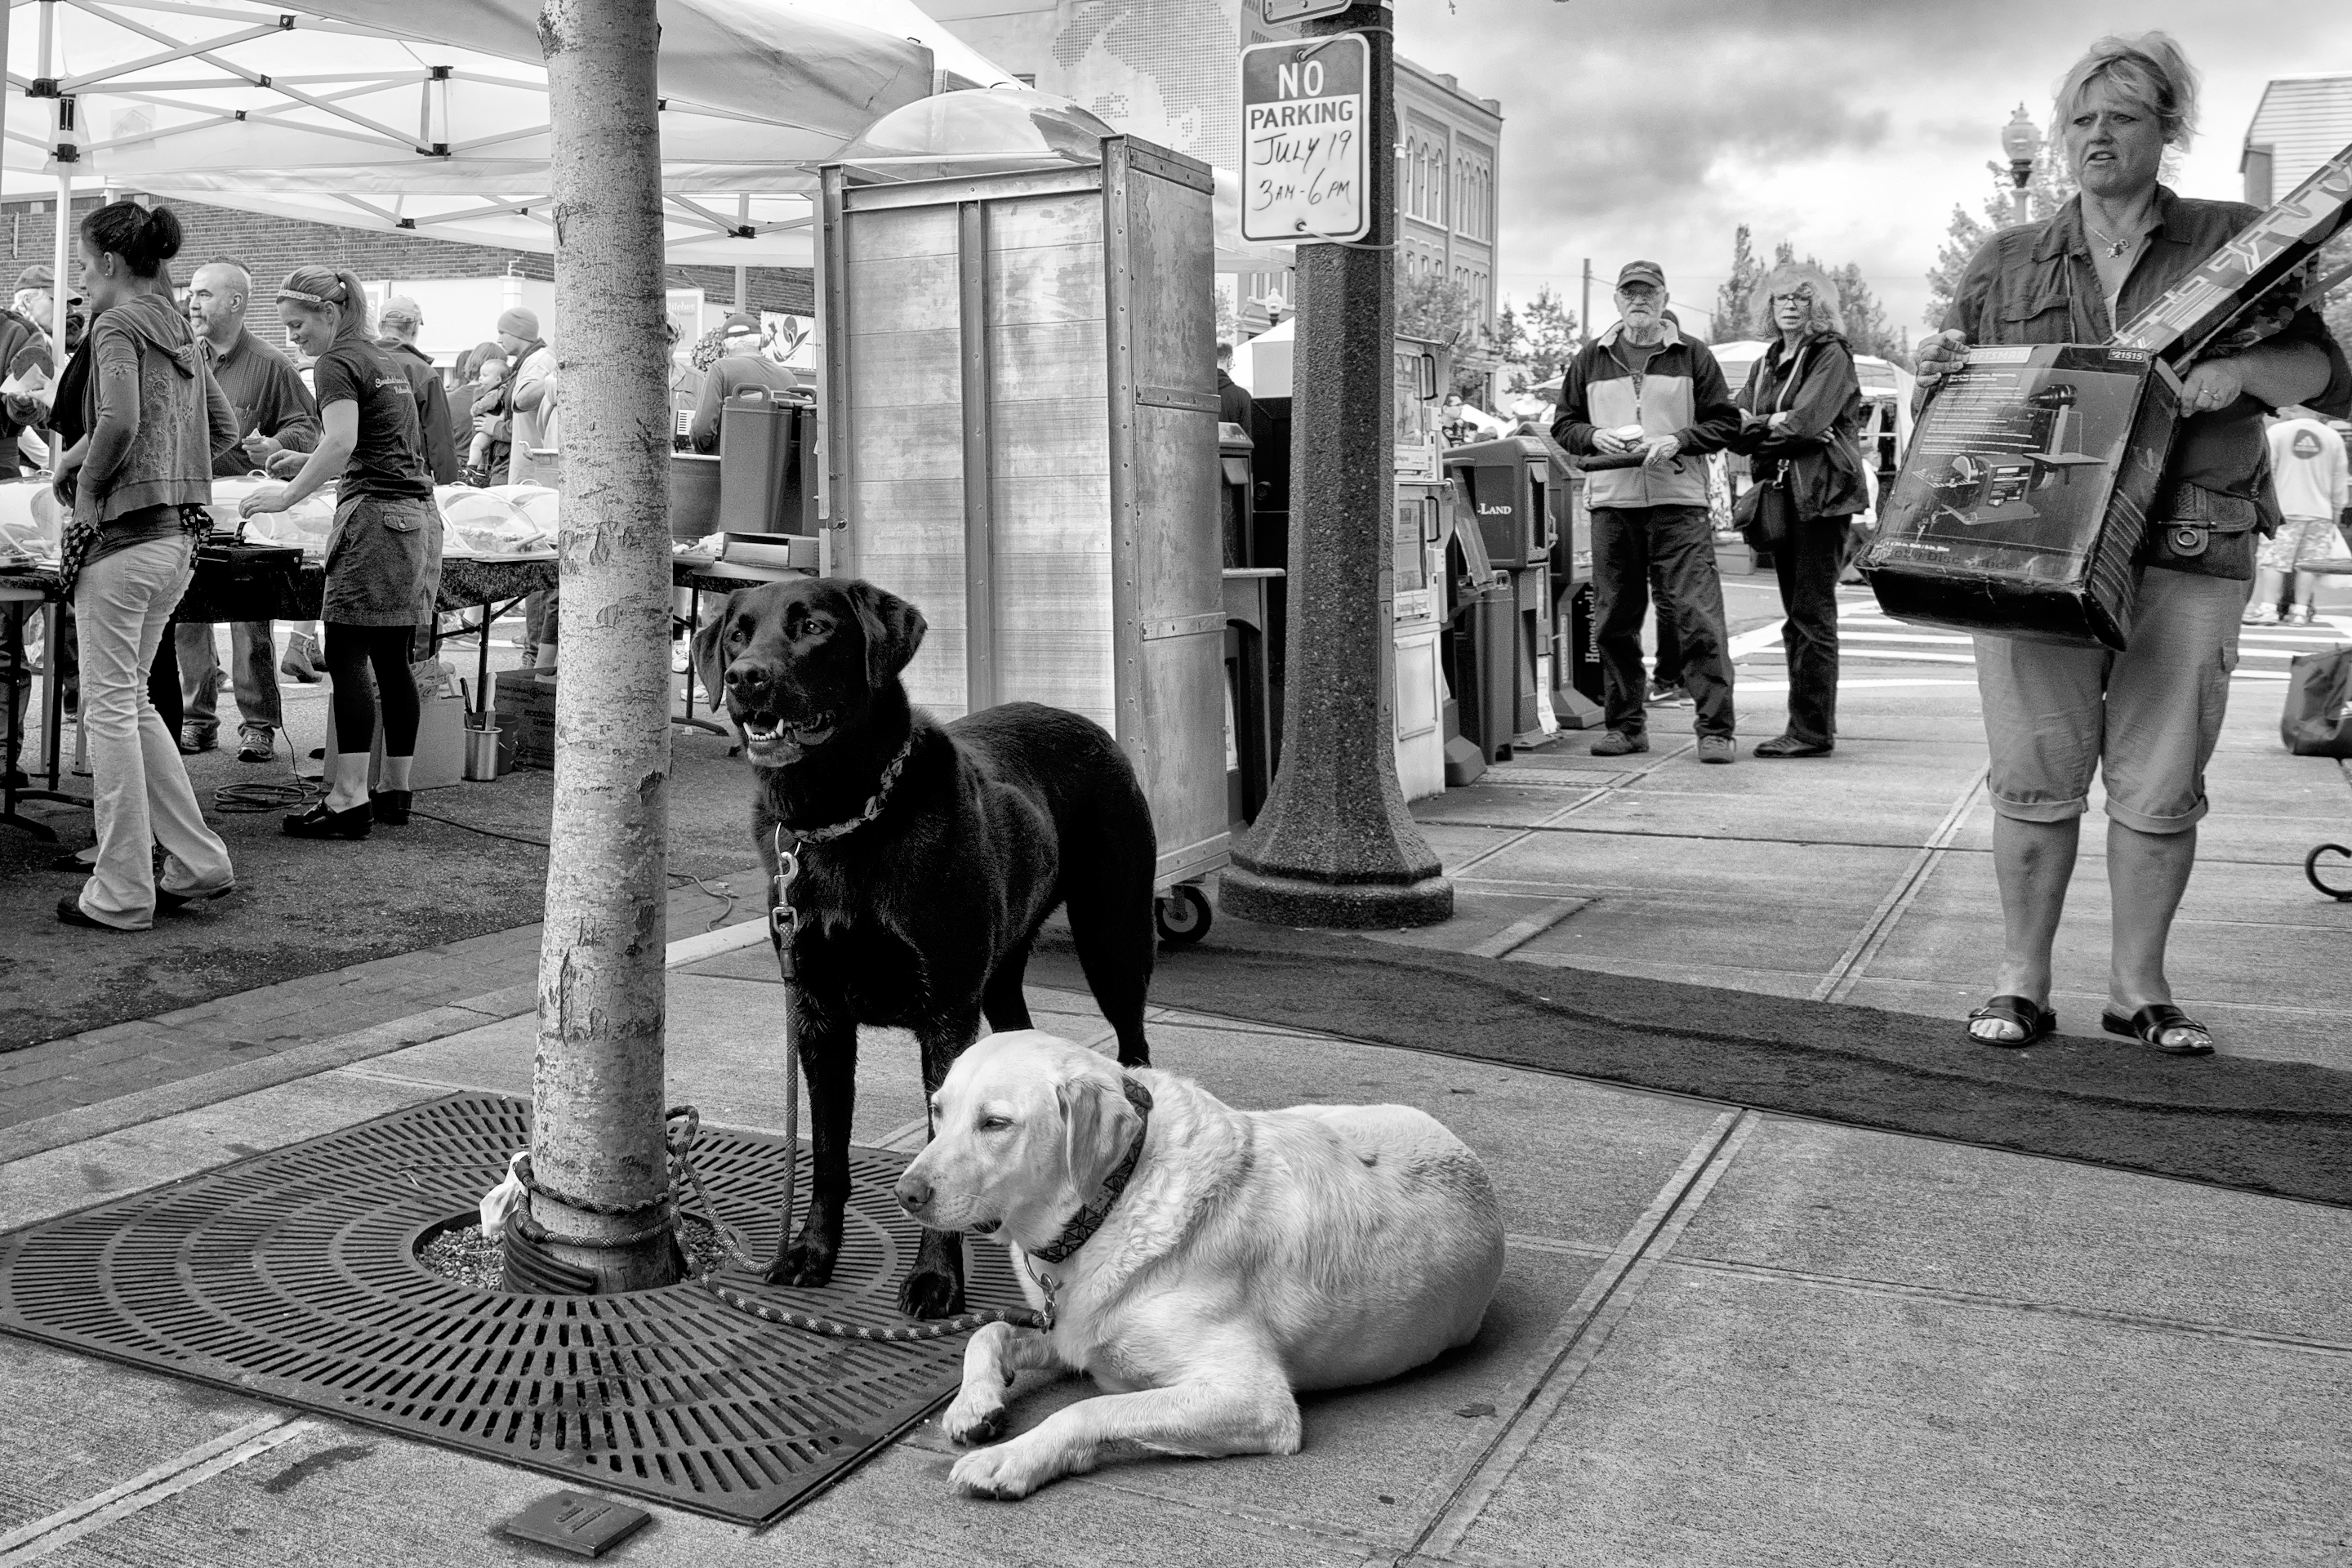
On my recent visit to Anacortes, Washington, I did try a bit, but I quickly realized that with my big DSLR camera I was attracting too much attention. Whenever I stopped people slowed, turned to face me, and watched.

Since I started discussing photography on-line I have come in contact with some very skilled street photographers and regularly visit their blogs and websites to view their creative work. Those photographers don’t usually add comments, letting their work speak for itself, however, I found a discussion by Los Angeles street photographer, Eric Kim, and the following are some of his thoughts on being a street photographer.

Mr. Kim writes, “…When you start off in street photography you will be inspired by all these other photographers you see. You will look at their work and be amazed by their photos…my advice is this: start off copying the photographers whose work you admire. All the great renaissance painters started off as apprentices. They copied their masters for years, and learned all the basics and fundamentals. And once they mastered the basics, then they were able to go off and find their own voice.”

He counsels us to, “Follow your curiosity.” and says, “As a photographer you are a scientist. You experiment to find new results.”

Kim continues, “When I started photography I always thought it was my gear which held me back. I felt my camera or lens wasn’t good enough…but what I realized is that I was simply lacking education…I didn’t dedicate myself to learn enough about photography. I simply thought that buying gear would help me become inspired, and therefore become a better photographer.” I couldn’t agree more with him when he writes, “…education is the best investment money can buy. Education is something that will always stay with you, in your mind, thoughts, and actions.”

While writing this I thought about all the advice I could have gotten just by asking the talented street photographers I have come in contact with in the last few years. Those interested will find that a quick search will show many photographers to look at and from whom to learn. There is also “The International Collective of Photographers” at http://www.street-photographers.com/

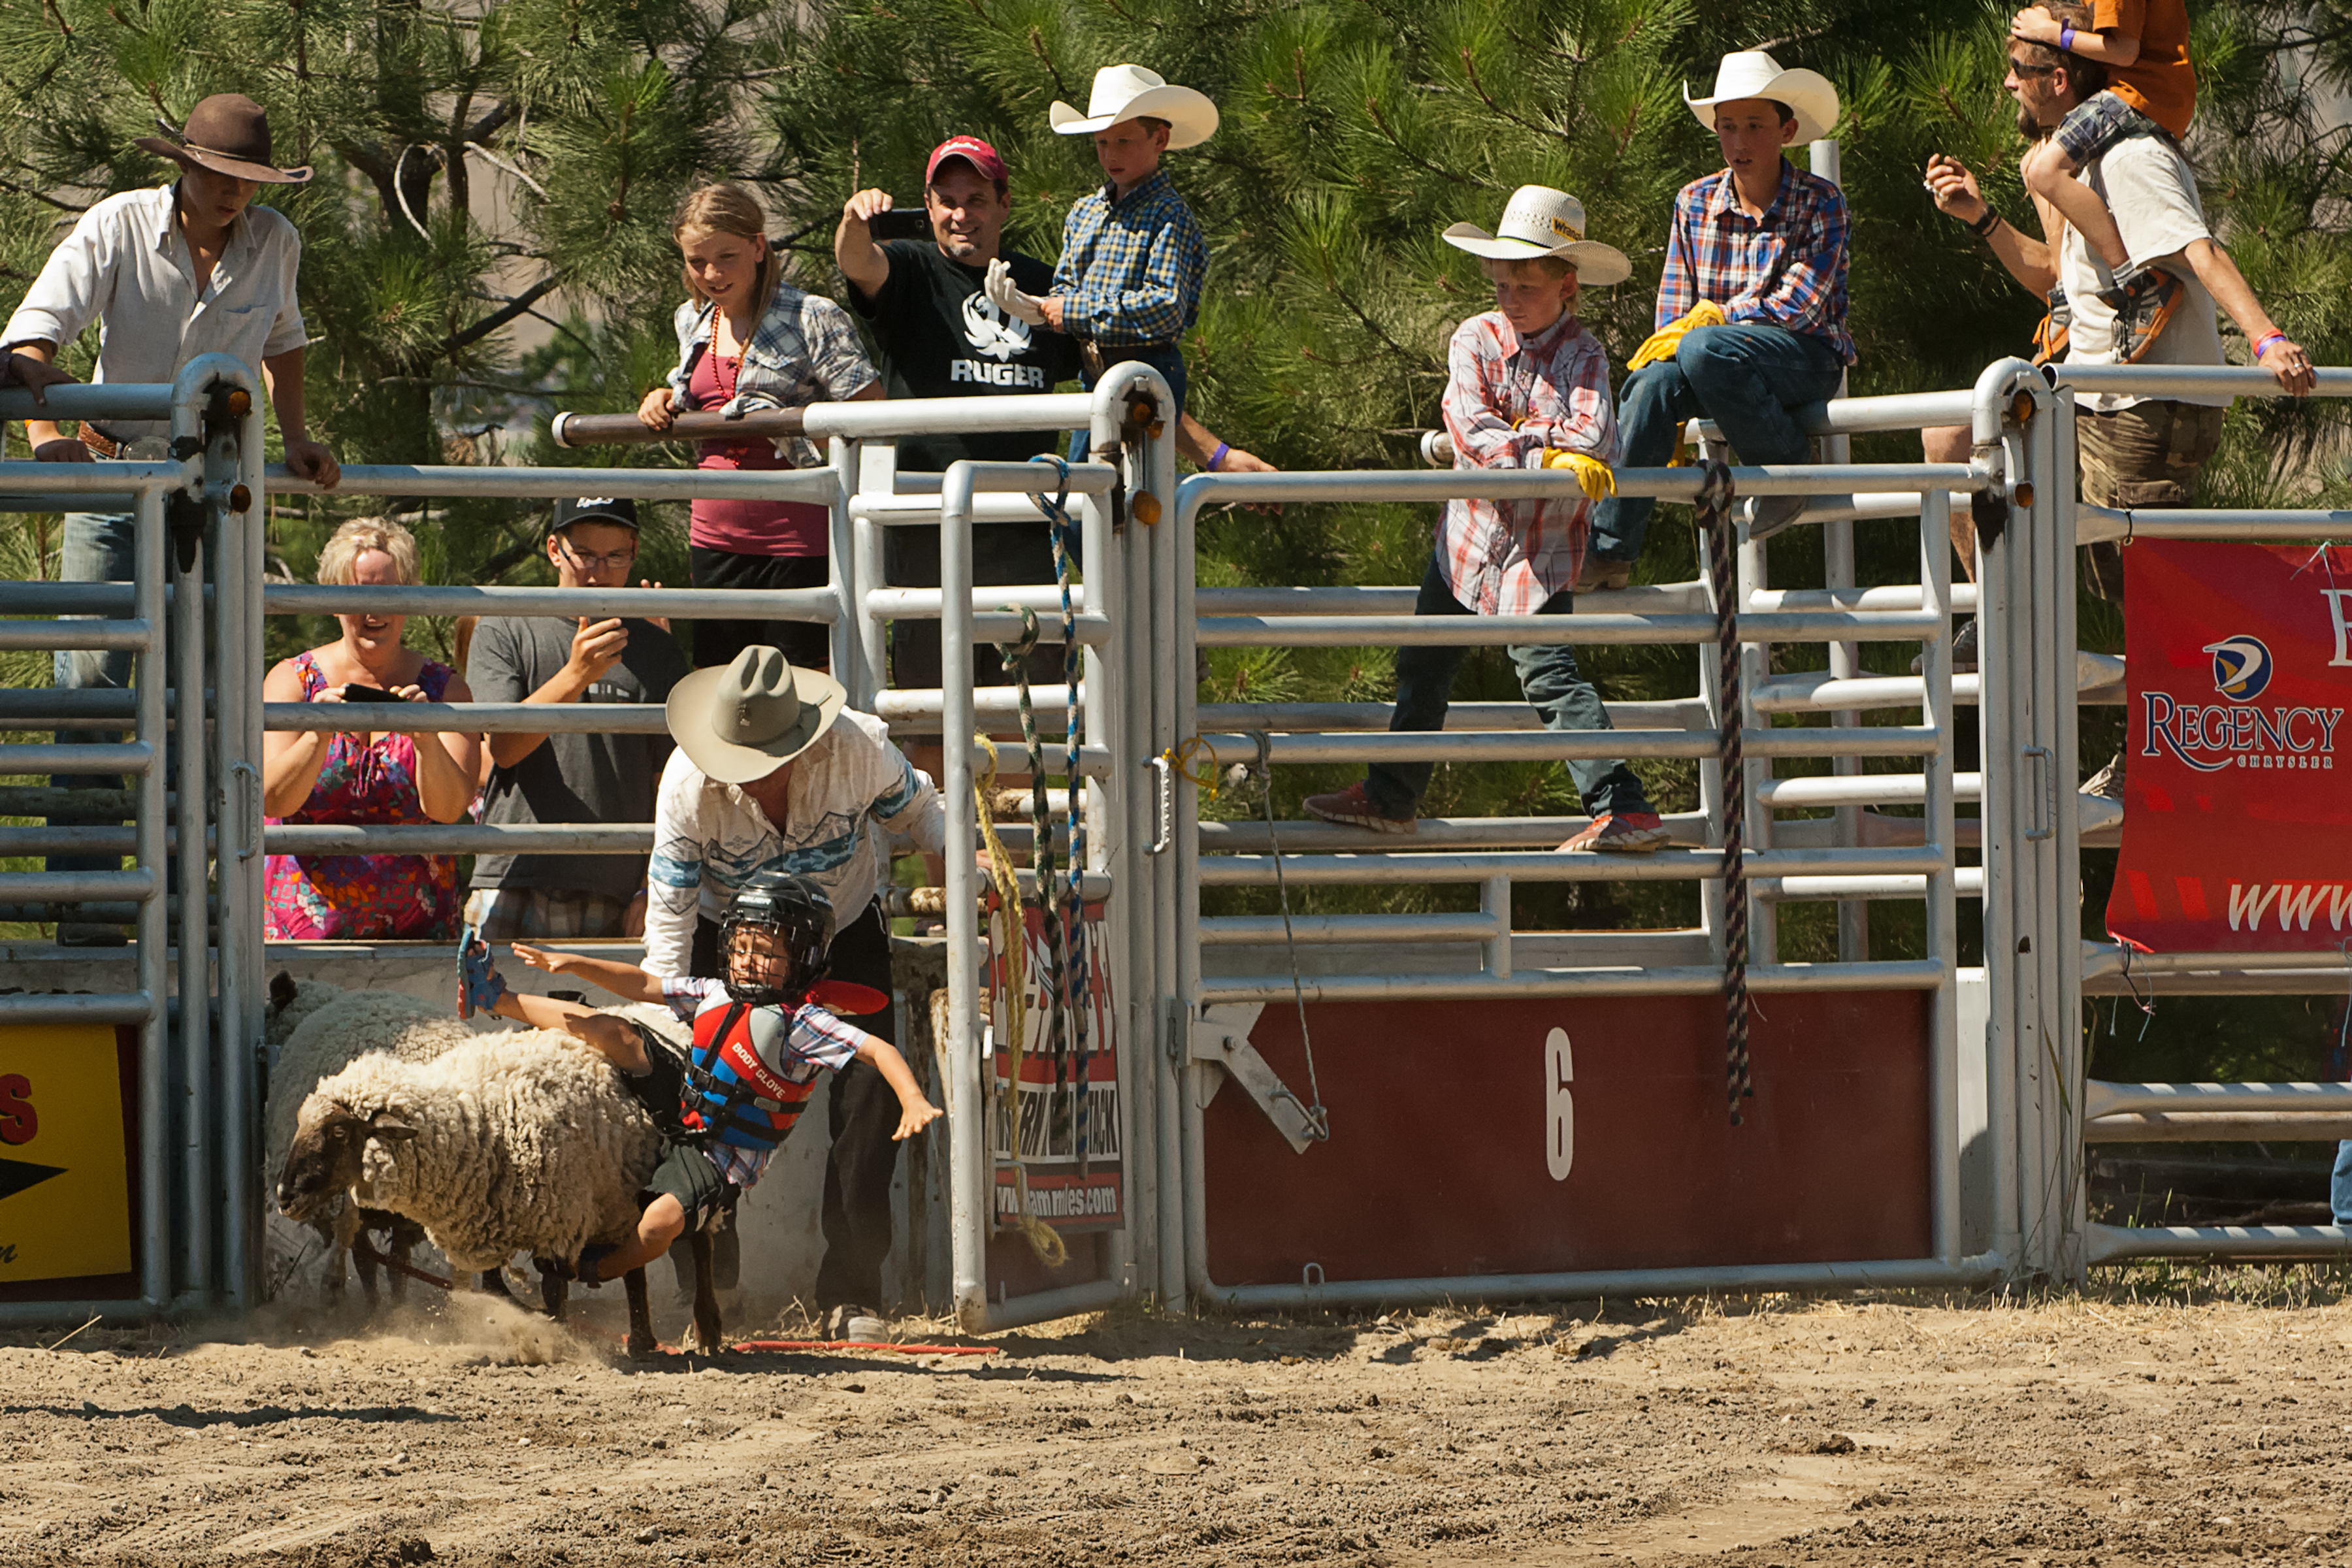
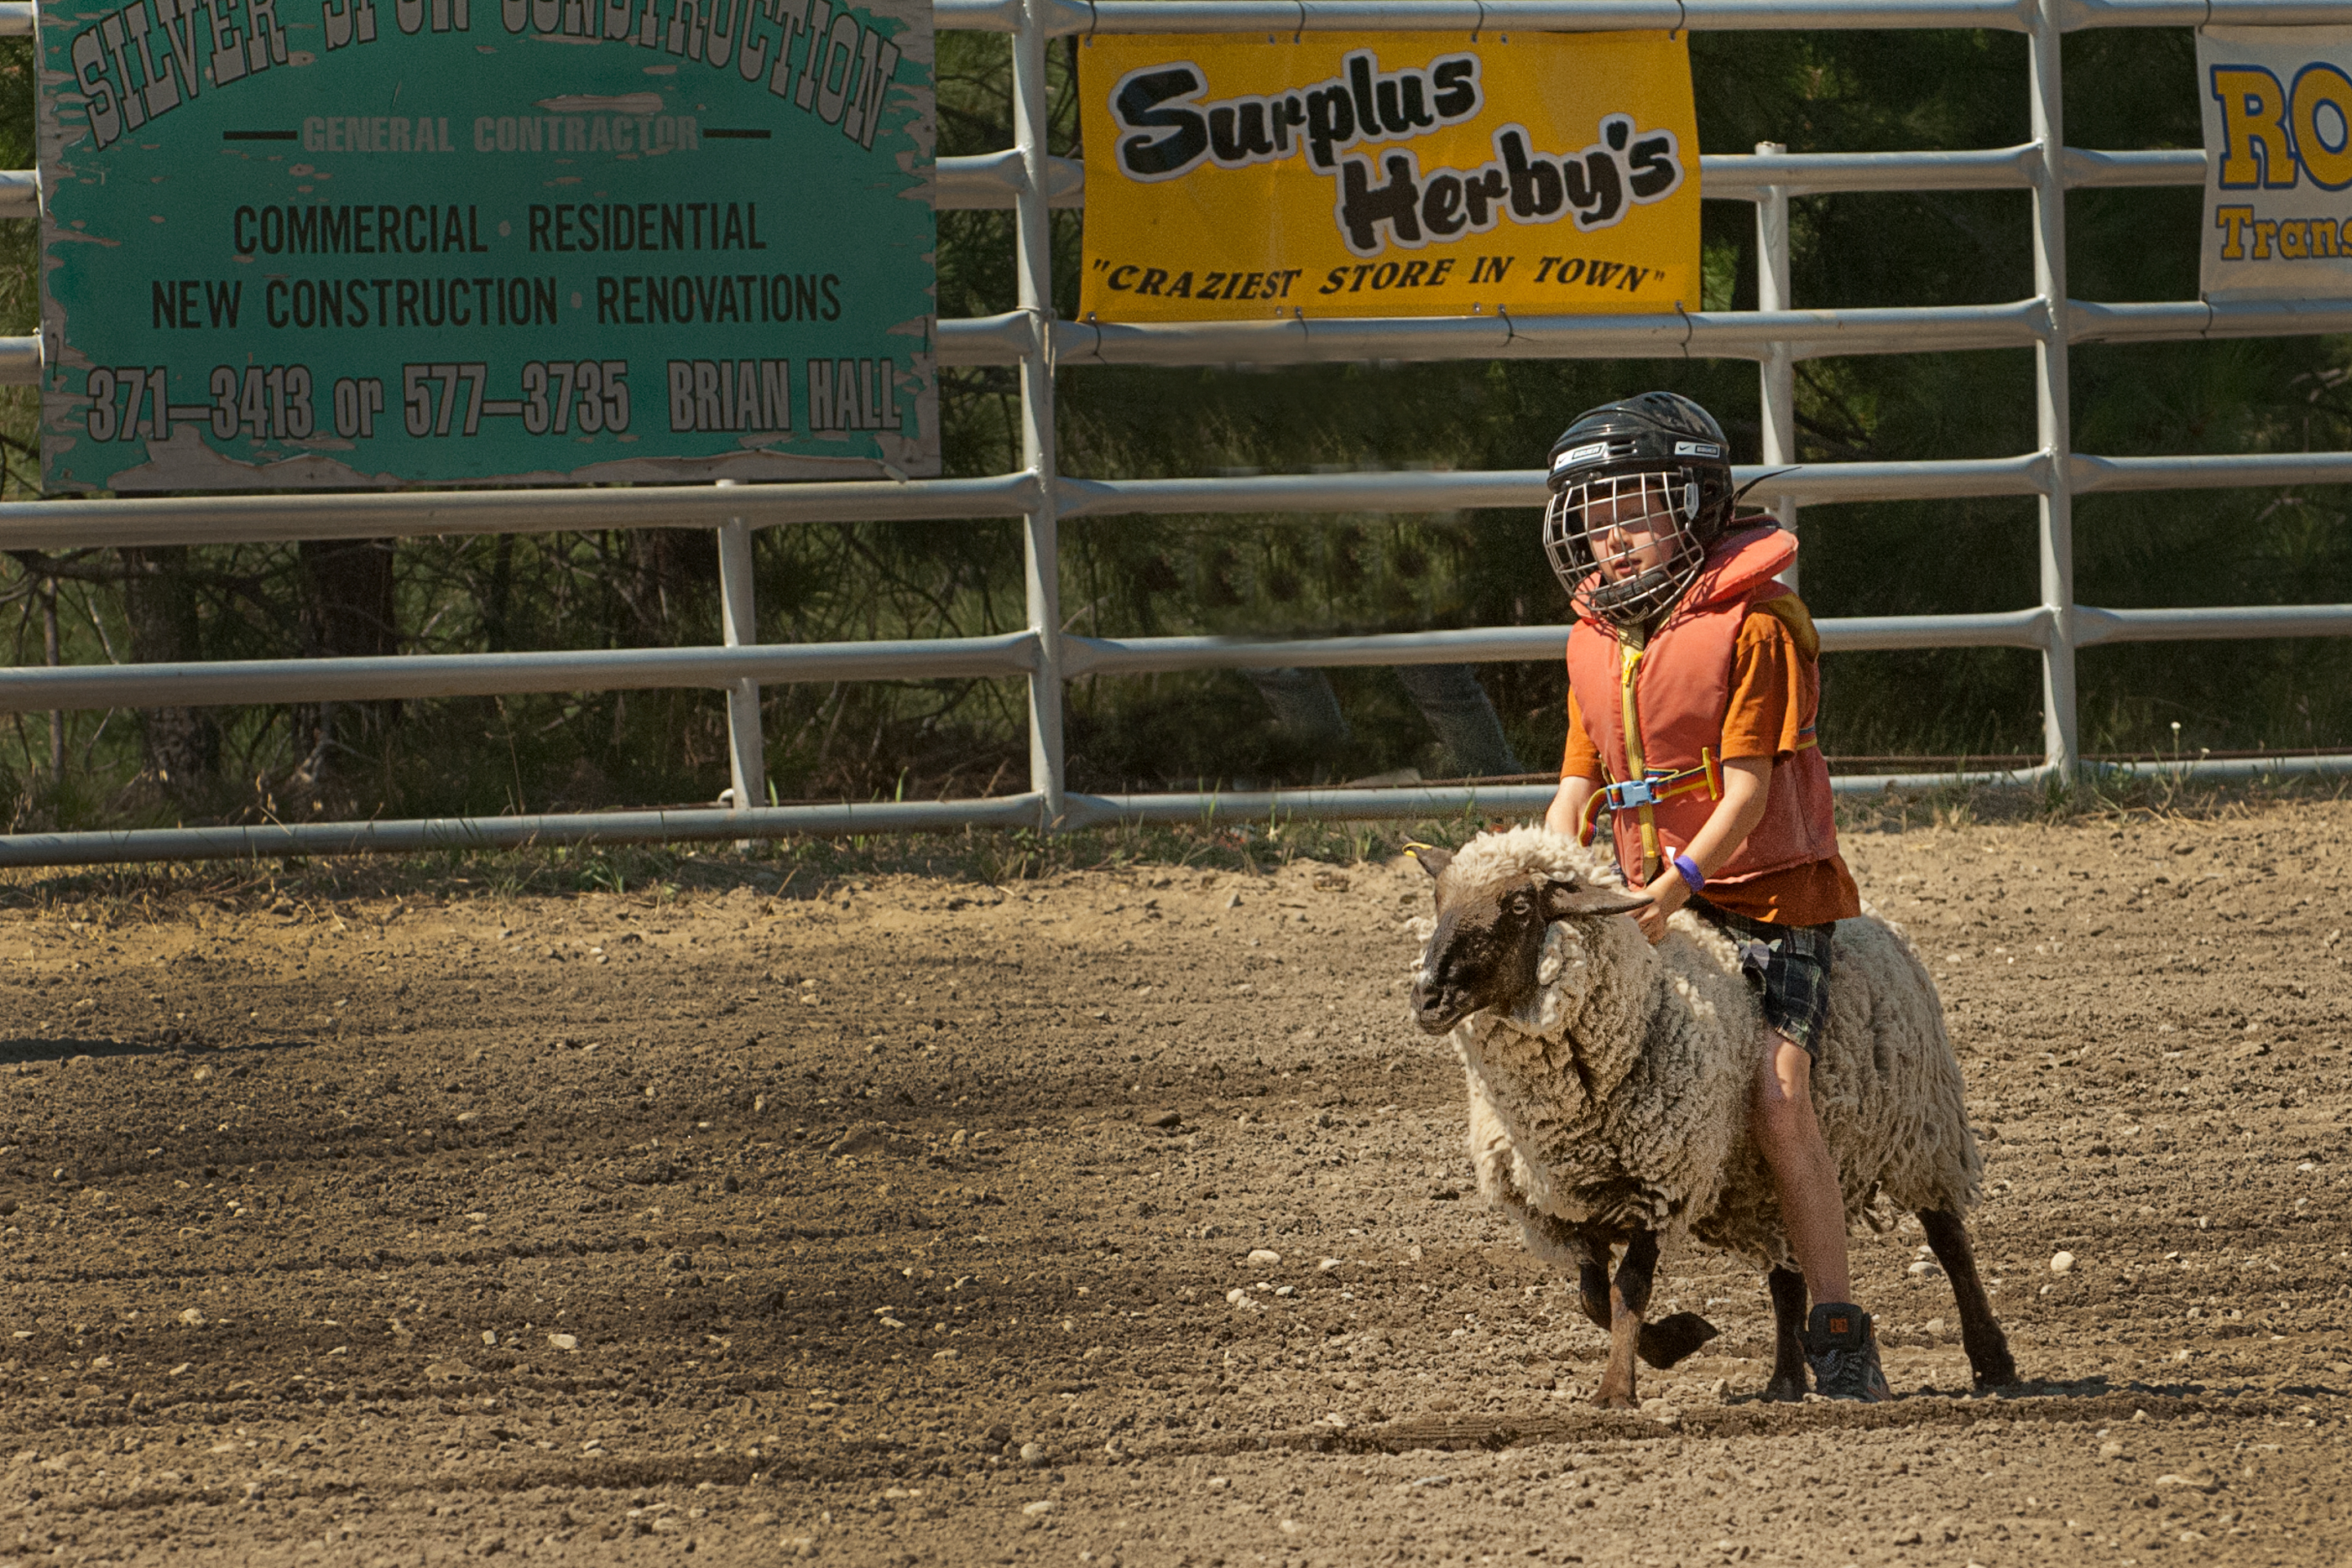
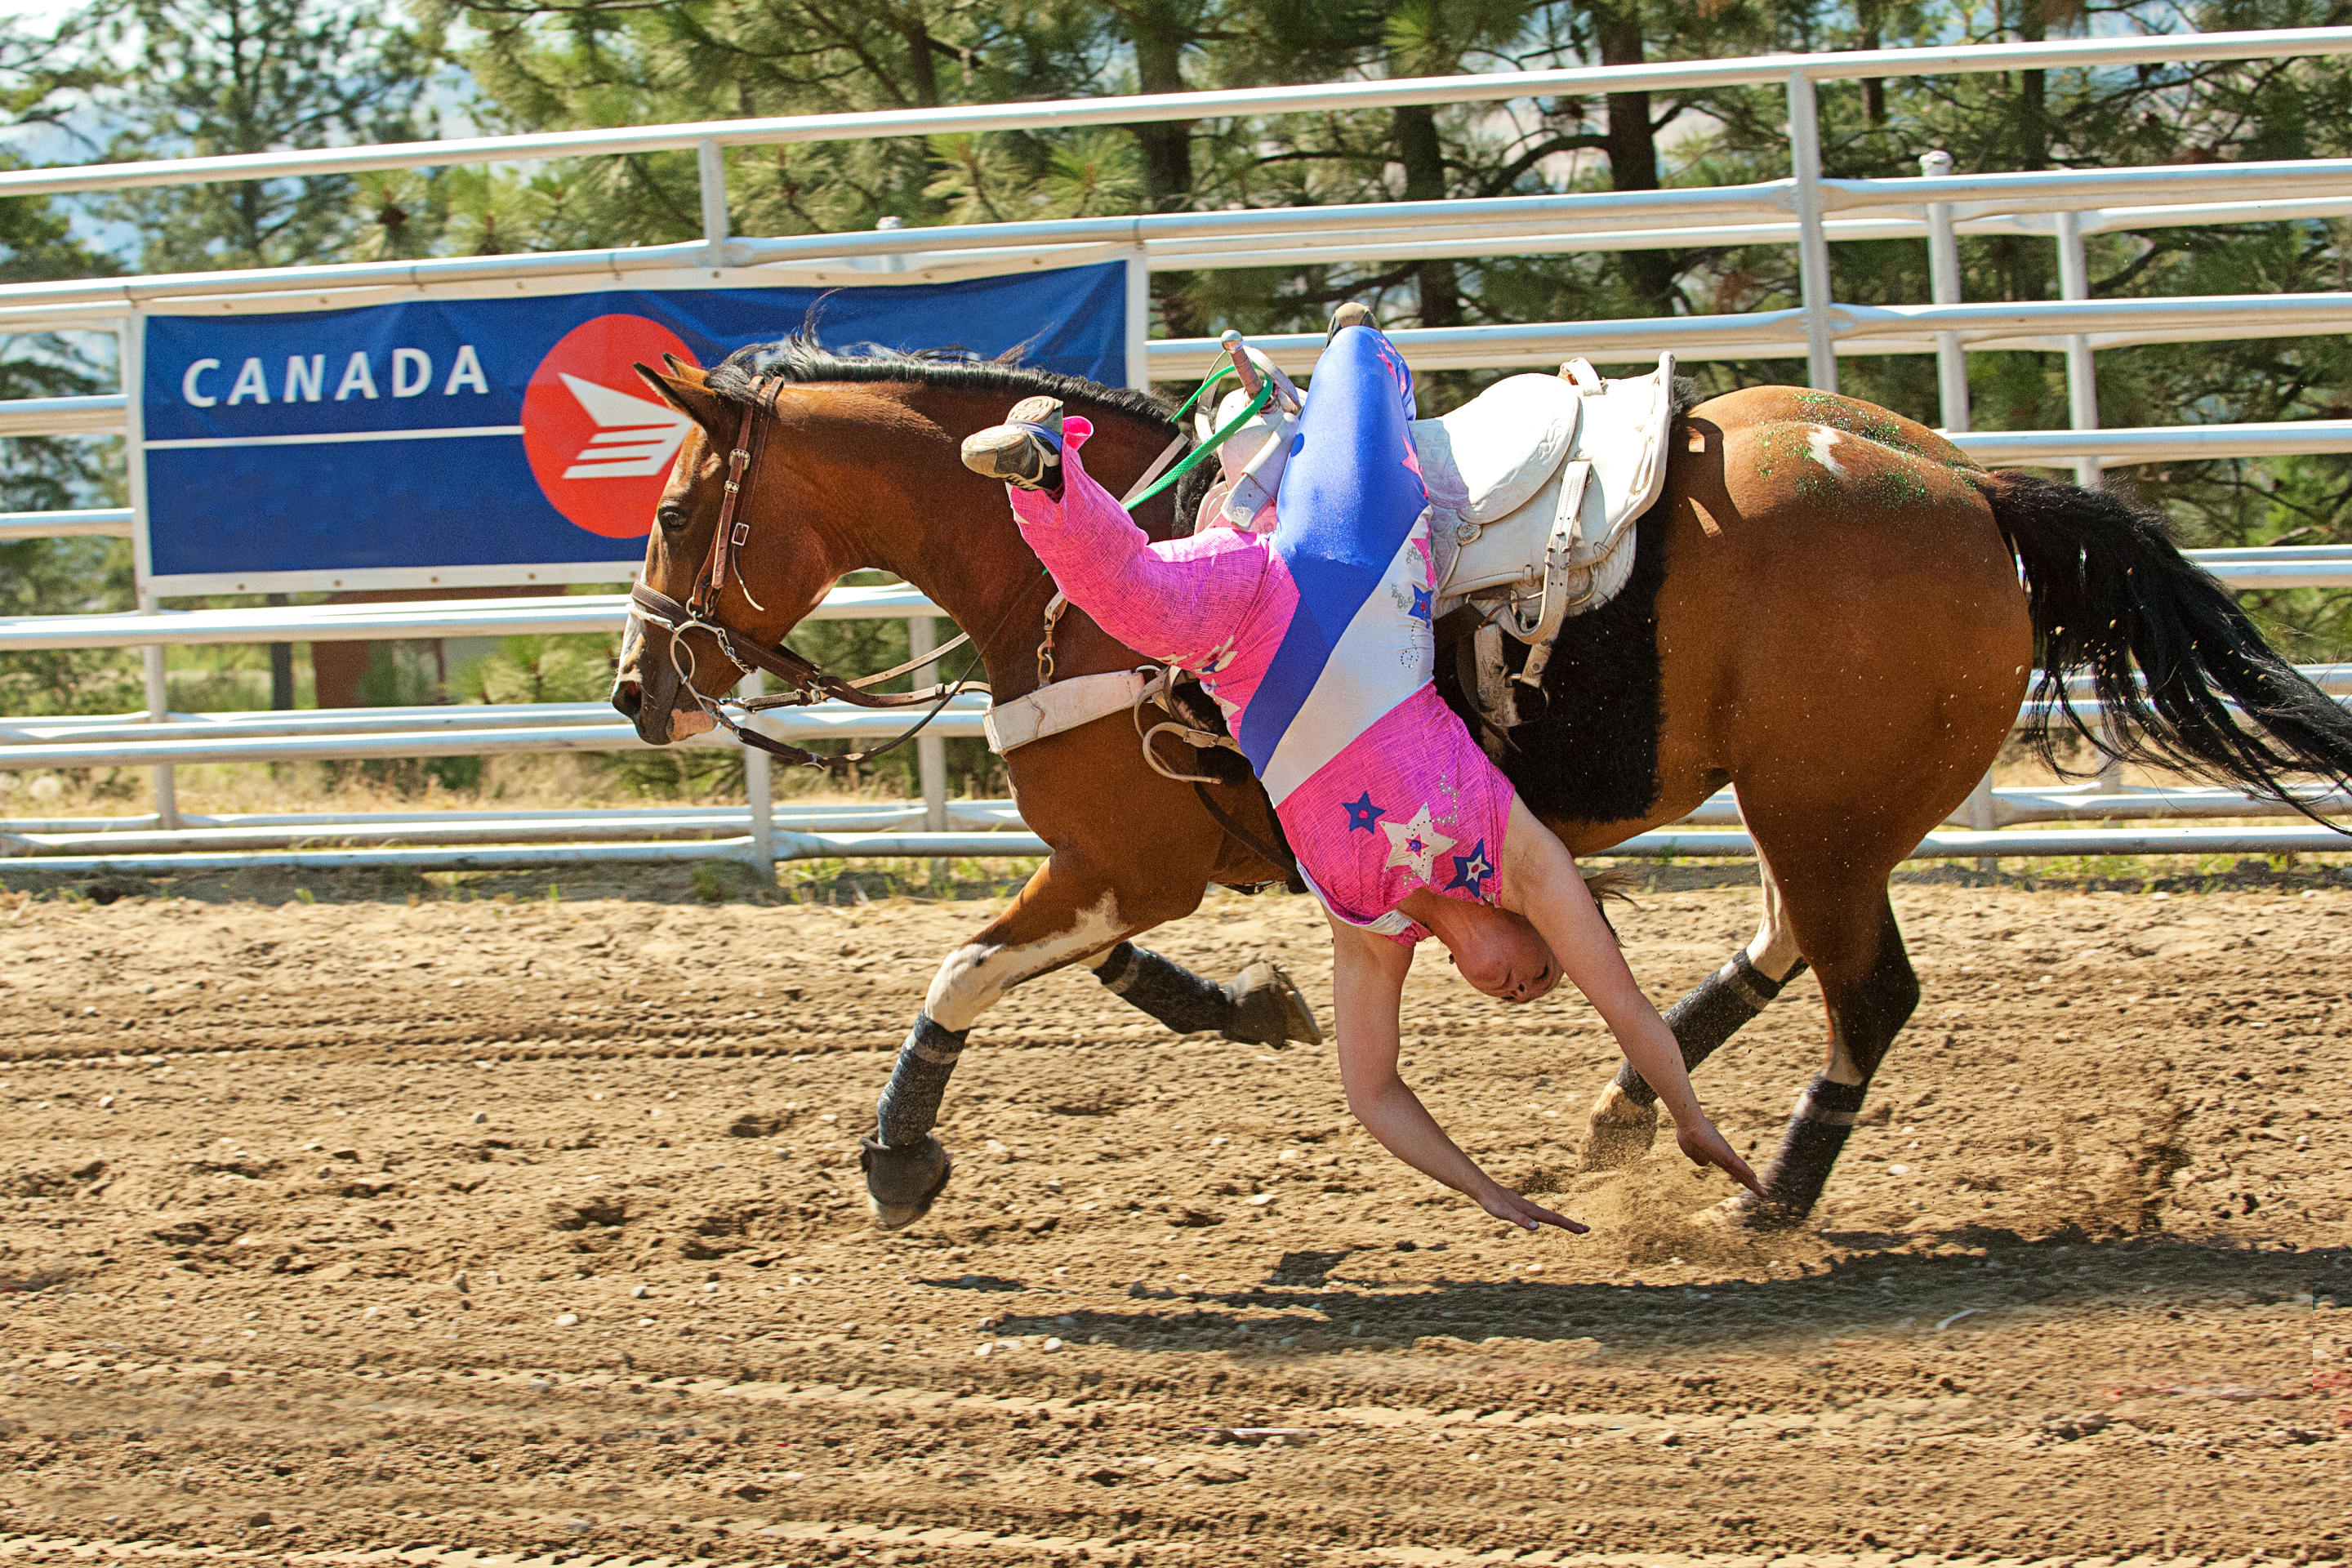
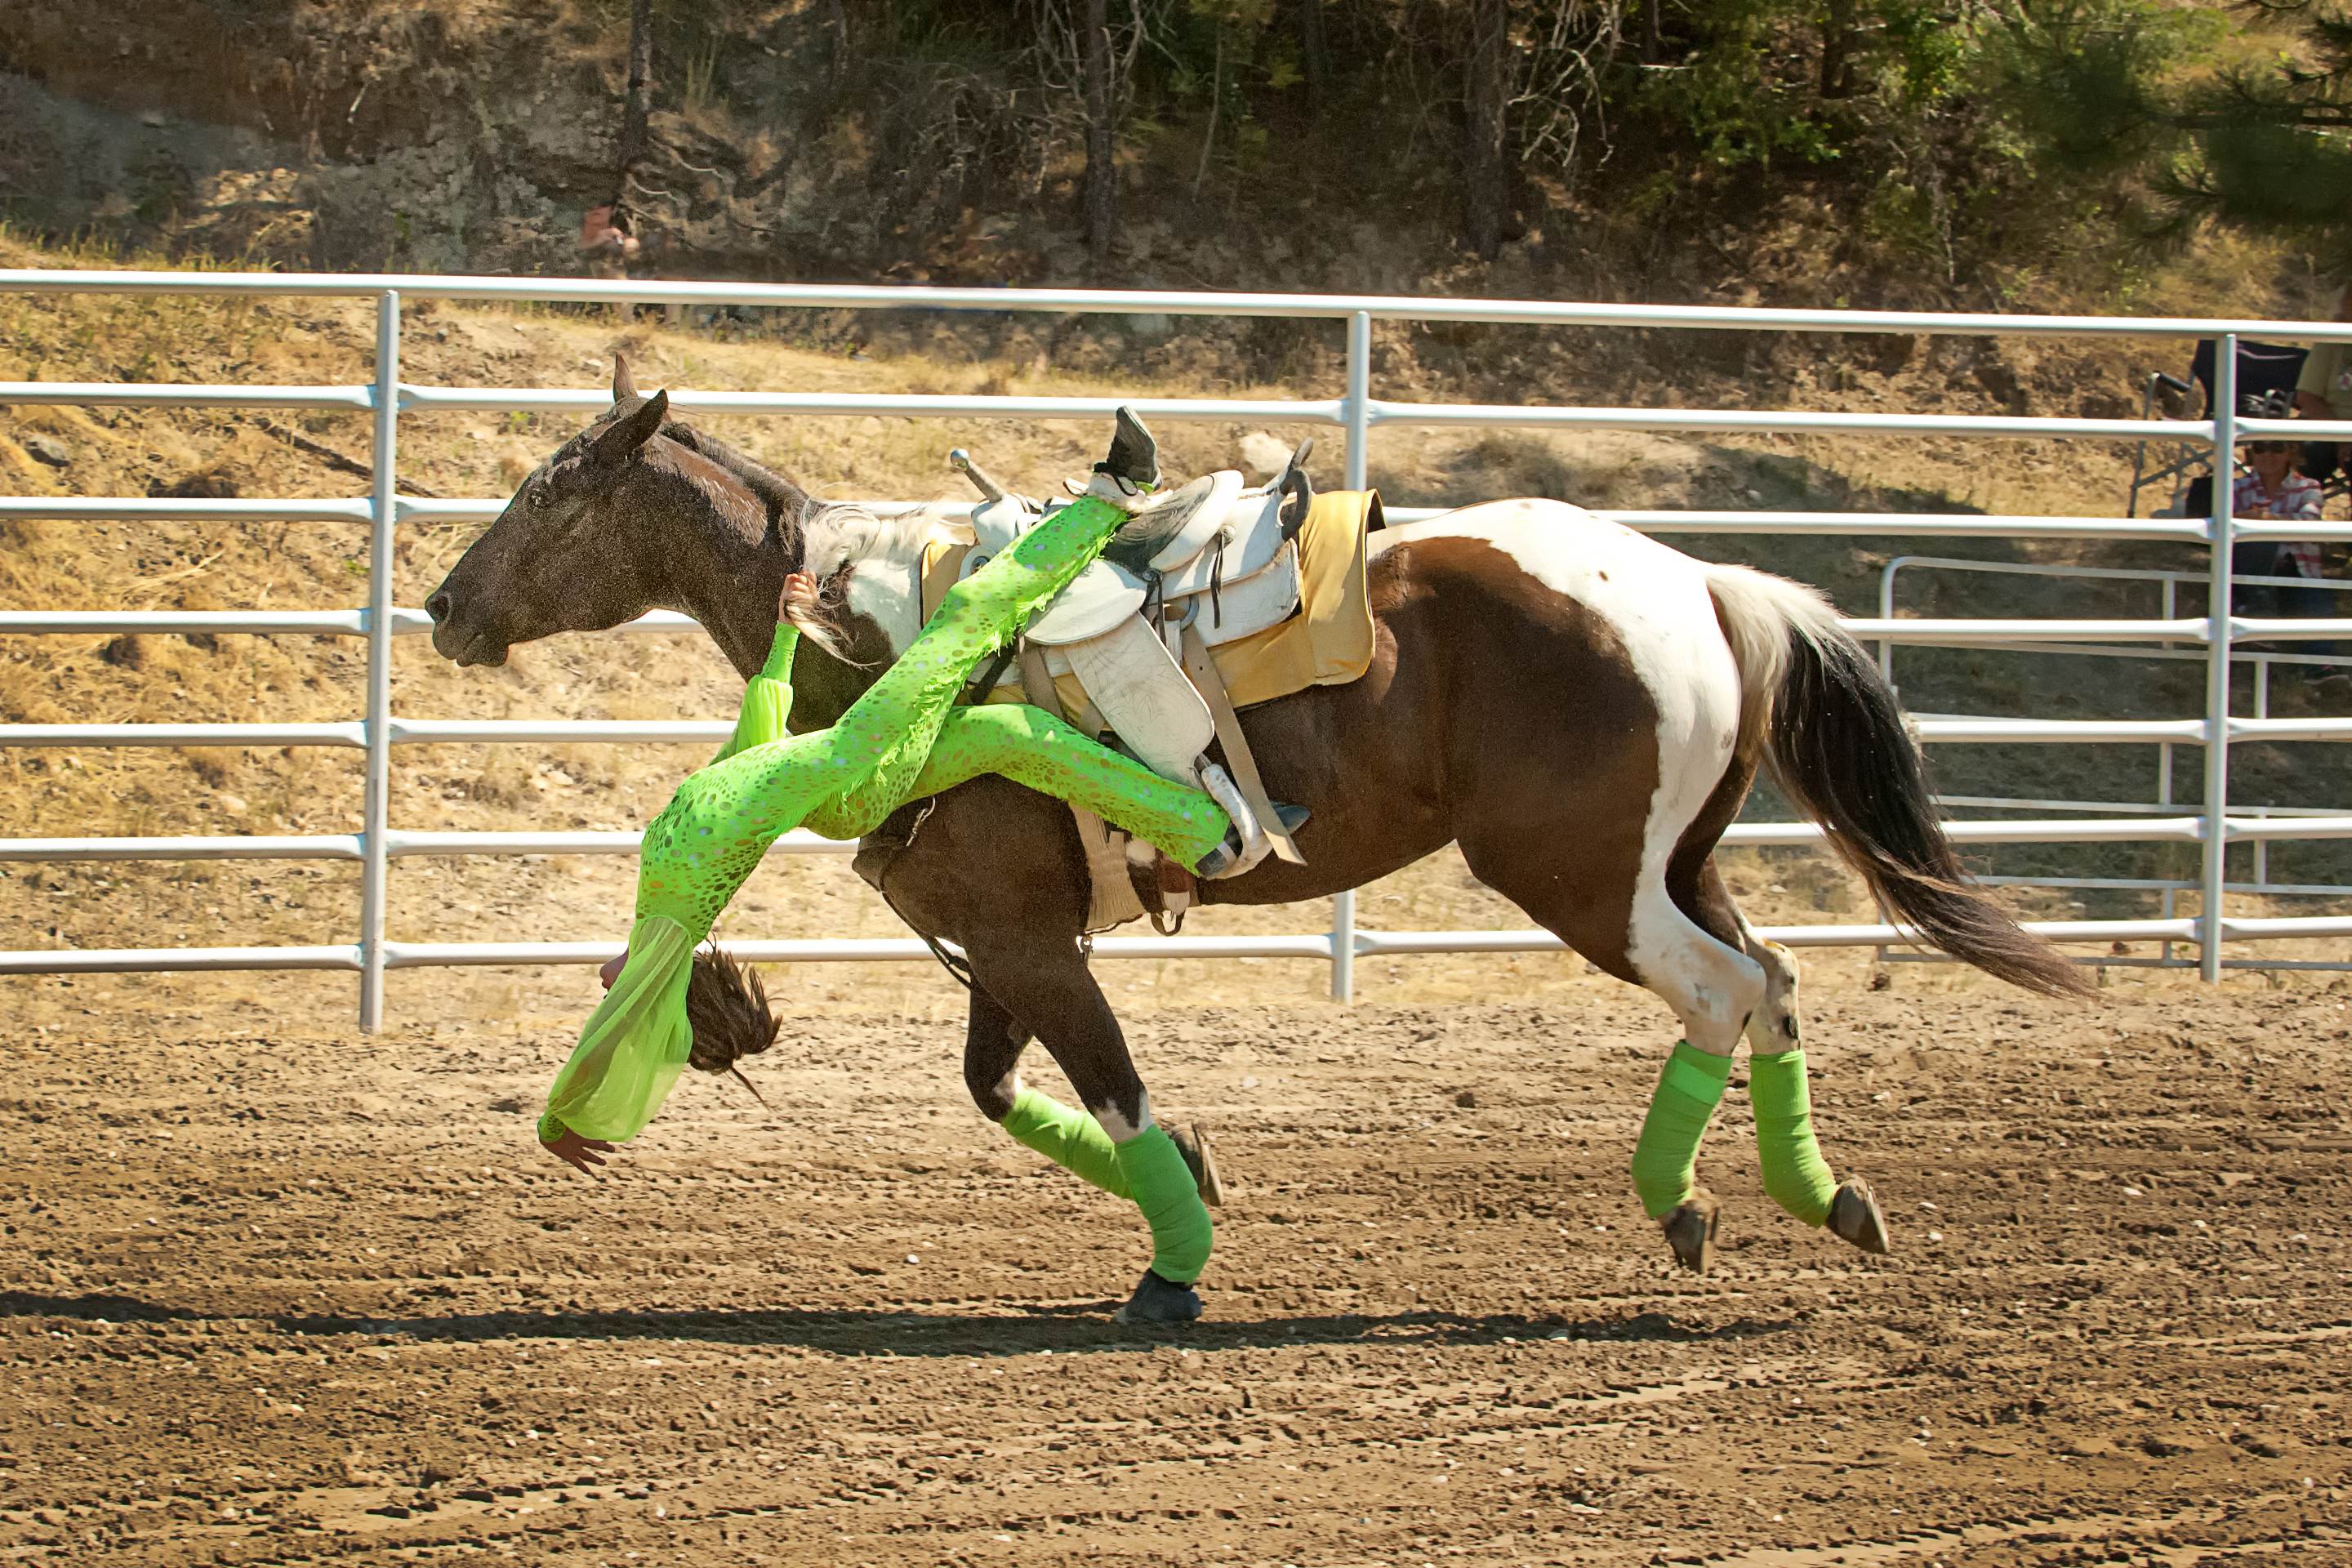
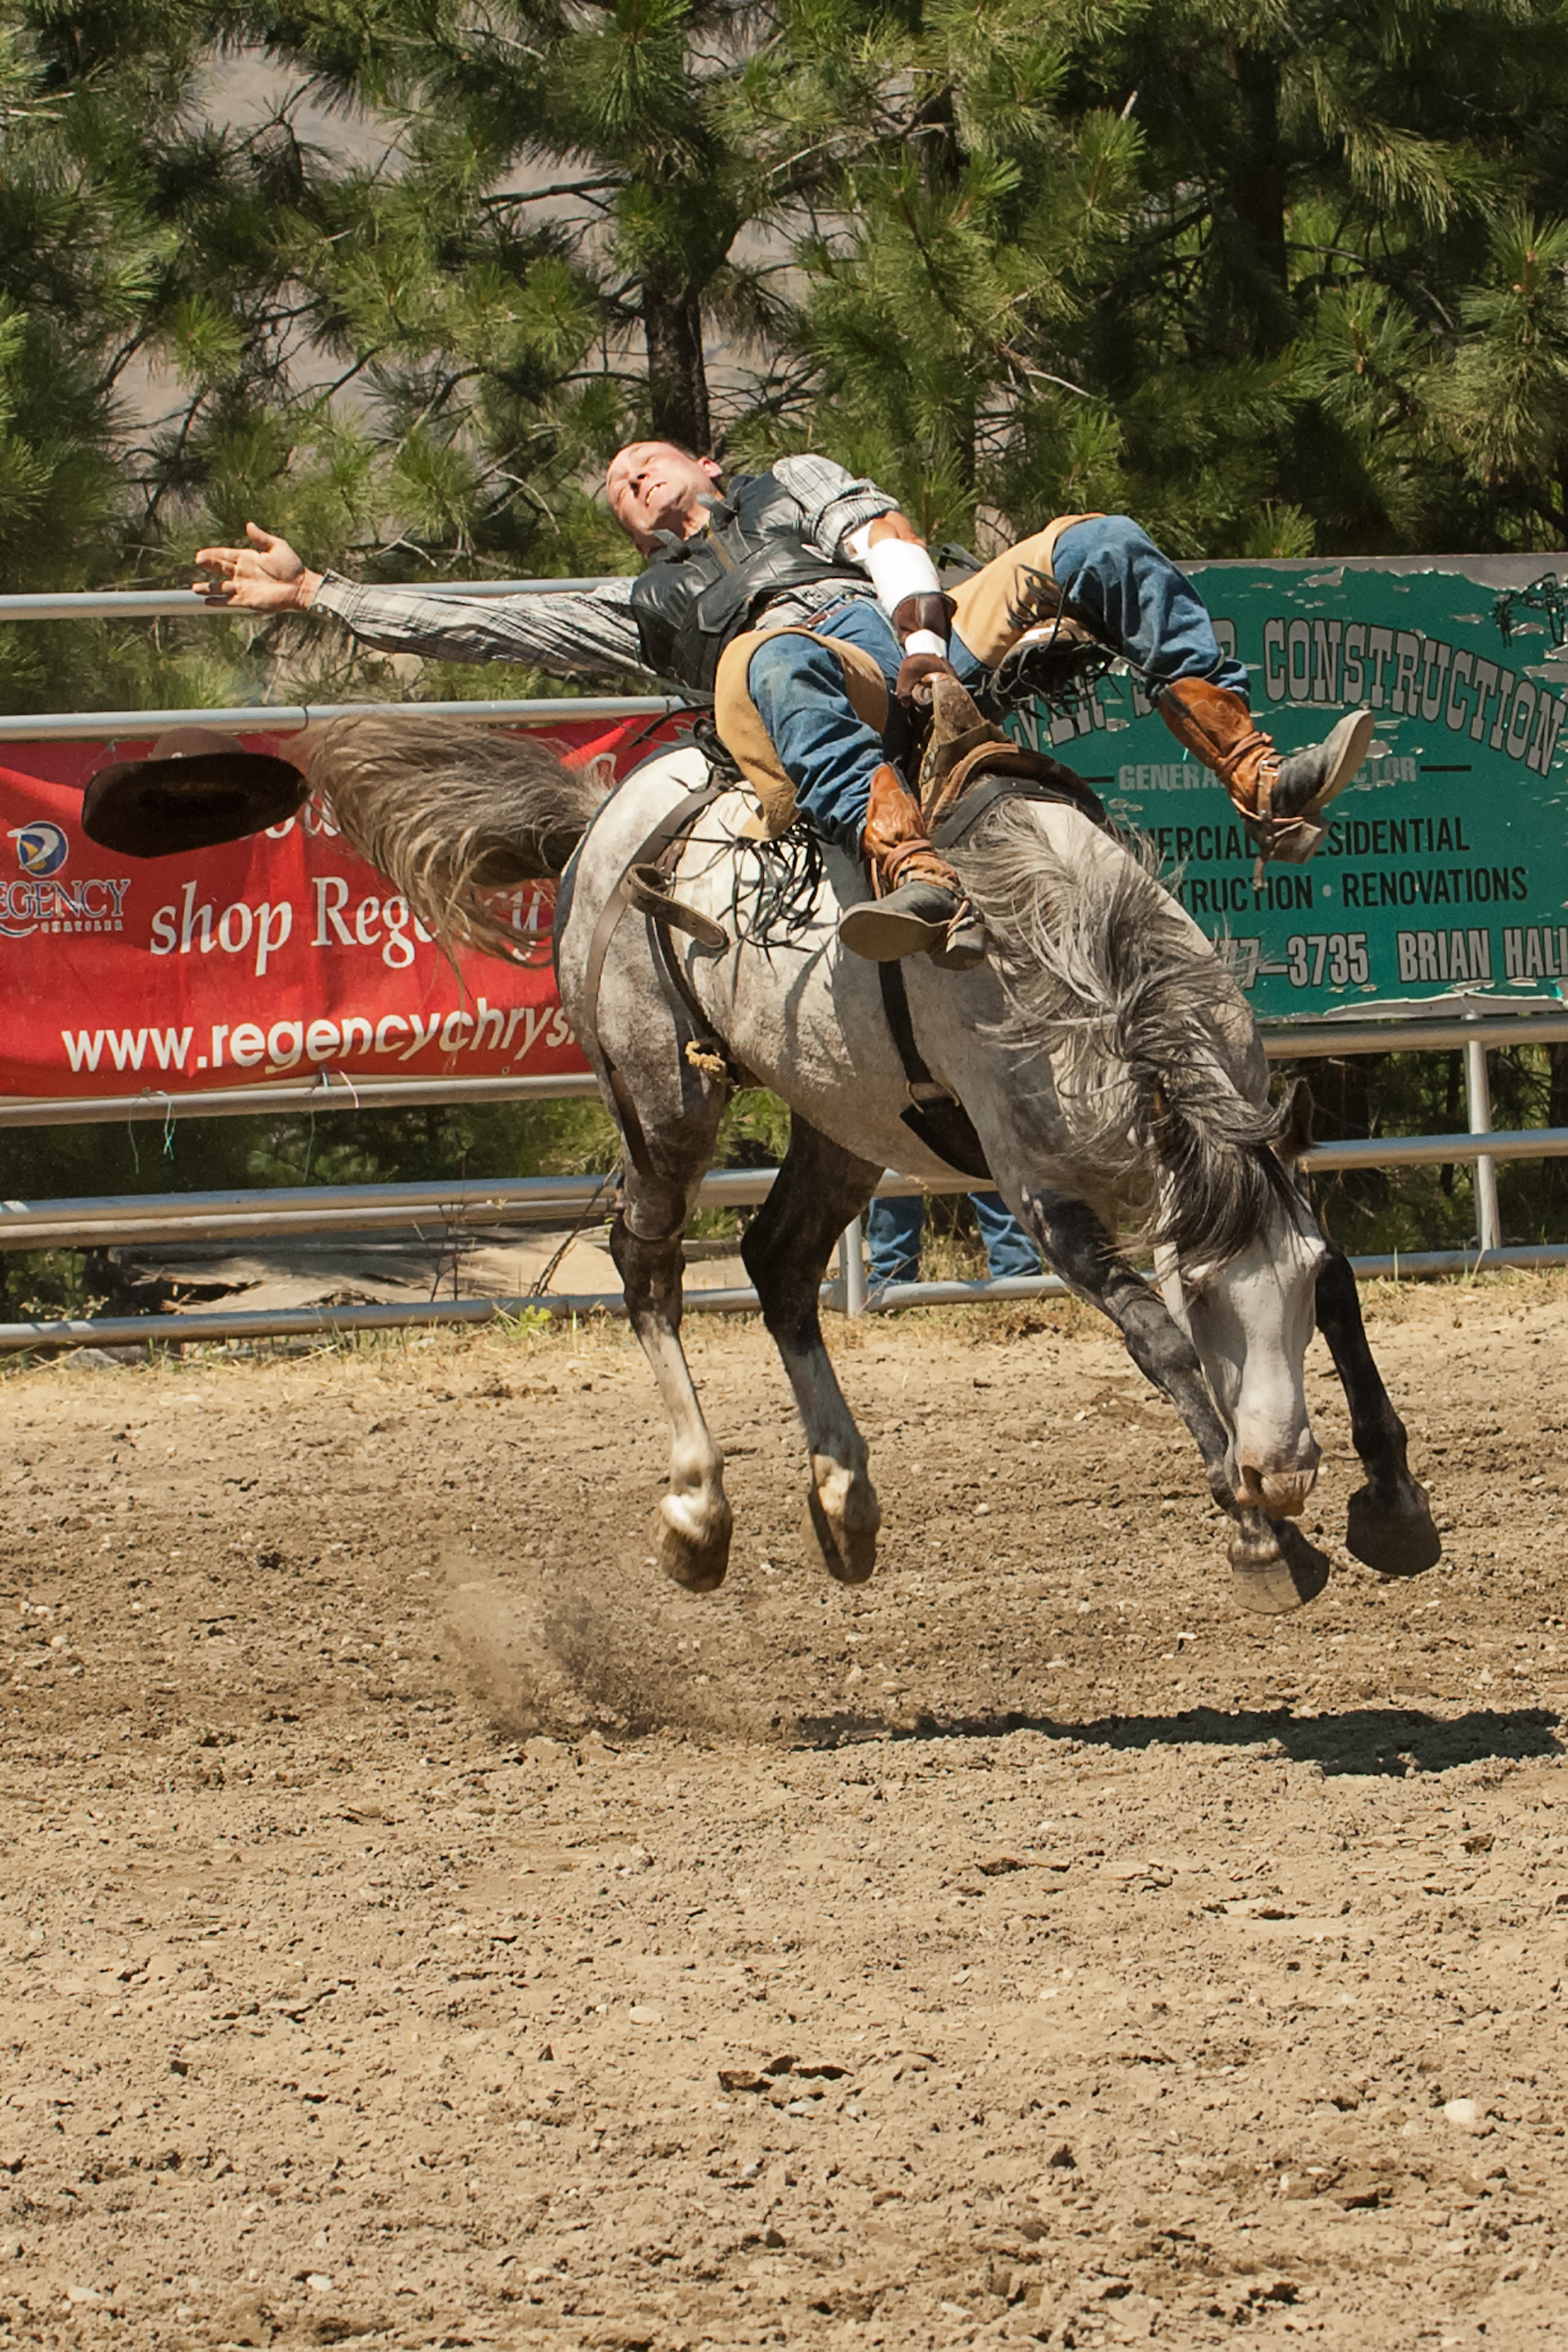
I’m not ready to start roaming city streets yet, but there is a local Fall Fair coming up in September. That environment, with its festive participants, might be the perfect place to search for that decisive moment.

I always appreciate any comments. Thanks, John

My website is at www.enmanscamera.com


Problem Solving Approaches to Photography

The procession 1

The procession 2

The procession 3


There are times when all photographers end up with faulty photographs. Once in a while it can be blamed on the equipment, or processing, although certainly not as much now as when film was used. However, in my opinion, even today most of those faulty photographs are because of poor techniques.

A friend stopped by my shop last week to tell me about his trip to Mexico. He complained that his daughter’s cheap little point and shoot camera got better pictures than he had with his son’s expensive DSLR. I don’t think he was happy when I told him the problem was most likely with his technique. I was certain that little point and shoot’s tiny sensor or it’s lens didn’t match the quality of a DSLR.

I listened to a local photographer grumble about how local photo labs are failing to make her prints the way she thinks they should be. I expect she totally relies on her camera’s programs and is one of those of the belief that if the camera they have been using doesn’t give good pictures then they should buy a newer or different manufacturer’s offering to make it so. In her opinion, that latest camera is advertised as producing wonderful images and when she doesn’t get the correct colour balance or sharpness it can’t be the camera or her fault, it must be the labs.

Years ago I was asked by the Abbotsford Photo Arts Club to give a lecture about problem solving in photography during their annual session. That was long before any of us even thought of the amazing control computers in our cameras or on our desktops now give us. However, at that time I felt, and still do, that the responsibility for a good photograph belongs to the photographer and not the film companies, camera manufacturers, or some poor, overworked lab technician. The point of that lecture, so long ago, was that photographers should look at each photograph as a problem to be solved, and go through the process of correcting faults before releasing the shutter.

Photographers used to say that it was all in the negative; that a properly exposed and developed negative gave the best possibilities of a fine quality print. I still agree with that principle only now it isn’t an image about to be developed on film.

By the time I arrive on the scene to photograph my subject of choice I have already made several decisions and I try to do as the famous photographer, Ansel Adams would do and “previsualize” the image or in my words, “problem solve for the final photograph”.

Like Adams, photographers should be thinking about how the final photograph will be used and how to accomplish that. If one thinks of a final photograph as a series of problems to be solved there will be a smooth transition from initial idea to final print. For example one could begin by thinking about the subject and its environment. What is the background and how will that affect the subject? What is in the foreground that will interfere with that subject?   If one considers depth of field a decision must be made how much is wanted to be “in focus”. Continuing on, in a landscape photograph, photographers will probably want everything from the foreground to far off distance to be crystal clear; whereas, for a portrait the photographer may want the background to be “out of focus”. Another consideration is what is the lighting like and will its direction be flattering?

The sun and its direction is always very important when photographing people. I prefer to have it coming from behind my subject and as readers know, I like to use off-camera flash. Although, if for whatever reason that isn’t possible, I problem solve my way into a photograph that works.

Photographers don’t need to see problems as a deterrent or bad thing. When I suggest to photographers to take a problem solving approach to photography I am really just saying that every element in any creative photographic composition is important, and from start to finish if a photographer uses a system of photographic problem solving there will be less faulty and more successful images.

With digital technology one can easily determine what went wrong or is going wrong and take the time to problem solve before downloading to the computer or relying on technicians at the local photo lab and hoping they are equipped with PhotoShop wizardry.

I appreciate your comments. Thanks, John

My website is at www.enmanscamera.com

Anacortes, the Shipwreck Festival, and Photography

Welcome Seagull

Just waiting

Bargan hunters


What a crowd

Patriotic Hydrant

Fireman,armadillo,H2O bar

Red door

Red Crown gas

three windows

Calm ocean

Cormorants

Kayaks away

Tree at Washington park


Any excuse I can find to visit the coastal town of Anacortes in Washington State is good. An easy four to five hour highway drive from my home in Pritchard to what is referred to as the homeport of the Pacific Northwest’s San Juan Islands, is the town of Anacortes and an annual event called the Shipwreck Festival.

Since 1981, the Shipwreck Festival is actually a giant community garage sale that on the third weekend of July each year occupies about nine blocks of the town’s main street, offering, I suppose, “plunder” or “treasure,” which are the favorite local words from over 200 or more businesses, organizations, antique dealers, small vendors, and families for all the neat stuff they have for sale.

As I wrote, any excuse I have to visit Anacortes is good, and although my main goal is the photographic opportunities I can find in that old town’s architecture and the rugged coastline, I do enjoy wandering through the giant flea market while on my way and always, always meeting interesting people.

And this year was no exception. Just as I finished parking my car and was getting my camera out of its bag I chanced to meet, talk, and exchange emails with local photographer Dan Codd. Although we were both in a rush to get going, my wife and I to begin our journey into the street market and Codd to do some street photography, Codd (from what I can see online is prolific wildlife and scenic photographer) took the time to make some suggestions on places to photograph.

Later my wife Linda and I, met and had coffee with a couple that were spending the week sailing with a group on a very large two masted schooner. We talked about Anacortes, sailing and photography, and coincidently, they were named John and Linda.

Upon arriving the first night we chanced on a downtown bar, “The H20,” and behold, they had live music. The place was packed, but a friendly waiter said, “Just wait”. And after a moment talking with the performers, “Curley Taylor and Zydeco Trouble”, who smiled from the stage area and waved, we moved to the front and sat at the table that had been set-aside for them. And naturally, later that evening, the lead singer, Mr. Taylor, slid in beside us to say hello.

I have to say a that late night at the bar and a day walking and poking through the street market tires a guy out, nevertheless, after a late lunch as my wife took a break back at the motel I grabbed my camera and headed out to prowl the alleys, marina, and eventually the rugged coast of the nearby Washington State park. I started out about at 3pm and got back when I began loosing the light several hours later.

This was not the first time I have strolled through the neighborhoods of Anacortes. I like the bright colours owners have painted their doors, windowsills and porches. Along the main streets there are many buildings still standing that I expect must be from the late 1920s or 1930s. There is a shipyard filled with large vessels, a boat filled marina and, just a short drive away, the wonderful rocky, and easily accessible coastline that surrounds the park, all just waiting for me to photograph.

This was the kind of vacation that I like – the opportunity to photograph, within less than a day’s drive to a completely different environment then the one I live in, a chance to meet new people, great seafood restaurants, and, I almost forgot, the Shipwreck Festival.

I like your comments. Thanks, John

My website is at www.enmanscamera.com

A Fun Day Photographing the Pritchard Rodeo.


A family event

Ride 'em


Doesn't look safe


Excellent riding


Horse 1 cowboy ?


JRE_6489 copy


Trick rider


Take-off


Bronco


Barrel horse & Rider


Barrel Rider


Leaving the shute

Every year I look forward to spending a dusty, fun-filled day pointing my camera lens thru the arena rails at the Pritchard Rodeo in Pritchard, British Columbia Canada.

My wife dropped me off and I walked down the dirt road to the arena. Events had already begun, and as I looked around at lots of familiar faces I spotted Karl Pollak, his Nikon cradled in one arm waving at me. Karl had driven four hours that morning from the large metropolis of Vancouver to attend our small rural community rodeo.

He had brought another photographer, Meko Walker, and this was her first time at a rodeo. As we were introduced, happy as I was to see Karl, meet Meko, and shoot with the two of them, I wondered how these photographers from the moderate humid climate of a coastal city were going to cope with the sunny, cloudless, windless, extremely dry, 40 degree Celsius day.

There was a lull in the action as we talked and the Pritchard fire department’s water truck drove around the arena spraying water. We moved aside continuing our conversation (protecting our cameras from the water), but two young girls ran rail side laughing as they danced around in the wet, cooling spray.

While we waited, sitting on the edge of the hill that ran down from the bandstand, I asked Karl why he would come all the way when there were other rodeos closer to Vancouver. He replied, “I like the wild location. Look at the hills, and trees, and all the open space.” And after snapping a wide angle shot of the arena the added, everyone is so friendly, they say hello even though they don’t know me, and there is a beer garden with people drinking, but no one is getting drunk, being loud, or causing trouble.”

The Pritchard Rodeo grounds are perfect for photographers. The arena is enclosed with a strong metal fence that’s safe to stand close to and doesn’t restrict the view. Of course, one has to be careful when excited horses are getting ready for the Barrel Race, but heck, it is a rodeo and one must remember that the animals, like any other athletes, are focusing on what they are about to do, not some silly person with a camera.

I like that rodeo, and as I wrote, every year I look forward to photographing it. I like capturing things that move fast, it challenges me to think and I enjoy the test of wills between animals and riders. Photographing any action event is fun, and one can be sure there will be action at a rodeo.

This year they added children’s sheep riding. I don’t know who is more bewildered, the poor kids being coaxed along by their parents, or the sheep trying to figure out why there is something on their back and why some big human is trying to persuade them to leave the enclosure they were just herded into. When the sheep finally were cajoled to move, the young rider would usually slide off, and fall to the ground pretty quickly. After all wool is slippery.

Another addition this year was the trick riders. Although I really like the Saddle Bronc, Bareback, Bull Riding competitions and, of course, Barrel Racing, I must admit those trick riders were amazing. I was actually requested to stand center arena so I could photograph them as they performed in a wide circle around me. Gosh, it doesn’t get much better than that.

When they beckoned Meko and I into the riding arena I was briefly worried that my 70-200mm lens would be too long, but as it was I had lots of room to move around and it was just fine.

Rodeos are easy to photograph. One just has to pay attention to where the action is coming from and take up a position that allows everything to move towards the camera.

Then choose a fast shutterspeed and start shooting. I prefer to use shutter priority; I select the shutter, and the camera chooses the aperture. All I need to do is follow the action as the camera’s computer handles the rest. Yep, it’s all pretty easy.

There should be a note saying, “No animals, cowboys, cowgirls, or photographers were hurt during the process of having a great time.”

I appreciate comments. Thanks, John

My website is at www.enmanscamera.com

Photographers Must Remember to Consider the Background

Brewster copy 2  Spirit

Gracie 1

Fat Cat

chuck port copy

Looking Scout

Rikkonna 1

Much of the time photographers get so excited about the subject before their camera that they don’t pay any attention to anything else that is captured by the camera’s sensor when the exposure is made. Of course, things can be cropped out during postproduction, but what if the background is so busy that it obscures the intended subject of the photograph? The background can impact a subject in many ways and much of the time it interferes with the subject.

In the past I have written about composition, depth of field, and even bokeh. Composition can be as simple as creating an interesting photograph by using basic guidelines or compositional strategies for a balanced image. Depth of field is that area in front of and behind the subject that is acceptably clear, and bokeh refers to that portion of an image that is out of focus. Using those three mechanisms or strategies as a way to isolate a subject help photographers increase the impact their photographs have for viewers.

A serious wild life photographer once told me that it is important to have a background that is neutral and non descript. I had one experienced birder giving me tips on photographing Loons, explain that soft green water made better pictures than contrasty blue water. I think that this may be his personal opinion, but I have to agree that of the photos I took that day I liked way the green water looks better.

I recall a photographer who had exhibited his photograph in a local exhibition being angry because he didn’t get a mention by the judges on his photograph of an eagle posing on a branch. He had exposed it properly and displayed it sharply. He was so proud of his photograph of that bald eagle that he was unable to see the busy background and how it negatively impacted on the overall photograph. I believe the judges did see that.

My advice to that photographer would be to curb his excitement and spend some time examining his subject and its surroundings. Using the term, coined by Ansel Adams, that I mentioned in my 26 June 2014 article, he should “previsualize” the image for its best impact.

Compose and isolate the center of interest, and decide how to use the background to the best effect; whether the background should be in, out, or partially focused, or to have it clear or cluttered, and if it is appropriate for inclusion or to be excluded. A busy background distracts viewer’s attention.

Backgrounds present both opportunities and challenges to photographers. Here are four very simple suggestions other photographers have told me take into consideration to make the background work.

1. Check your background before pressing the shutter;
2. Pay attention to your shooting angle;
3. Use the aperture or the focal length to blur the background;
4. Fill the frame with your subject.
They are all great tips, or thoughts for us all to remember, and I personally like the words of Ansel Adams that fits well,  “A good photograph is knowing where to stand.” And I’ll add, remember to consider the background.

I enjoy all comments. Thanks, John

My website is at http://www.enmanscamera.com

Photographing a home’s interior


a. front room  B. front room  c. Kitchen  d. dinning suite  g. kitchen wine  h. dinning room

The past month has seen me spending hours and days painting a rental property that my wife and I own. The tenant had lived in it for the seven years since we purchased it and was already there for about four years when we purchased the duplex, so needless to say, when that nice, old lady finally decided it was time to leave the place showed plenty of wear.

I loaded my truck with tools and pretty much moved in to change a worn out house back into an inviting home. Finally, after what seemed to this lone-painter, to be a never-ending job has reached an end. I have painted the complete interior for the one side and all the exterior trim for both sides. Whew!

We have decided to sell and relinquish the job of landlord to other investors, and that means after I pick up all the ladders, paint cans, brushes, and vacuum the place; my fun days will begin. It’ll be time to get out my camera, tripod, and flashes, and produce images of that shining place that will make it easy for a realtor to find buyers for us.

I suppose pointing a camera inside a building to take a few pictures has never been easier than it is today, and I have seen some interior work where a photographer saw and worked with the existing light, without any additional flash units, and was able to produce excellent images. But I like using flash, and any chance I have to modify a room’s ambient light I am going to take. Yep, I just like using flash.

I remember the difficulty of trying to hide my lighting unit’s power cords before we had the benefit of Photoshop, and then after Photoshop was available the extra time it took to clone out those ugly flash cords. However, now everything is wireless, the cords are gone, and I no longer pack in large studio type lights. Gosh, other than the light stands, my whole lighting “kit” of four-hotshoe type flashes fits into a small seven by ten inch bag.

Later this week I’ll show up at the renovated rental unit with two flashes on light stands and start taking pictures. I don’t like to use lenses that are too wide angle. Everything gets distorted, so I will be using my full frame D800e and a 24-70mm lens. I prefer the zoom rather than a fixed focal length (prime) lens because it gives me a bit of in-camera perspective control. And although I use a tripod, I find much of the time I end up jamming my shoulder into a corner, or sitting on the floor, or standing on a stool to get the most interesting view of the small rooms. The neat thing about using a wireless sender/receiver on one’s camera and flash is that the flash can be positioned in another room to illuminate a hallway or give the effect of light coming through a window.

I’ll arrive in the late afternoon and stay till late morning. There’s lots of food and drink in the refrigerator and I’ll stick some CDs in my portable player and start having a great time, listening to music and doing my photography.

Photographing any interior space presents a variety of photographic challenges and coming up with interesting ways to light the indoor space to show texture and form, and solving the challenges that windows and exterior lighting introduce is time consuming and enjoyable.

Adding light to a portrait is probably one of the best ways to improve the mood, emotion, contrast, and impact for viewers. And the same applies for interiors and architecture.

I welcome comments. Thanks, John

My website is at http://www.enmanscamera.com

I Learned About Photography by Shooting with Black and White Film

bicycle & stairs

iron rails

phonebooth

Red Crown Gas

white pillars

floral entrance

Brick doorway

Last week I wrote about black and white photography. From the comments I received I realized there are many other photographers out there very interested in enjoying the process of making black and white images.

While driving my noisy, old diesel truck (with my car waiting a replacement engine) I got to thinking about what it was like when I used black and white film. The drive was along a winding, valley road that we are so familiar with in British Columbia,  And although I attempted to listen to the radio, the static caused by the power lines running along the roads edge, the loud diesel engine and, of course, the worn out radio, left me to my own thoughts, and soon I was contemplating about film and shooting with black and white film.

Formerly, once the shutter was released on a camera loaded with film what one got was, well, what one got was what one got. There were no second chances as enjoyed today. One was left with only a memory of that moment in time until the film was processed and printed.

A friend remarked that photographers had to be better in those film days than they are today. I think that’s a nice, egotistical thought to comfort aging picture takers, but I don’t think its true. And in my not so humble opinion, I am going to say that modern photography is just different, evolving and different. Even in the days when film ruled there was a difference between those that filled their cameras with colour film and those, like me, that preferred black and white film.

I began using black and white film because that’s what my first college class recommended, then after a time I began to understand the medium and grew to like B&W.

We used a term called “previsualization”. Previsualization is attributed to Minor White.

While studying the subject a photographer predetermines how the final image would be processed and printed. Ansel Adam referred to that process as “the ability to anticipate a finished image before making the exposure”.

There was also the Zone System. American photographers Fred Archer and Ansel Adams collaborated on the technique for determining optimal film exposure and development that provided photographers with a method to precisely define the relationship between the way they visualized the photographic subject and the final results.

Those techniques were, at least in the way I applied them, to formulate or determine how I wanted the final print to look. Colour film had creative limitations and had to be printed in an almost lightless room, whereas my personal lab for printing B&W was quite bright because photographic paper is only sensitive to white light, not yellow, orange, or red. And that allowed me to fill the room with light and see the image and control how it would look.

With B&W film I learned to previsualize, and as I selected my subject I would think about how I would process the film and make the final print. I could alter the exposure rating, as with the Zone system, depending on which chemicals I planned on using and how long I would keep the film in the developer. I would select different papers and alternate chemicals to change contrast or tonal values in the final print.

Shooting with black and white film and managing the process of developing and printing the picture taught me that the camera and film (now the sensor) are just the starting point to making a photograph match my personal vision, and my personal vision is much more important than the camera’s.

Shooting black and white taught me to watch for tonal shifts from black, to mid grey, and finally, to white with detail. Studying how it would look became an intellectual process rather than an emotional one.

B&W photography is a matter for the eye of the beholder, the intuition, and finally the intellect. Of course colour is all that, but much of the time it seems photographers, overwhelmed by colour, just push the shutter seeing nothing deeper in a scene than the colours.

Black and white images, because they don’t attract with a play of colours, seem subtle and make me think about the tonal range and demand my close attention to composition, lighting, perspective, and the context the image is shot in as important factors.

I learned about photography by shooting with black and white film. I don’t use film anymore, and the photographic examples I have included are digital. When I am thinking in black and white, I slow down and that stretches me to creatively see, and show, the world differently.

I really appreciate any and all comments. Thanks, John

My website is at www.enmanscamera.com

Black and White as a Photographic Medium

1. Cameras  2. Ghost town  3. Kamloops fence & hills  4. Quick turn at the rodeo  4.Chuck the rooster  5. Flower  6. Bailea  7. Monica  8. Church lantern  9. Headwaters

Lois Lane, Kelowna

Black and White as a Photography  has always been my favourite photographic medium. I recall when I first began pointing my camera at different subjects, and started making photographic prints, that I didn’t think too much of colour photography. Yes, colour was fine for documentary work as found in “National Geographic” magazine, or making snapshots of some family, but in the 1970s creative photographers seemed to be working in black and white, not colour.

Photojournalist Ted Grant, who is regarded as Canada’s premier living photographer wrote,

“When you photograph people in color, you photograph their clothes. But when you photograph people in black and white, you photograph their souls!”

Black and white photographs always (and still do in my opinion) seem to create moods and convey an almost tactile quality.

During the period of film photography, photographers had to decide whether their subject would look best in black and white print film, colour print film or slide film and most photographers trudged around with at least two camera bodies weighing them down. However, today that decision to make a black and white image is best left to the computer and some exciting post-production software. And there is no need pack around another camera. (Well, unless one is worried about camera failure.)

Thankfully post-production is no longer contained to dedicated, darkened rooms. I still have an 11×11 foot room in our basement, complete with a six-foot stainless steel sink and custom cabinets. However, it’s mostly used to store photo equipment and for washing my chickens’ eggs. Now my lab is on the main floor of our home and instead of chemicals, the image and print production has become an intricate combination of computer programs, quality printers, and papers that easily rivals the quality of chemical-based, traditional, black and white photography.

A black and white photograph depends on its ability to communicate, it doesn’t need to rely on eye-catching colours for its’ visual presentation. Those B&W images that stand and pass the test of time combine attention to subtle changes in light, composition, and perspective. And it stretches our creativity and forces us to visualize our world in different terms. I remember a photographer once saying that he believed shooting in B&W refined one’s way of seeing. And I heartily agree.

In spite of the many modern photographers that don’t bother with anything more than just accepting what comes out of their camera, black and white photography is far from being left behind in the past, and, in my opinion, with the current processing software, updates in high quality printers, and the latest in printing papers, black and white image-making will continue to be an option for a host of serious creative photographers.

Those photographers that are good at black and white photography learn to exploit the differences in tonal elements in a scene and present viewers with successful B&W portrayals that make excellent use of shapes, textures, light and shadow, and the loss of those original colours becomes irrelevant.

For those that haven’t tried monochromatic (another word applied to B&W) image making, I will mention that it is easier than ever. Most digital cameras have a black and white mode available in the menu. I don’t really like using that, as it does nothing more than de-saturate an images colour data file, excluding control of the different tonal values that make up a black and white image. I suggest trying one of the many great programs available on the Internet that can be downloaded to test for free. Who knows, you might, like I do, really like black and white photography.

Readers by now must know how much I like quotes from famous photographers. So I’ll finish this up with some words from a turn of the century fashion and commercial photographer, Paul Outerbridge: “One very important difference between color and monochromatic photography is this: in black and white you suggest; in color you state. Much can be implied by suggestion, but statement demands certainty… absolute certainty.”

I welcome any comments. Thanks, John

My website is at www.enmanscamera.com

When Do I Like Photographing Flowers?

Iris sculpture

Columbine bloom


Columbine


Foxglove


Poppy bud


Dandelions seeds & Oregon grape

When I am bored, stressed, or just want to get away from crap that sometimes happens, I grab my tripod, camera, and flash, and head out to my wife’s garden.

I admit that I am not really a flower kind of person and plant names are more my wife’s interest than mine, although, I do try to document her sprawling garden as creatively as I can throughout the seasons.

Somehow pointing a camera at some colourful plant is calming, and wandering through a garden of differing shapes and tones offering photographic opportunities gives me a different experience than any other subject.

Unlike photographing people, animals, scenics, sports or almost any other subject, garden plants just wait to be looked at. One doesn’t have to cajole, creep, or climb, and it’s not necessary to get in a vehicle to search for some secluded or exotic location. Most of us can find a welcoming garden close by that is, in most cases, easily accessible.

The result of 30 years of my wife’s effort has put me in a fortunate position of having about a half-acre of garden right out our front door. However, even if I lived in a city and only had four or five potted plants, I still would have a place in which to get lost.

The past month has been busy keeping me constantly on the go. So when my wife and I went to the car to drive to a mid morning appointment, the doggone thing just stopped working, and I was confronted with another stressful problem. To make a long story short, I was (I’ll use nice words here) very irritated as I watched it disappear down our rural road, chained to the bed of a tow truck.

I stormed around for a while. Then as the bright afternoon sun began dipping into the mountains and the light started to fade I looked around. I had walked back into our yard and was standing hidden from the road in my wife’s garden. Everything was bathed in what photographer John Sexton called “quiet light”.

“It is light that reveals, light that obscures, light that communicates. It is light [that] I listen to. The light late in the day has a distinct quality, as it fades toward the darkness of evening. After sunset there is a gentle leaving of the light, the air begins to still, and a quiet descends. I see magic in the quiet light of dusk…”

As I wrote in the beginning, I was “stressed and just wanted to get away from the crap that happens” So I returned to the house, I grabbed my tripod, camera, and flash, and started looking at the plant shapes waiting in the garden.

Sexton had continued by saying, “I feel quiet, yet intense energy in the natural elements of our habitat. A sense of magic prevails. A sense of mystery – It is a time for contemplation, for listening – a time for making photographs.”

I immediately began to calm down. I wonder if it was the act of setting up a tripod and attaching the camera. Maybe it was figuring out the exposure and balancing the fading light with my flash. It might have been choosing an interesting plant and searching for a creative angle. Or it just might have been all of those together that stole my attention and allowed me to redirect my energies.

Another of my favorite photographers, Robert Mapplethorpe wrote, “With photography, you zero in; you put a lot of energy into short moments, and then you go on to the next thing.” I guess so.

I expect capturing an expression on someone’s face, photographing an exotic scenic or some sporting event, will get more raves from friends than a picture of some delicate flower. But none of those help to relax me and sometimes even trouble me more. So, next time I am, as I was this week, confronted with problems or just feeling pressure. You’ll know where to find me. And maybe it’ll work for some readers, whether it’s in their garden, a public park, or even on the side of the road; there are plenty of photos for the taking.

I enjoy all comments. Thanks, John

My website is at www.enmanscamera.com

Don’t Forget Some Photographic Basics

Helmkin Falls view   Low drifting clouds

A local photographer showed up at my shop with some scenic/landscape photographs he had made and asked me for a critique of them.

Photographers get excited about the subjects they photograph and sometimes forget, or never learned in the first place, some basic rules for photography. Rules that are actually procedures and guidelines that can be followed to make photographs more exciting for viewing. Although I enjoyed his series of photographs of Helmken Falls in British Columbia’s Wells Gray Park, I noticed two problems that I discussed with him.

The first is a very basic concept in photography – depth of field. Depth of field refers to the “in focus area,” or sharpness of a picture at different distances when the aperture diameter changes. Depth of field is the area around the subject that remains acceptably sharp. The farther things are away, the more depth of field one can achieve, and the closer things are, the less depth of field. To control depth of field one uses the lens aperture.

Photographers new to this medium think of the aperture only as a means of controlling the amount of light reaching the sensor. However, the aperture also controls depth of field.

Control over depth of field is accomplished by increasing or decreasing the aperture’s size. For example, the smaller the aperture opening (f/16) the more depth of field; and the larger the aperture opening (f/4) the less the depth of field is. So f/16 will give more “in focus area” in front of and behind the subject than f/8. Regardless of the F/stop one should have a shorter in focus area in front of the subject, and a longer in focus area behind the subject.

The ratio is approximately one-third in front, and two-thirds behind. So to obtain maximum depth of field in a photograph use a smaller aperture opening like f/11, and focus one third of the way into the scene.

The second thing I pointed out was his composition. I wondered what it is that makes photographers disregard the basics of compositional strategies and just snap away excitedly. My assumption is that many photographers are so excited about the subject they are photographing, and possibly the camera they are using at the time, that they forget to make the subject interesting in their final photograph.

With his scenics of the waterfall, as exotic and colourful as it was on that day, he ignored something fundamental in any properly composed photograph called “The Rule of Thirds”. This so called “rule” states that we shouldn’t place the main focus of interest in the centre of the frame, but should place it on an intersection line, or very close to it, created by dividing the picture into a grid of thirds.

That photographer’s pictures would have been stronger if he had paid attention to compositional elements that would make his image interesting by placing important or interesting visual information at intersections.

I have photographed those falls alongside other photographers many times since I moved to British Columbia 40 years ago; spring, summer, fall and winter.

Sometimes they have been excited, as with the fellow I critiqued, and just pointed their cameras without thought, overwhelmed by the roaring, wilderness splendour of Helmken Falls. Regarding those image makers, Guggenheim Fellowship for Creative Arts recipient Garry Winogand quipped, “Photographers mistake the emotion they feel while taking the photo as a judgment that the photograph is good”.

However, I have also set my tripod next to photographers that just seemed understand what it takes to make viewable images and appear to feel their way through the photograph. That’s always exciting. Of them I like to think they adhere to the words of Photo Imaging Association’s 2005 Photographer of the Year, David Harvey when he said, “Don’t shoot what it looks like. Shoot what it feels like.”

As always, I appreciate any comments. Thanks, John

My website is at www.enmanscamera.com