Street Style Photography at the Fall Fair

Royalty and Attendants

Country singers

Cowboy in slicker

Mobile staff

Wooden Horse listening

Waiting against the wall

Clydsdales

Umbrella guy

Your cartoon

First Aid

Monster Cones

“Every year when summer comes around

They stretch a banner ‘cross the main street in town

You can feel somethin’s happenin’ in the air…”

“County fair, county fair,

Everybody in town’ll be there

So come on, hey we’re goin’ down there…”

Bruce Springsteen – Country Fair


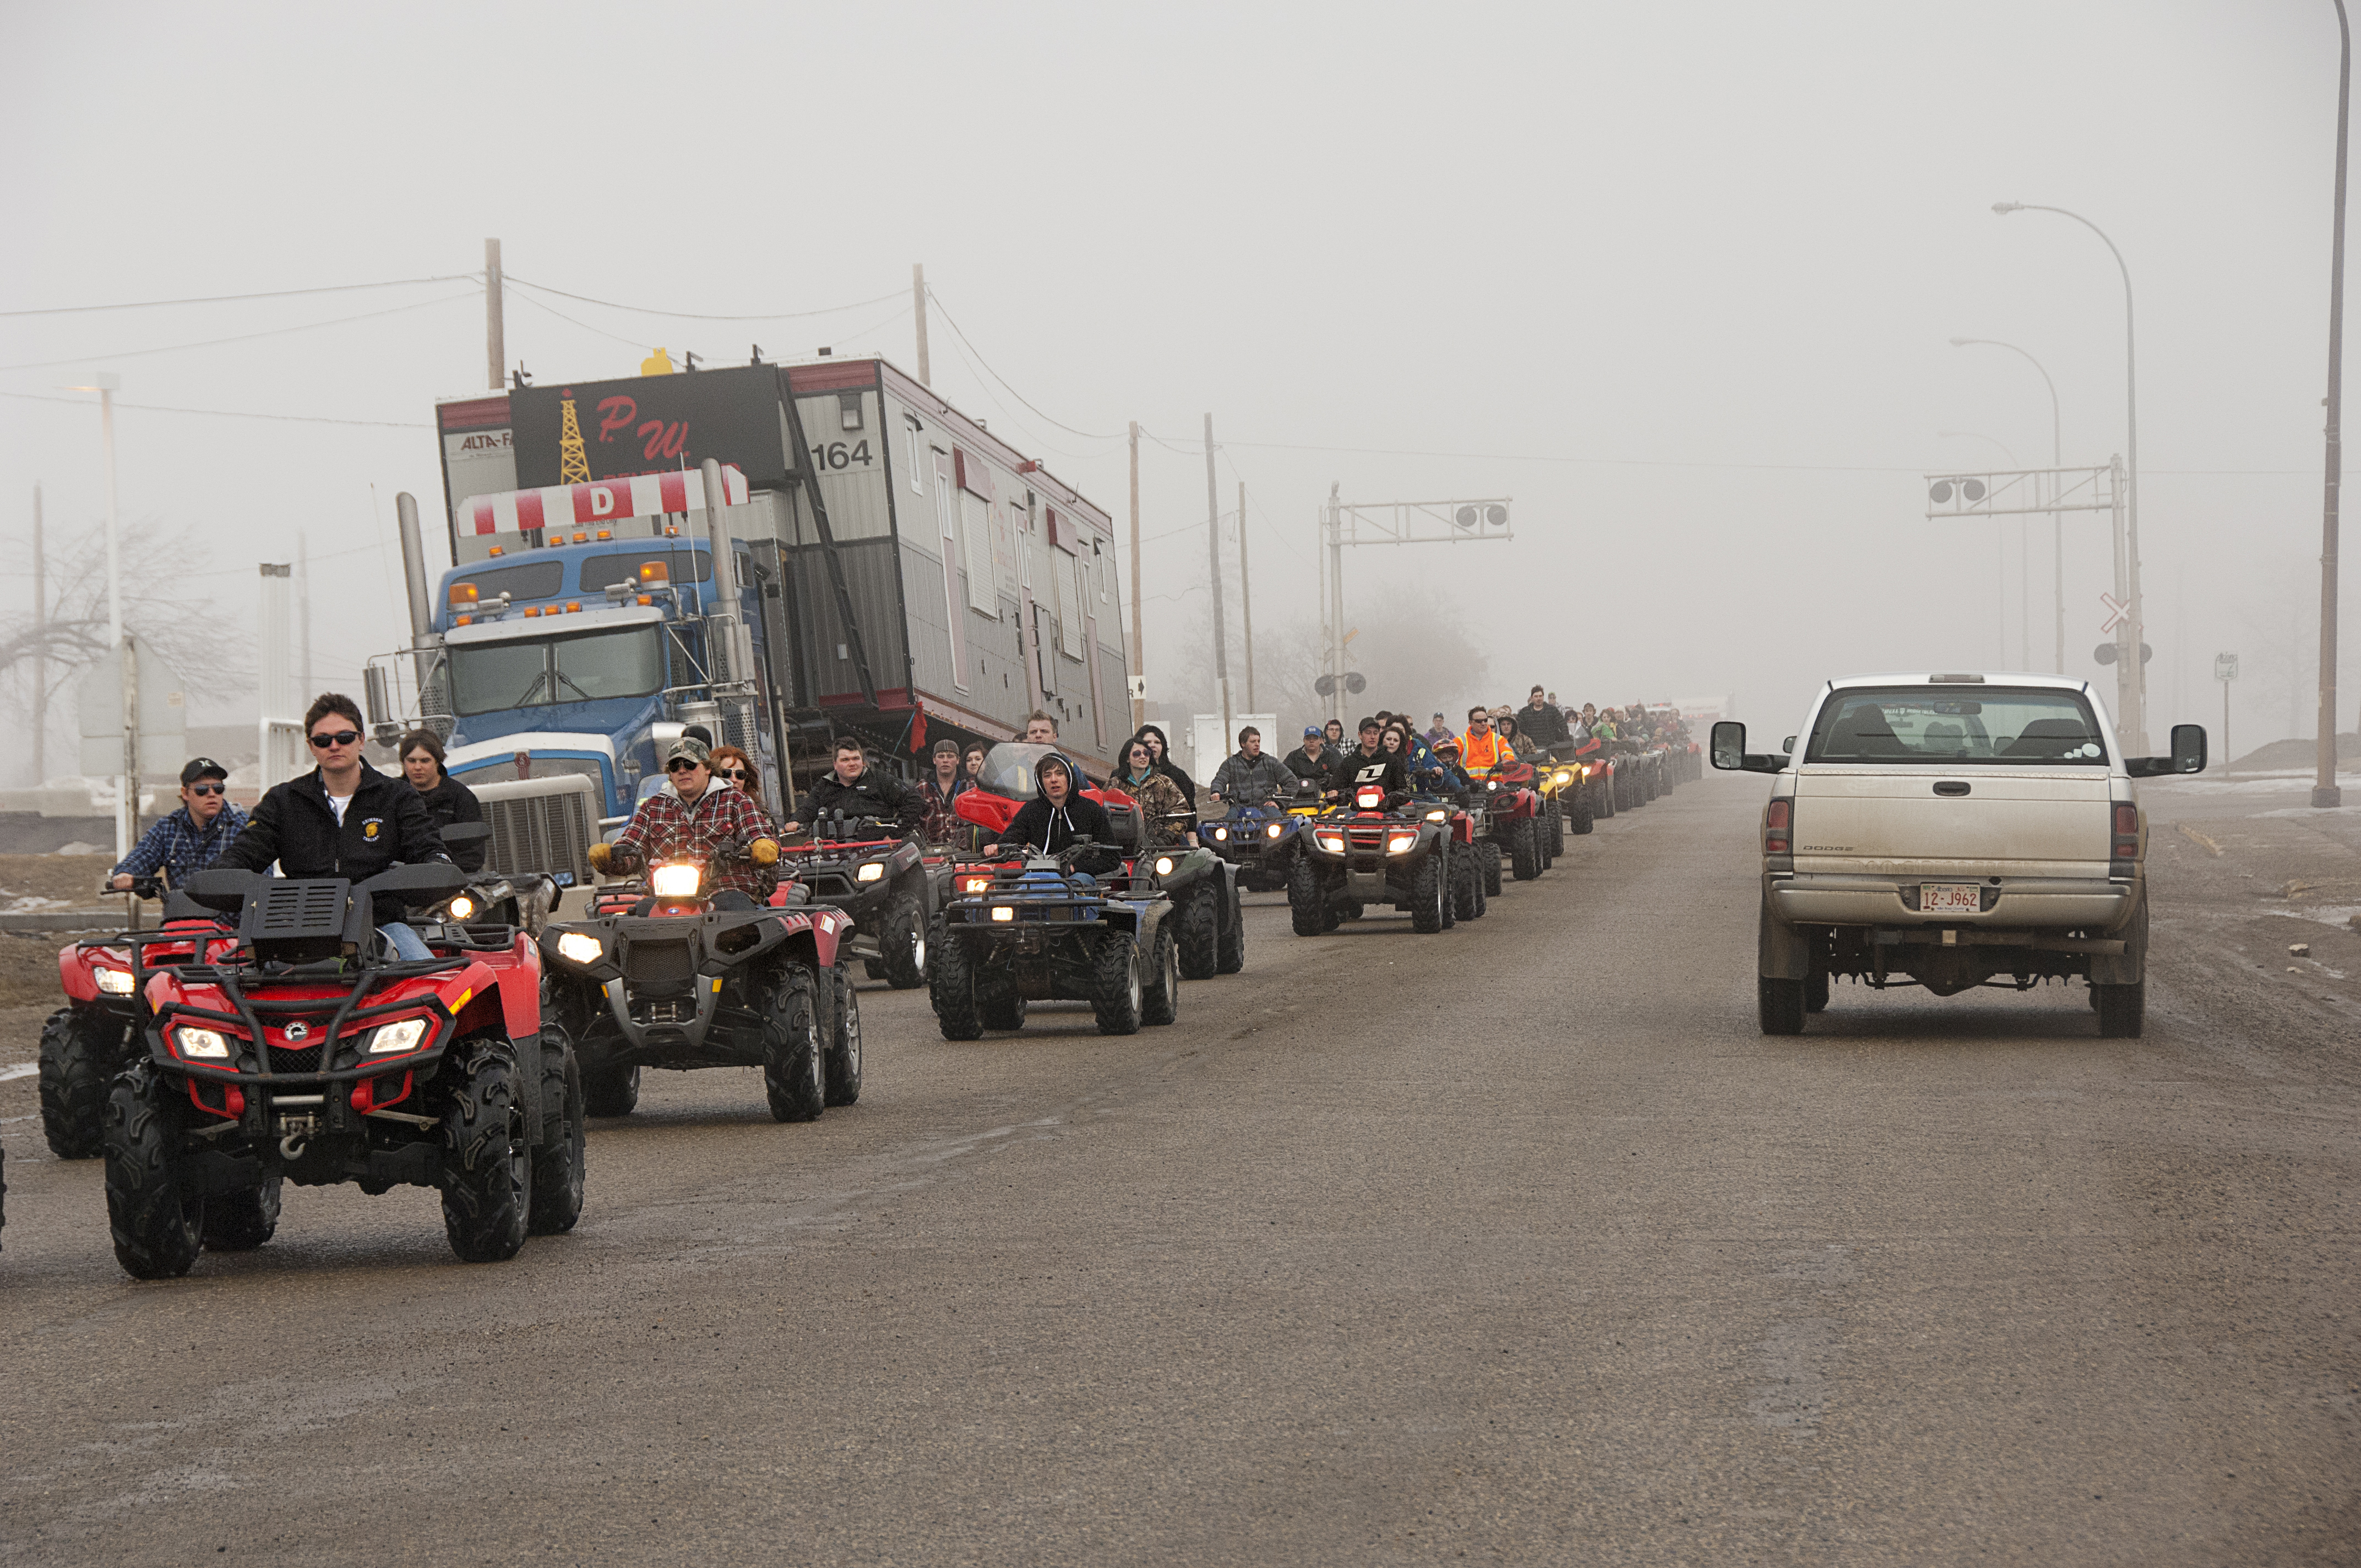
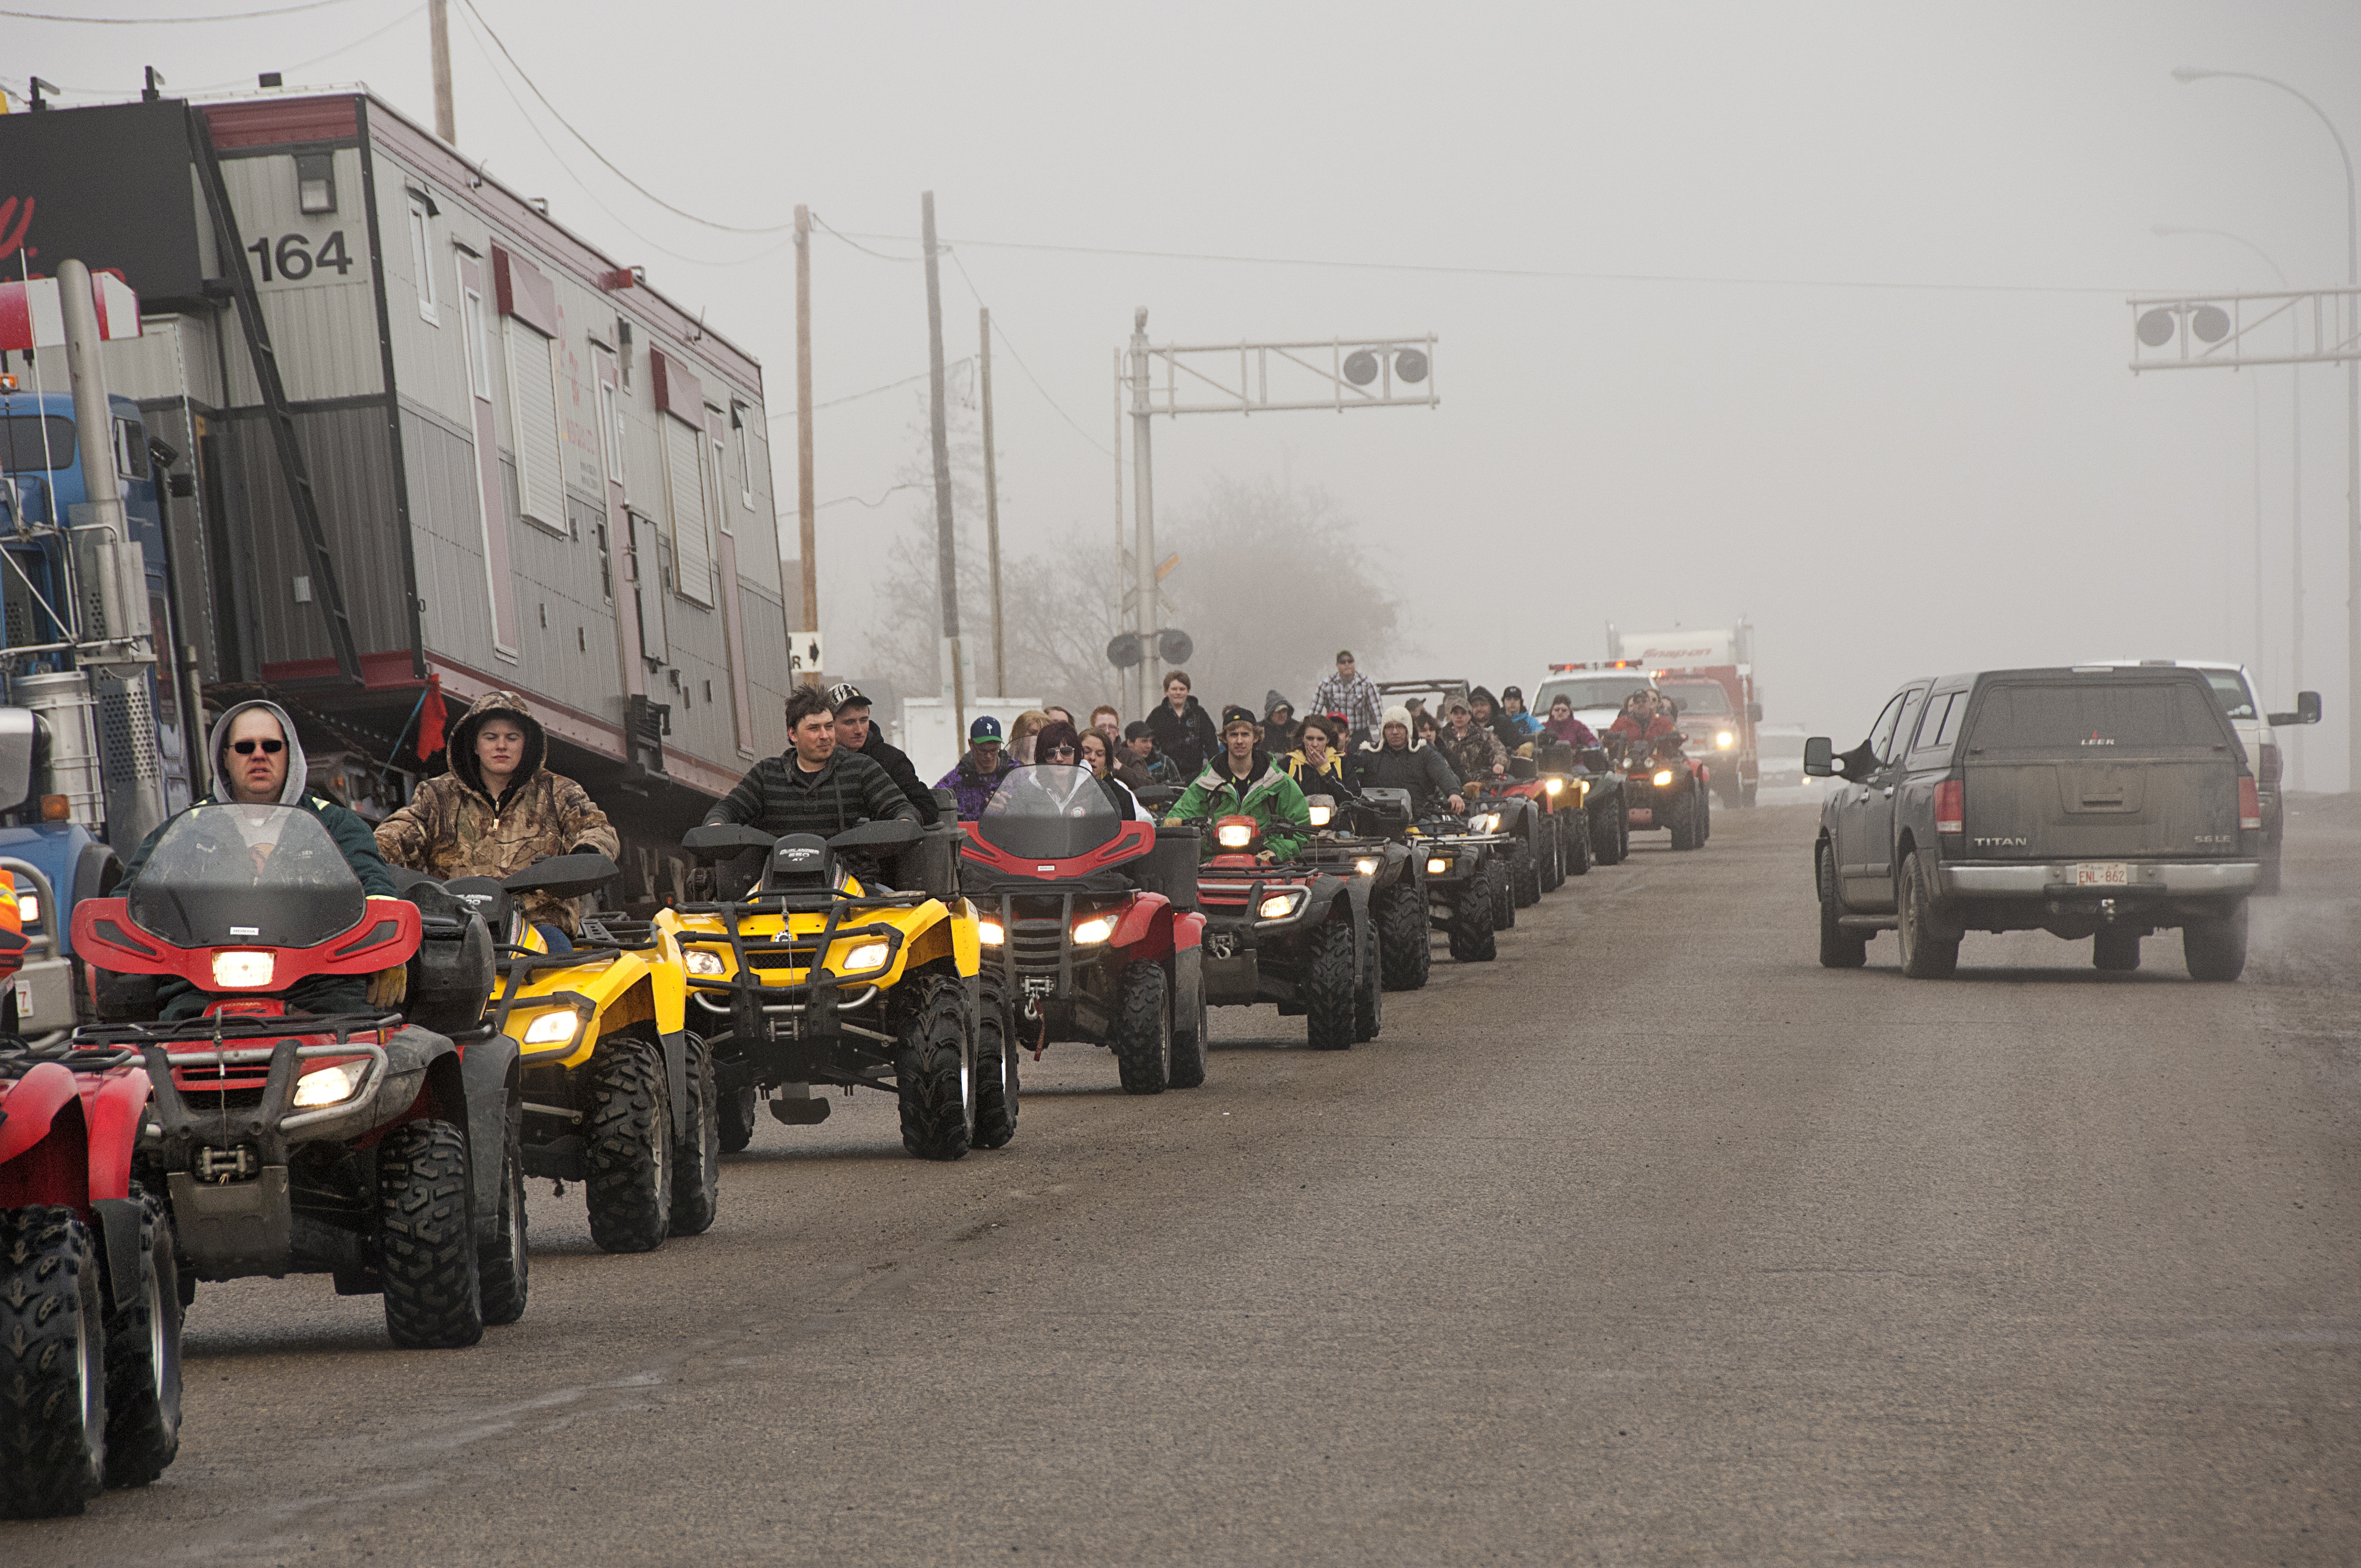
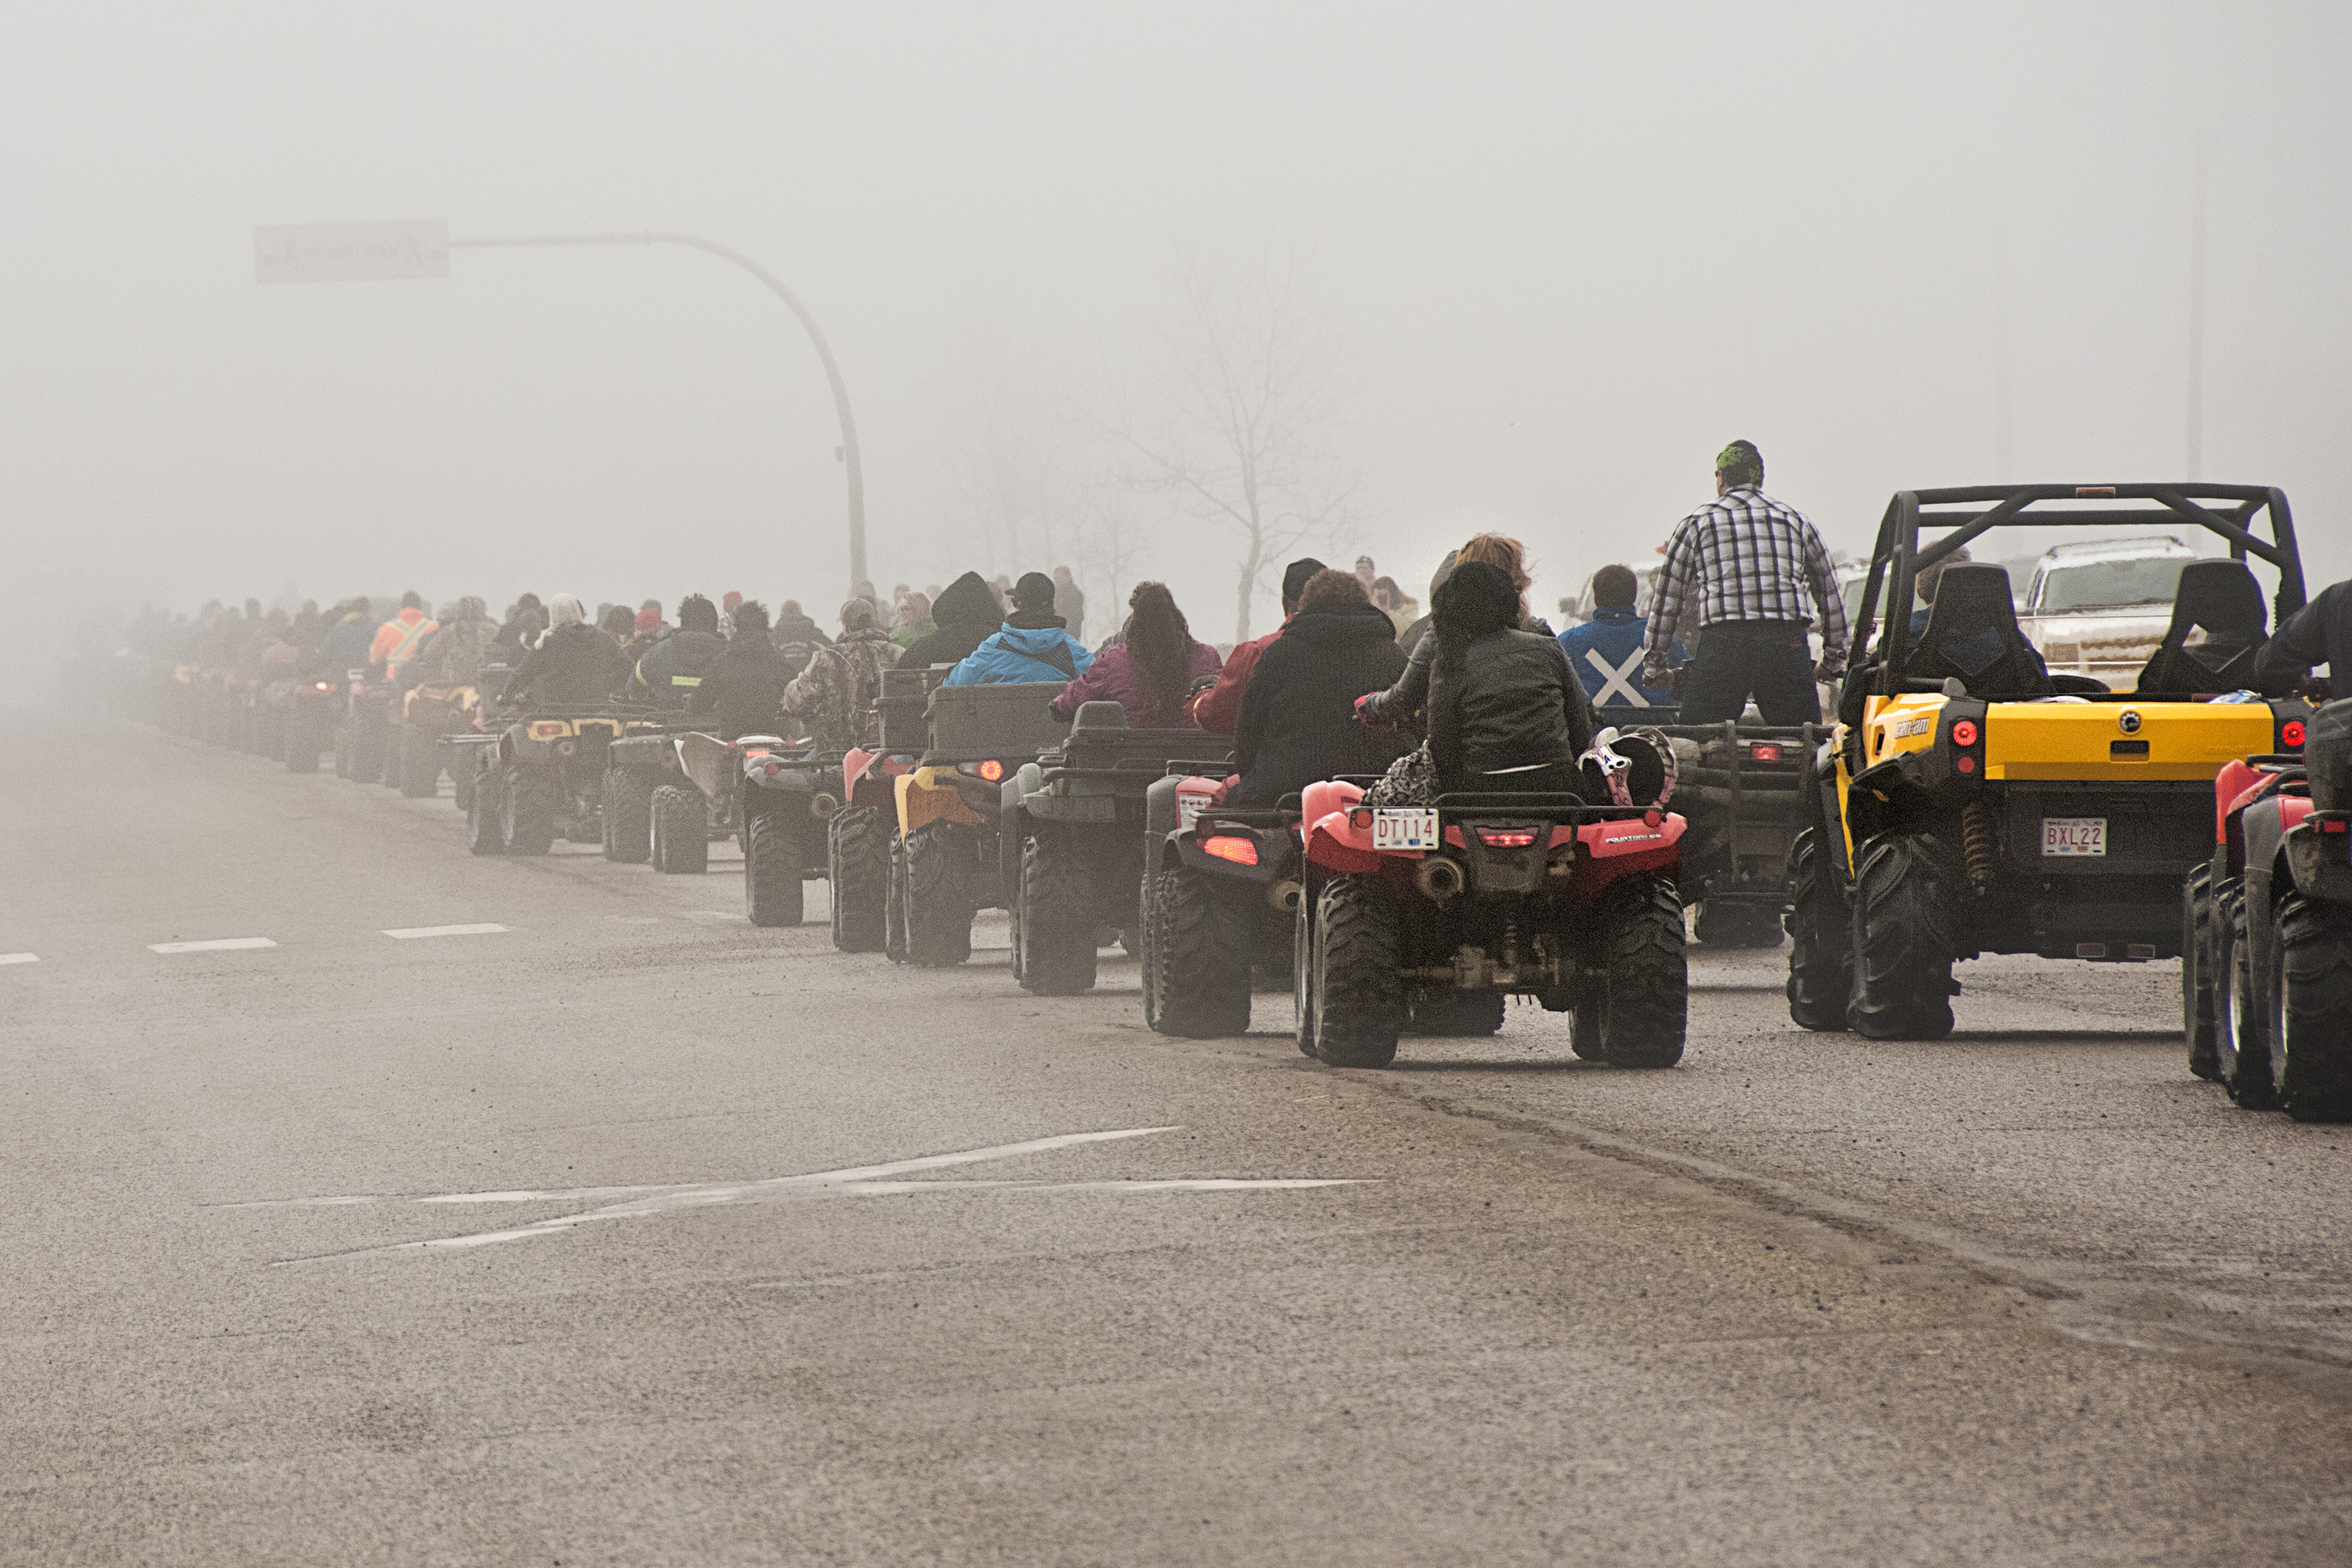
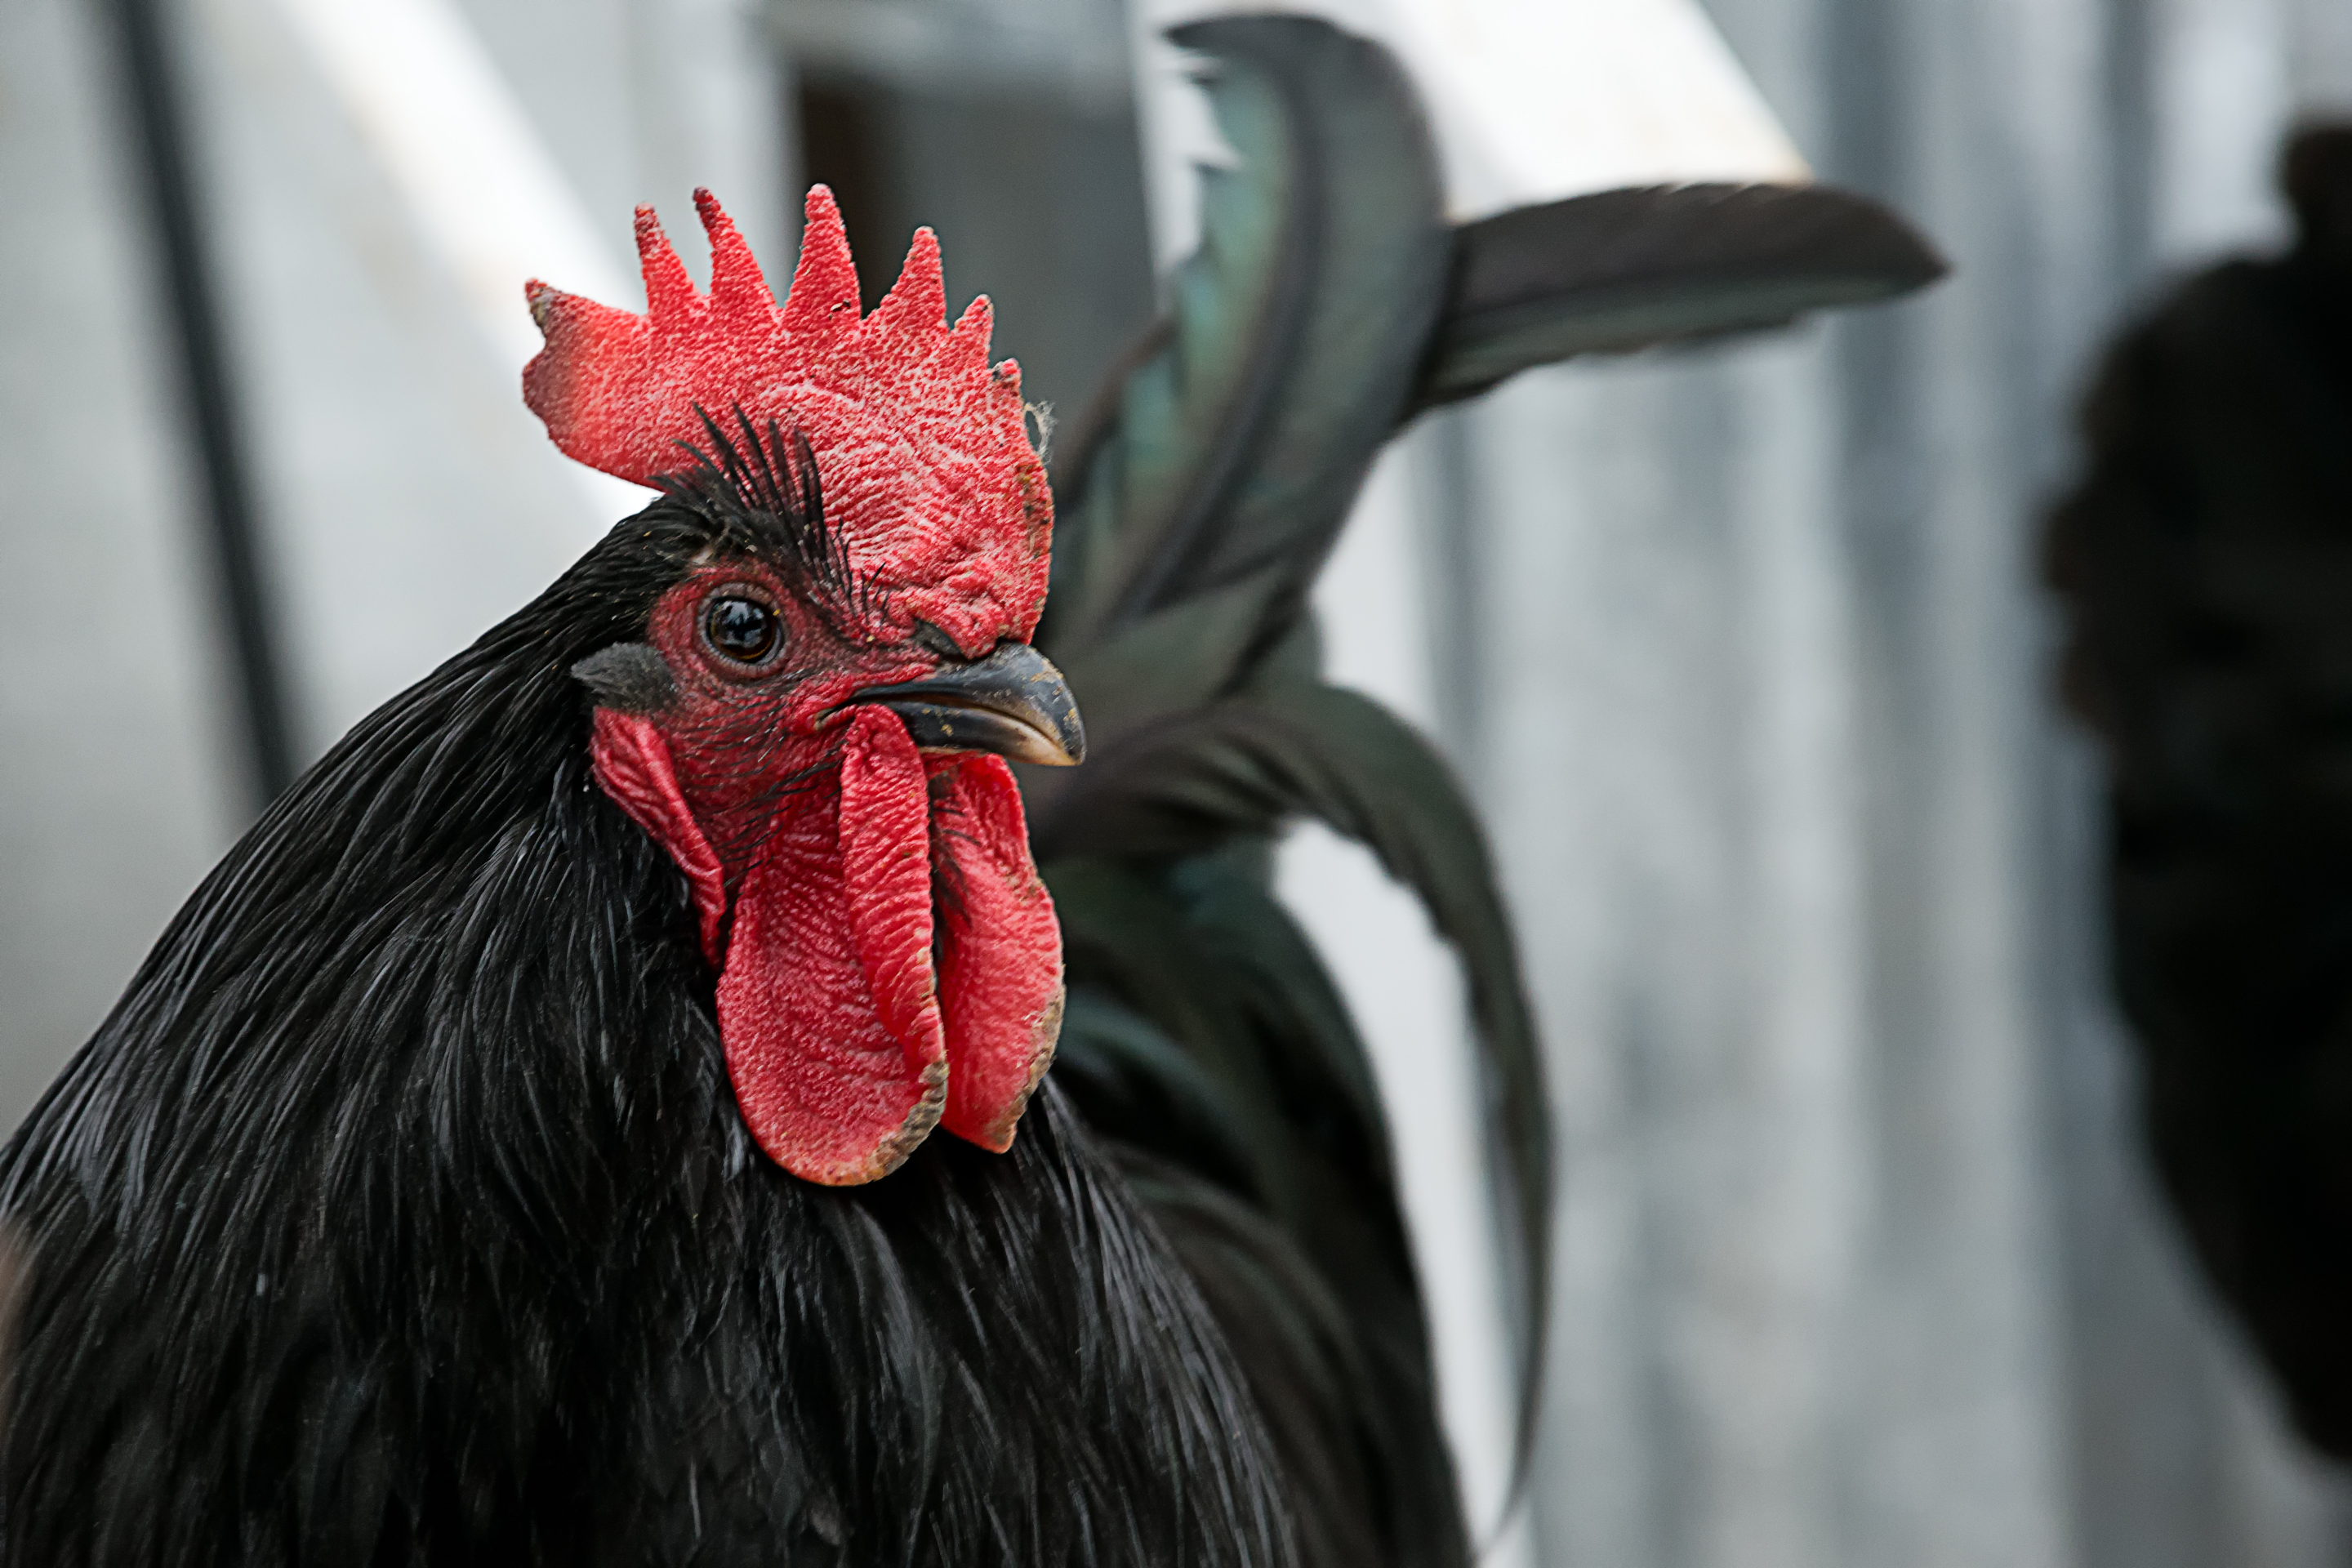
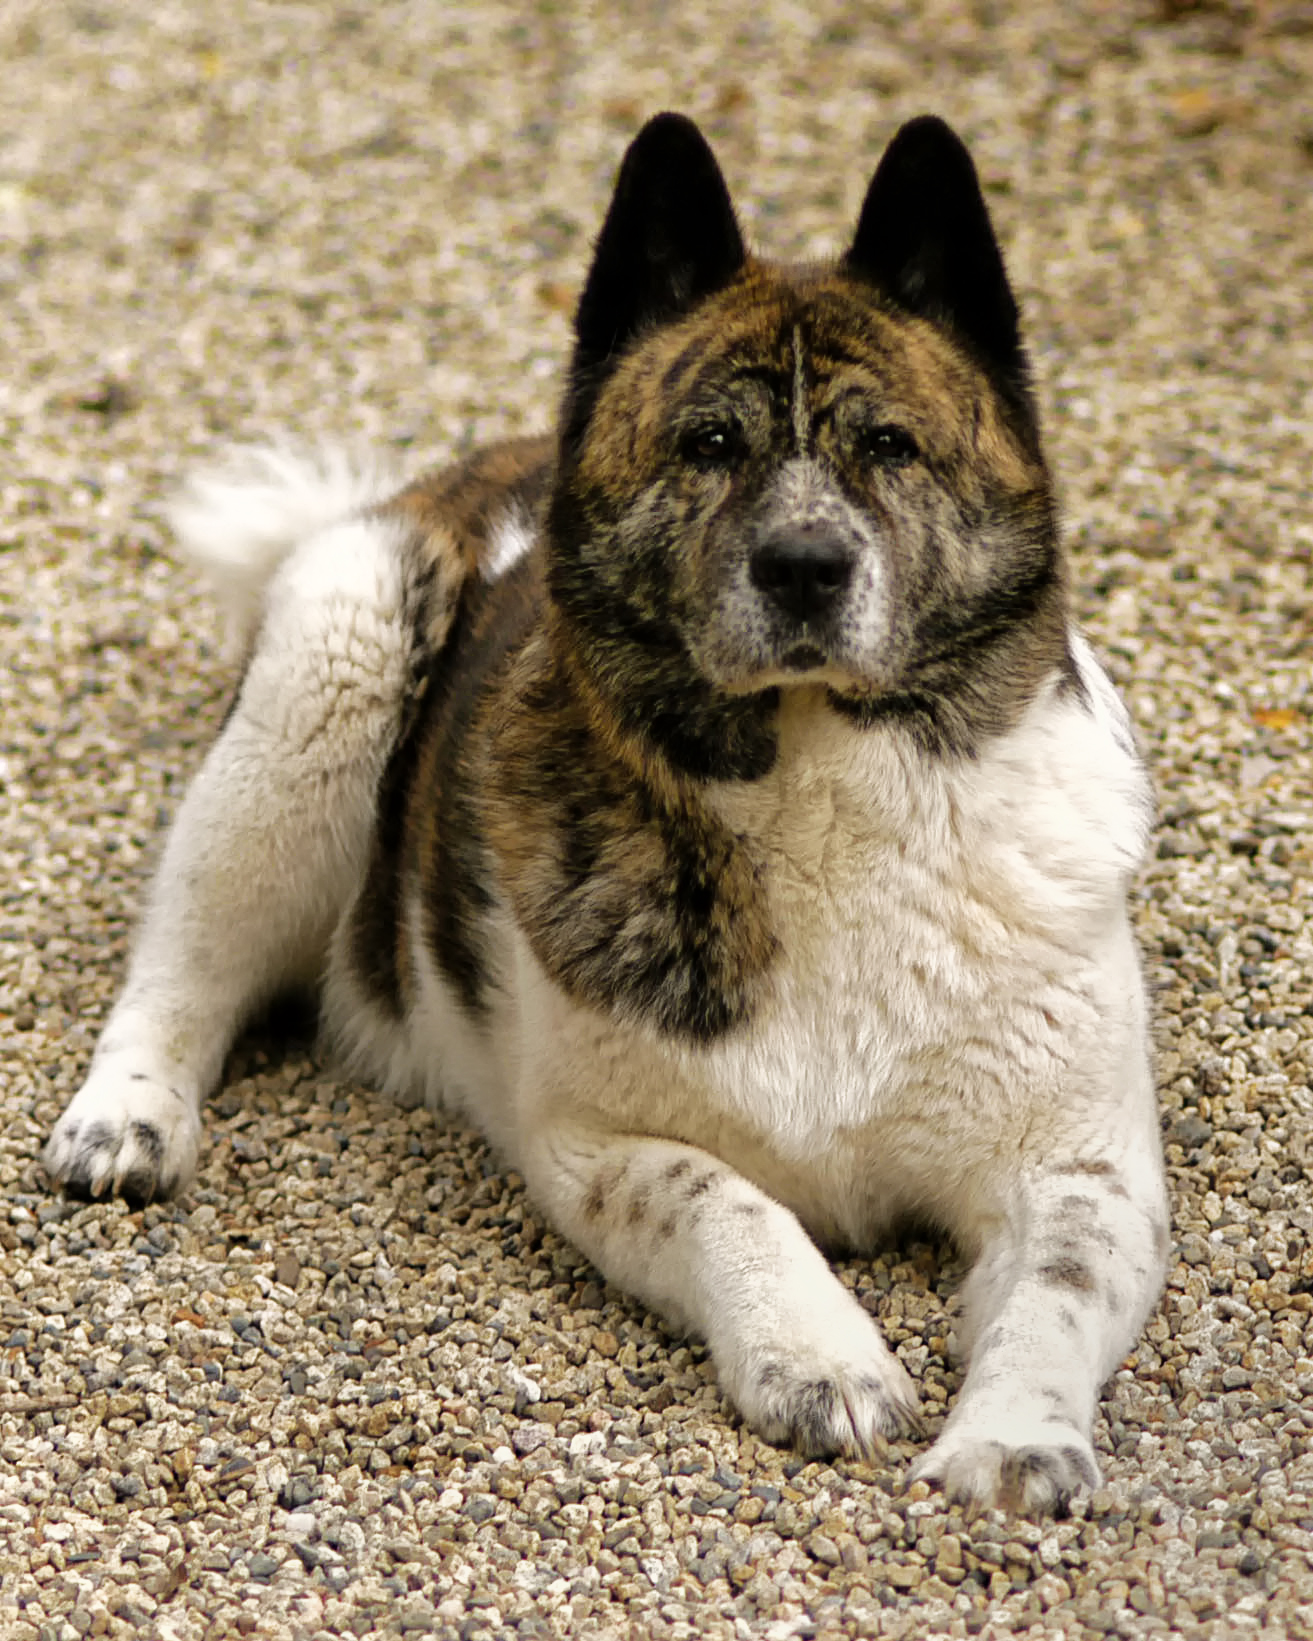
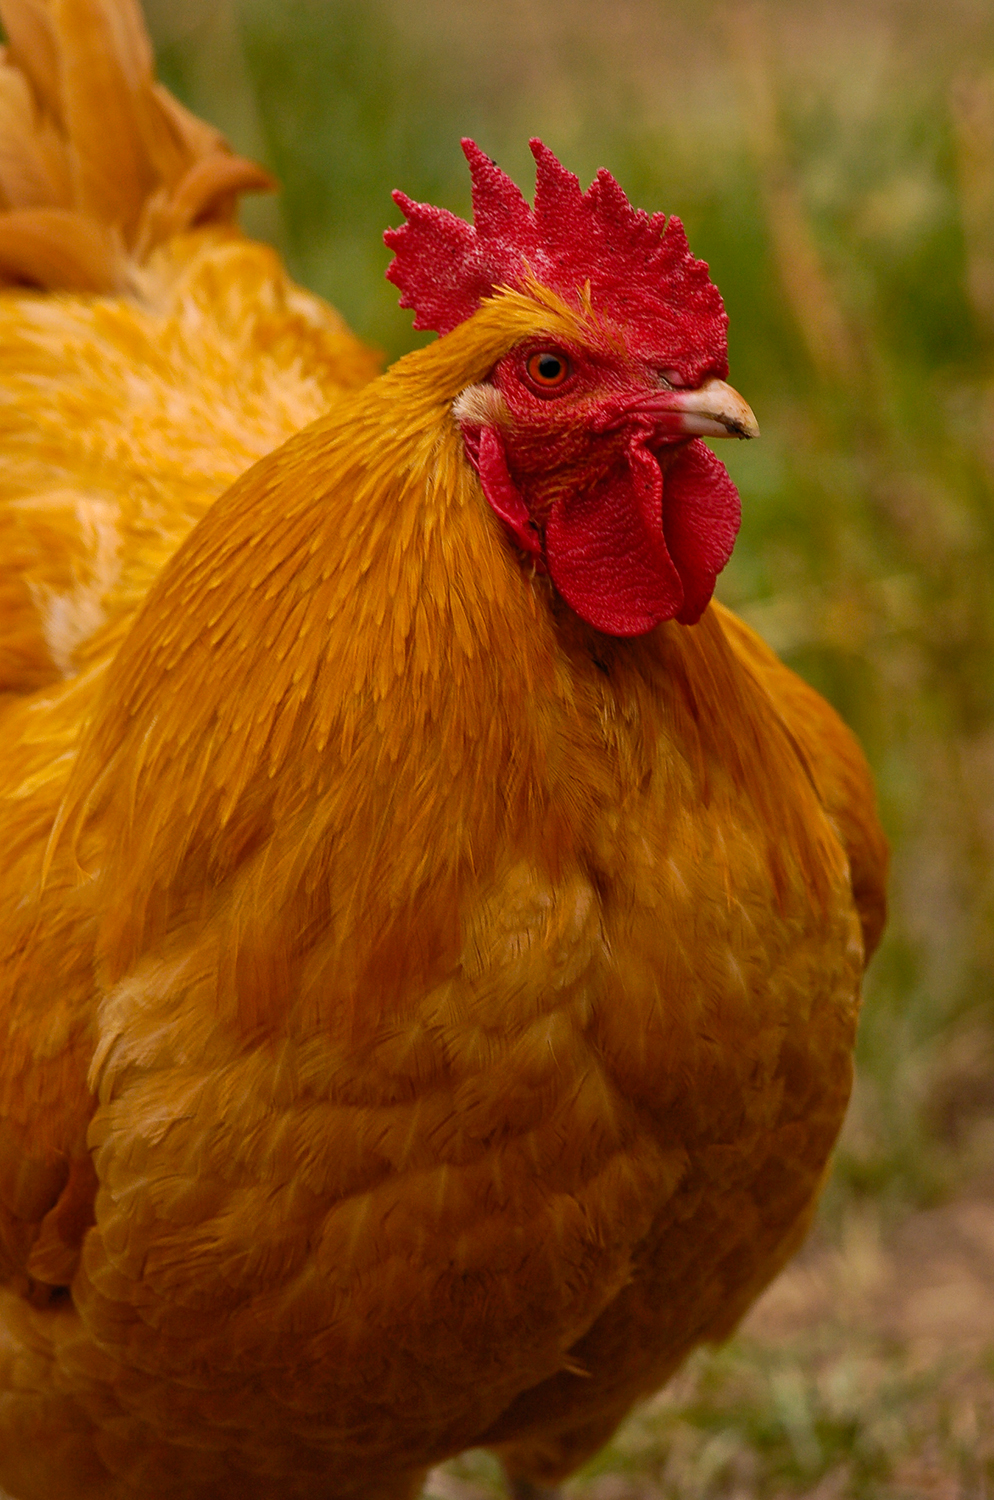
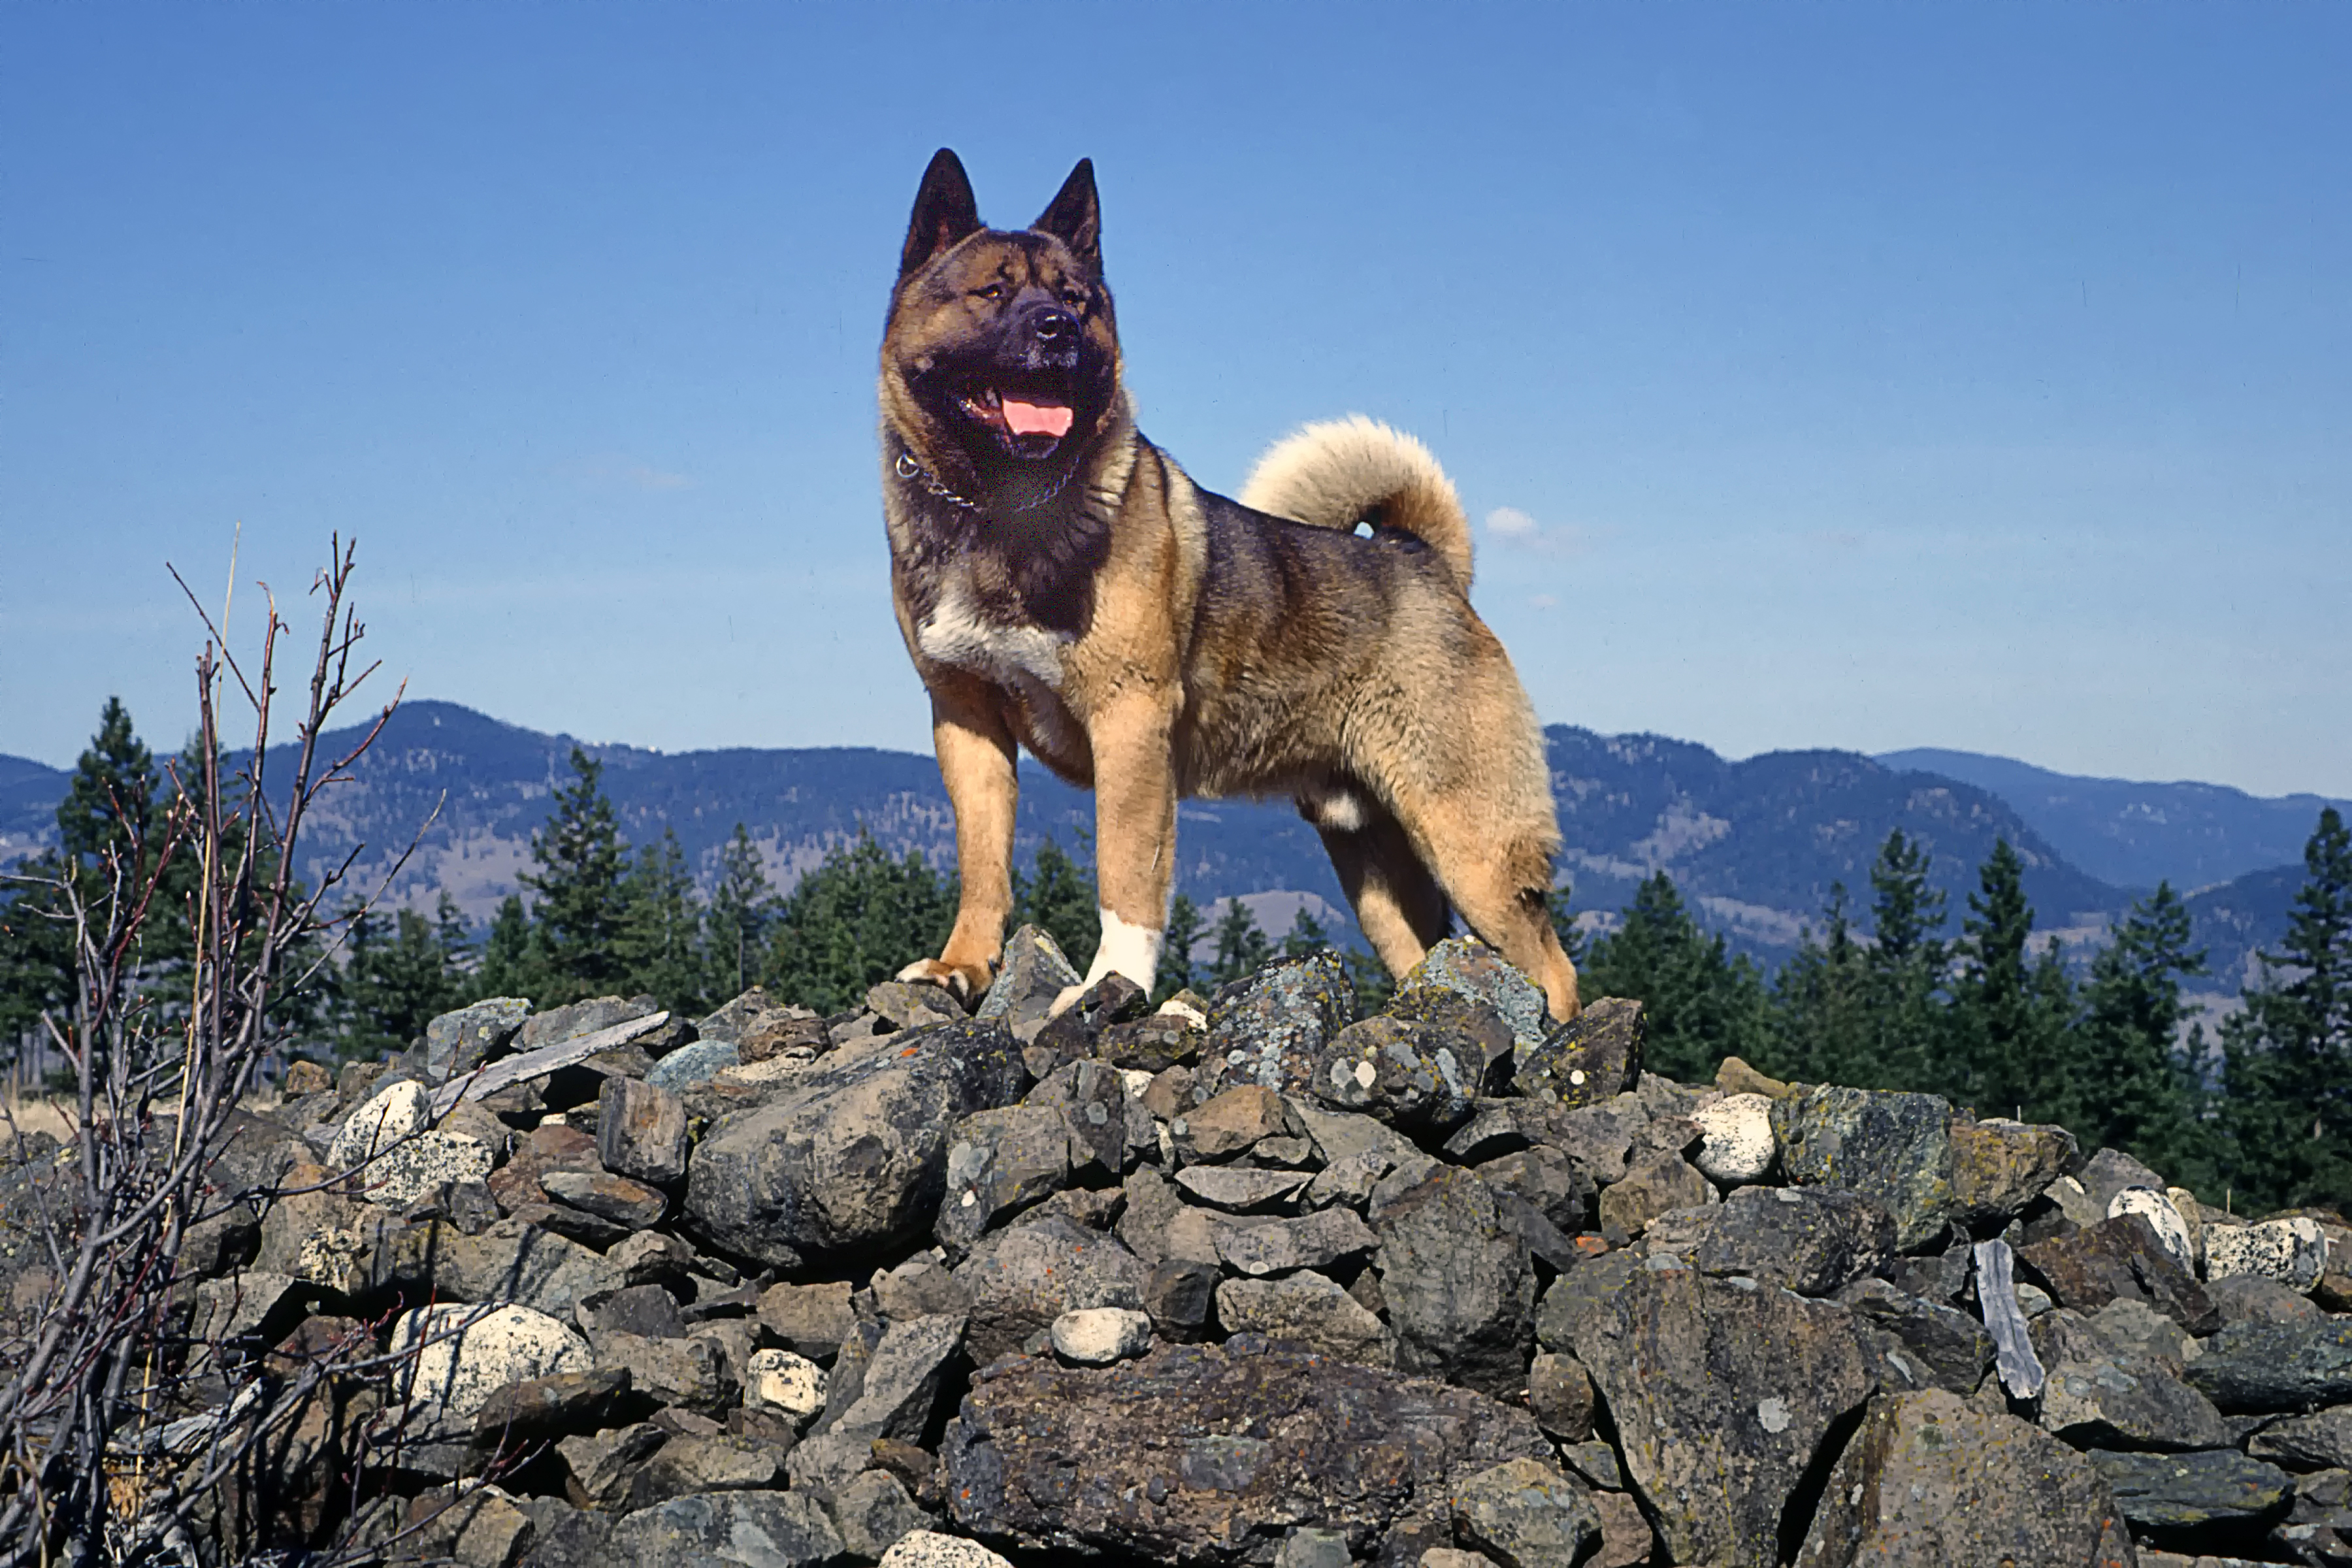
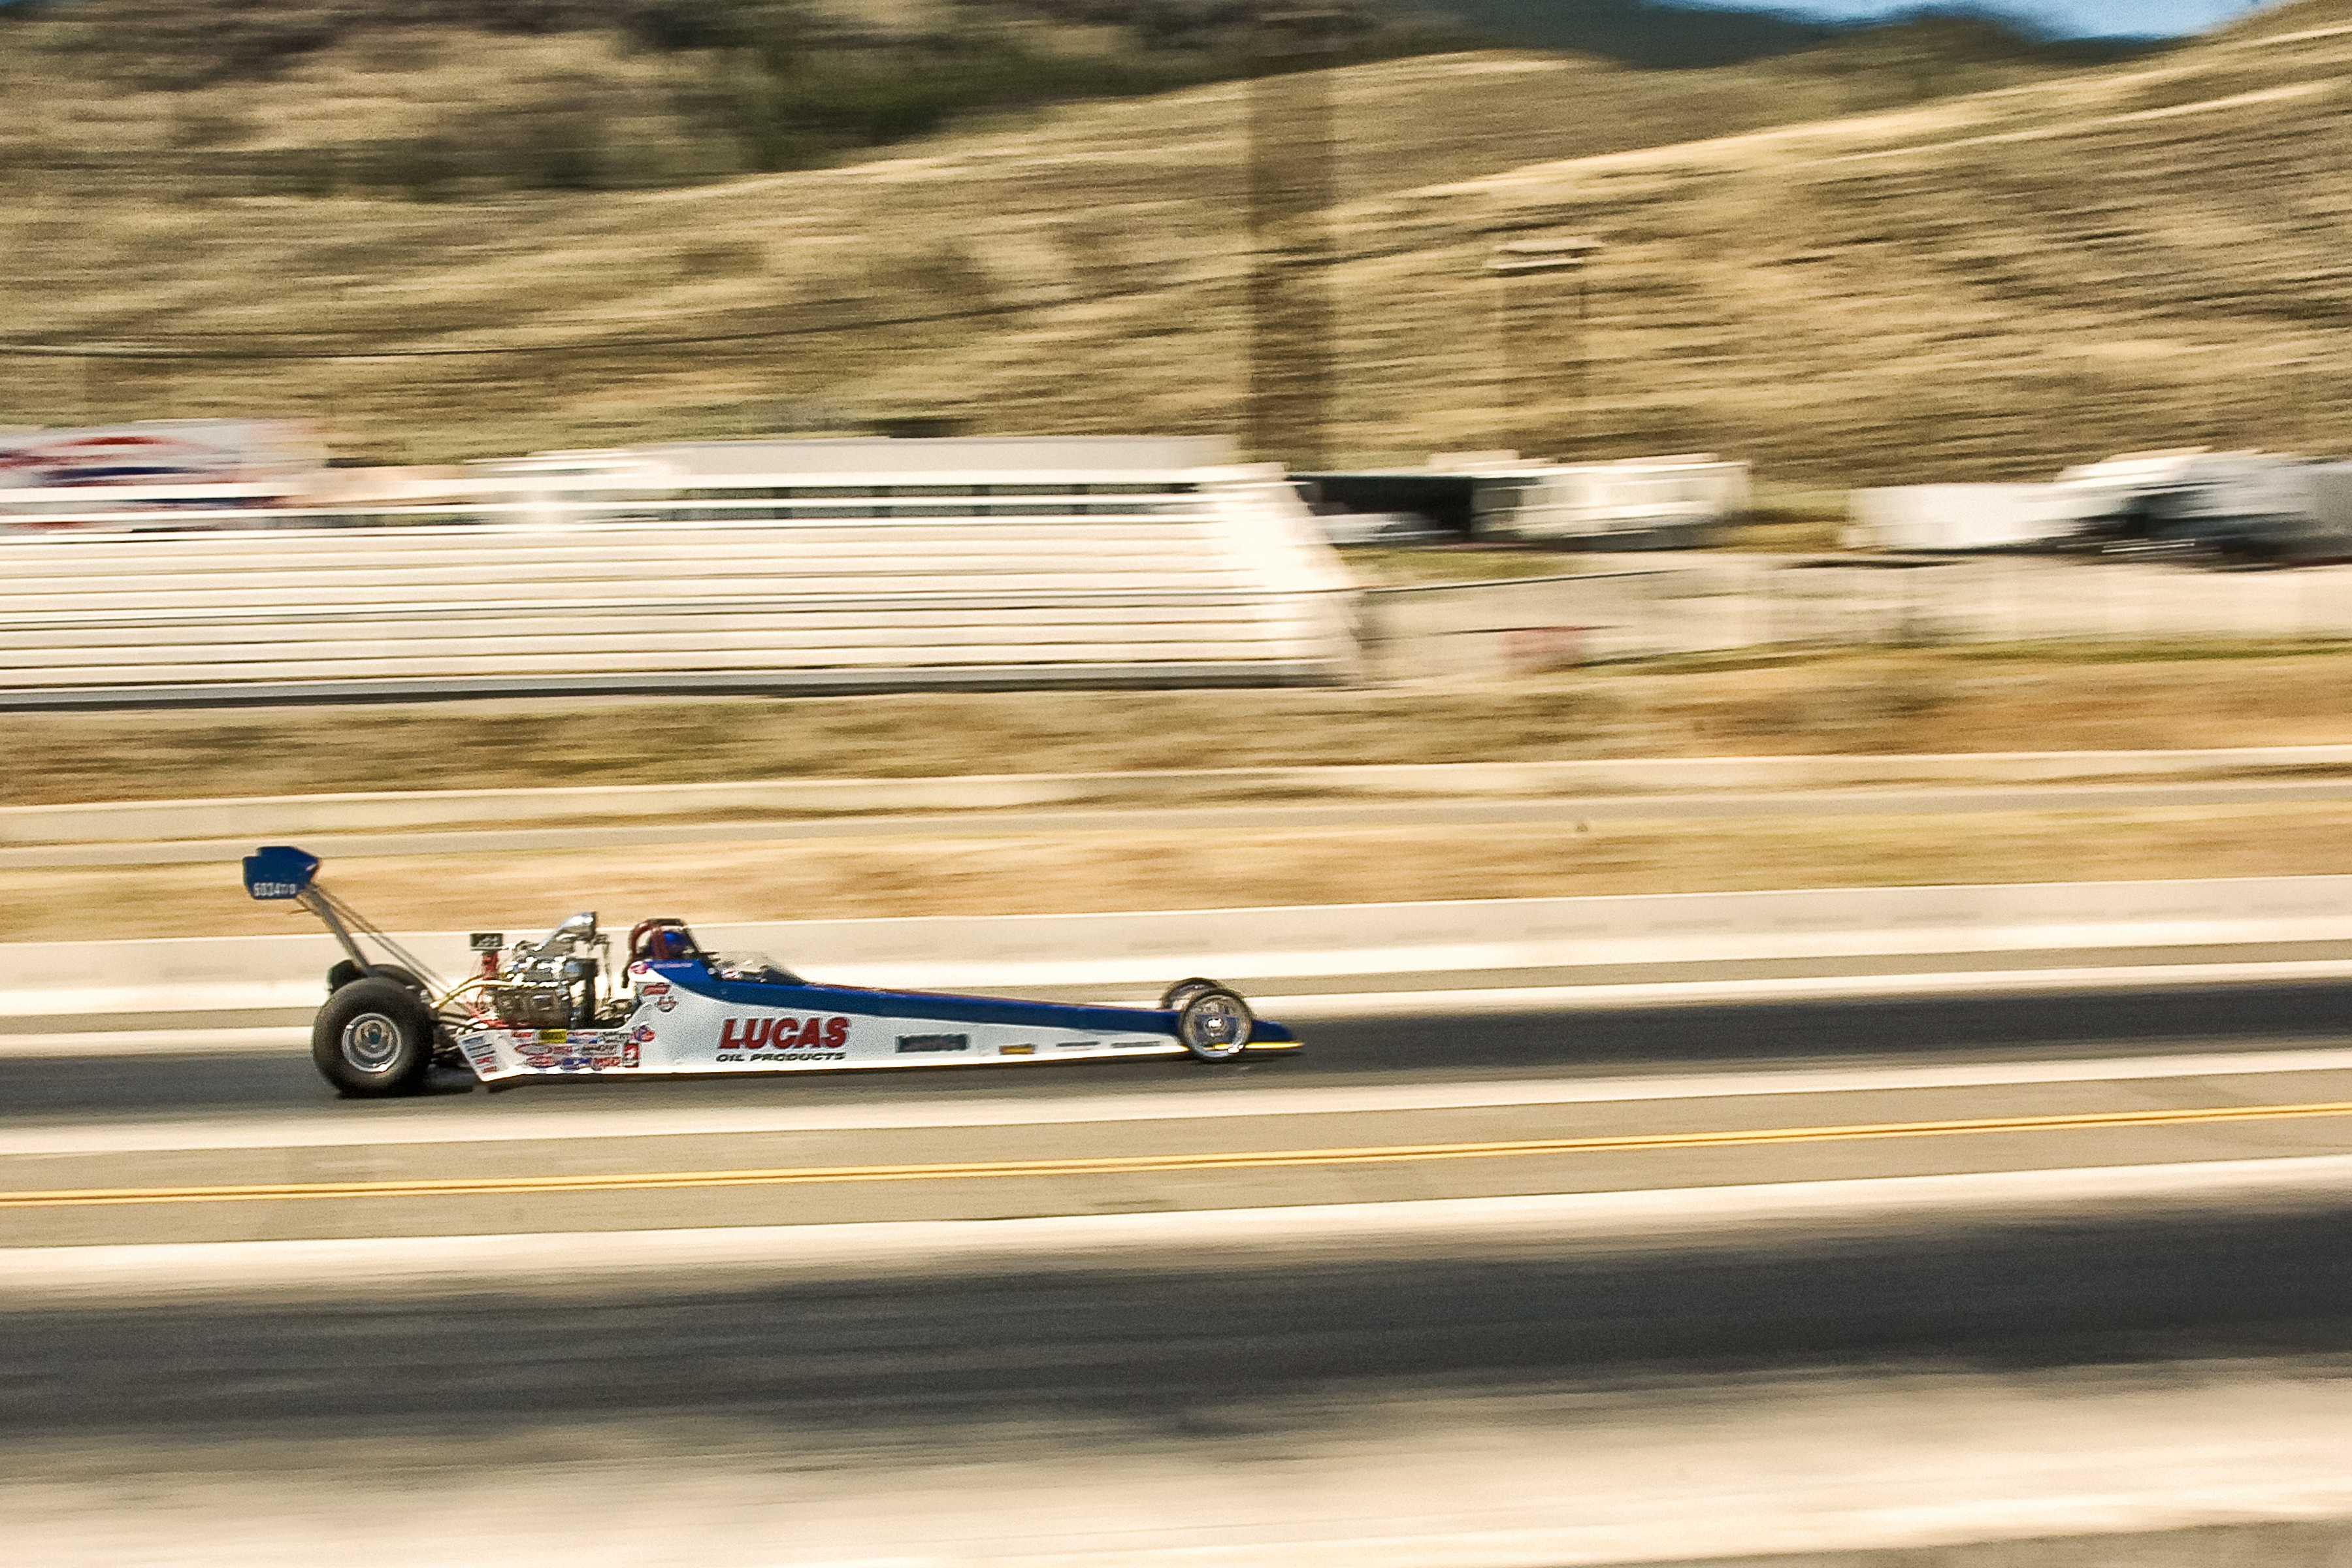
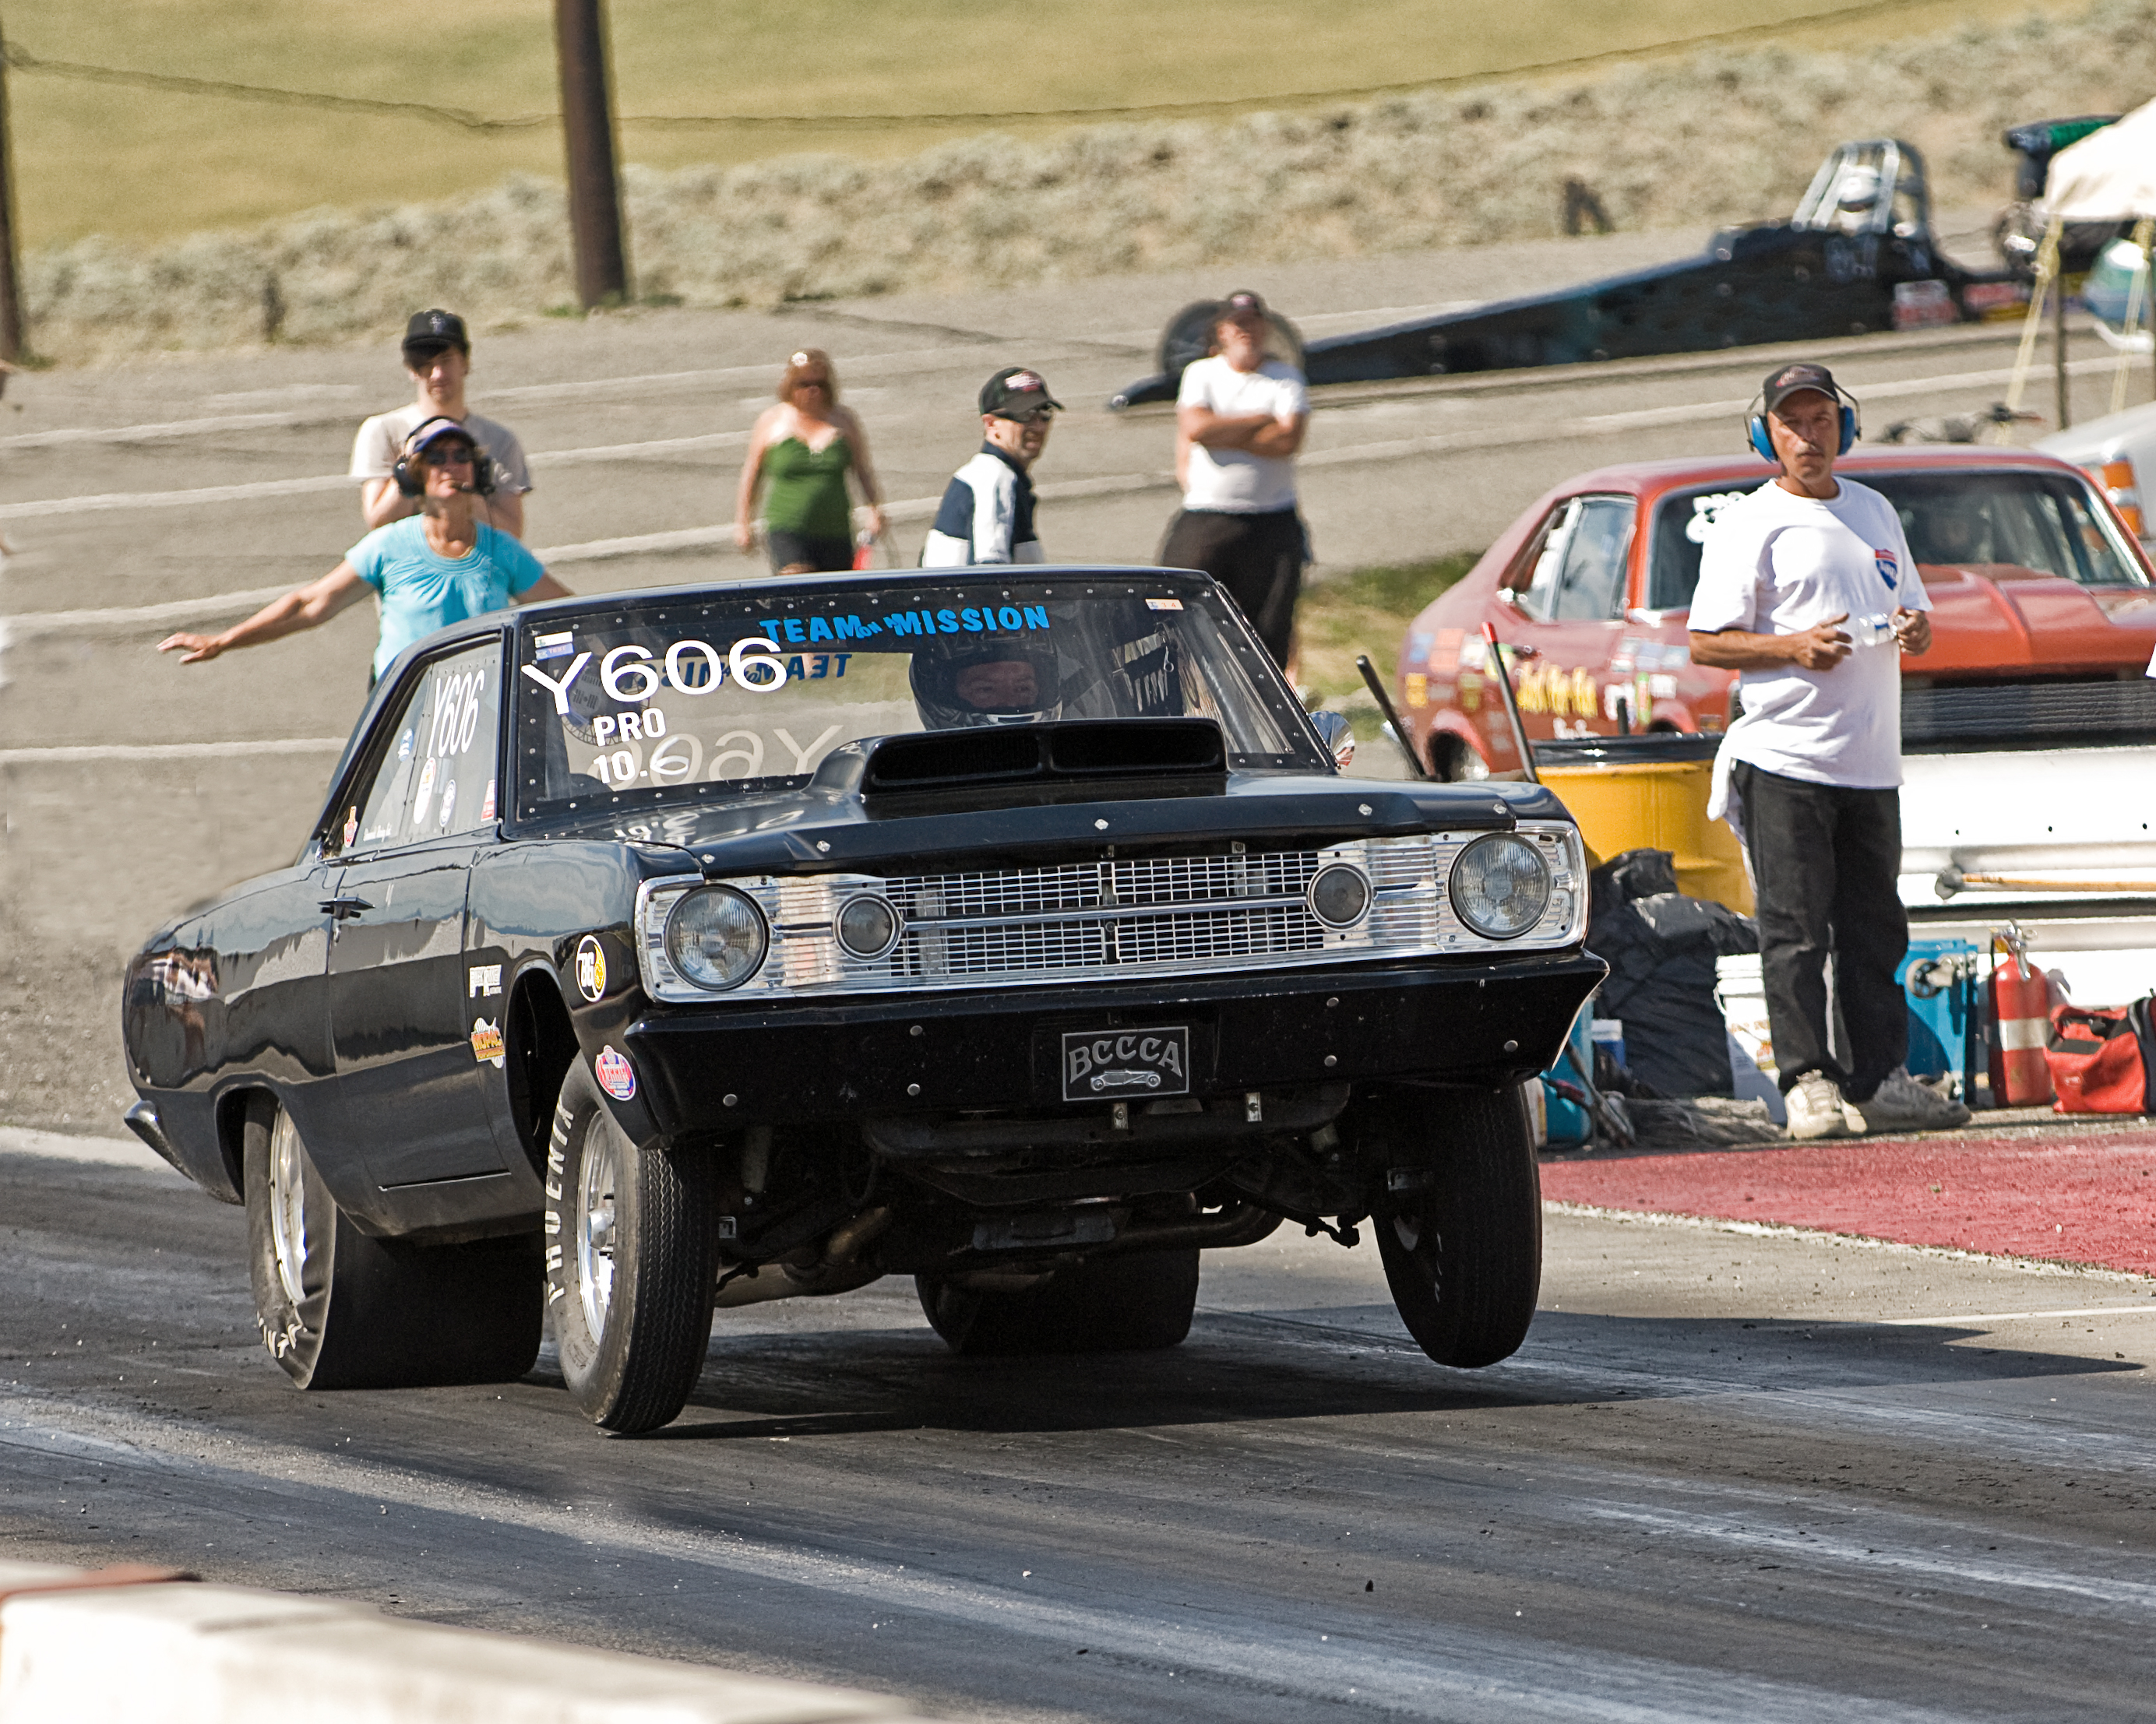
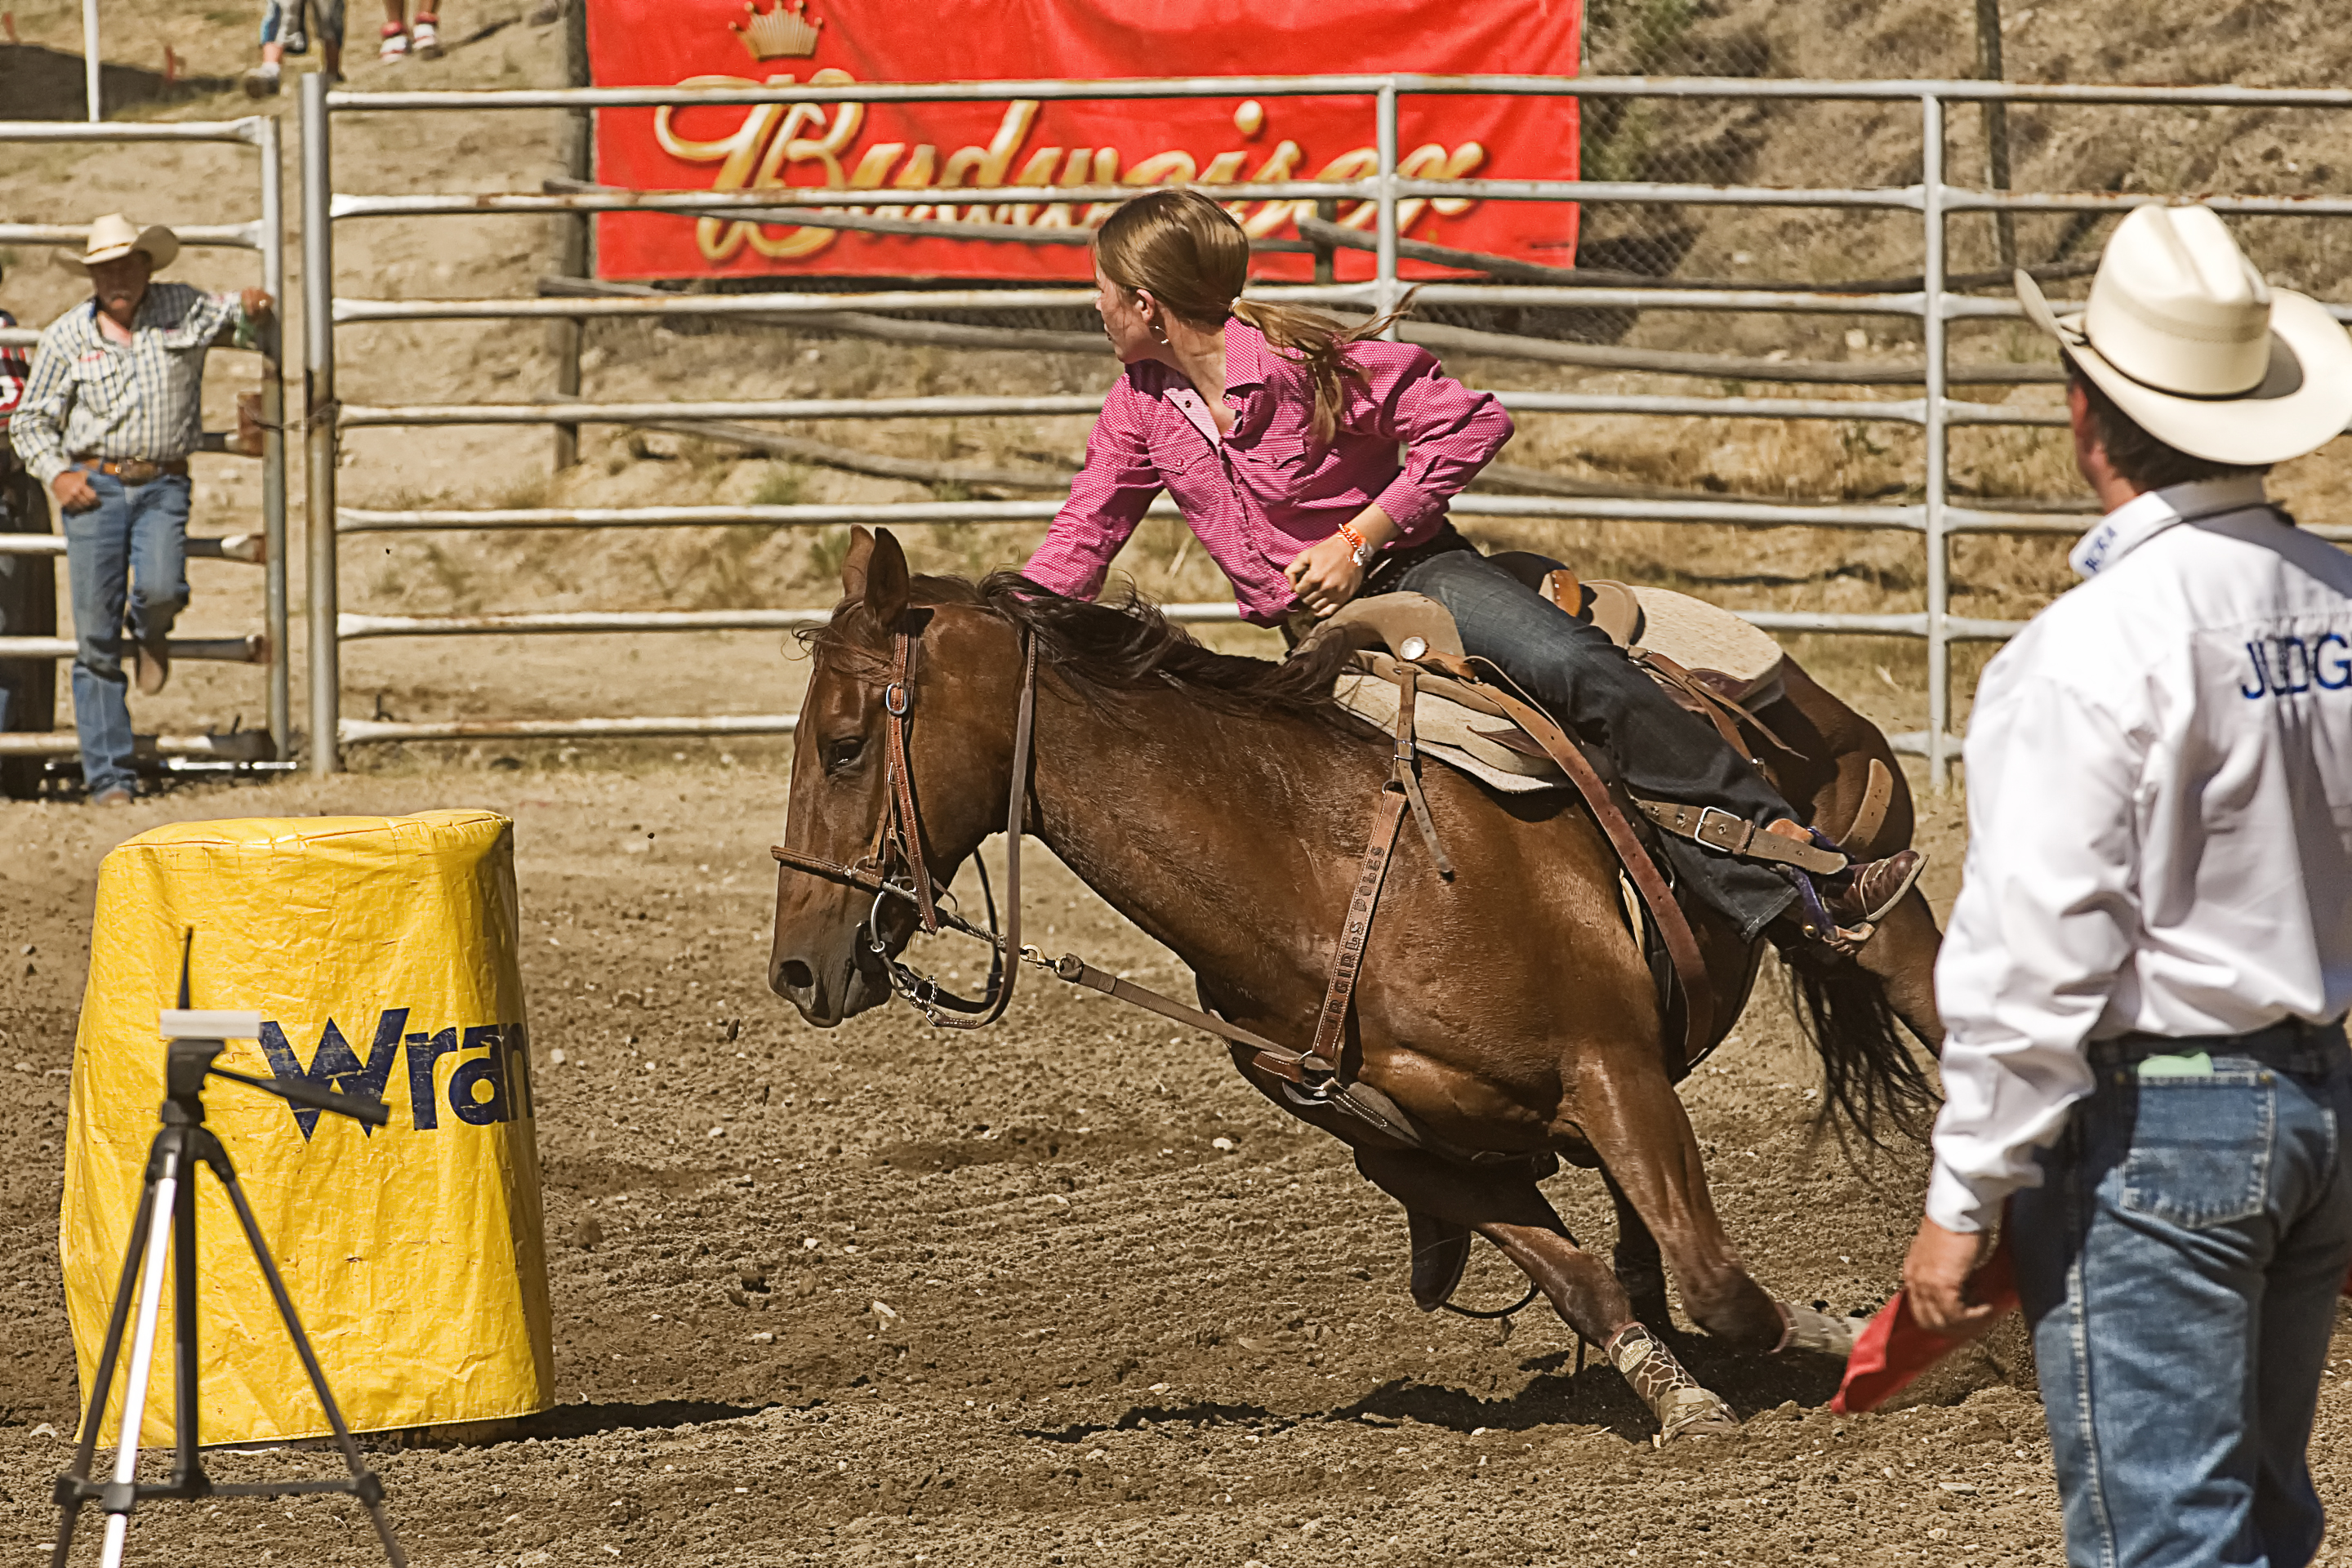
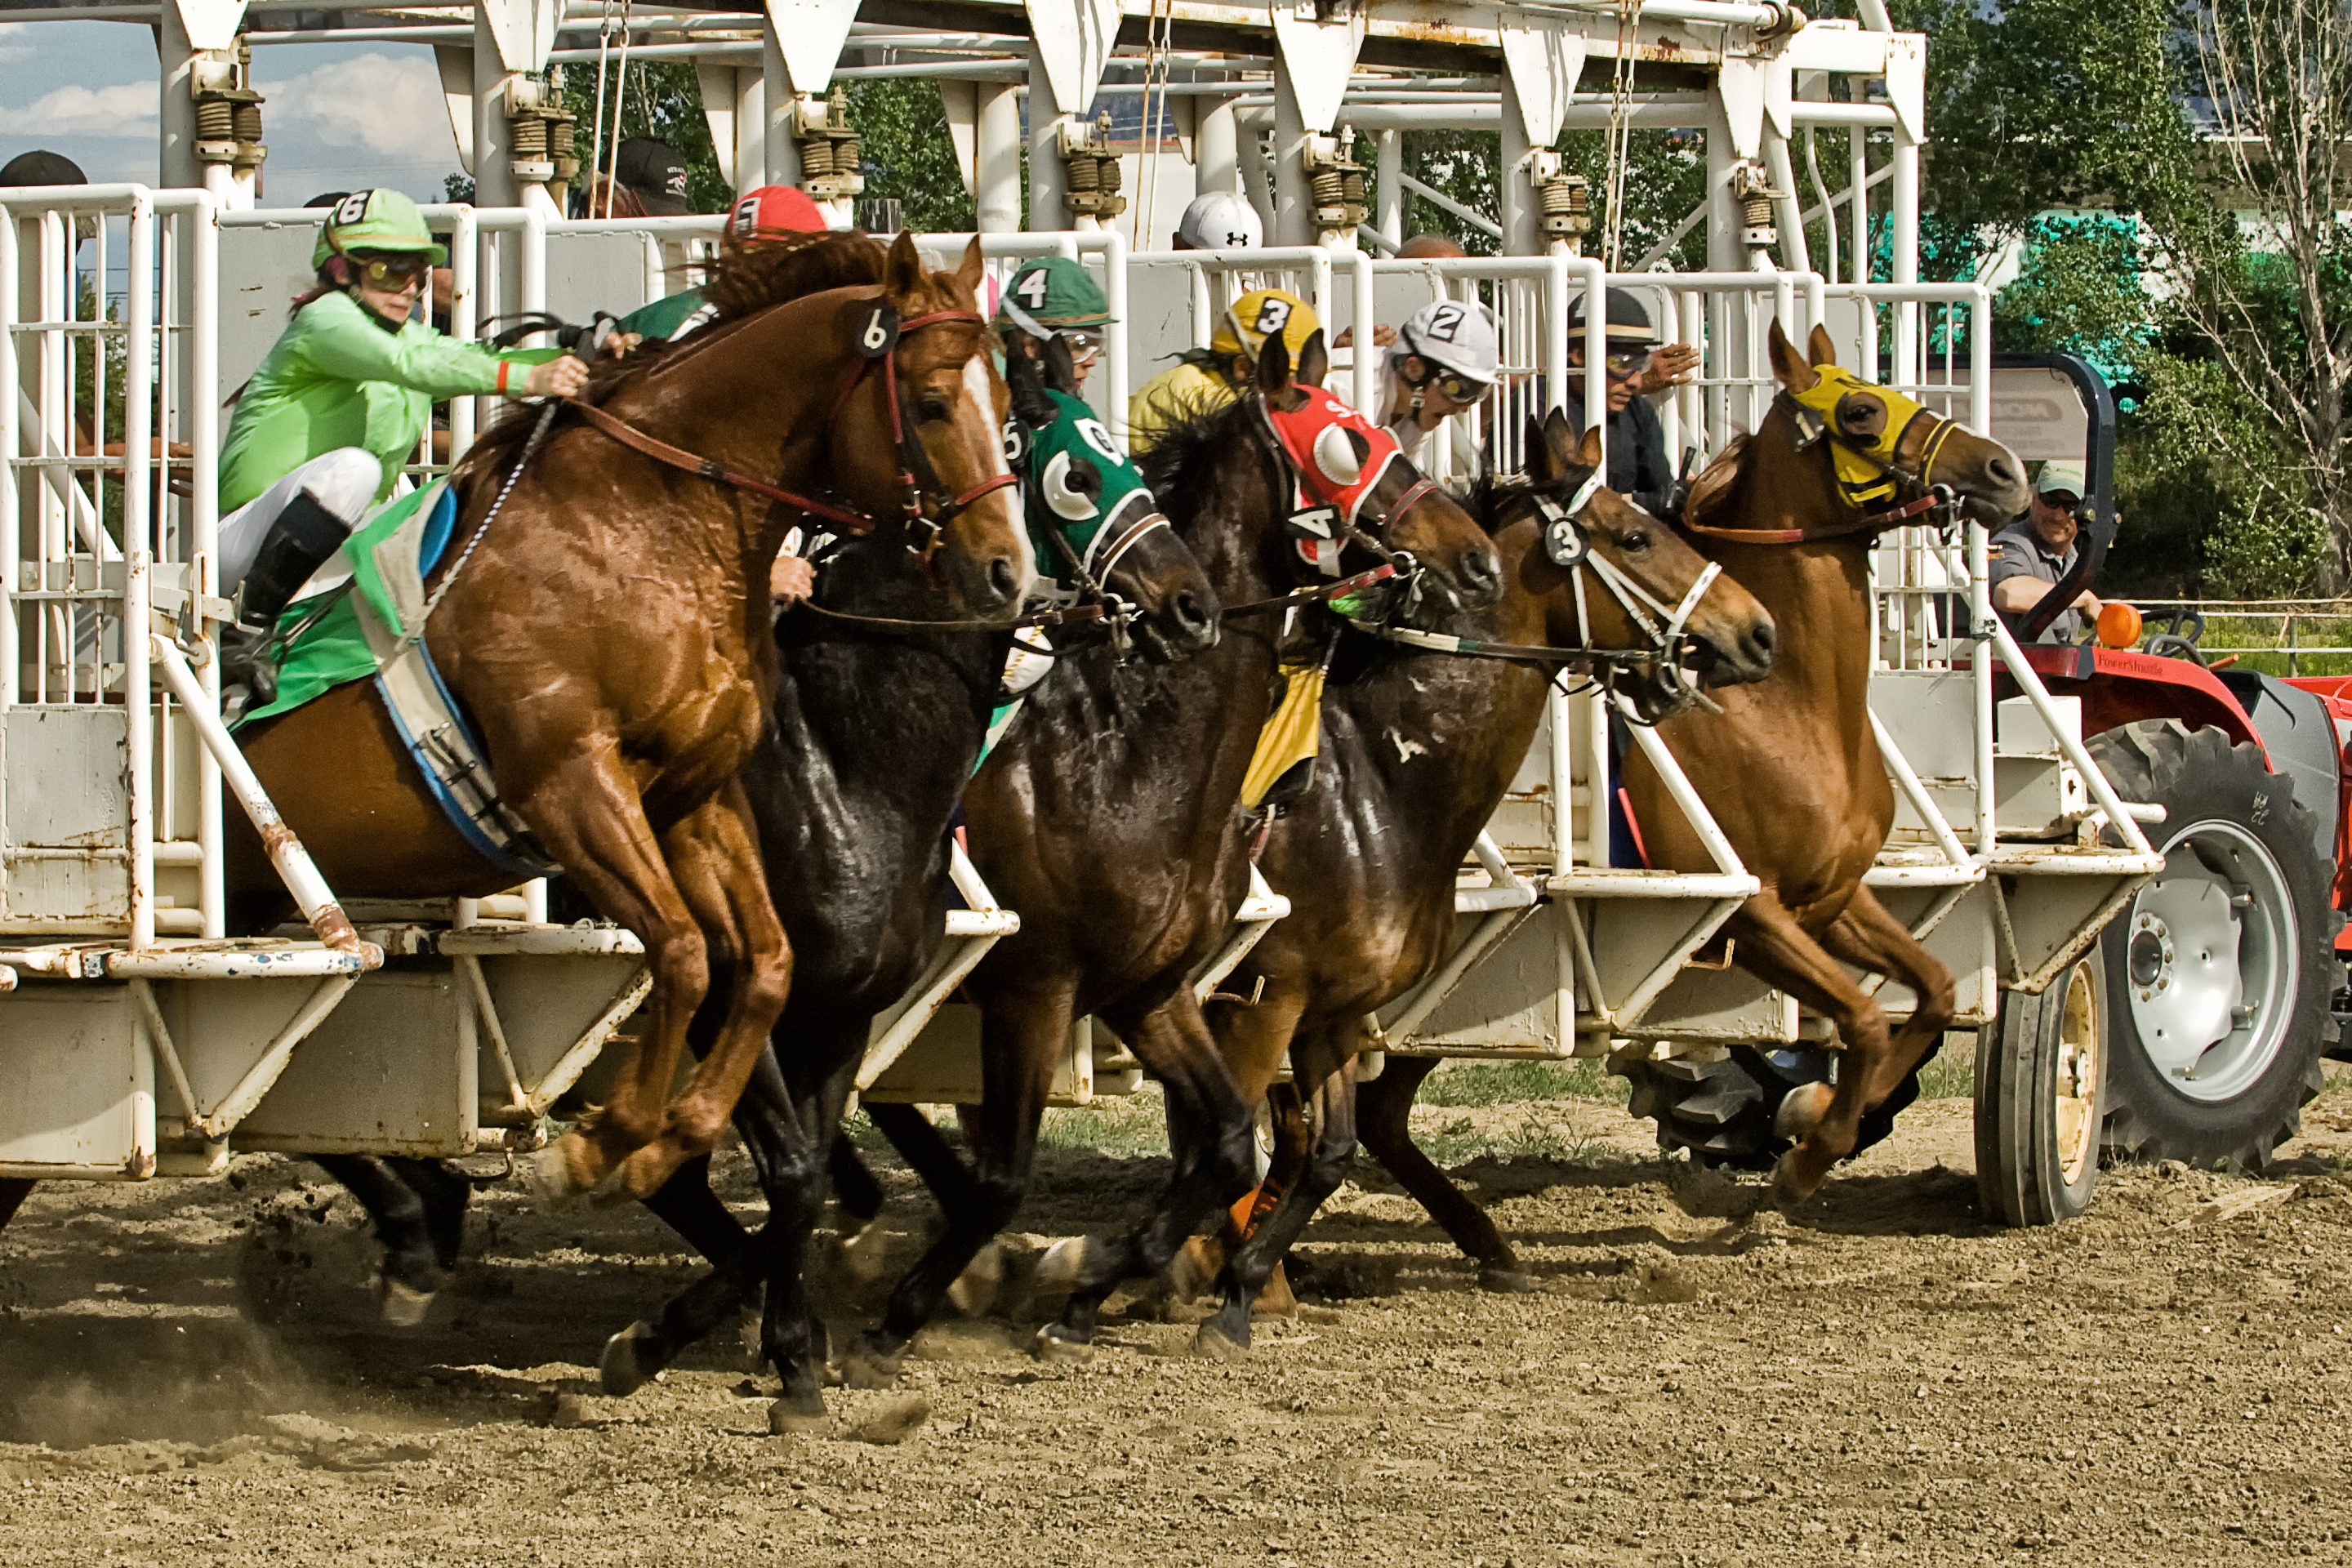
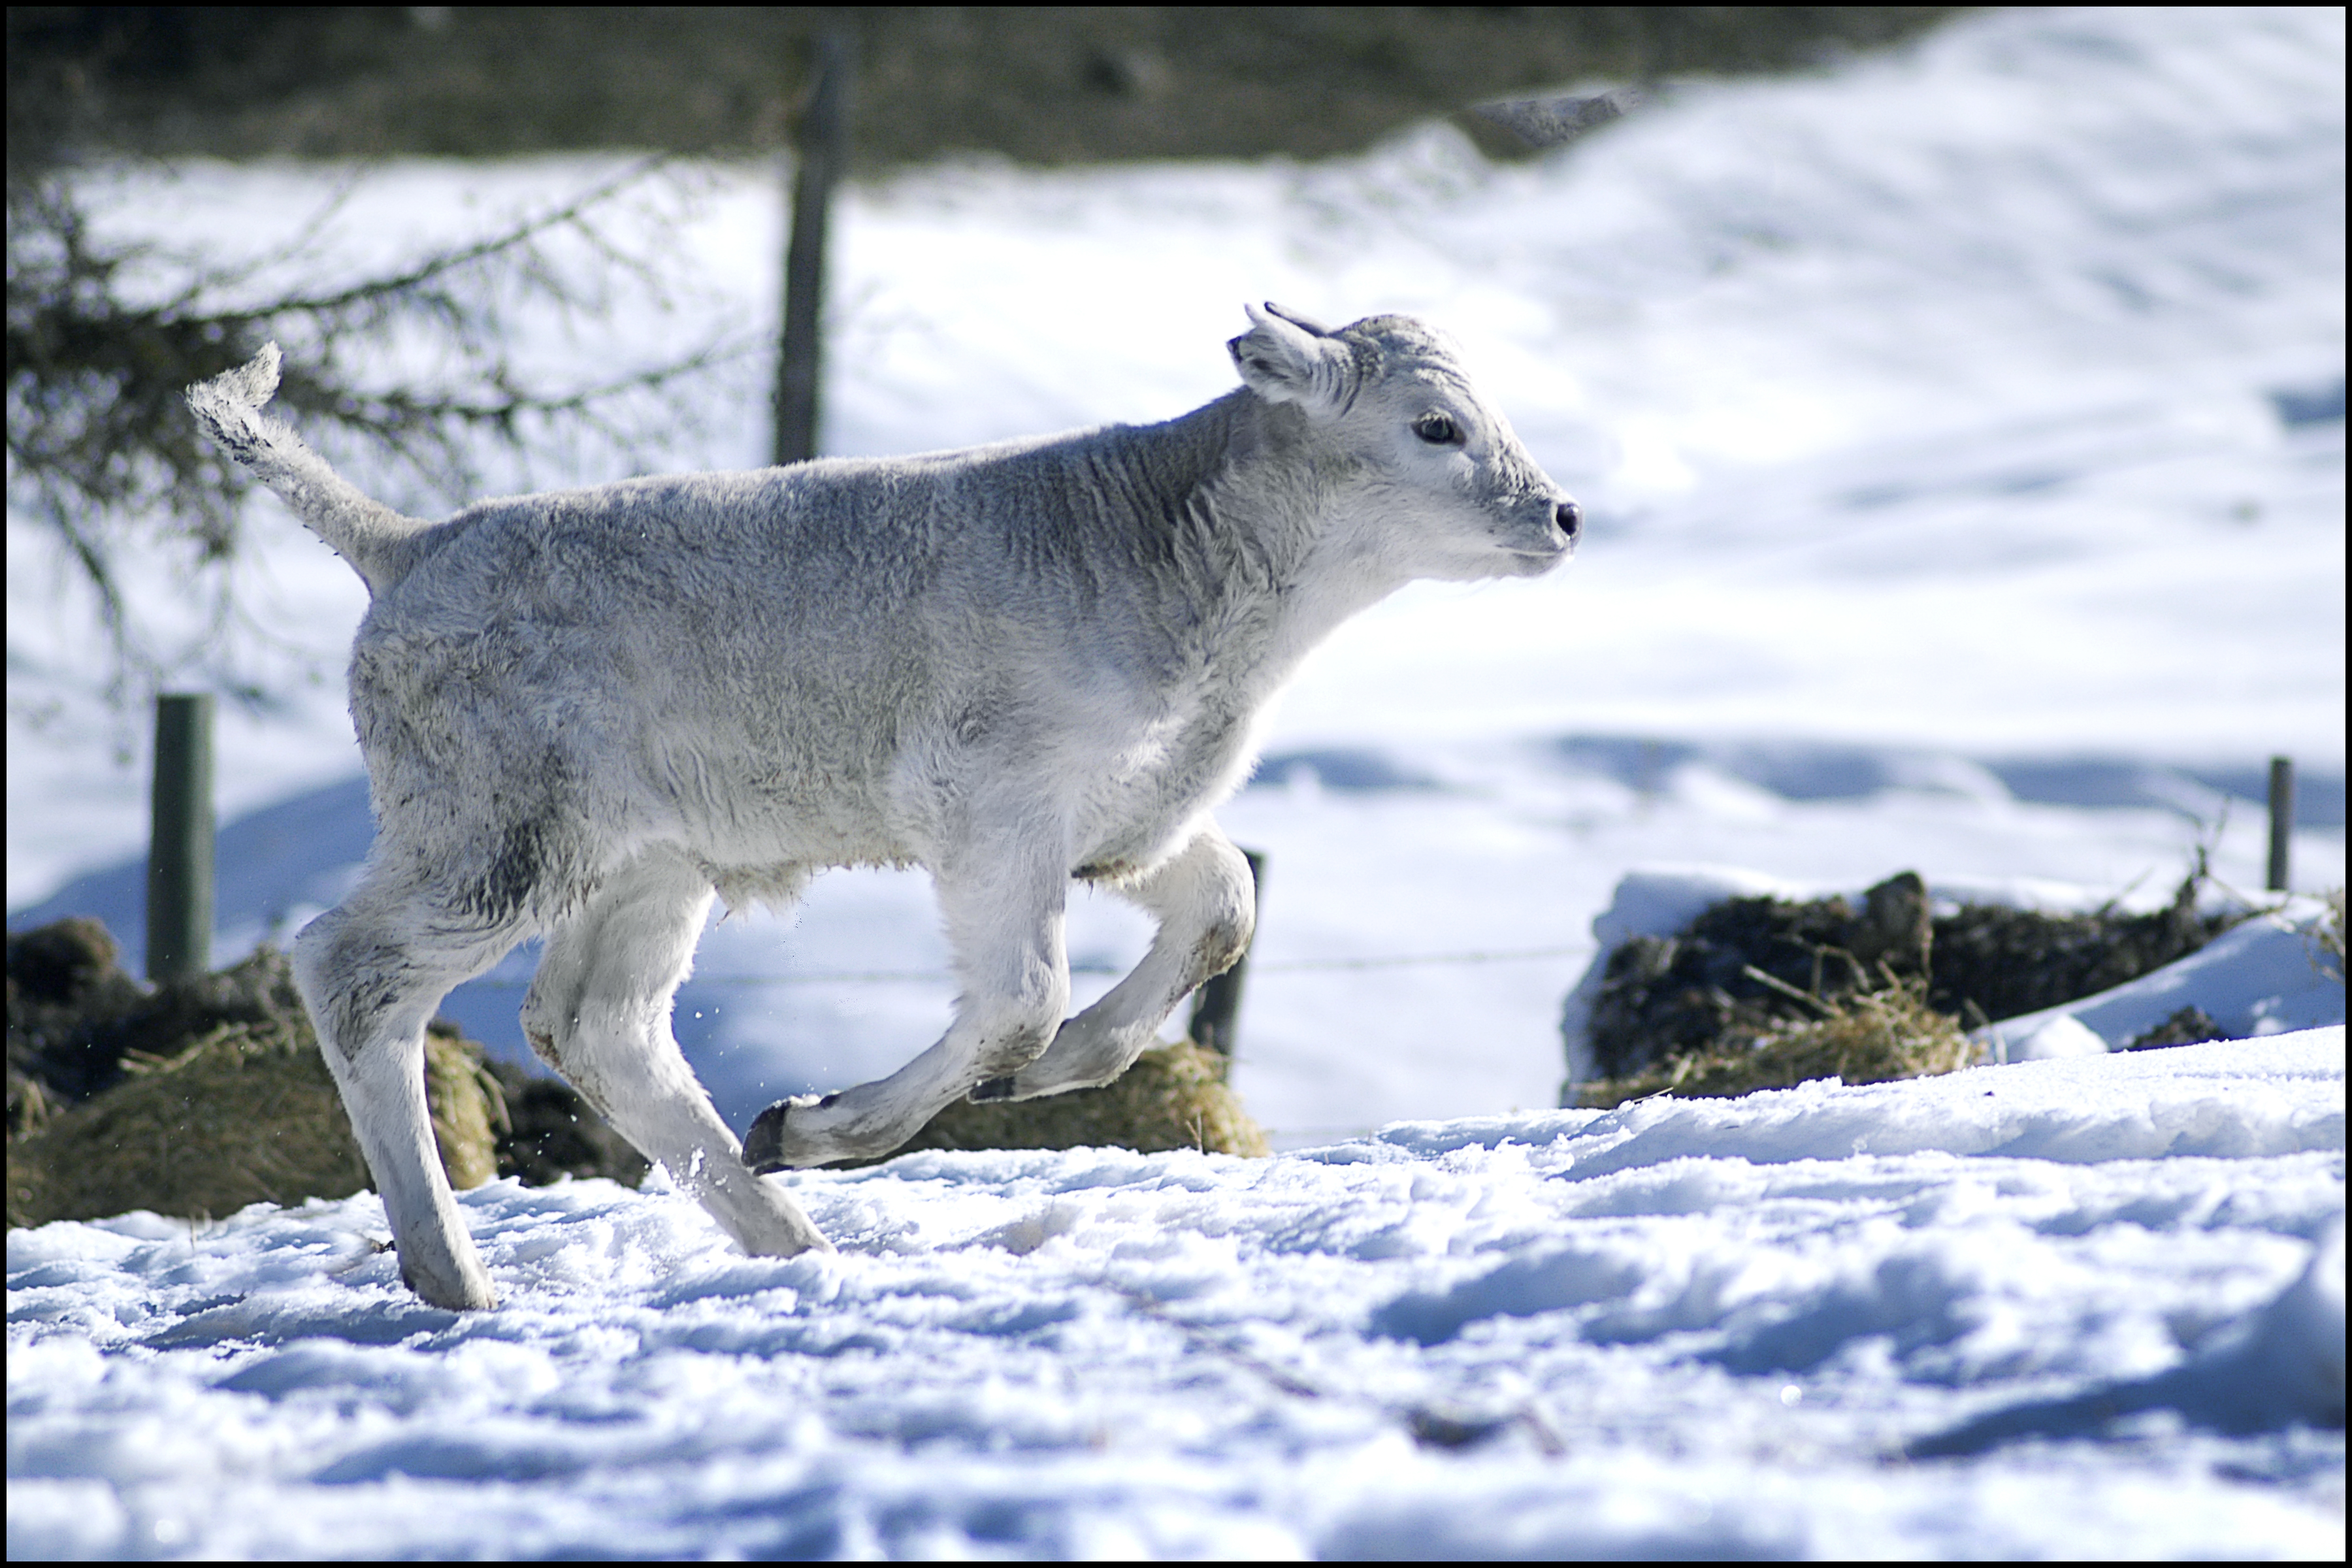
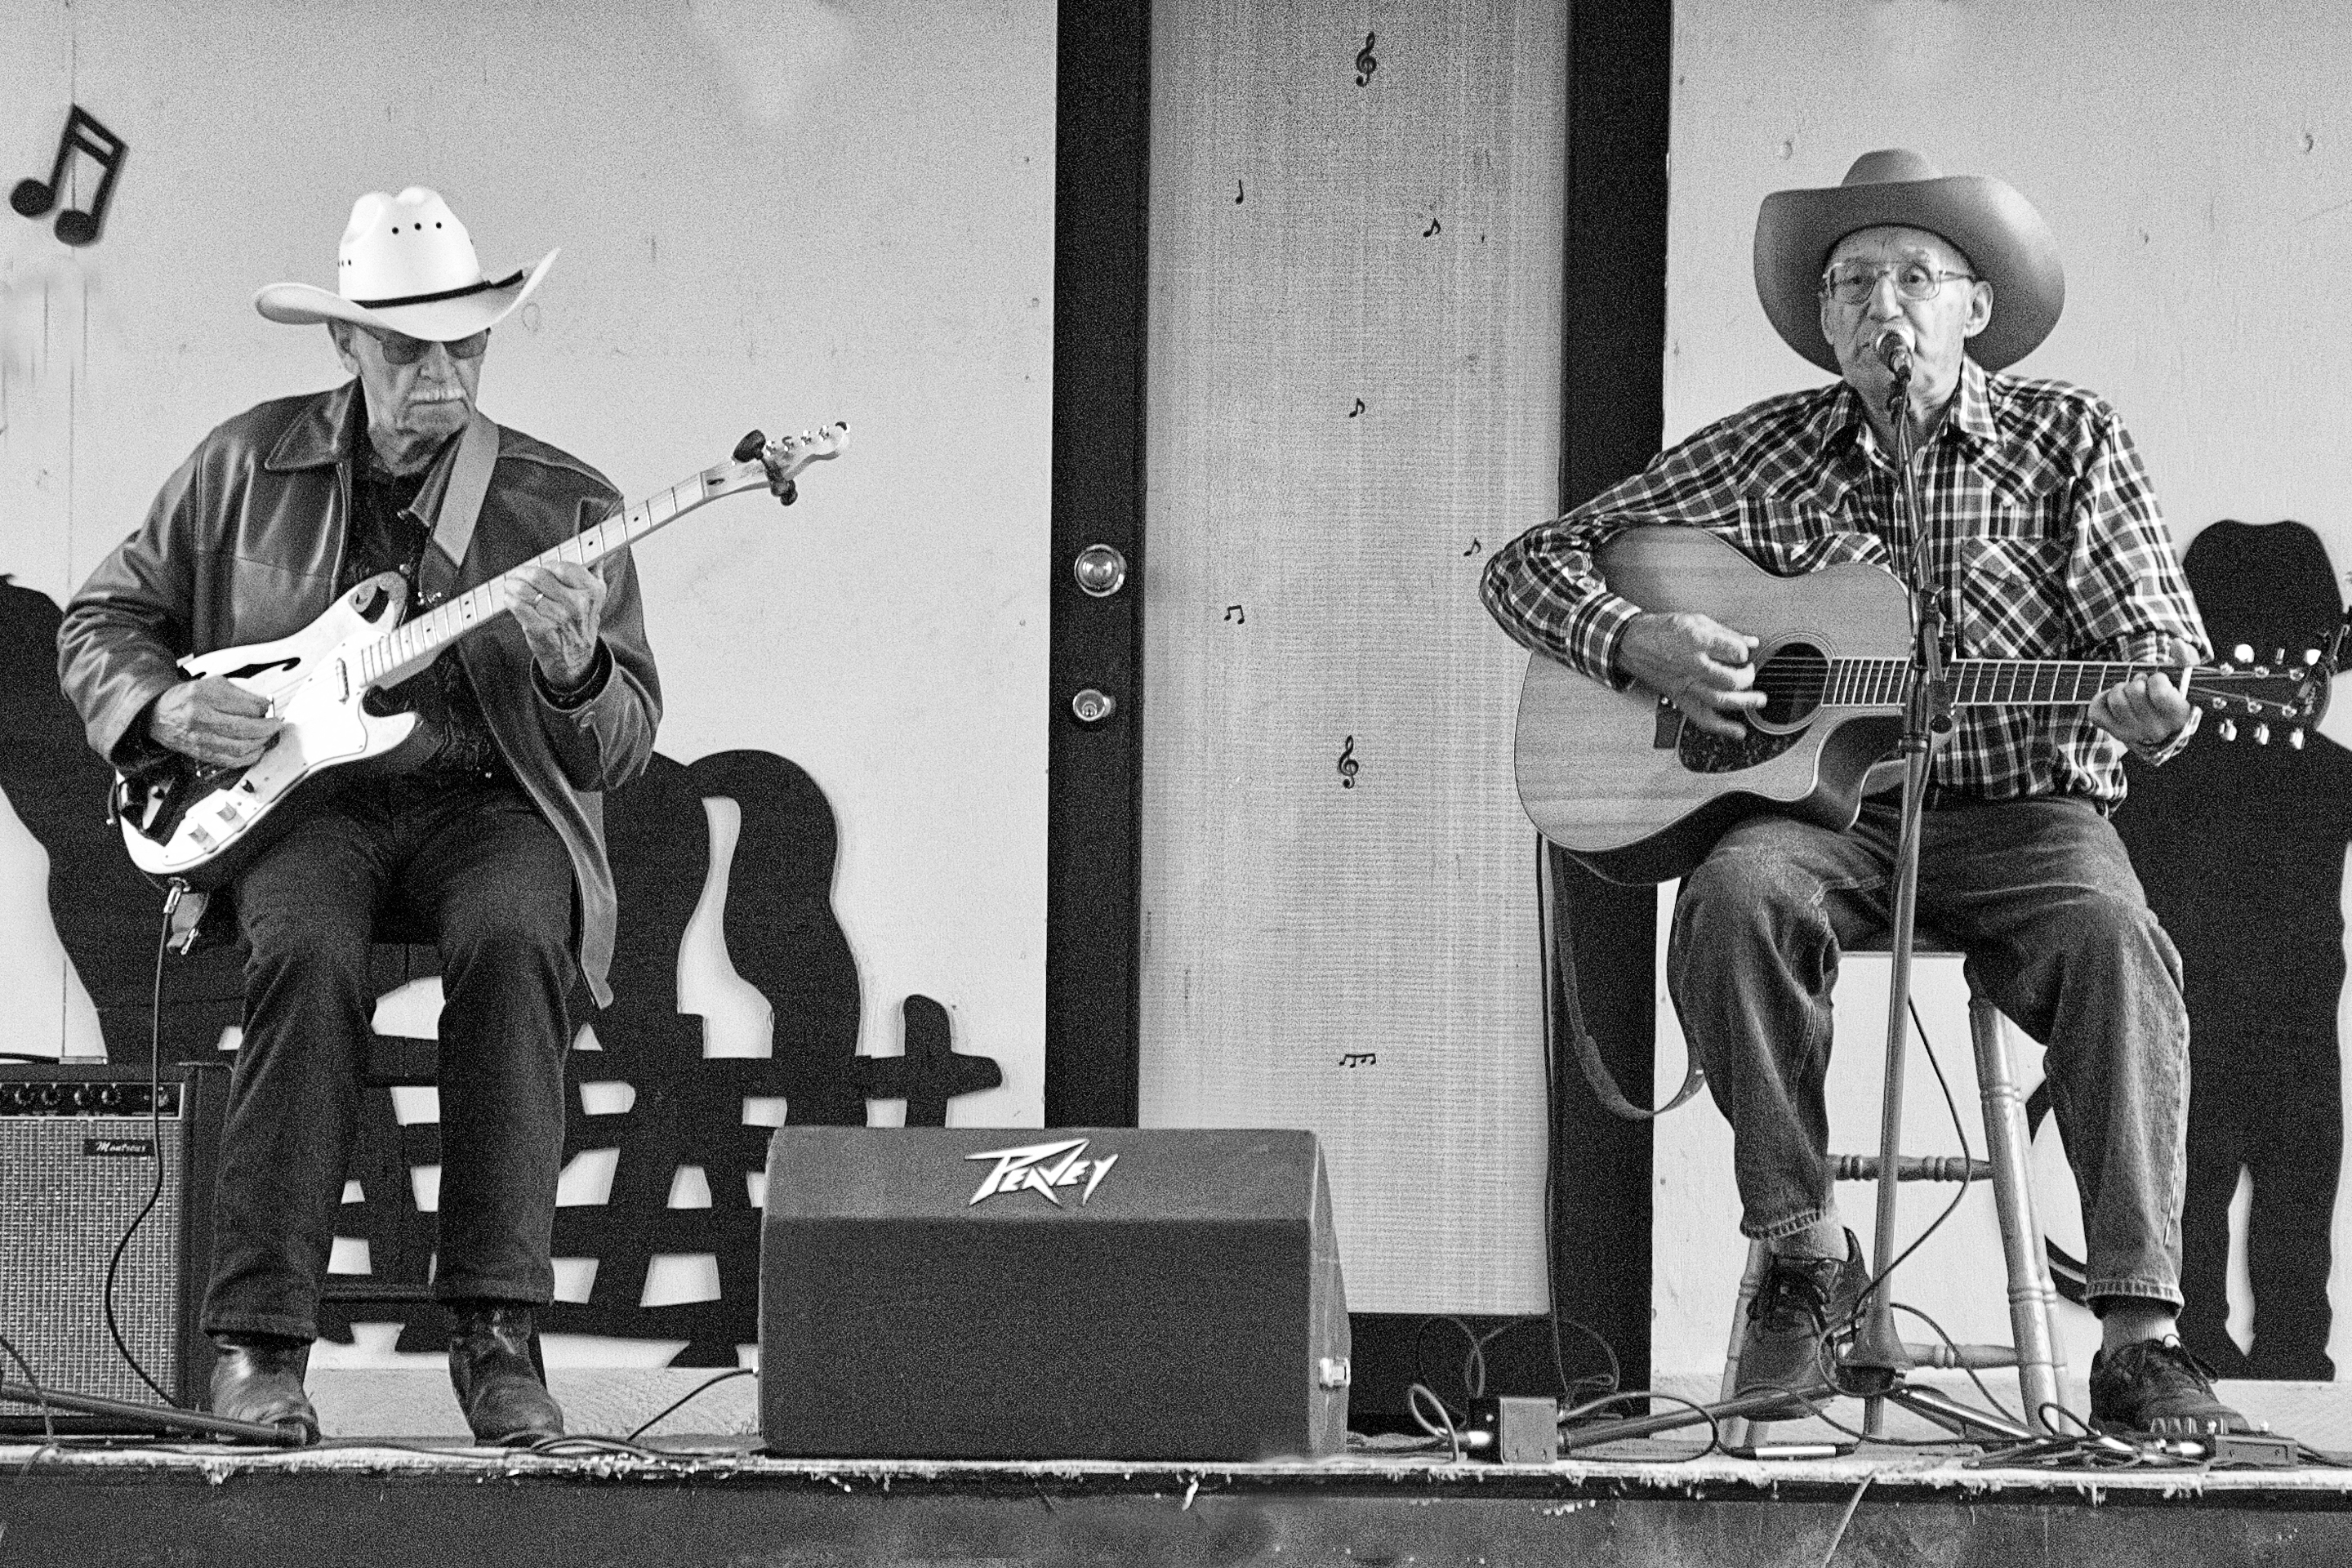
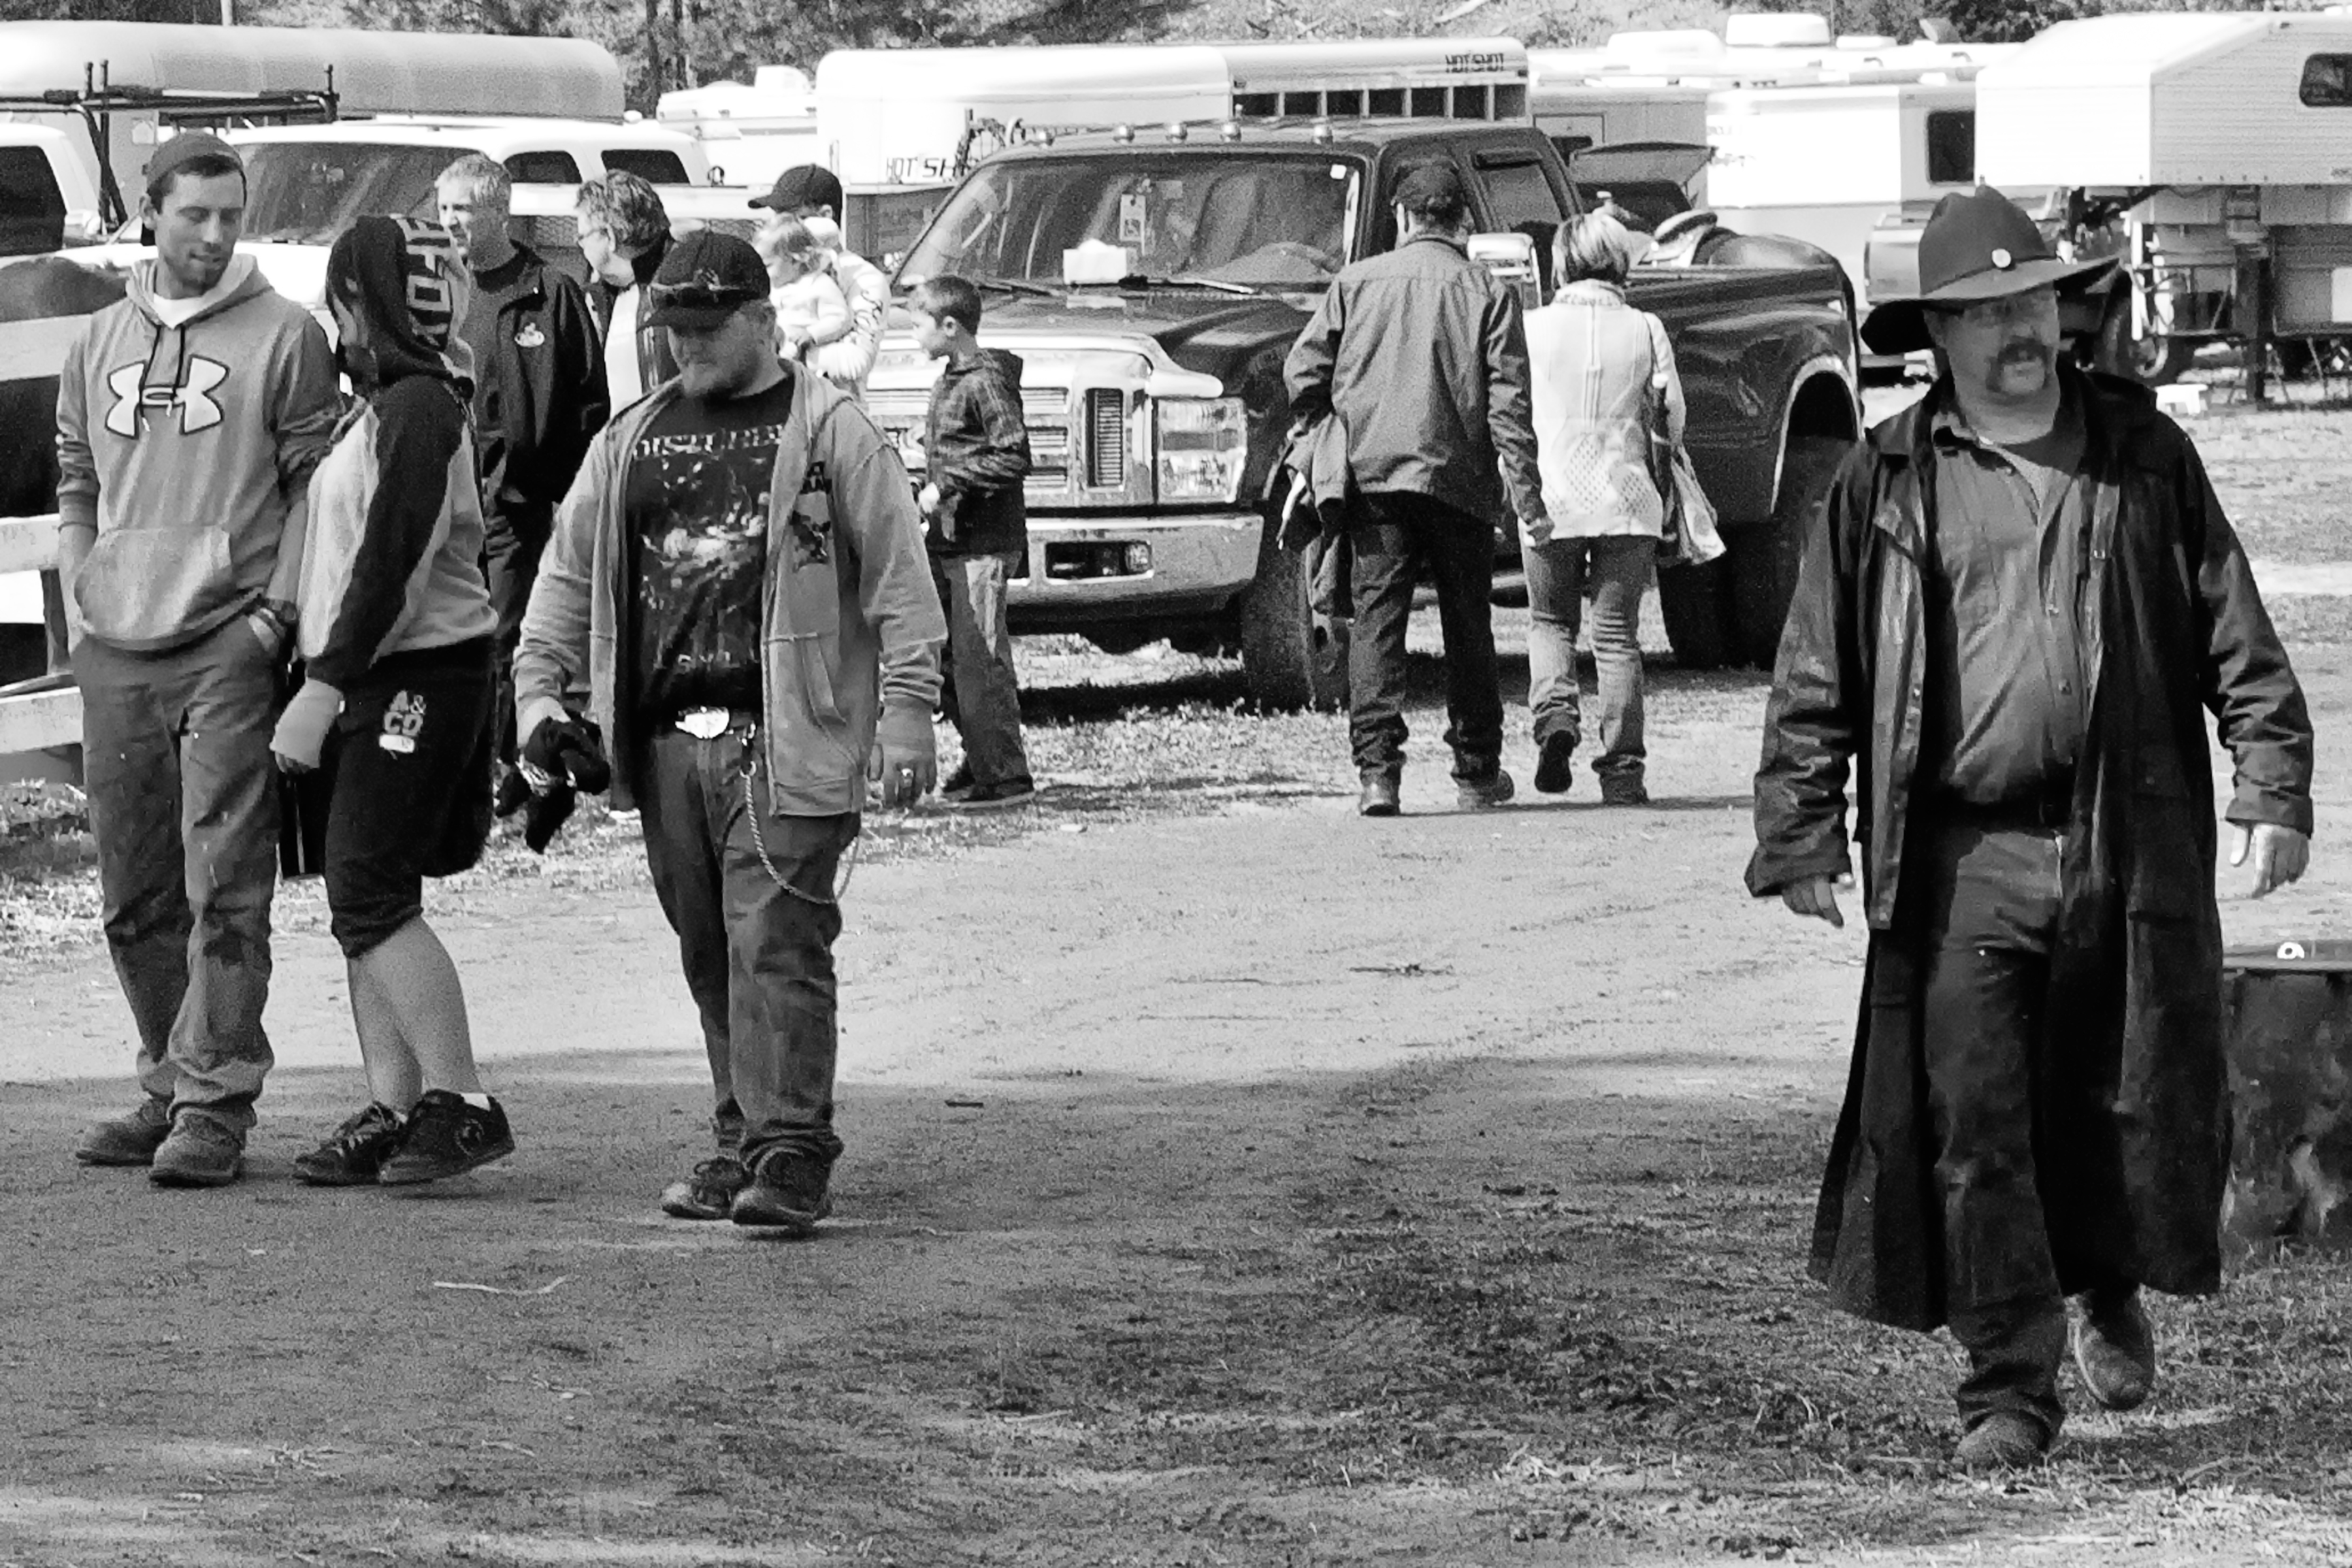
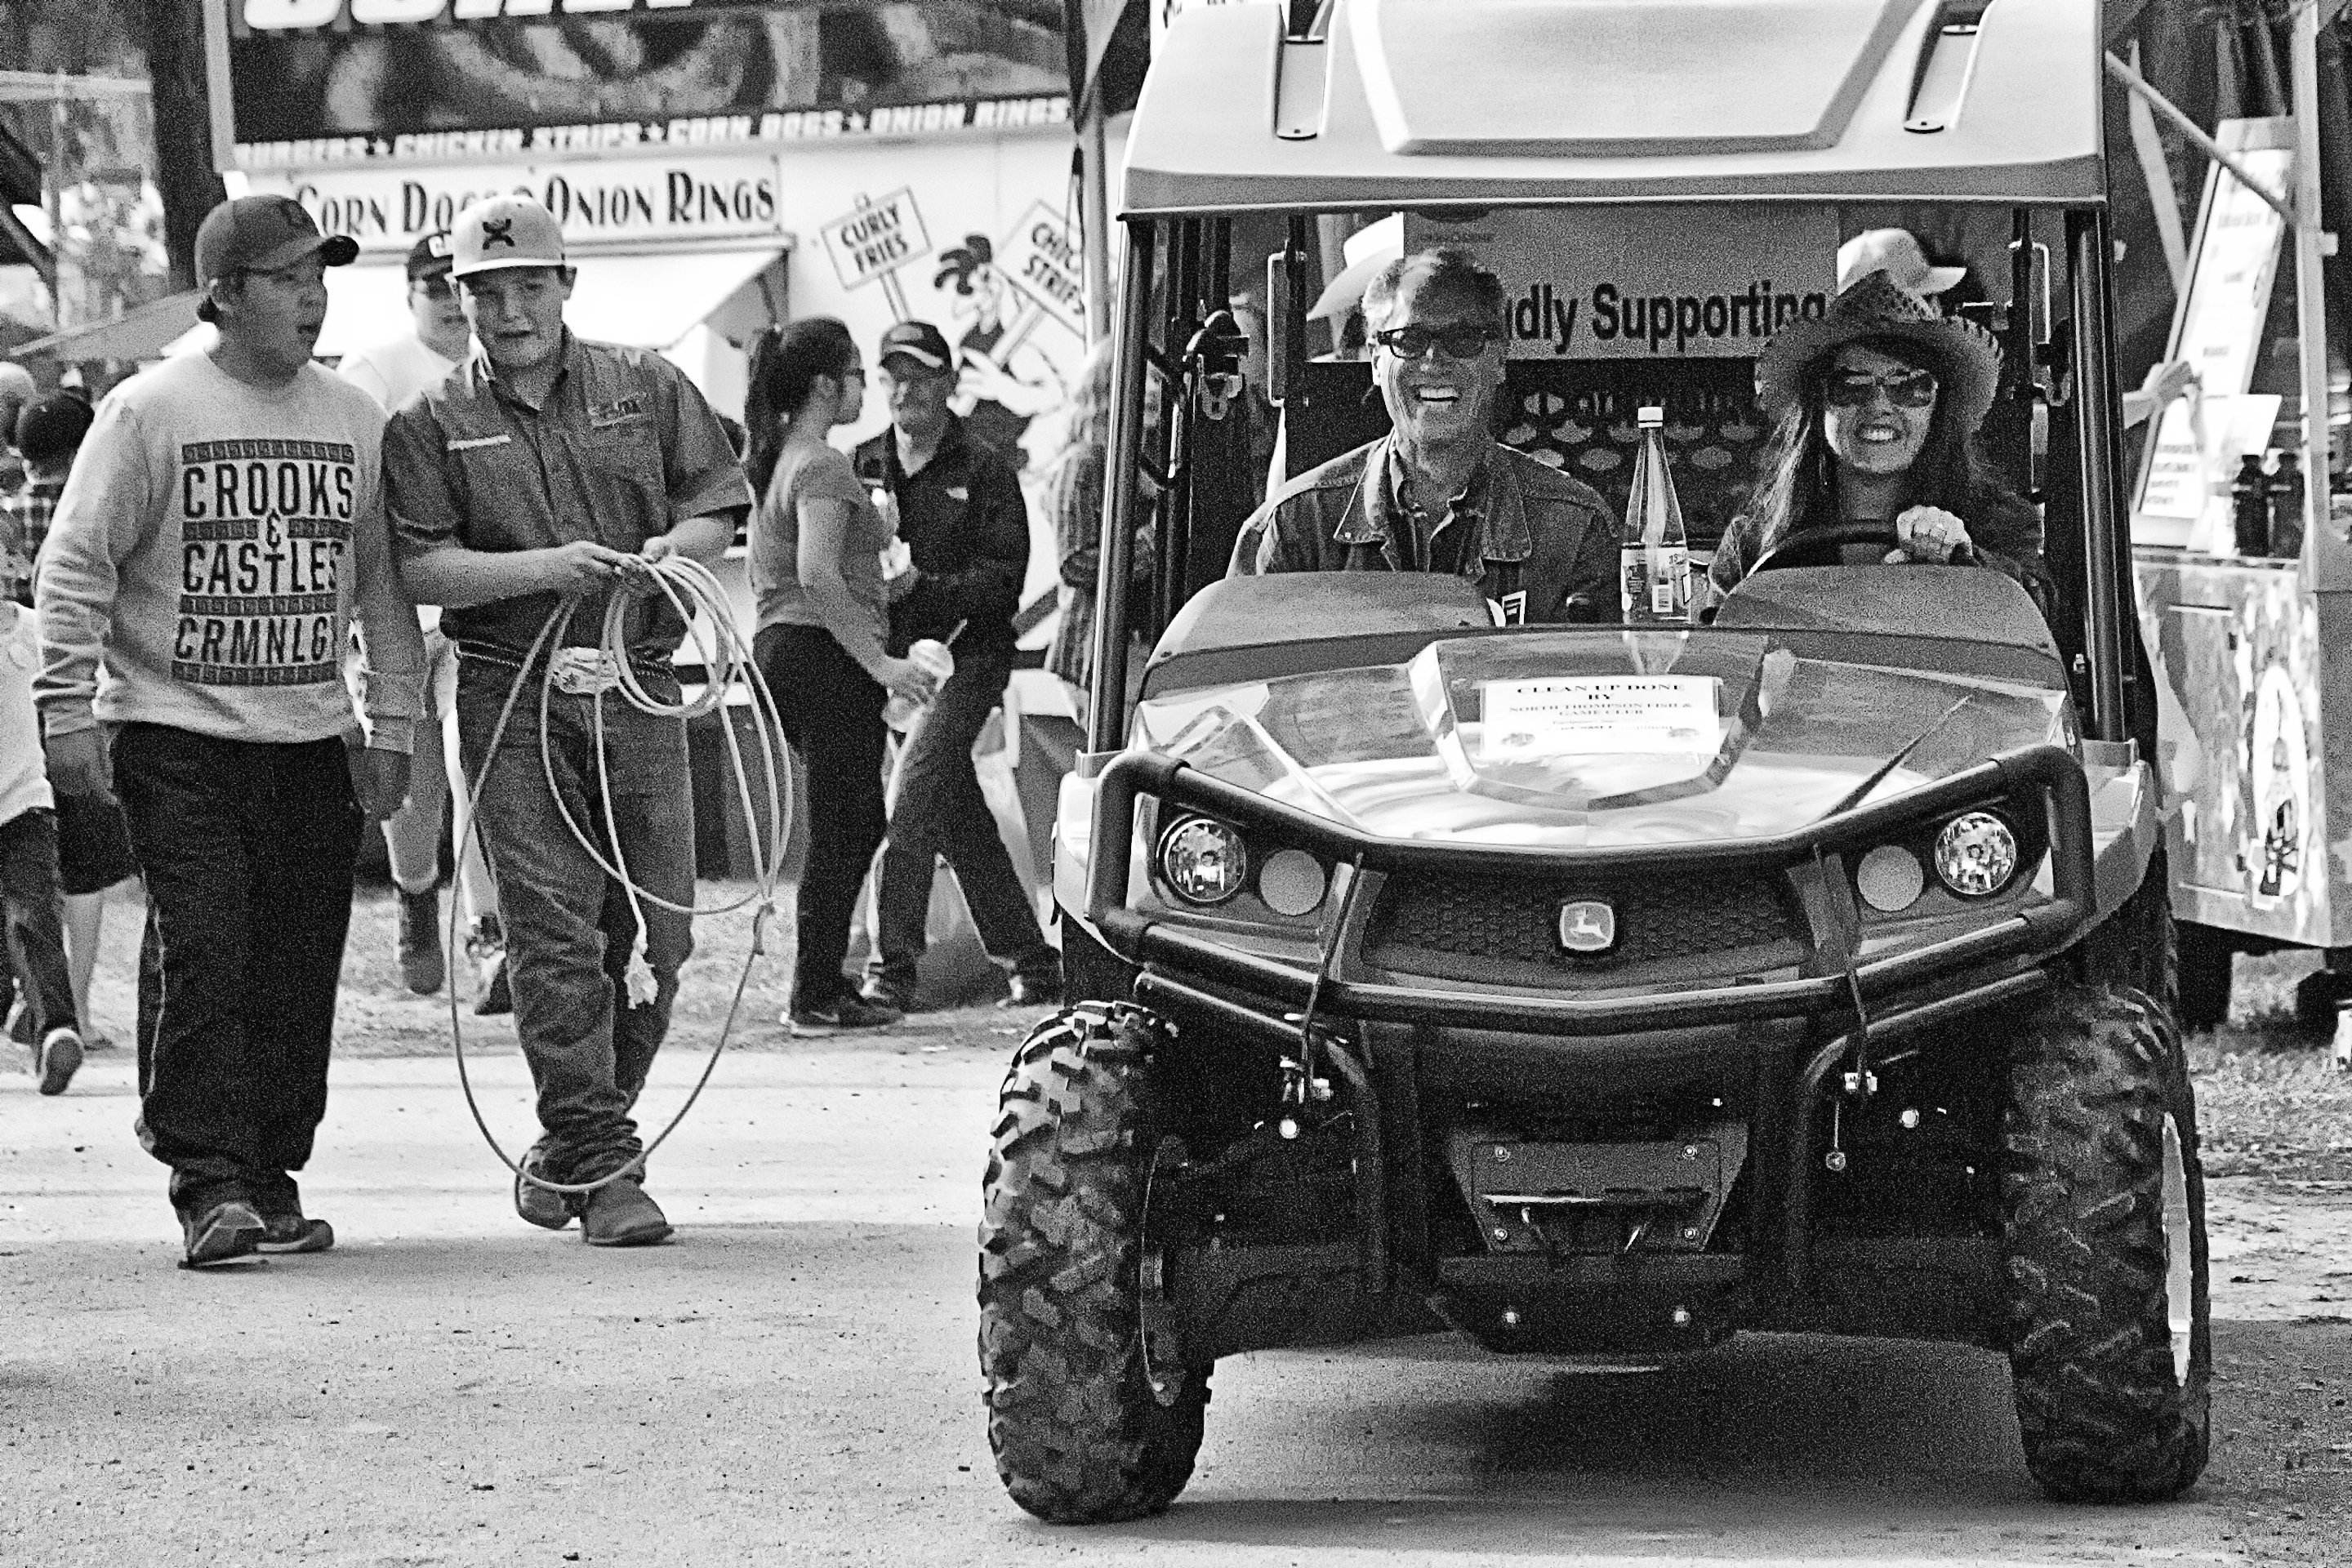
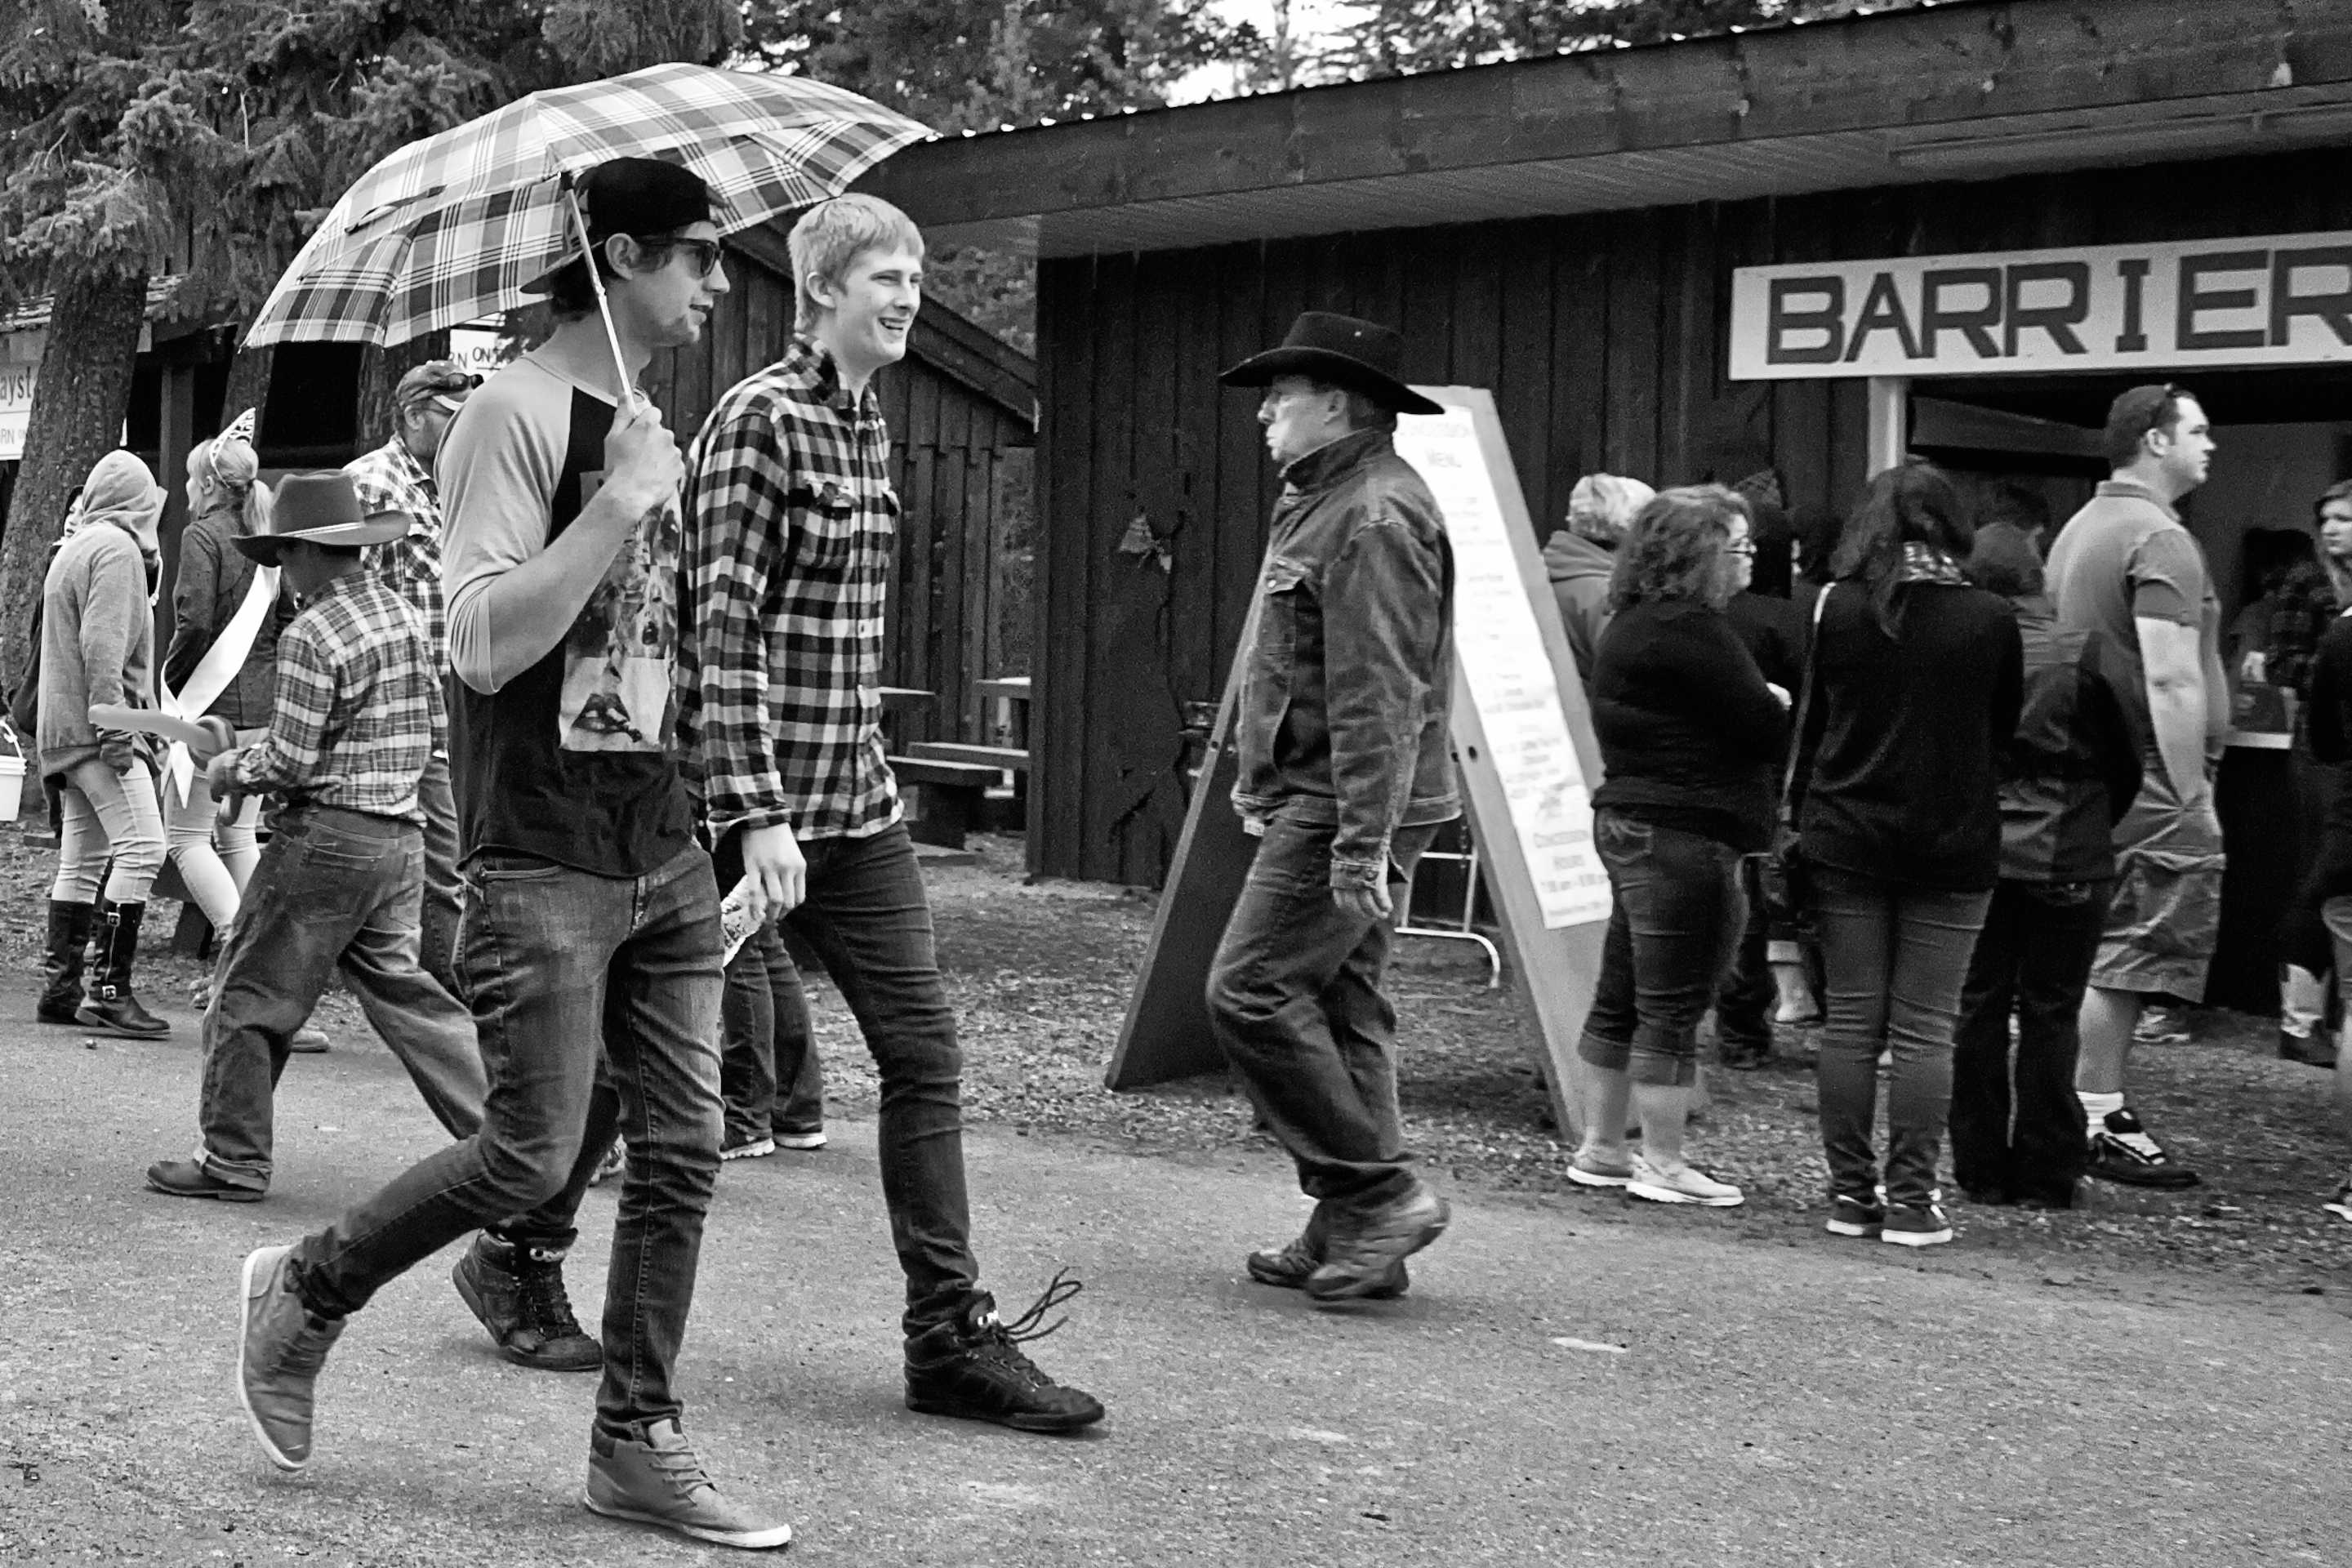
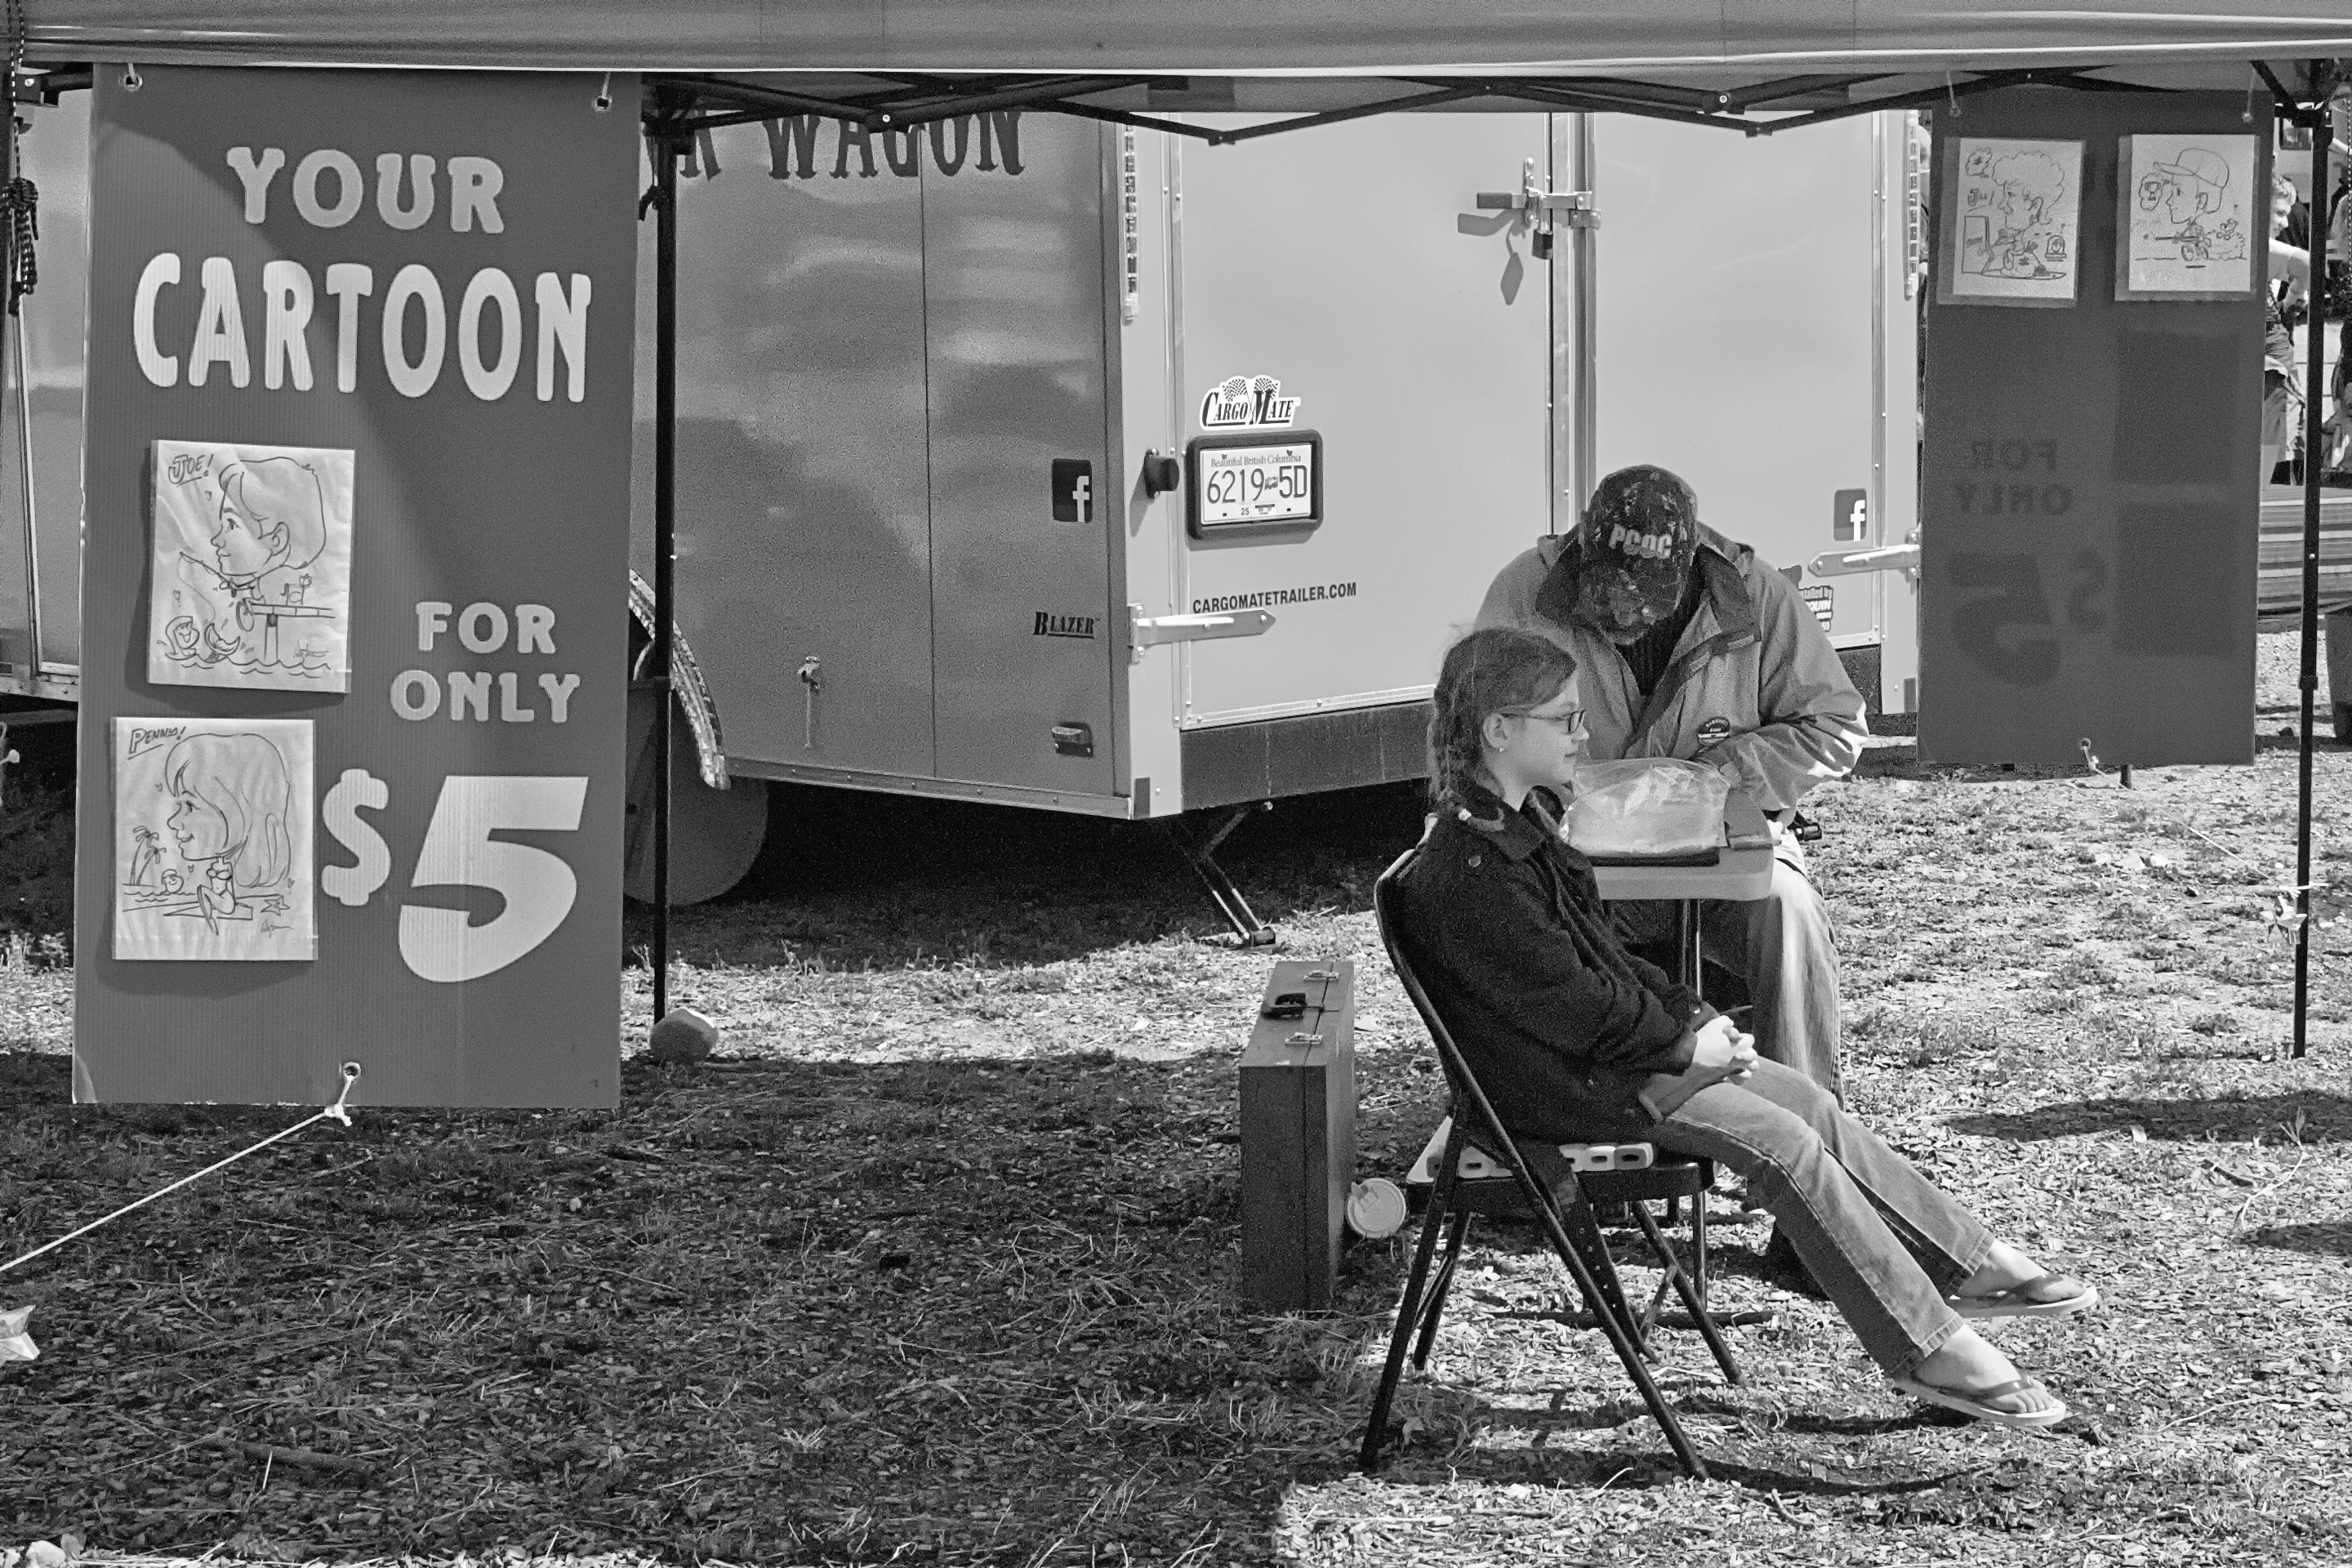
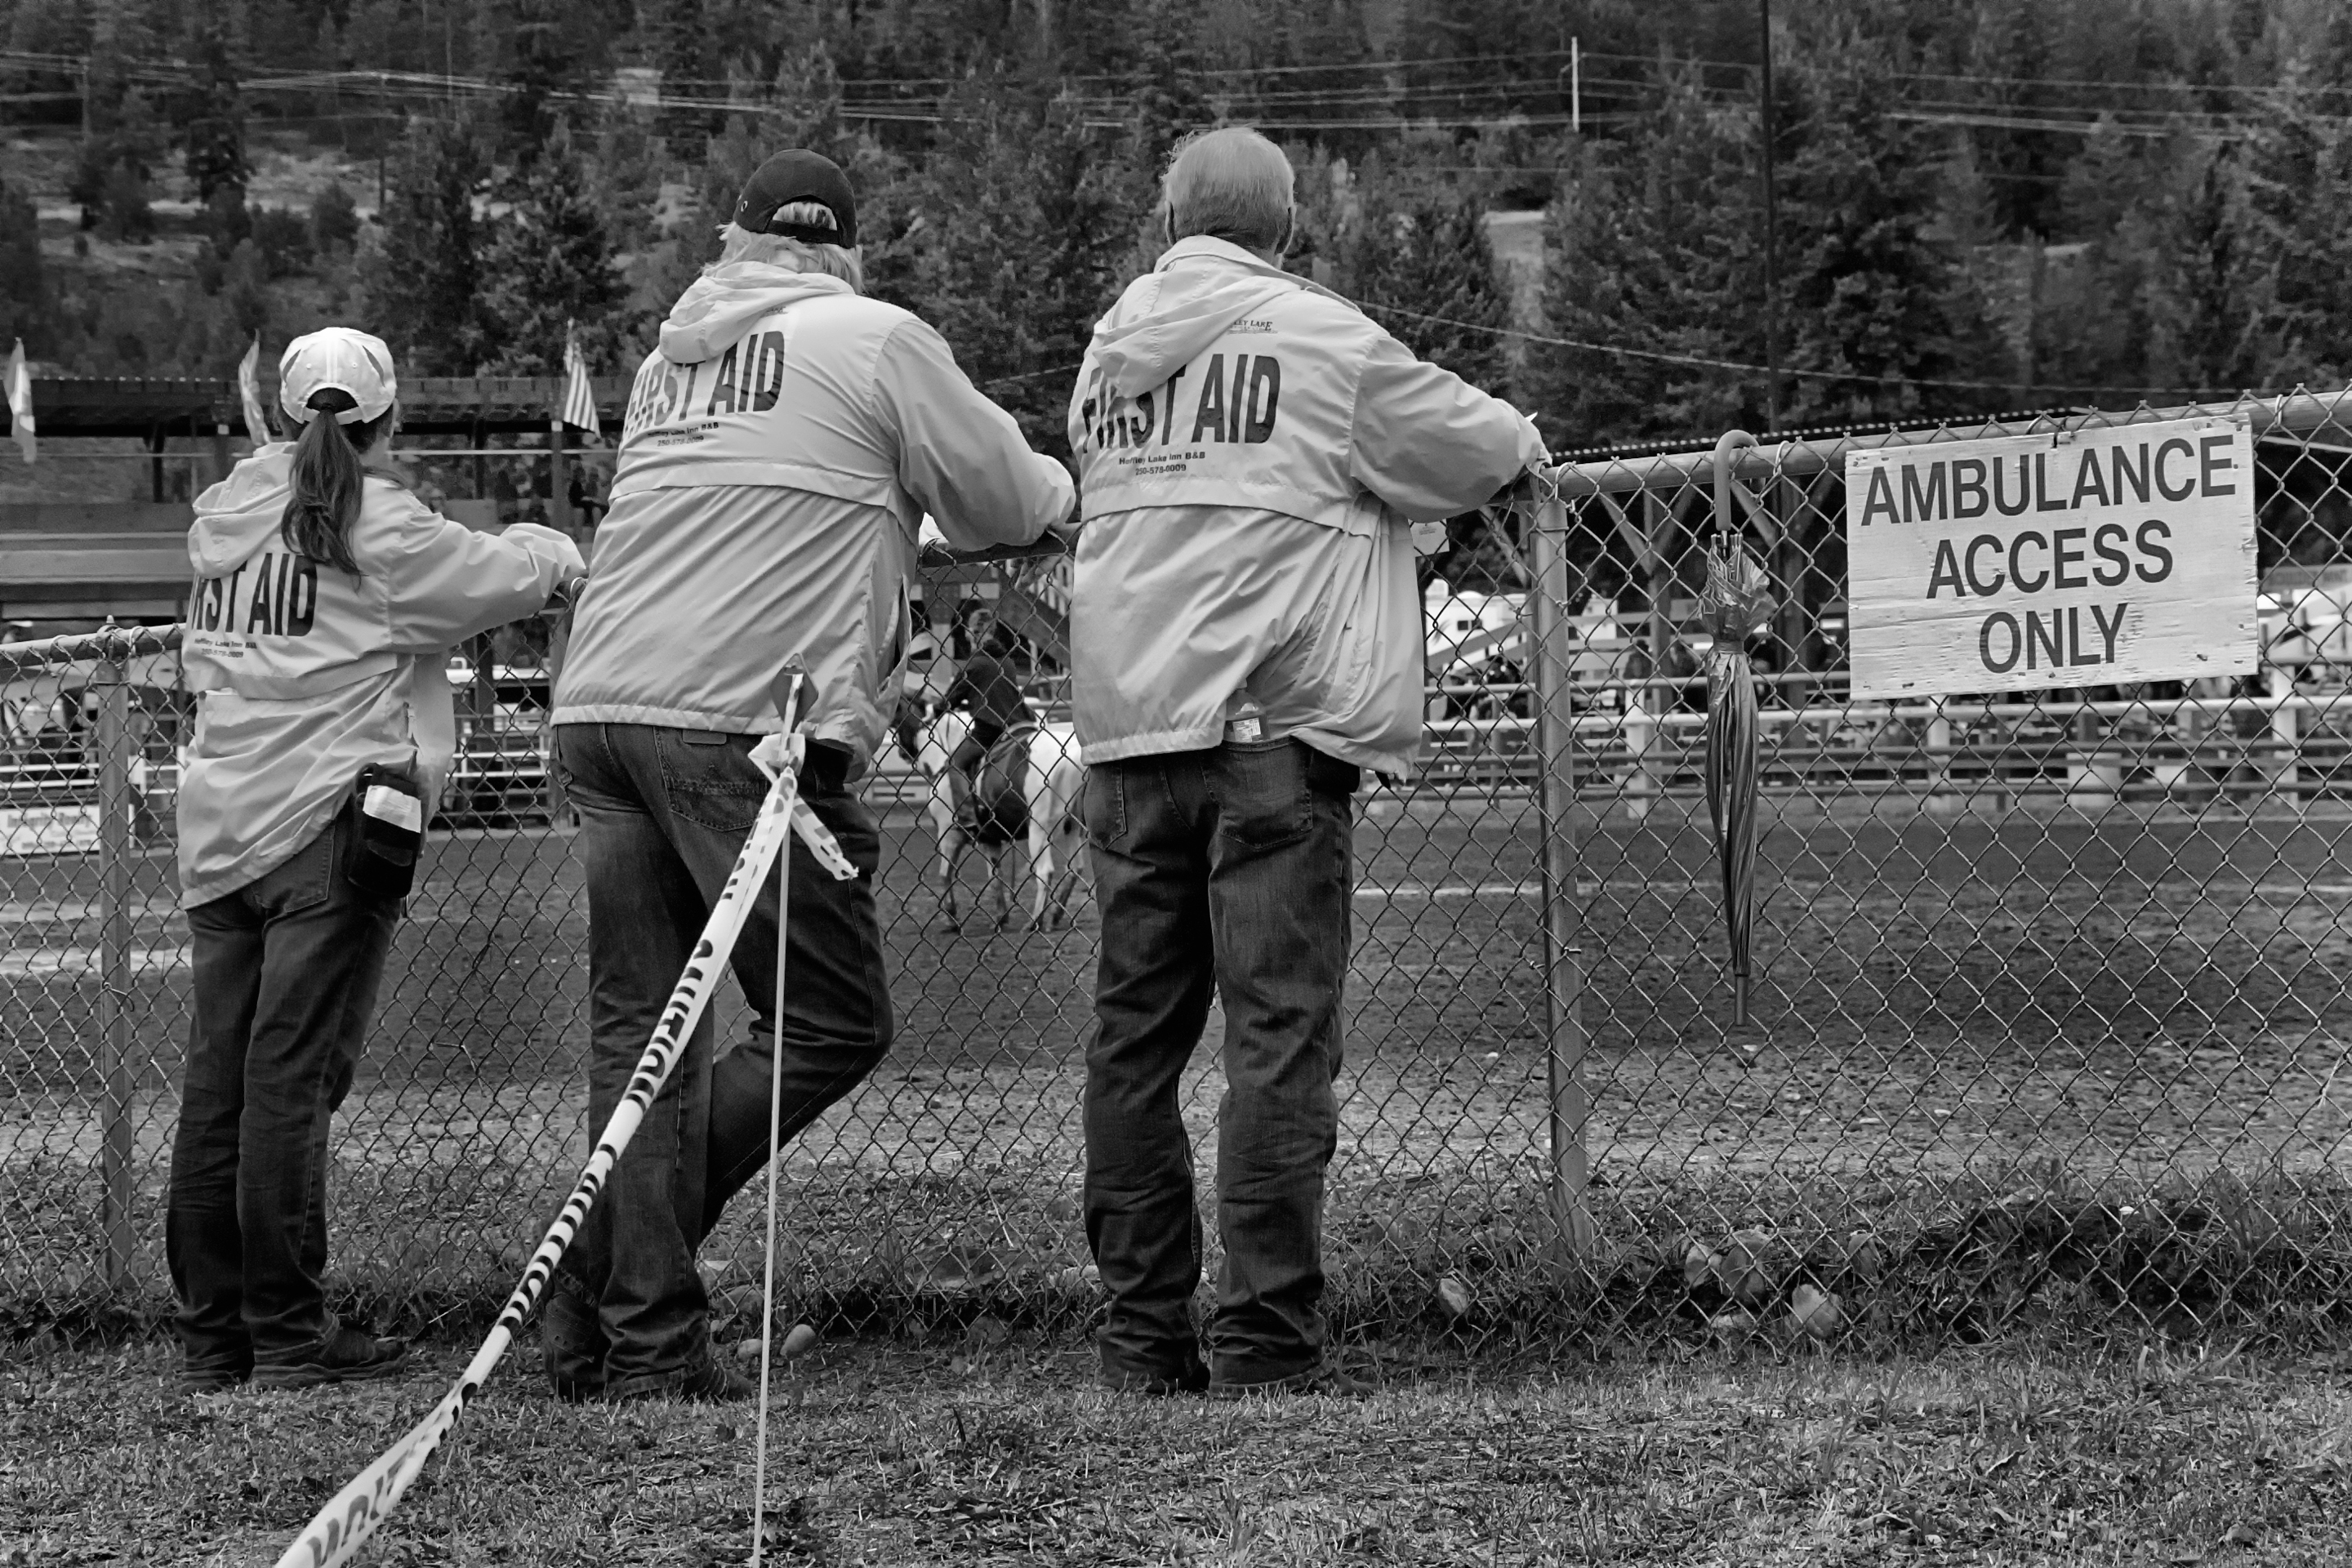
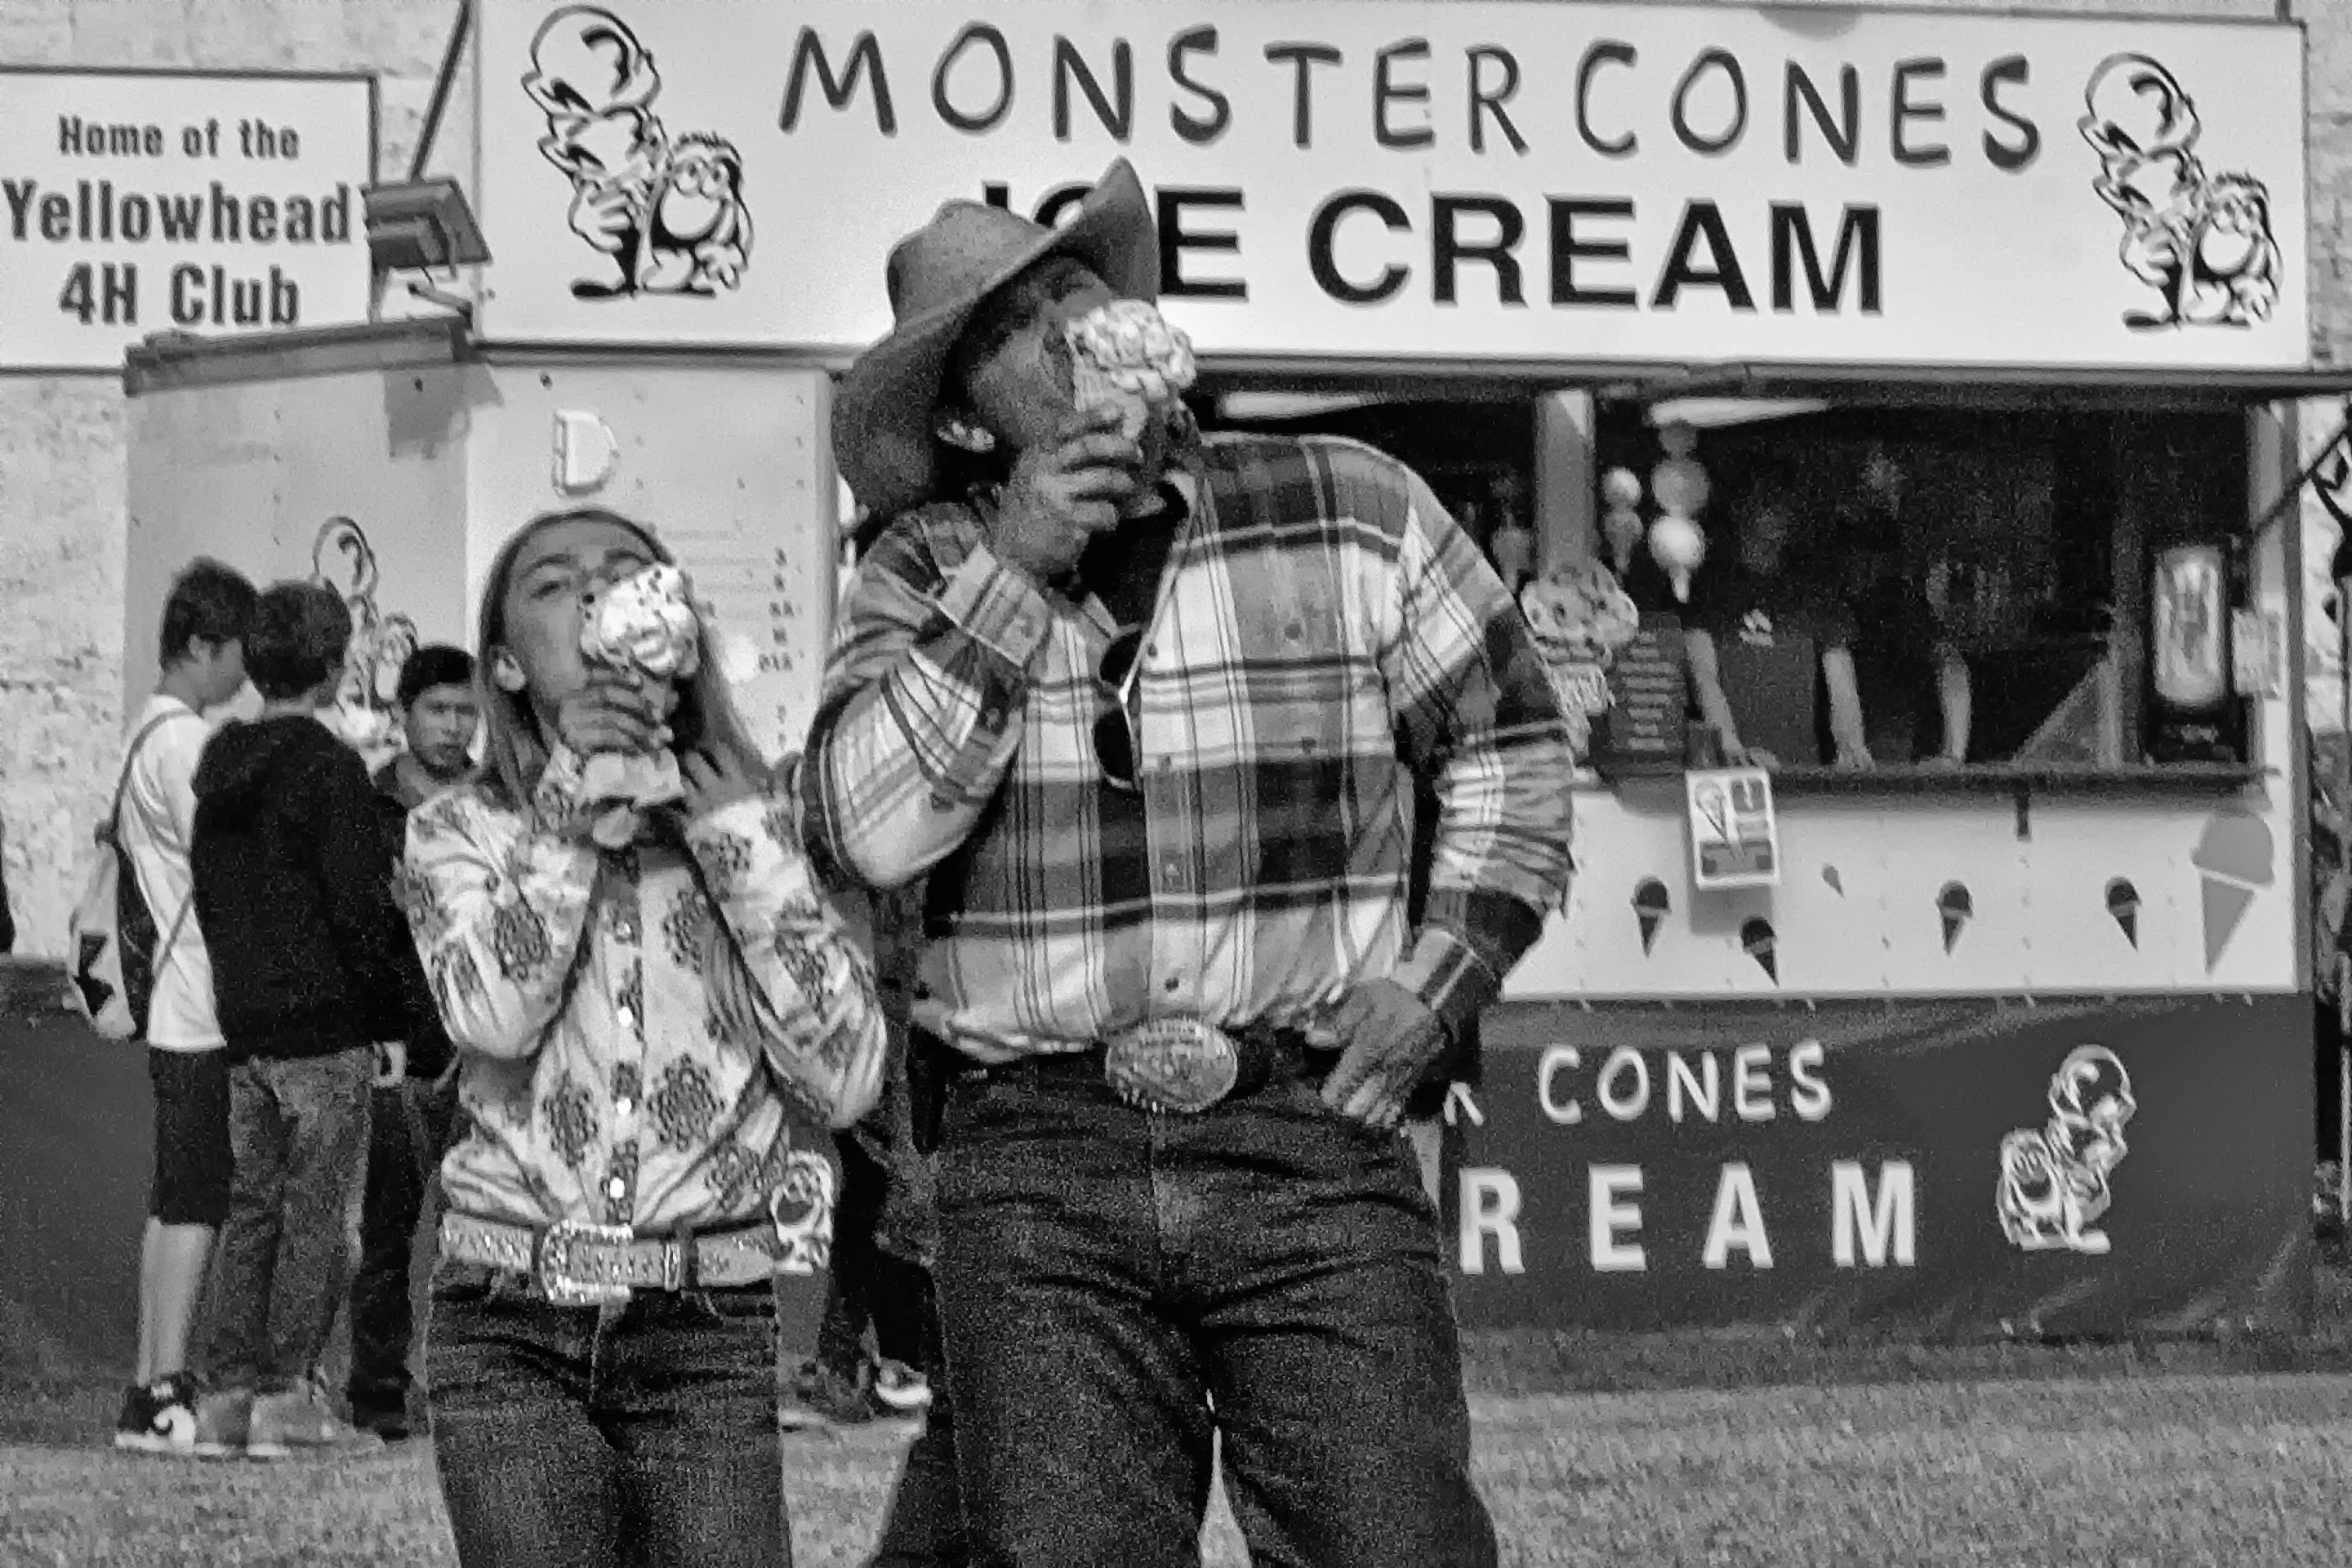
Where I live in British Columbia, the months of August and September see communities’ large and small hosting end of summer fairs. This year, same as last, I drove north to the small town of Barriere, parked my car, gave the smiling lady at the gate a couple bucks and strolled into the excitement of the Barriere Fall Fair packed with exhibits of local produce, poultry, livestock, all sorts of arts and crafts, lots of outdoor shows that included a rodeo, trick riders, several different horse competitions, an action packed midway with amusement rides, challenges for the children like wall climbing, and even a motorized bull that quickly dislodged even the most athletic of riders. There were all sorts of people selling cowboy hats, clothing, jewelry and too much more to list here. And one lady almost accosted me, demanding I try out her boot wax and leather preservative. (I will say my boots never looked better.)

Oh, and the food. The inviting and punishing, yep, that’s the word I am going to use for the smell of all kinds of mouthwatering foods that one confronts as far away as the entrance gate. Enticing everyone to make the next stop at one of the food venders.

The picture making possibilities immediately assaults those of us with cameras. What to photograph? Well, it’s all exciting.

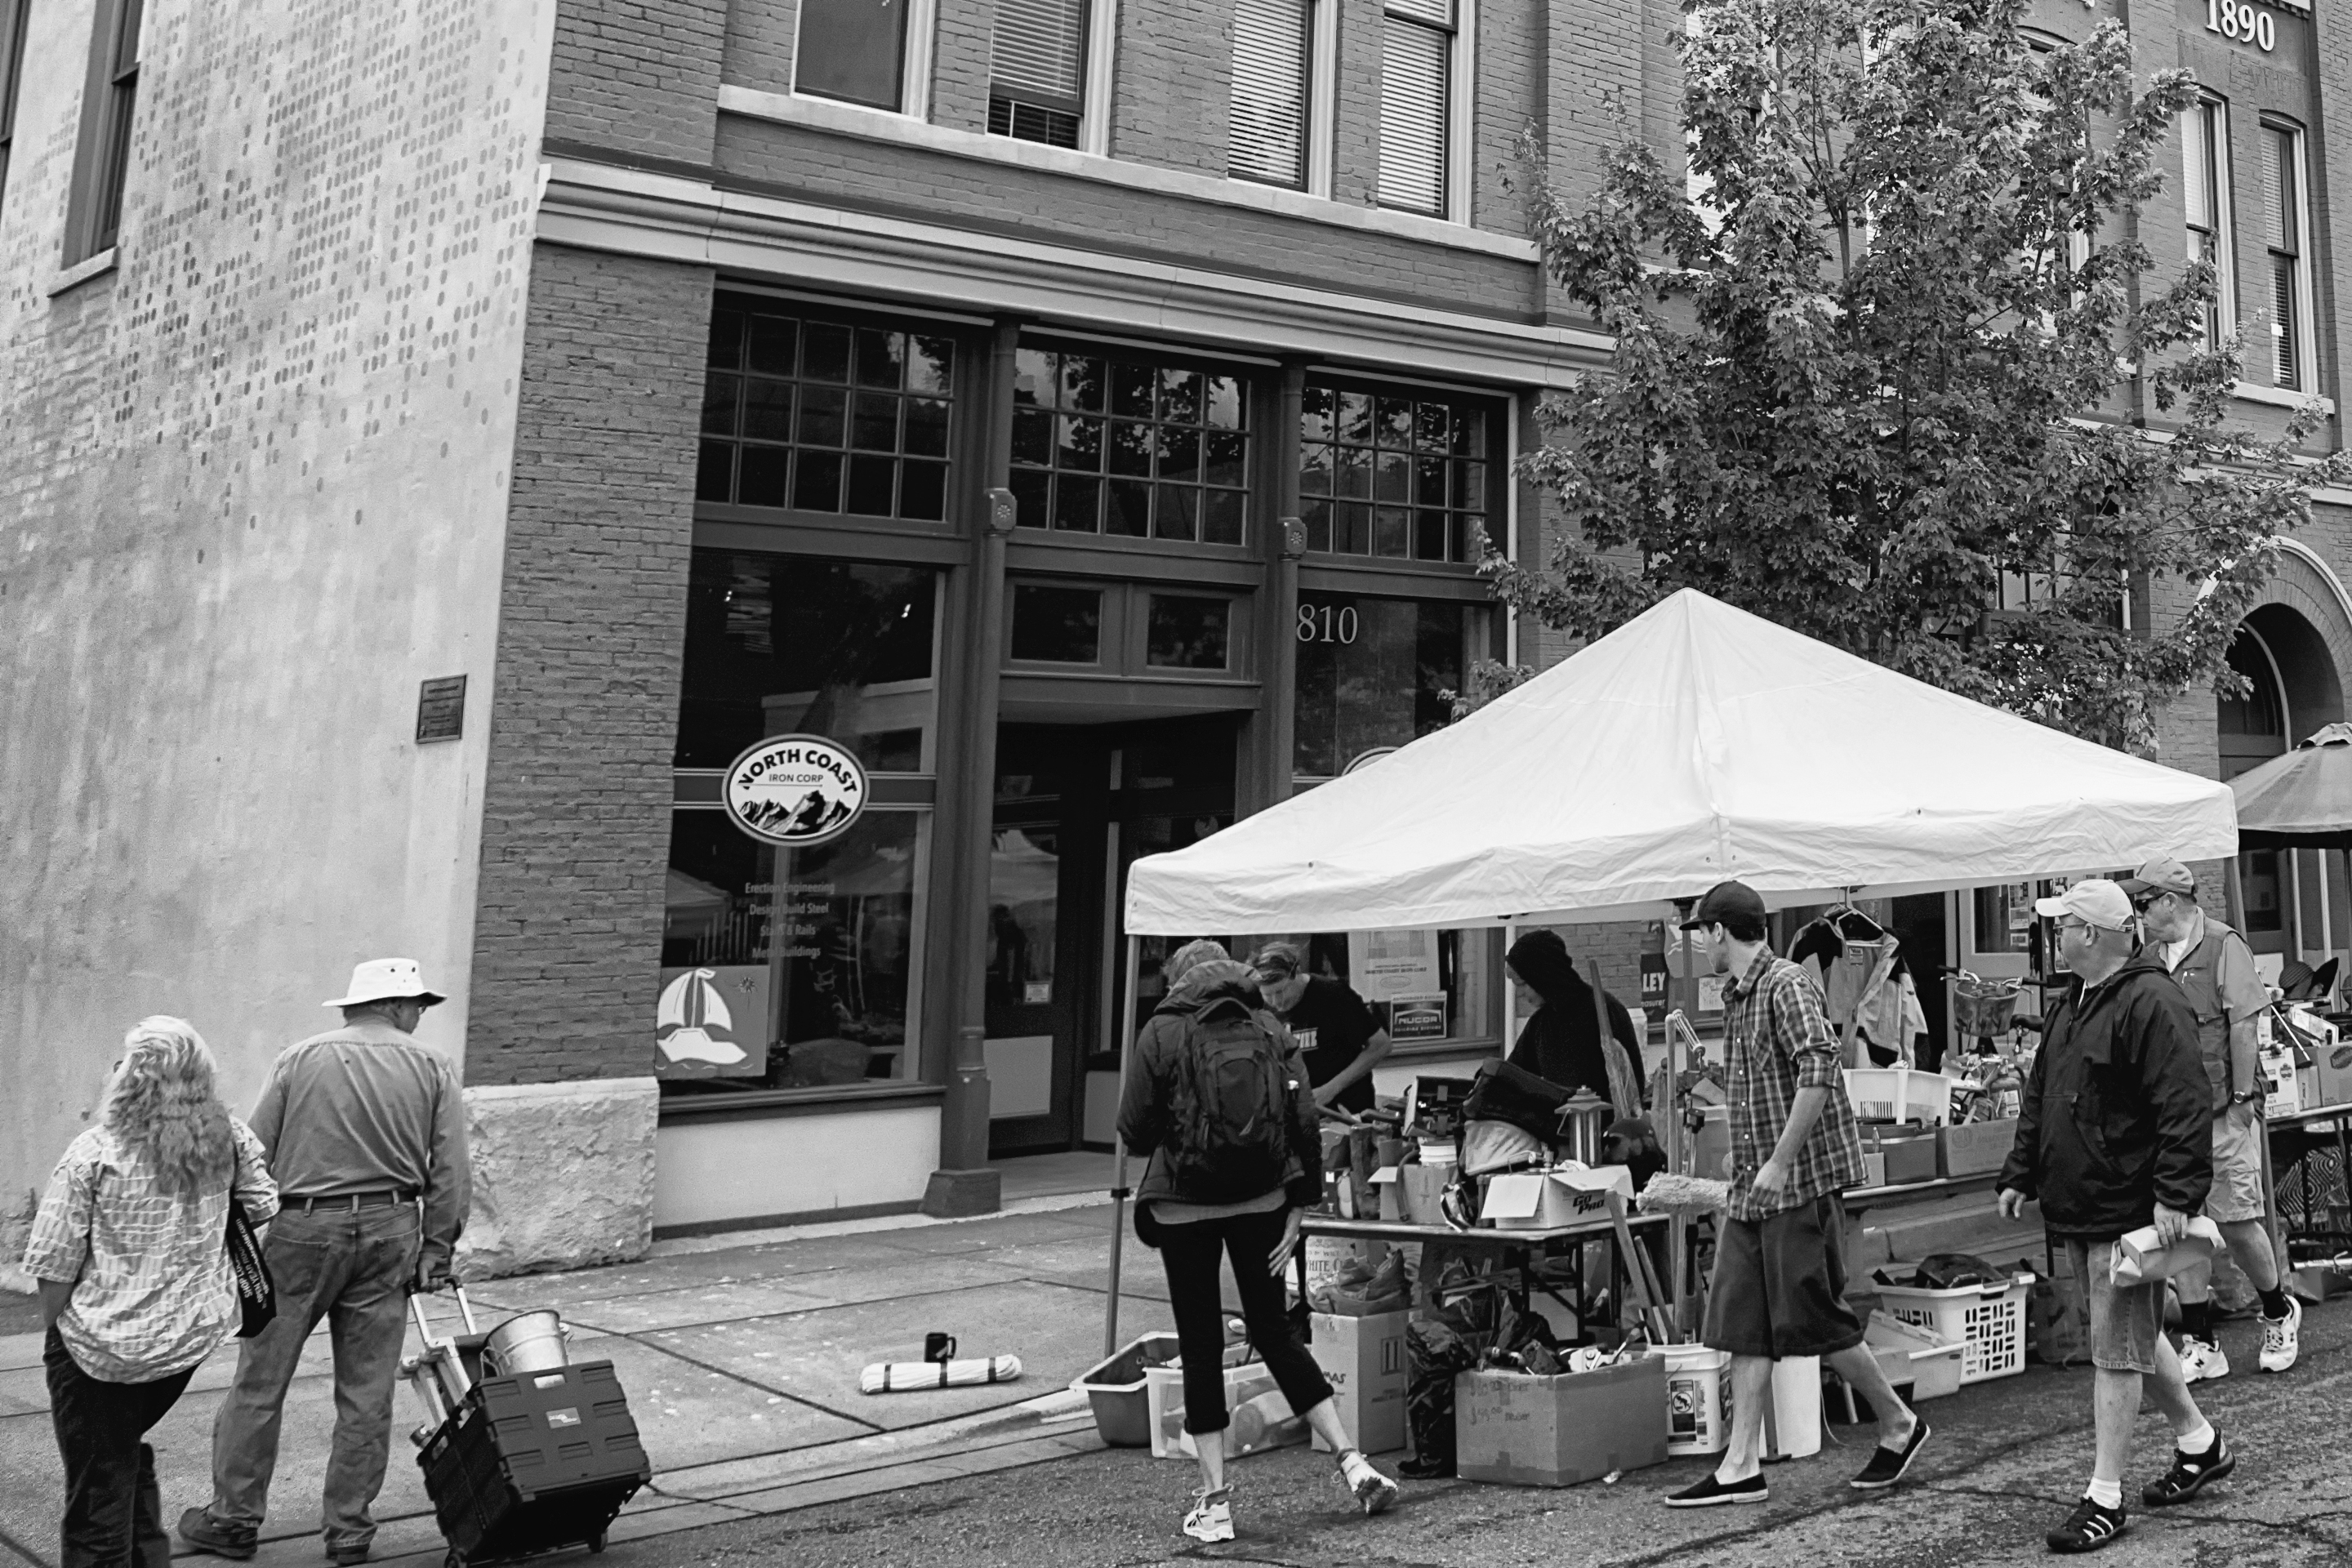
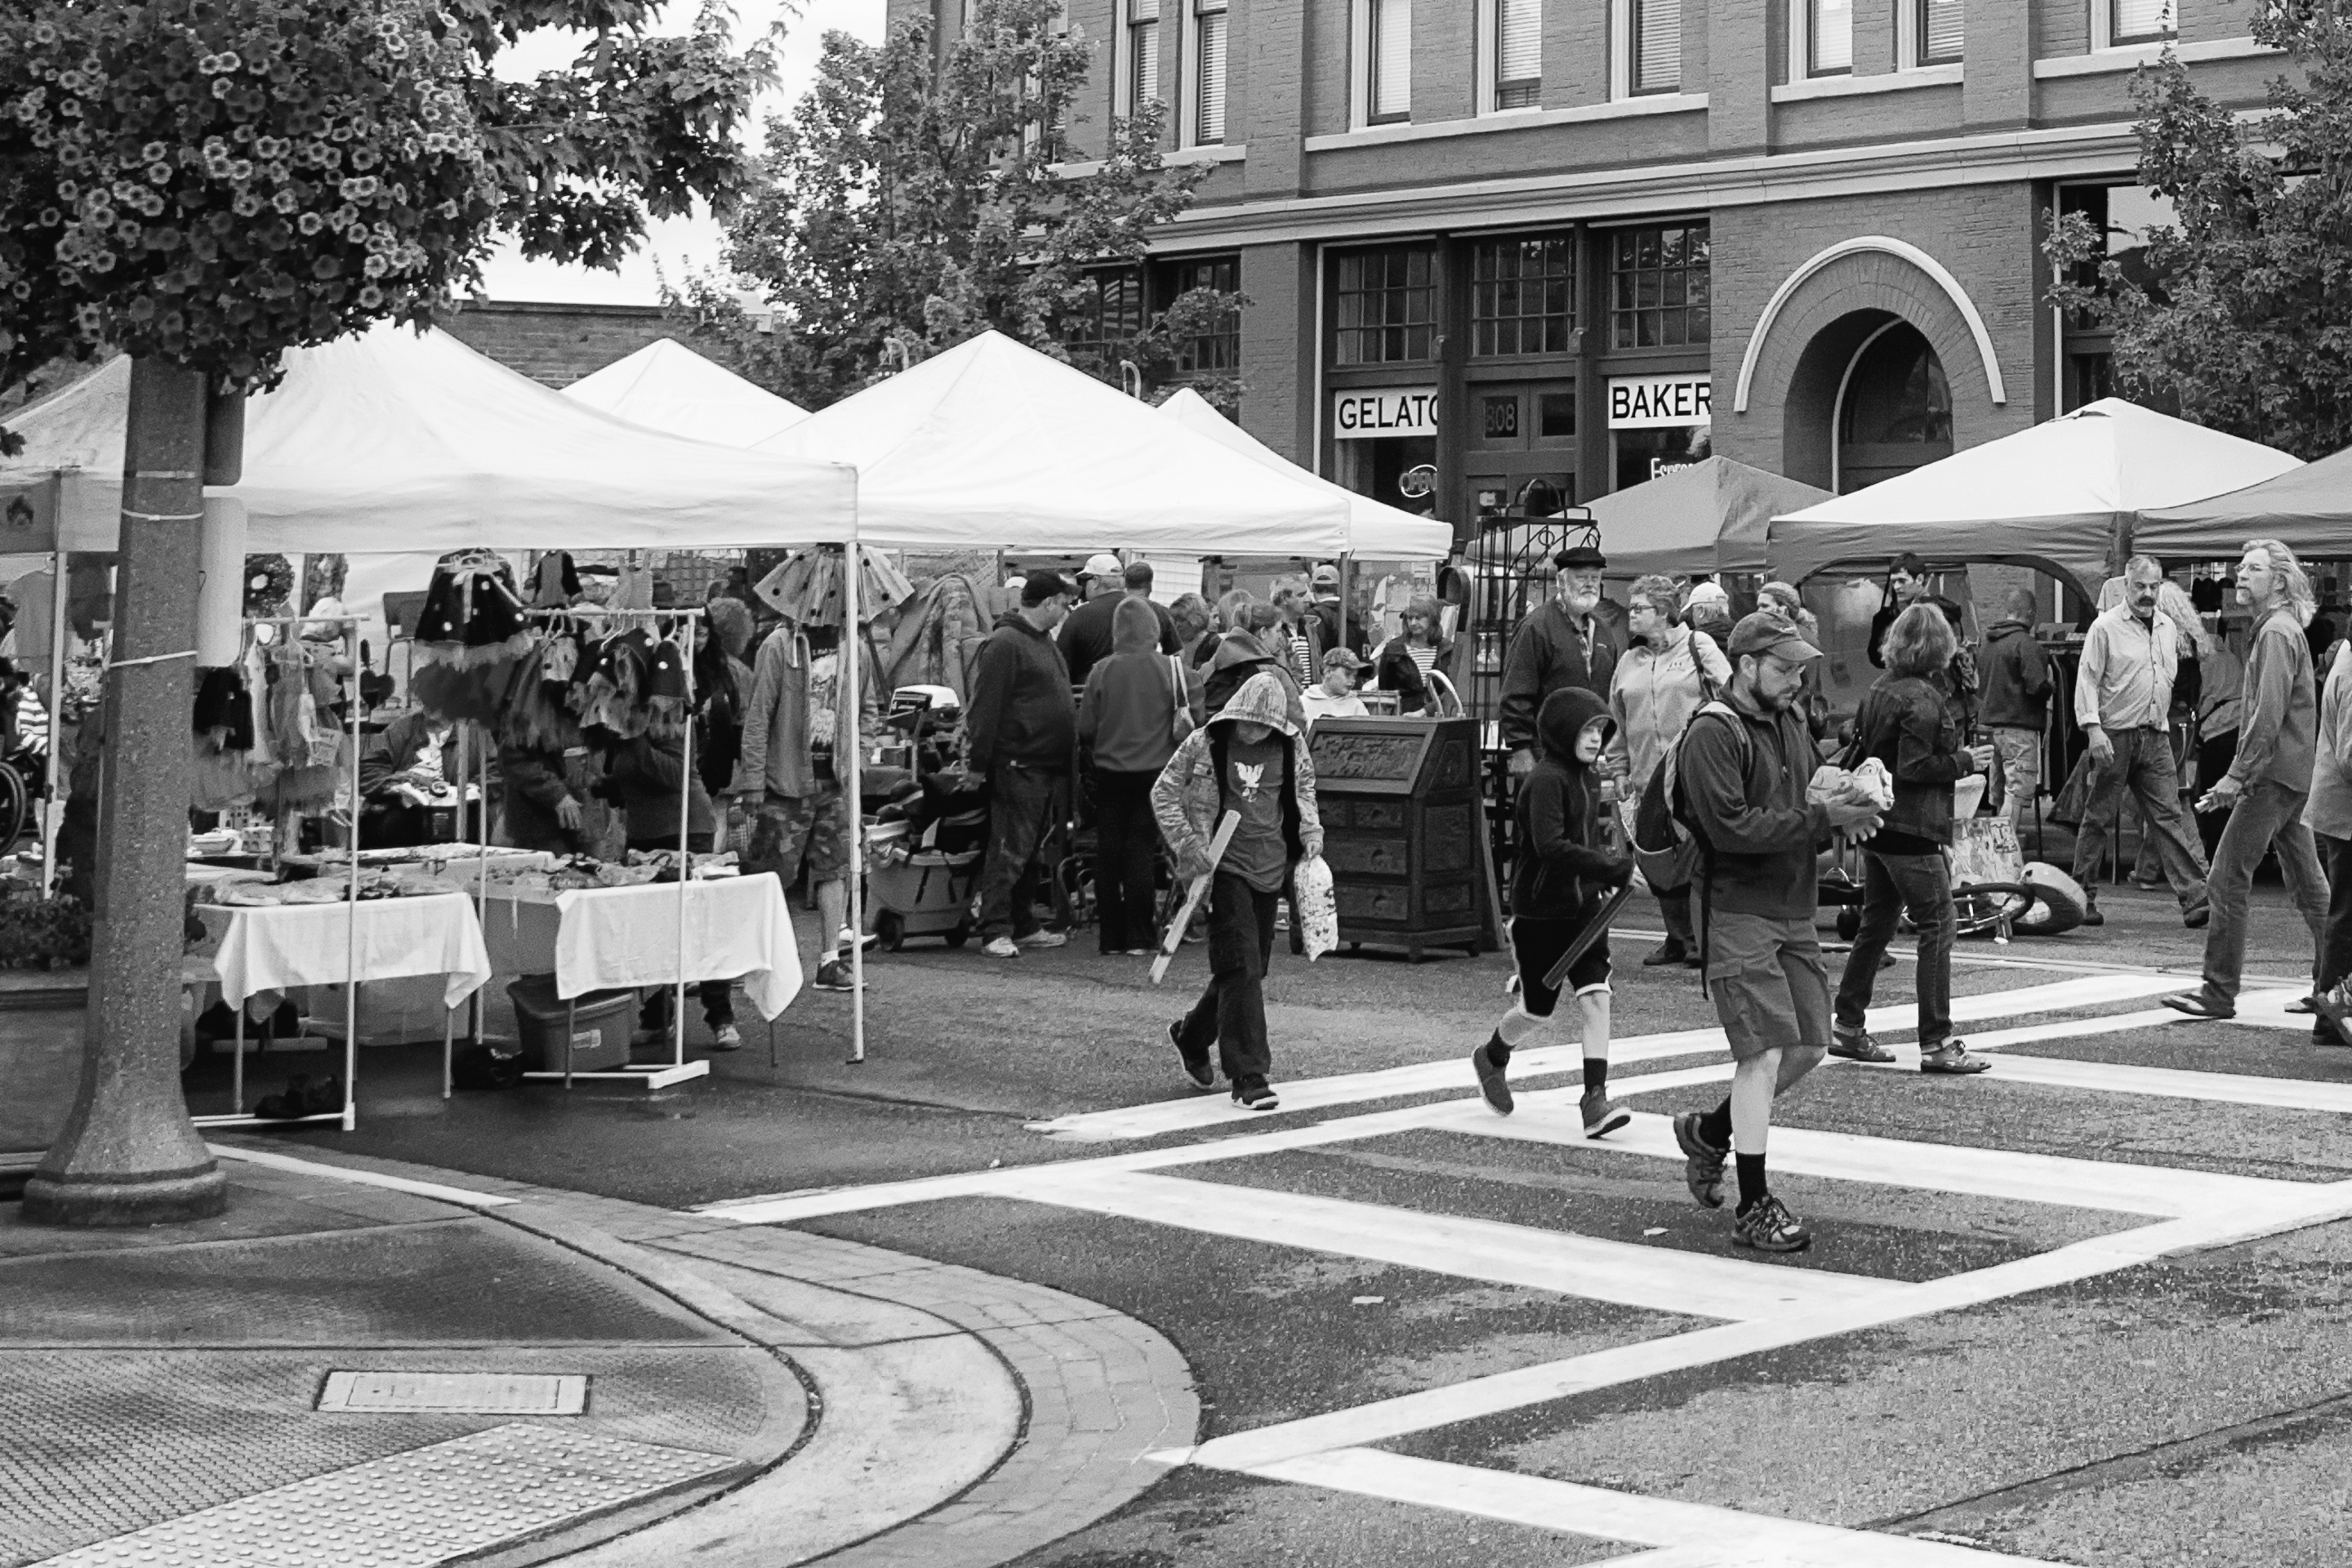
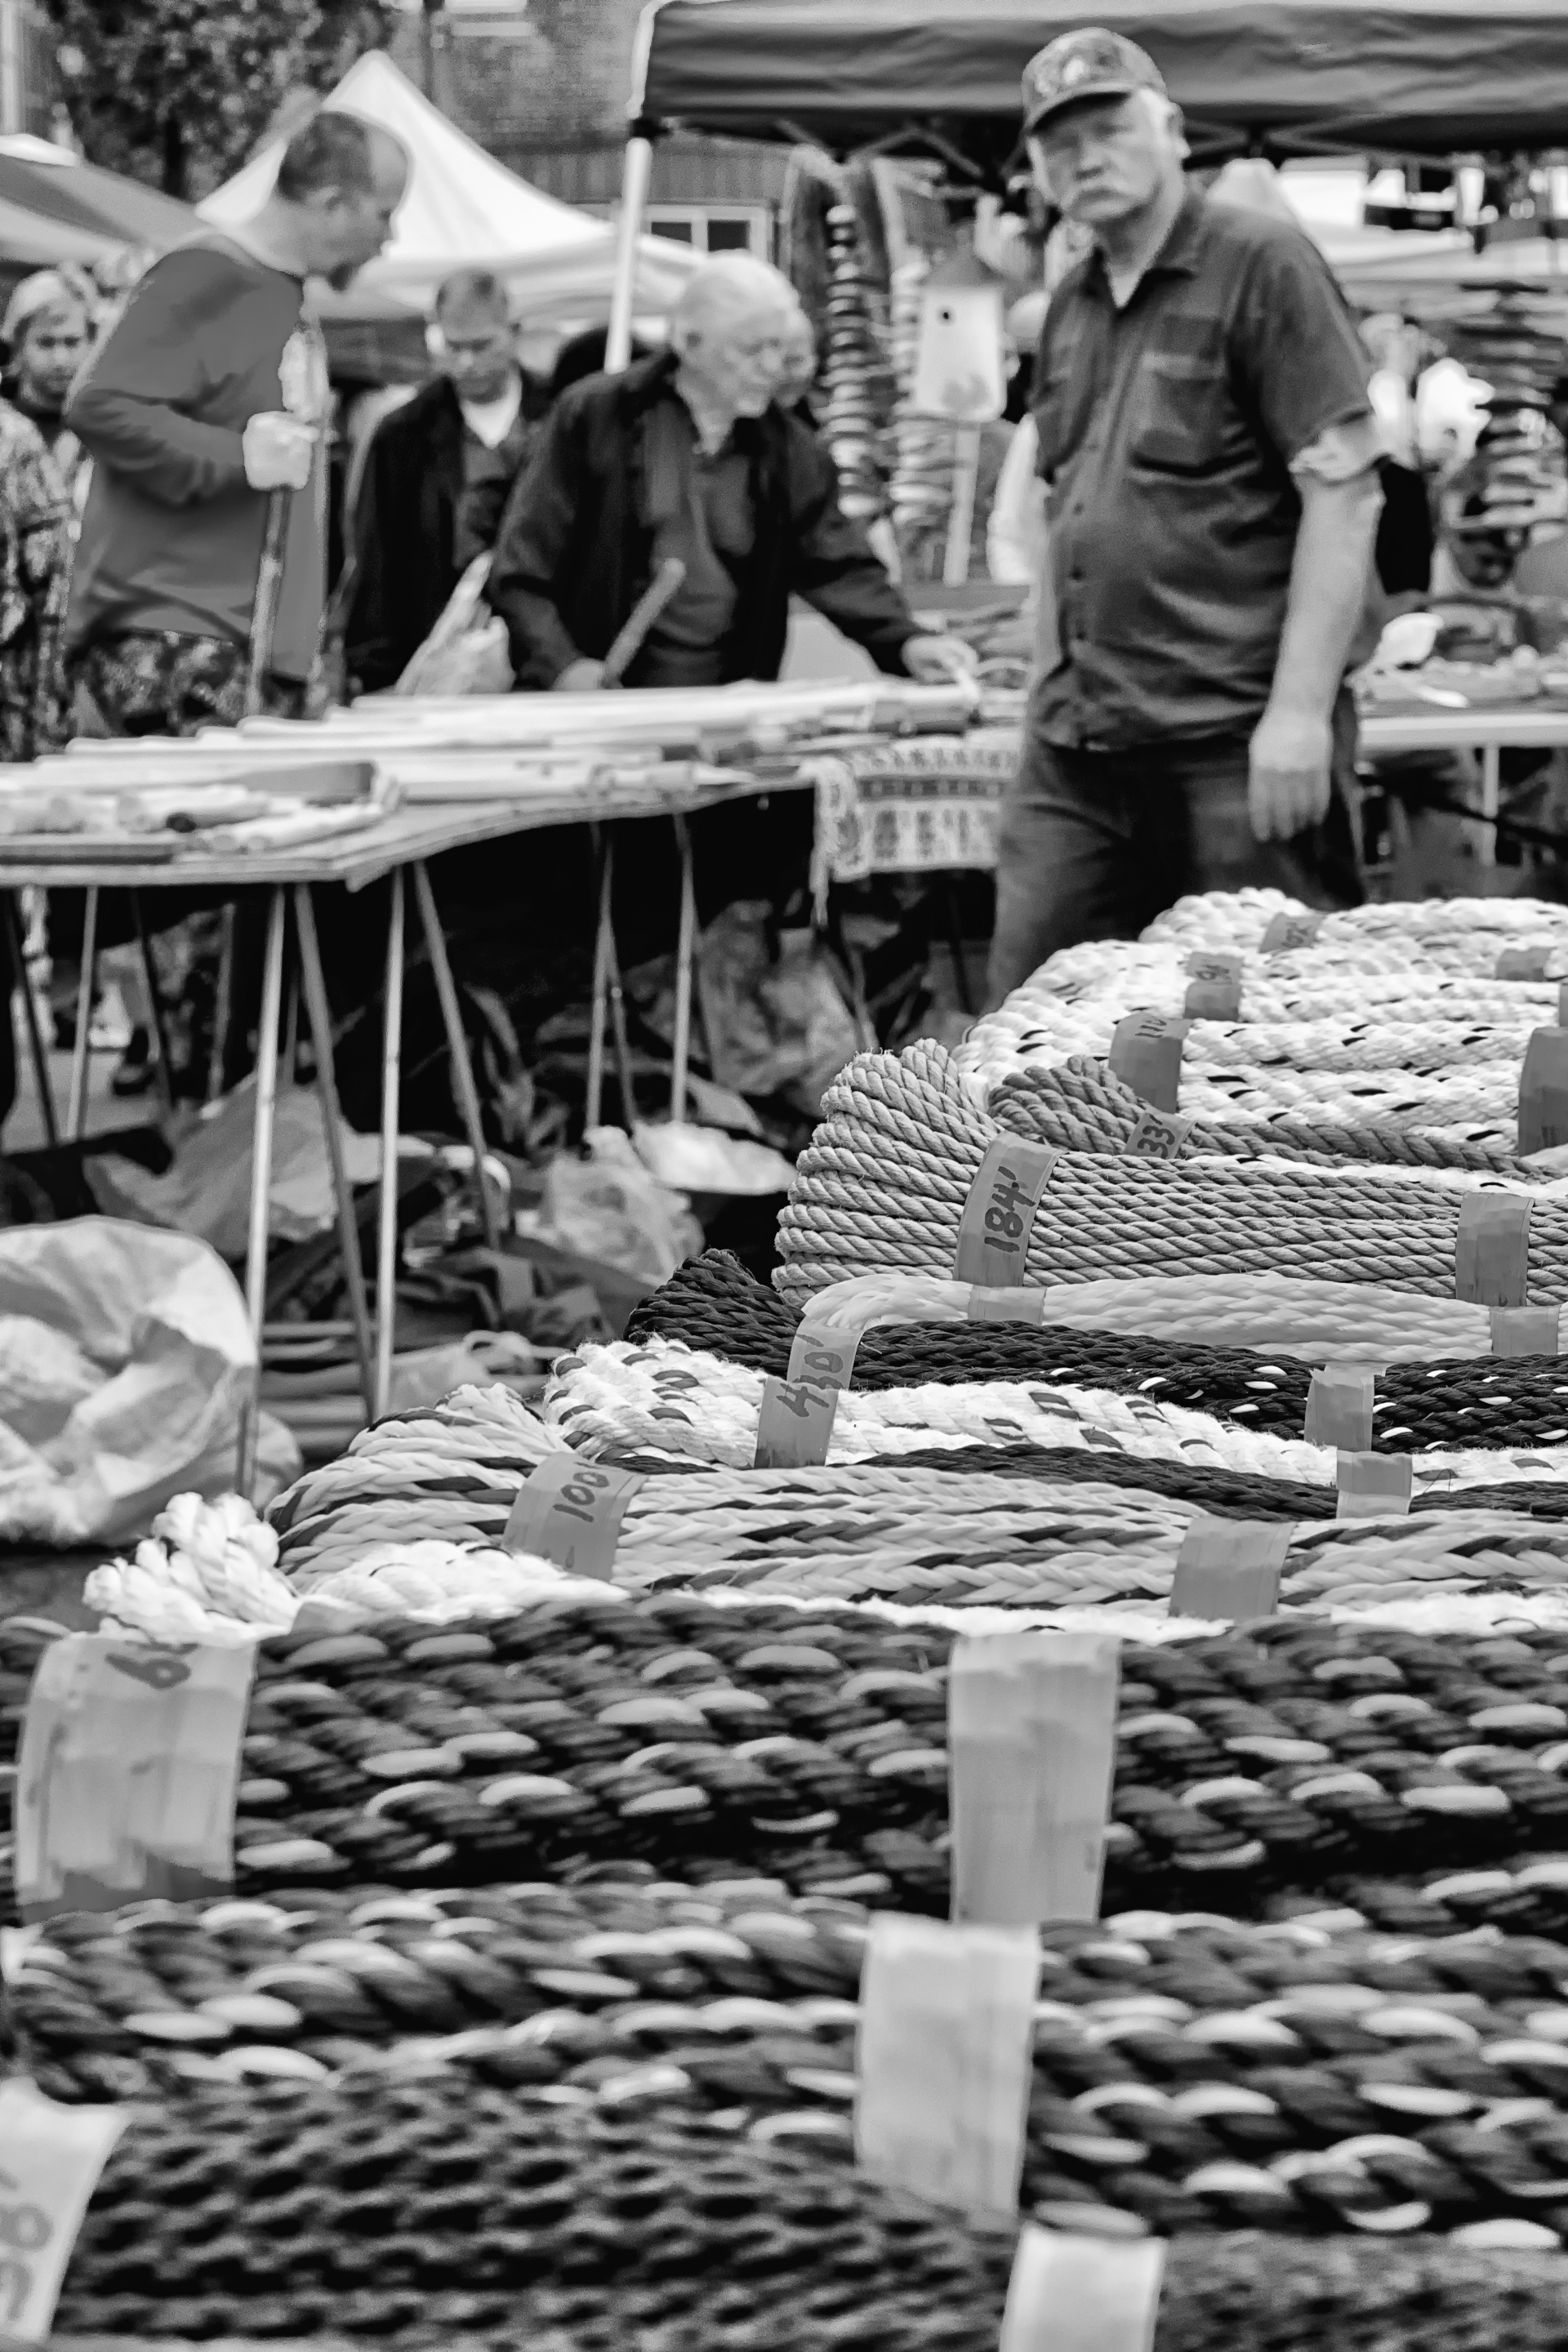
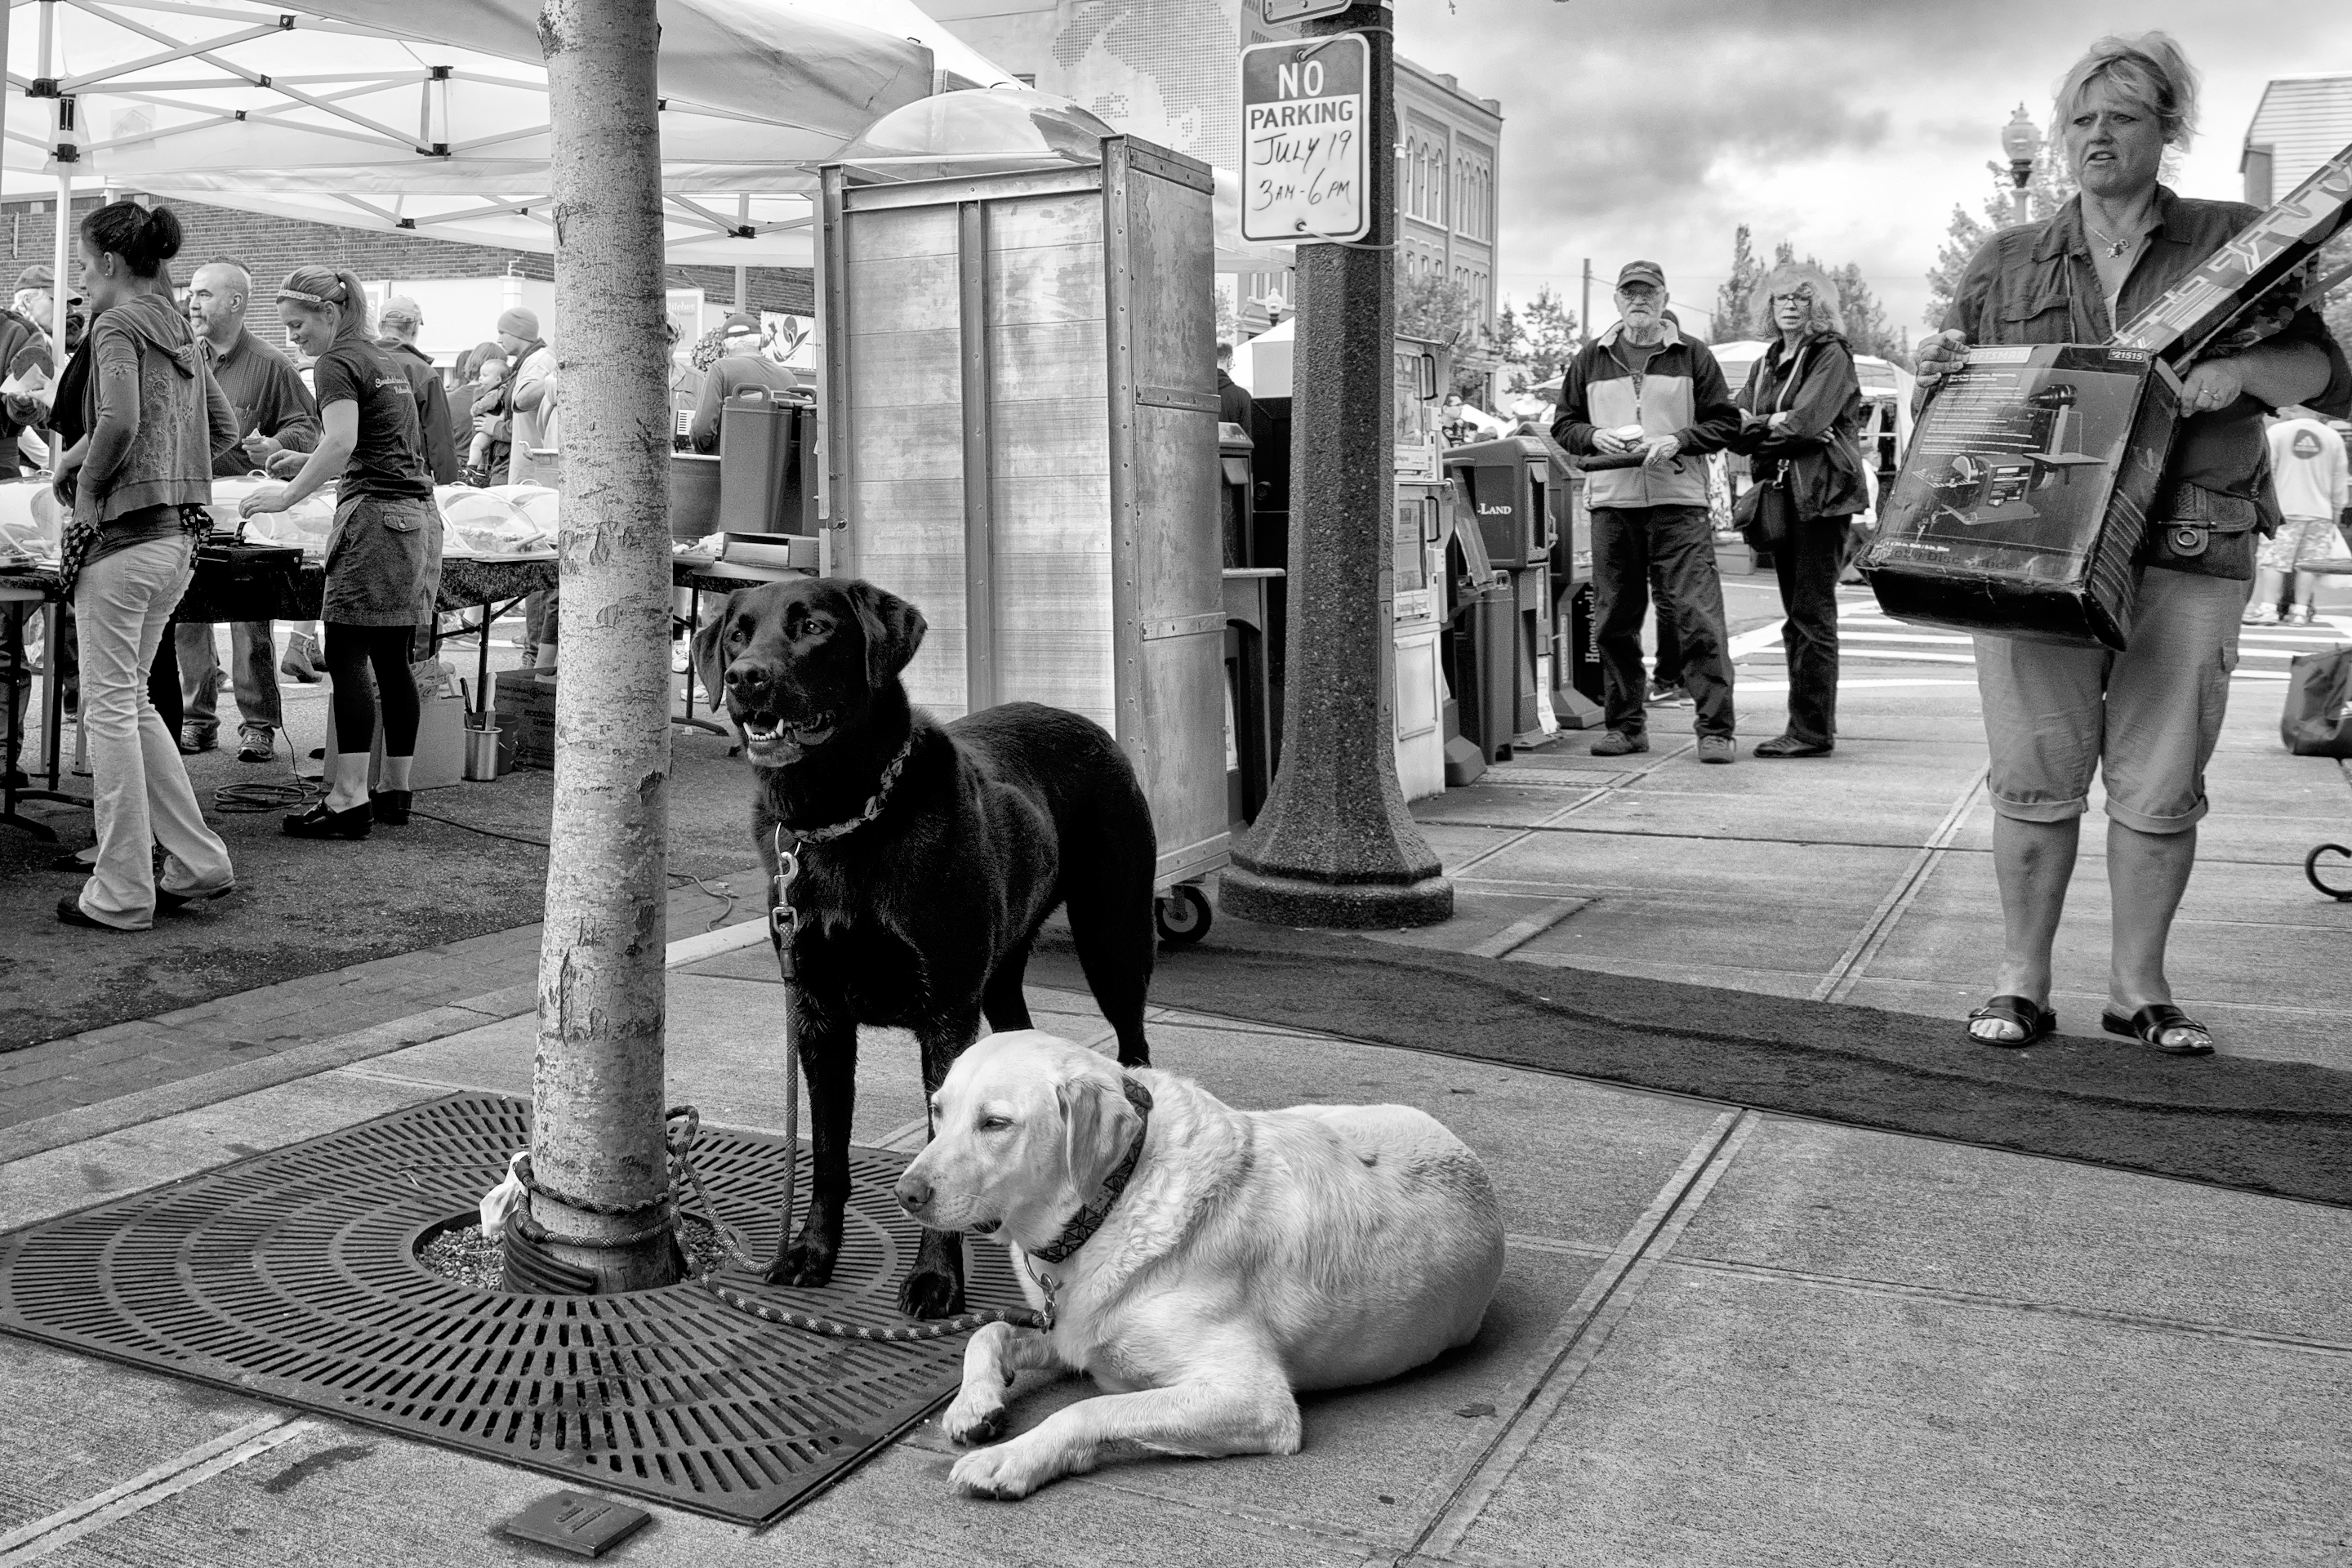
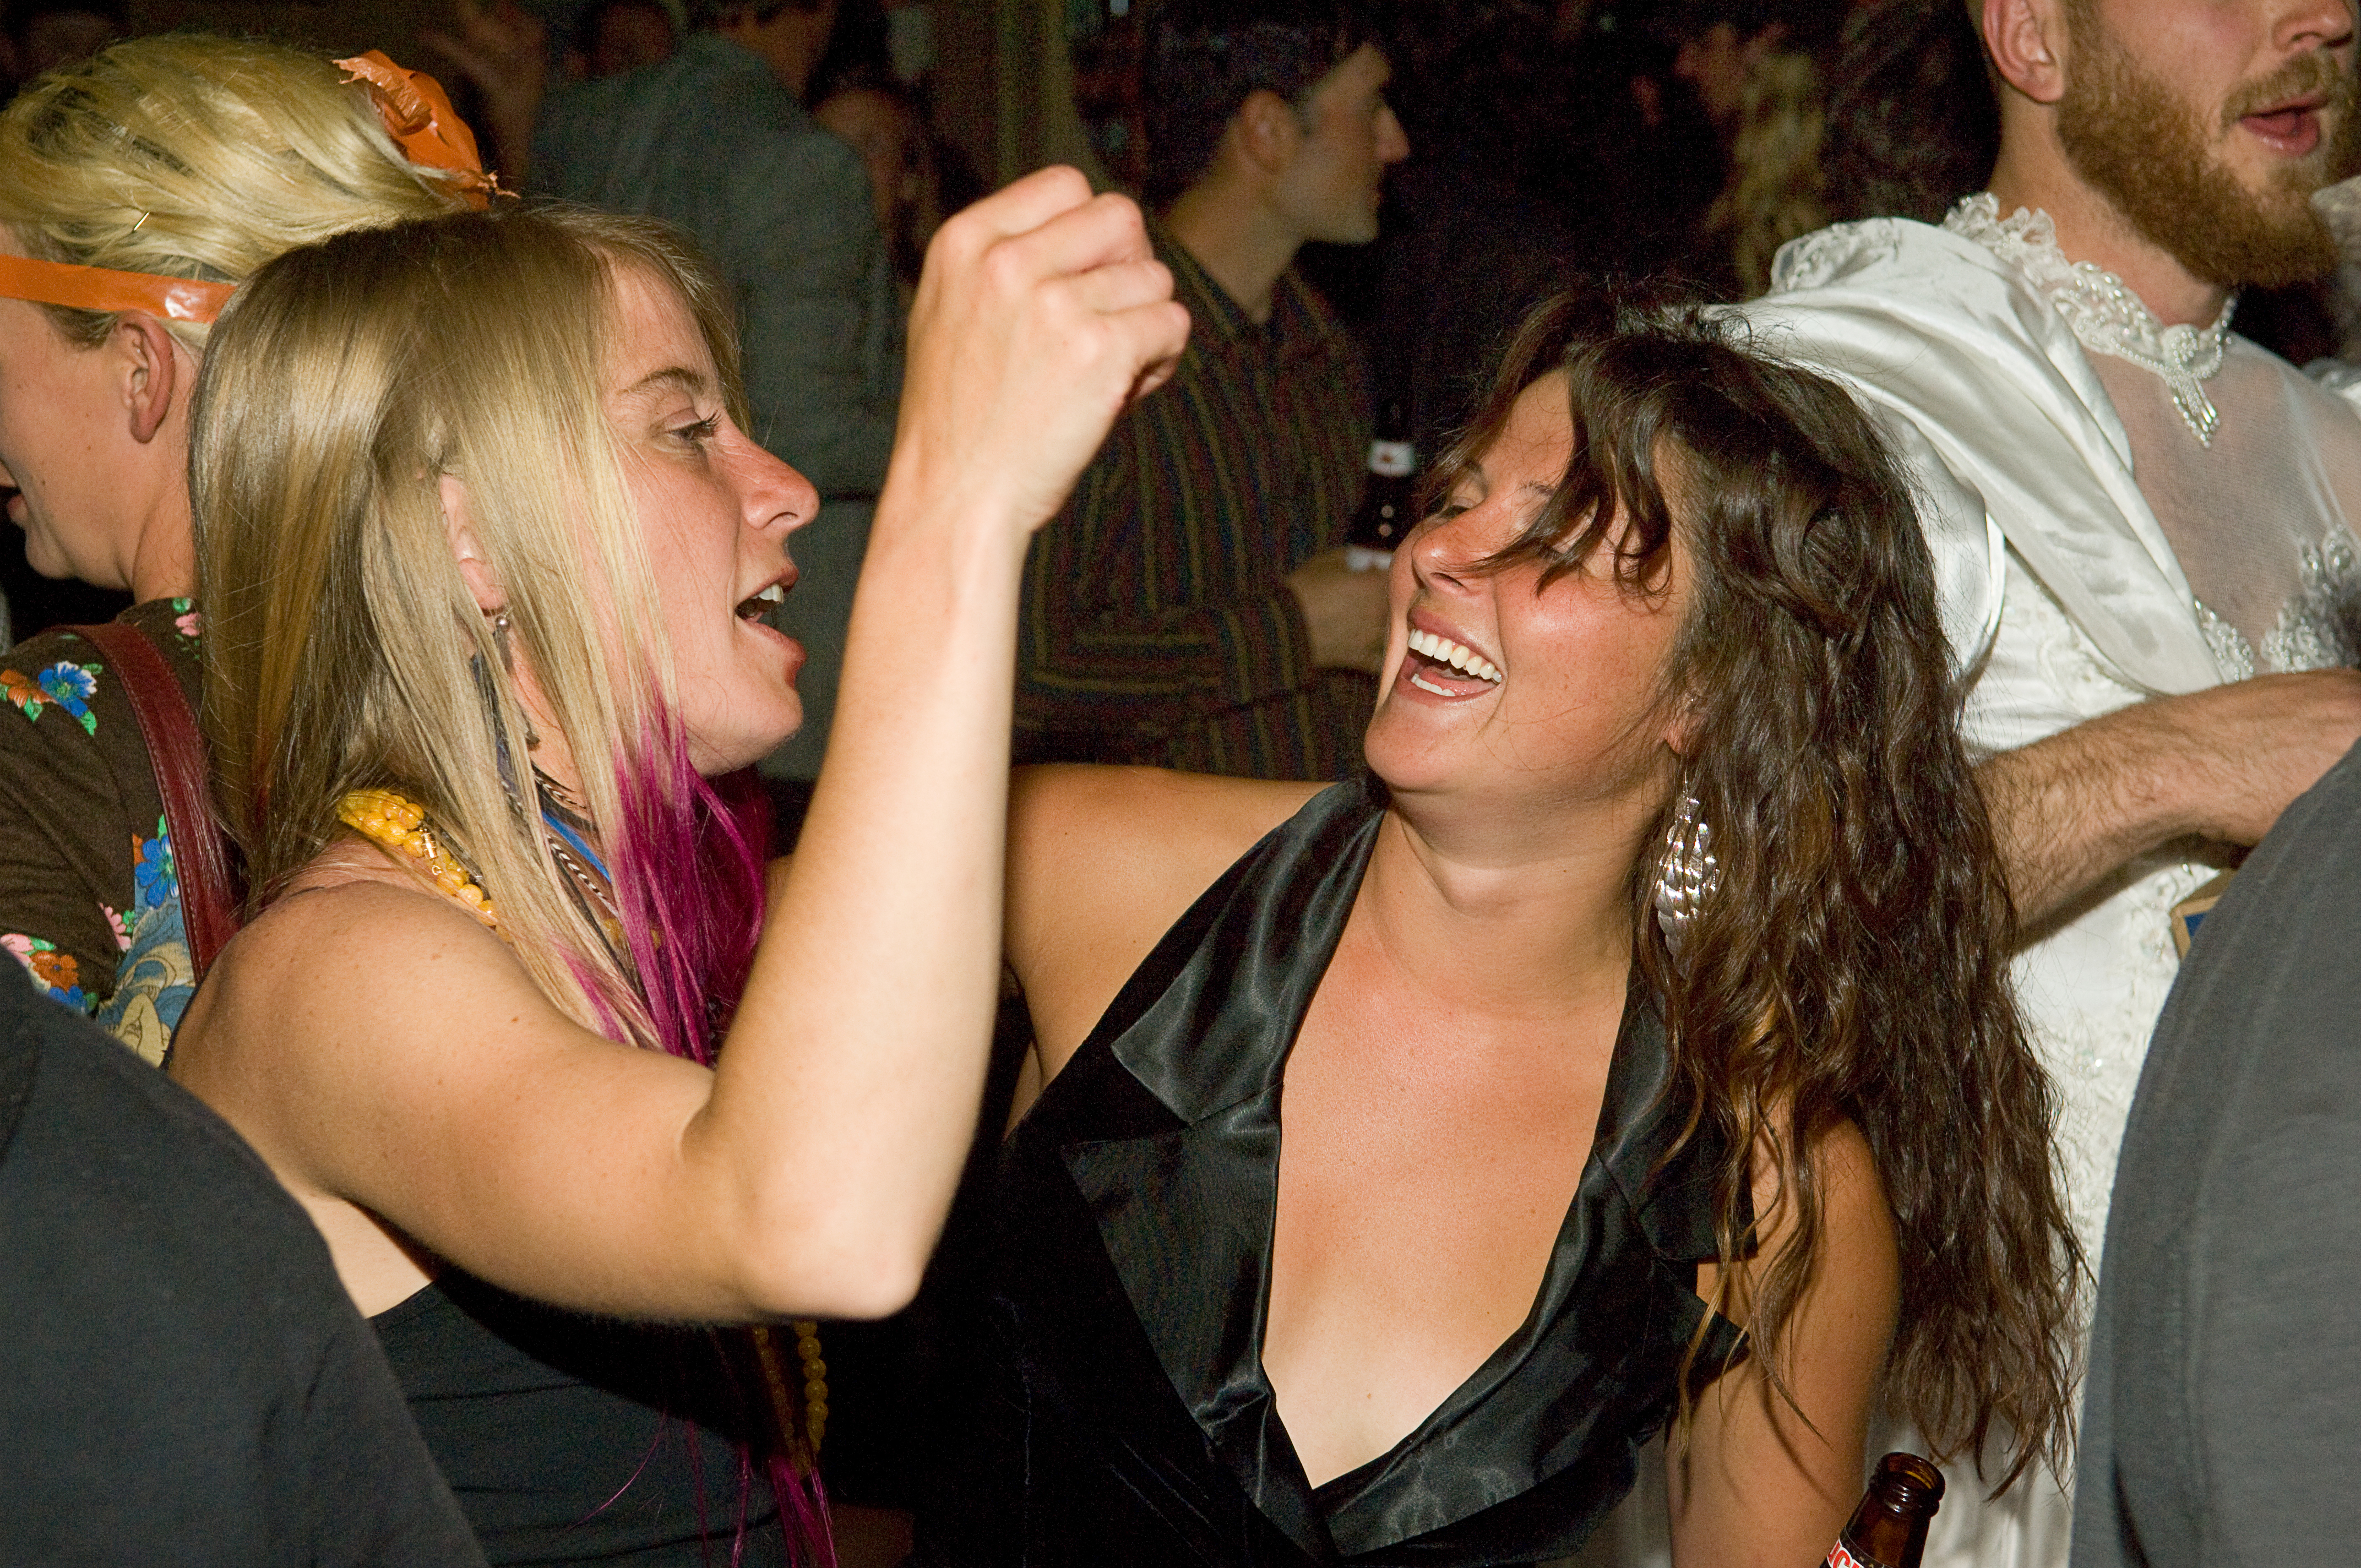
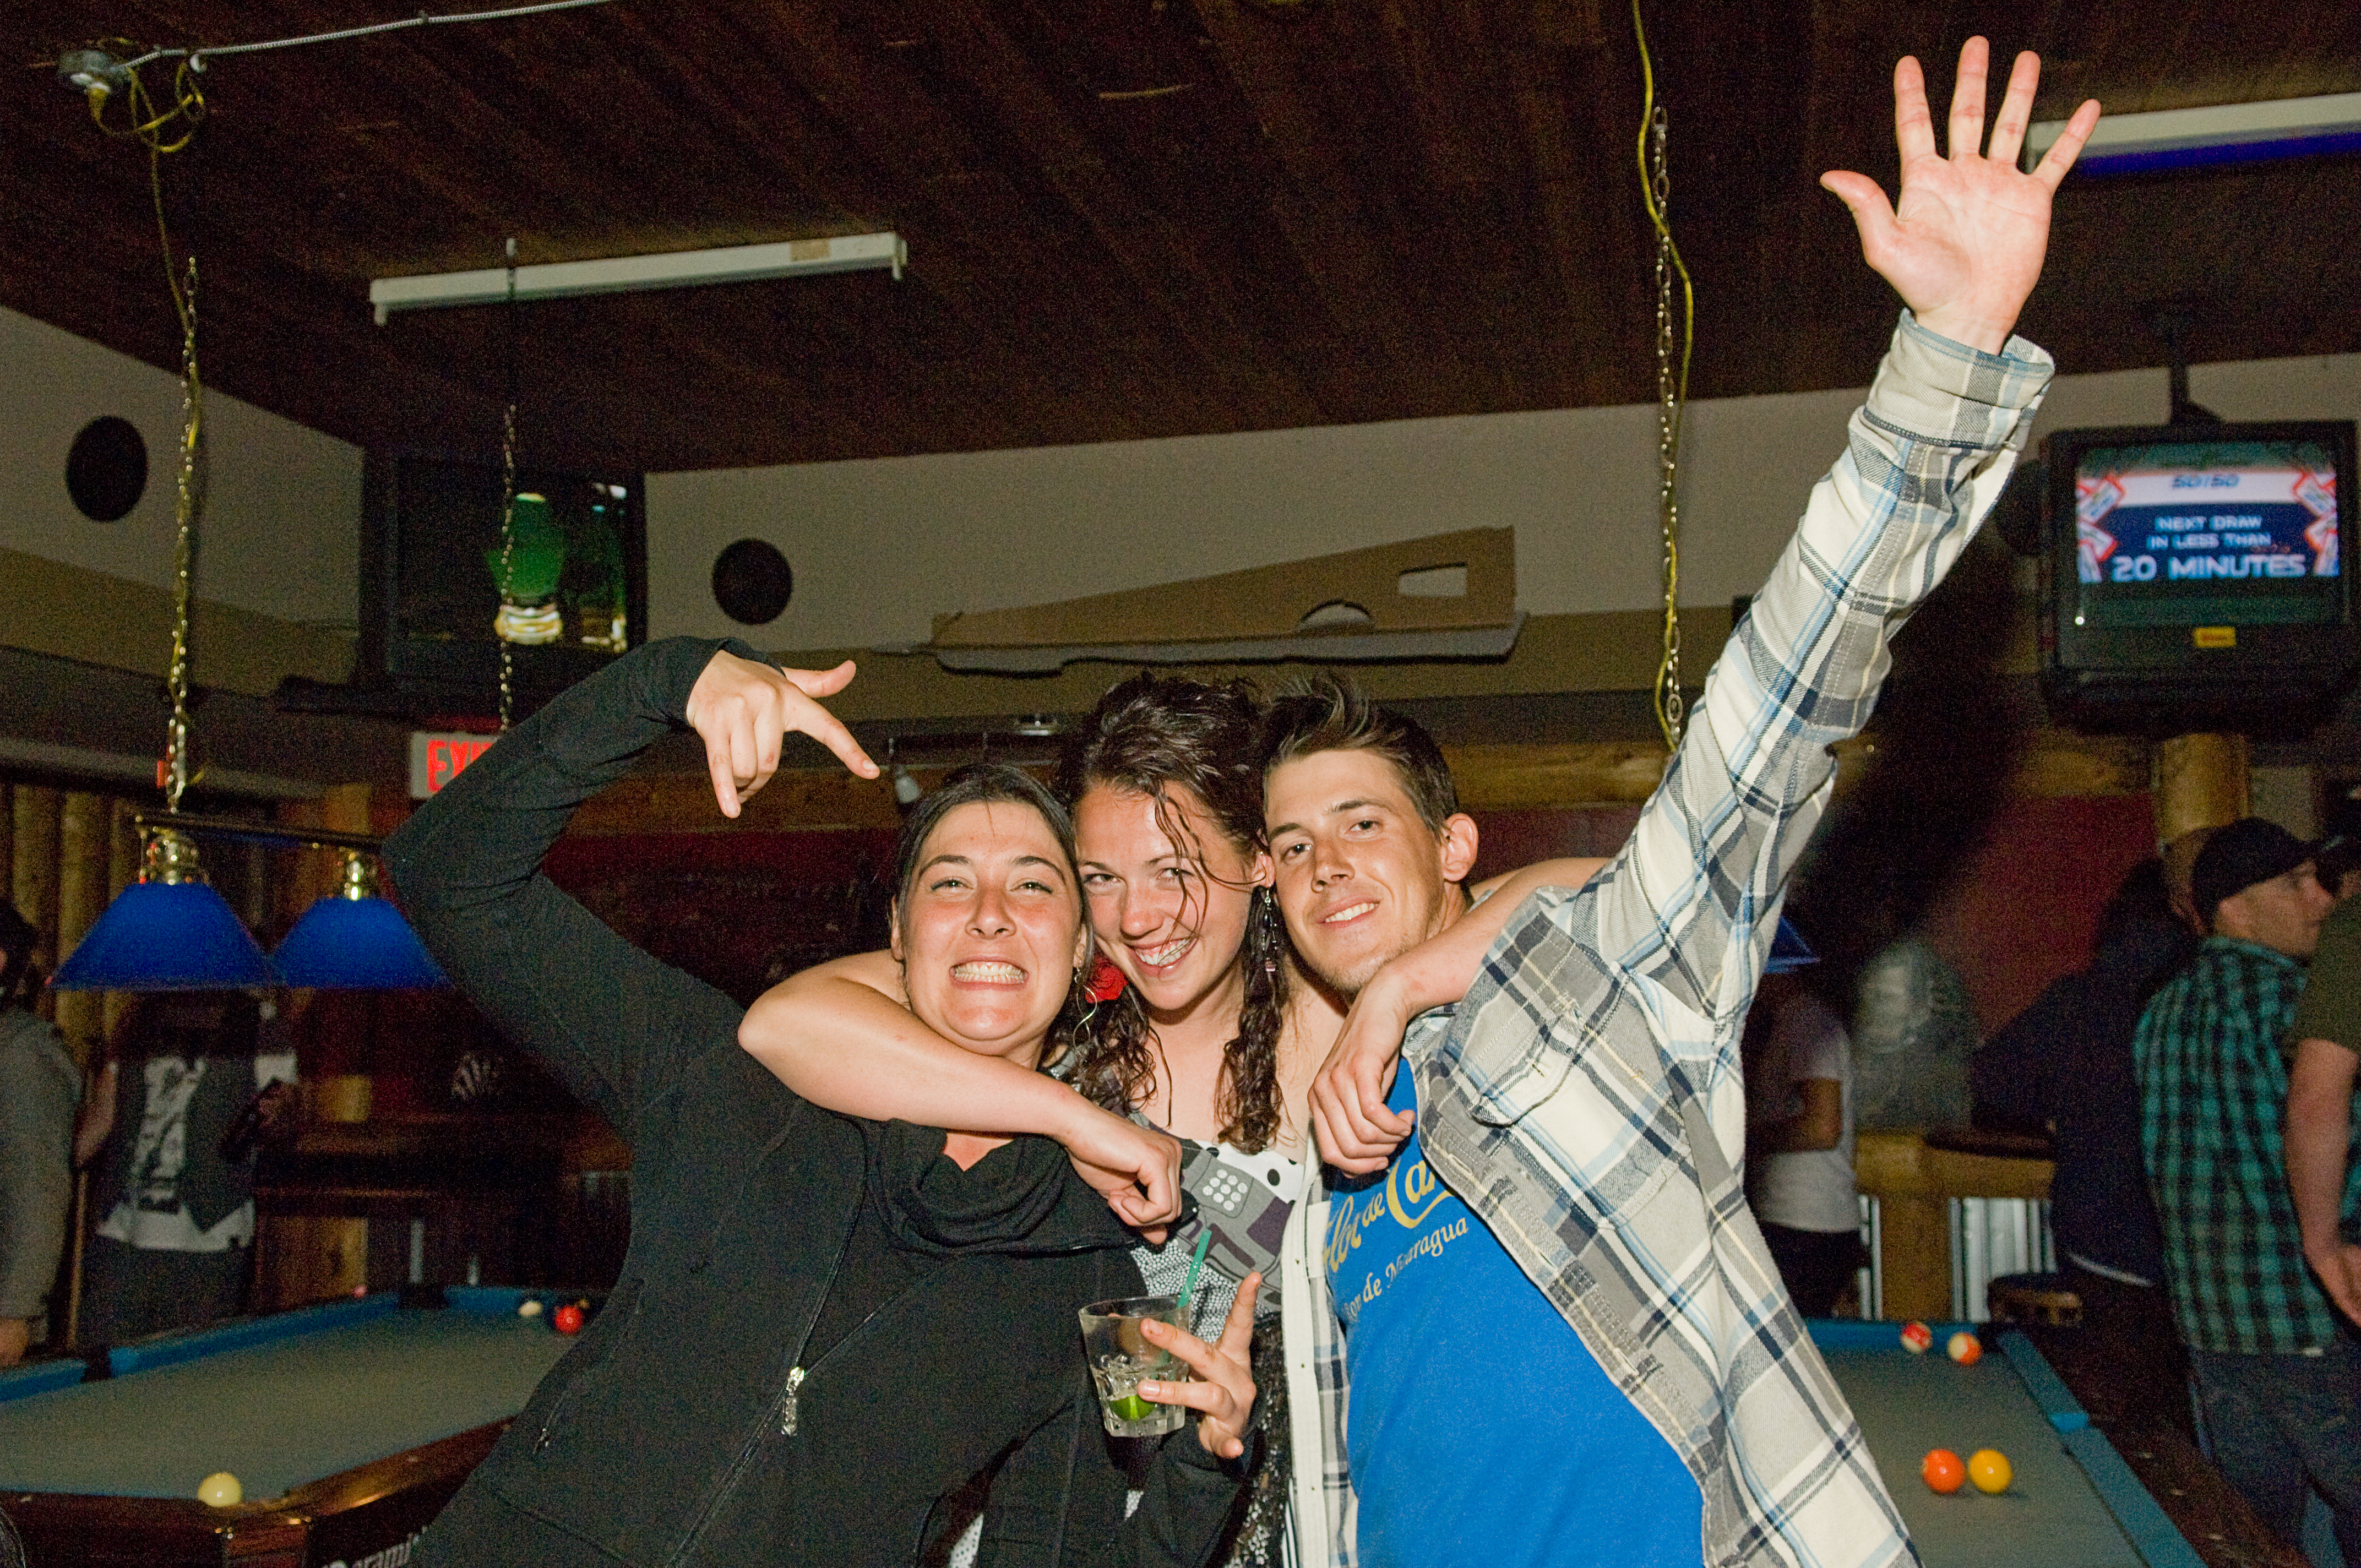
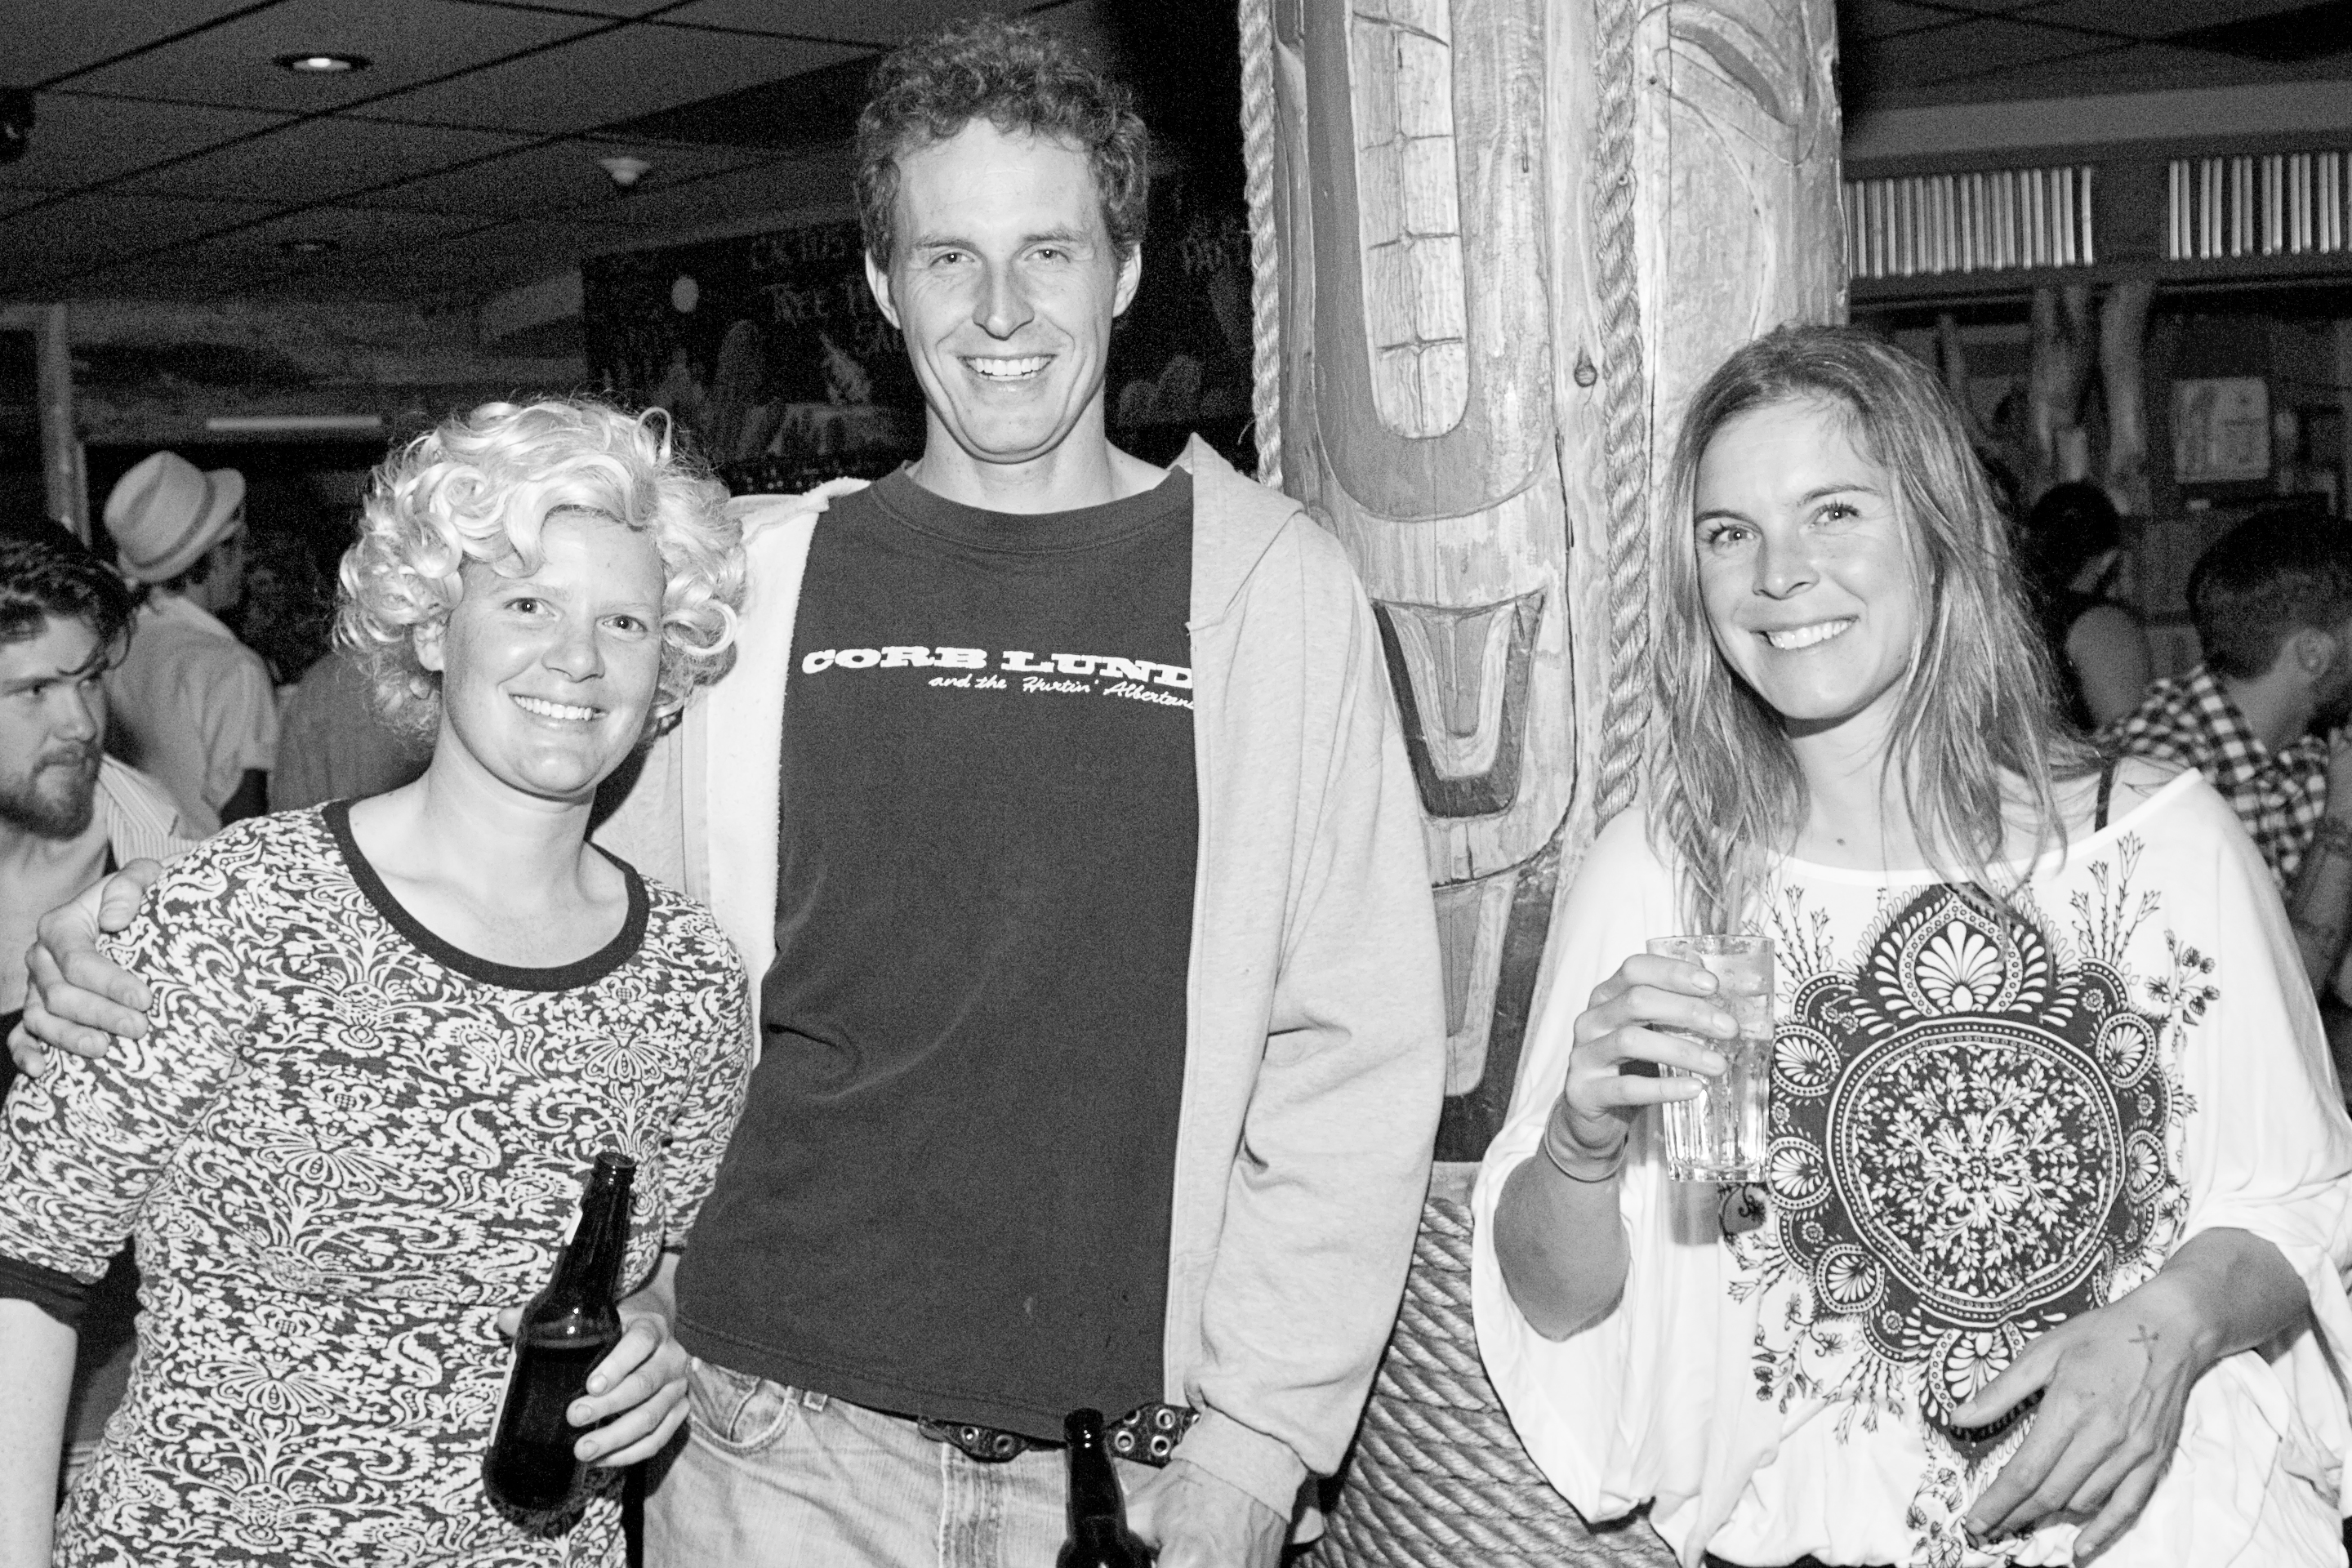
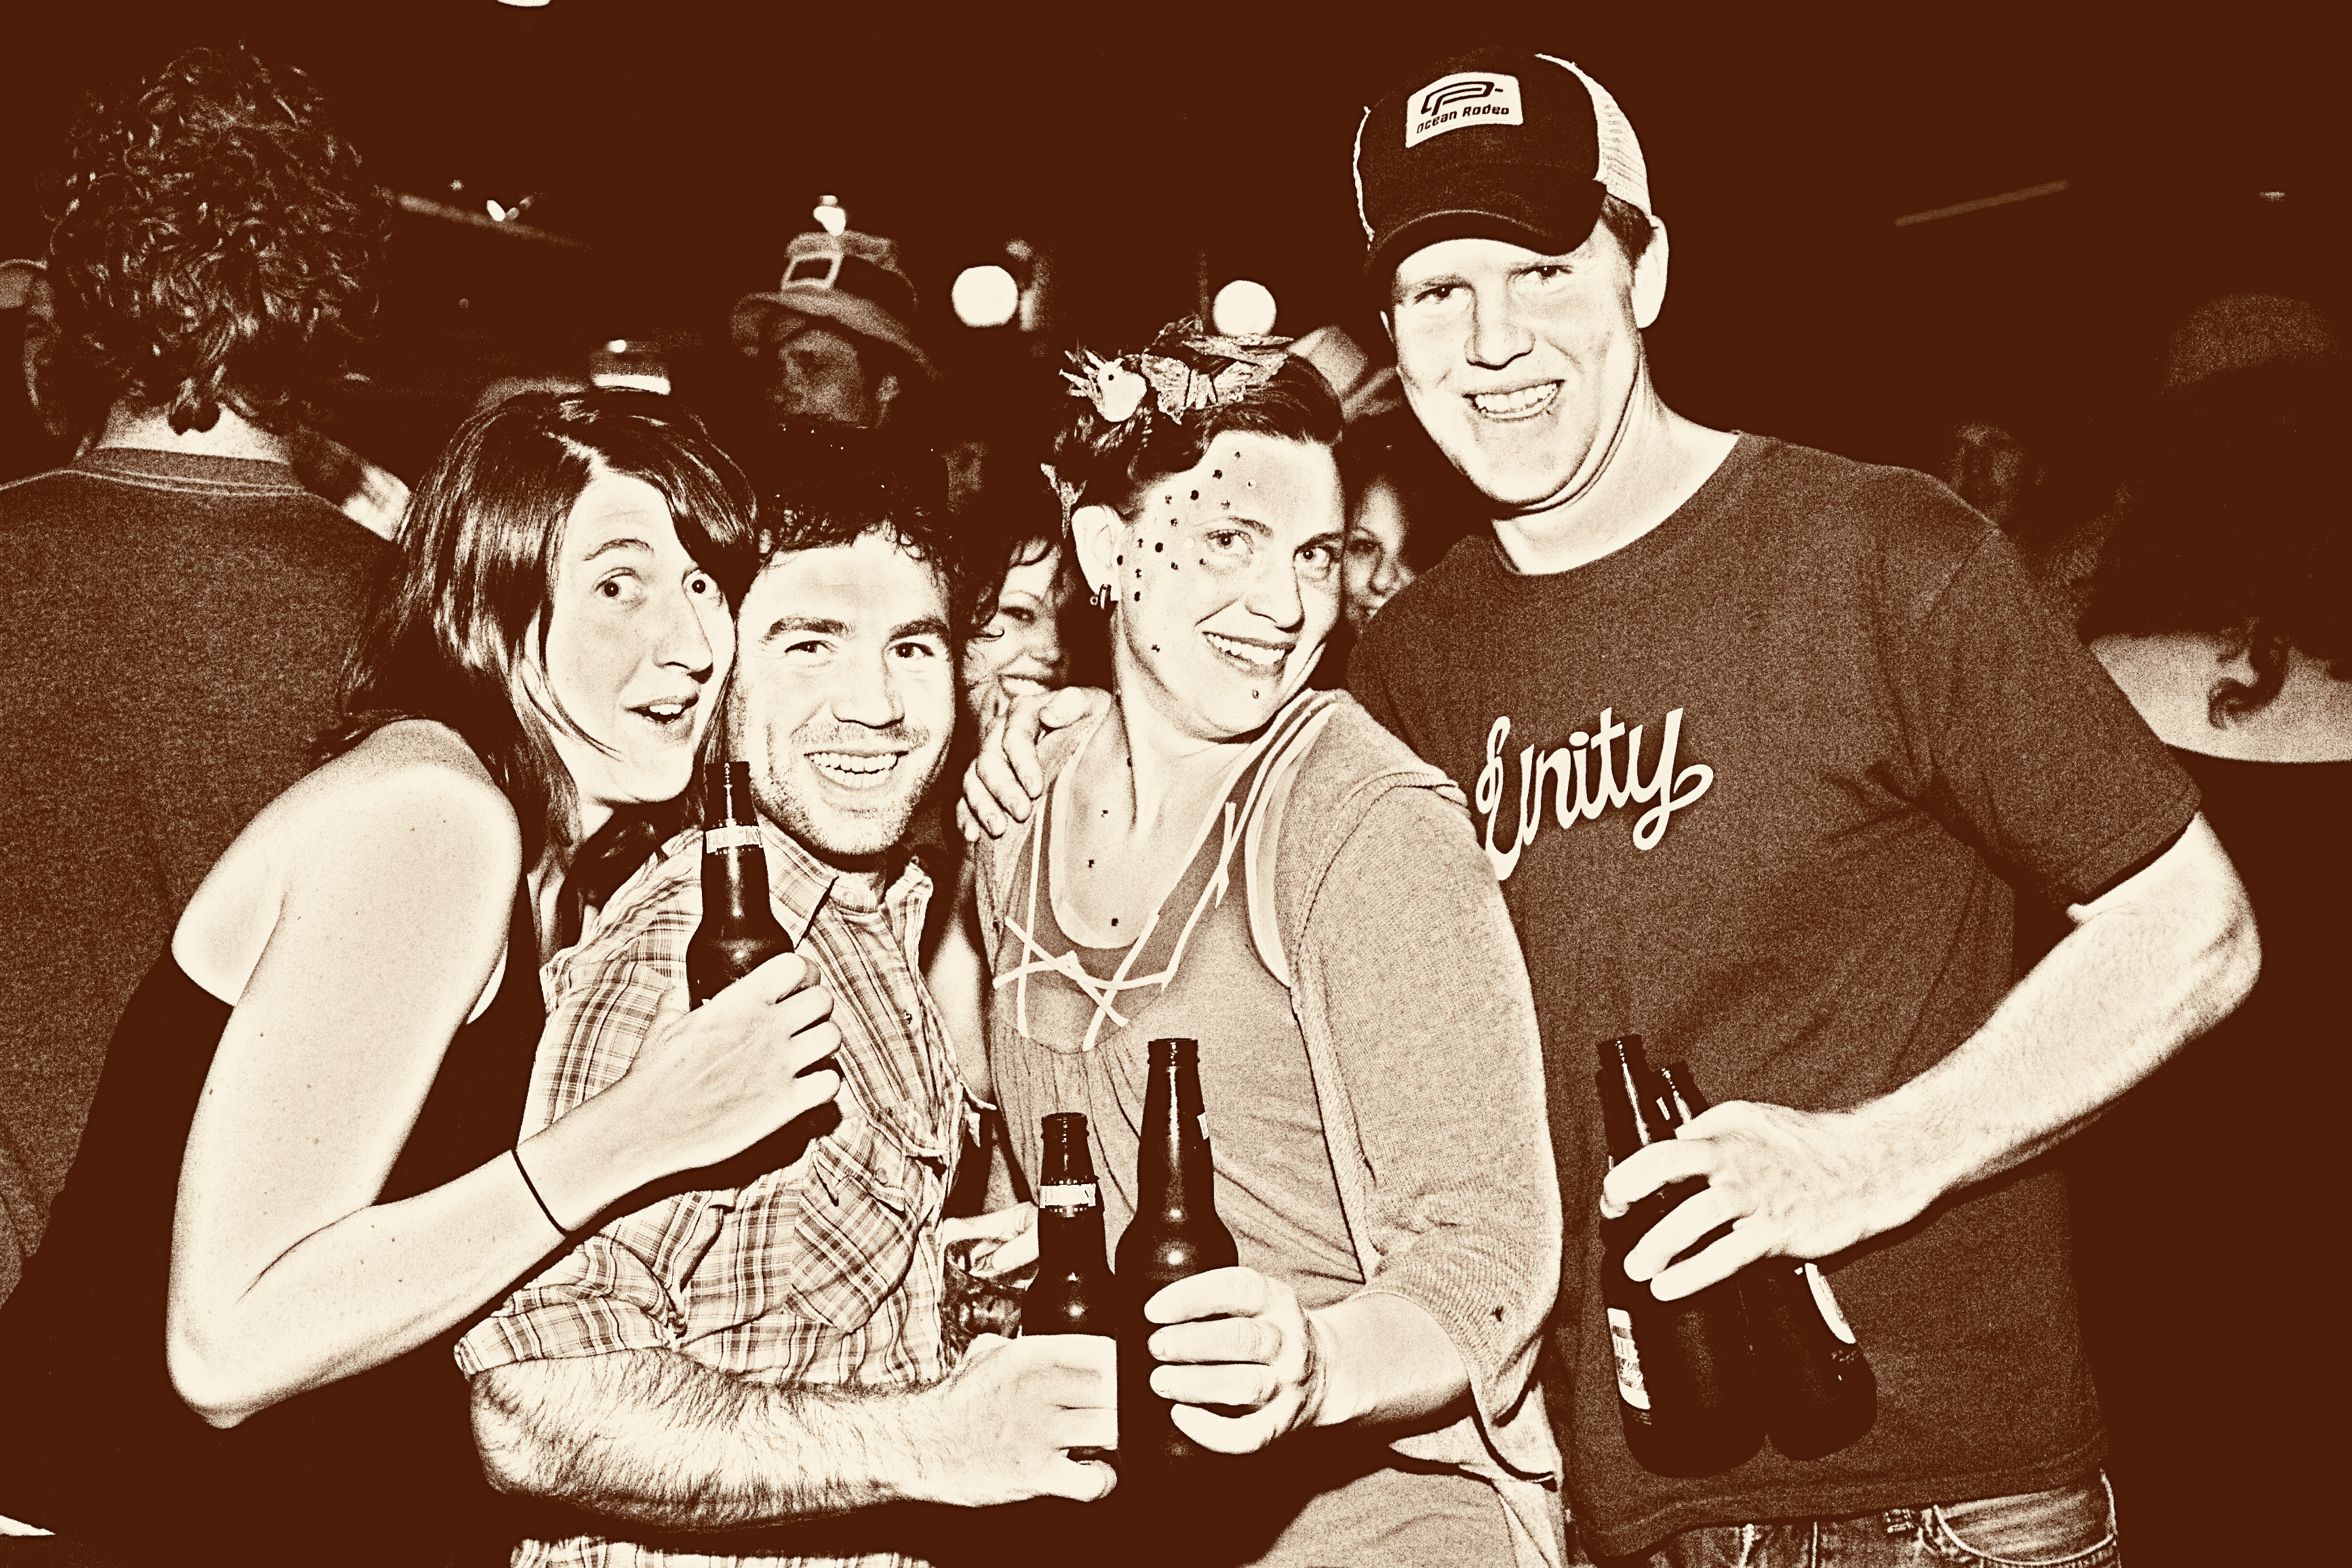
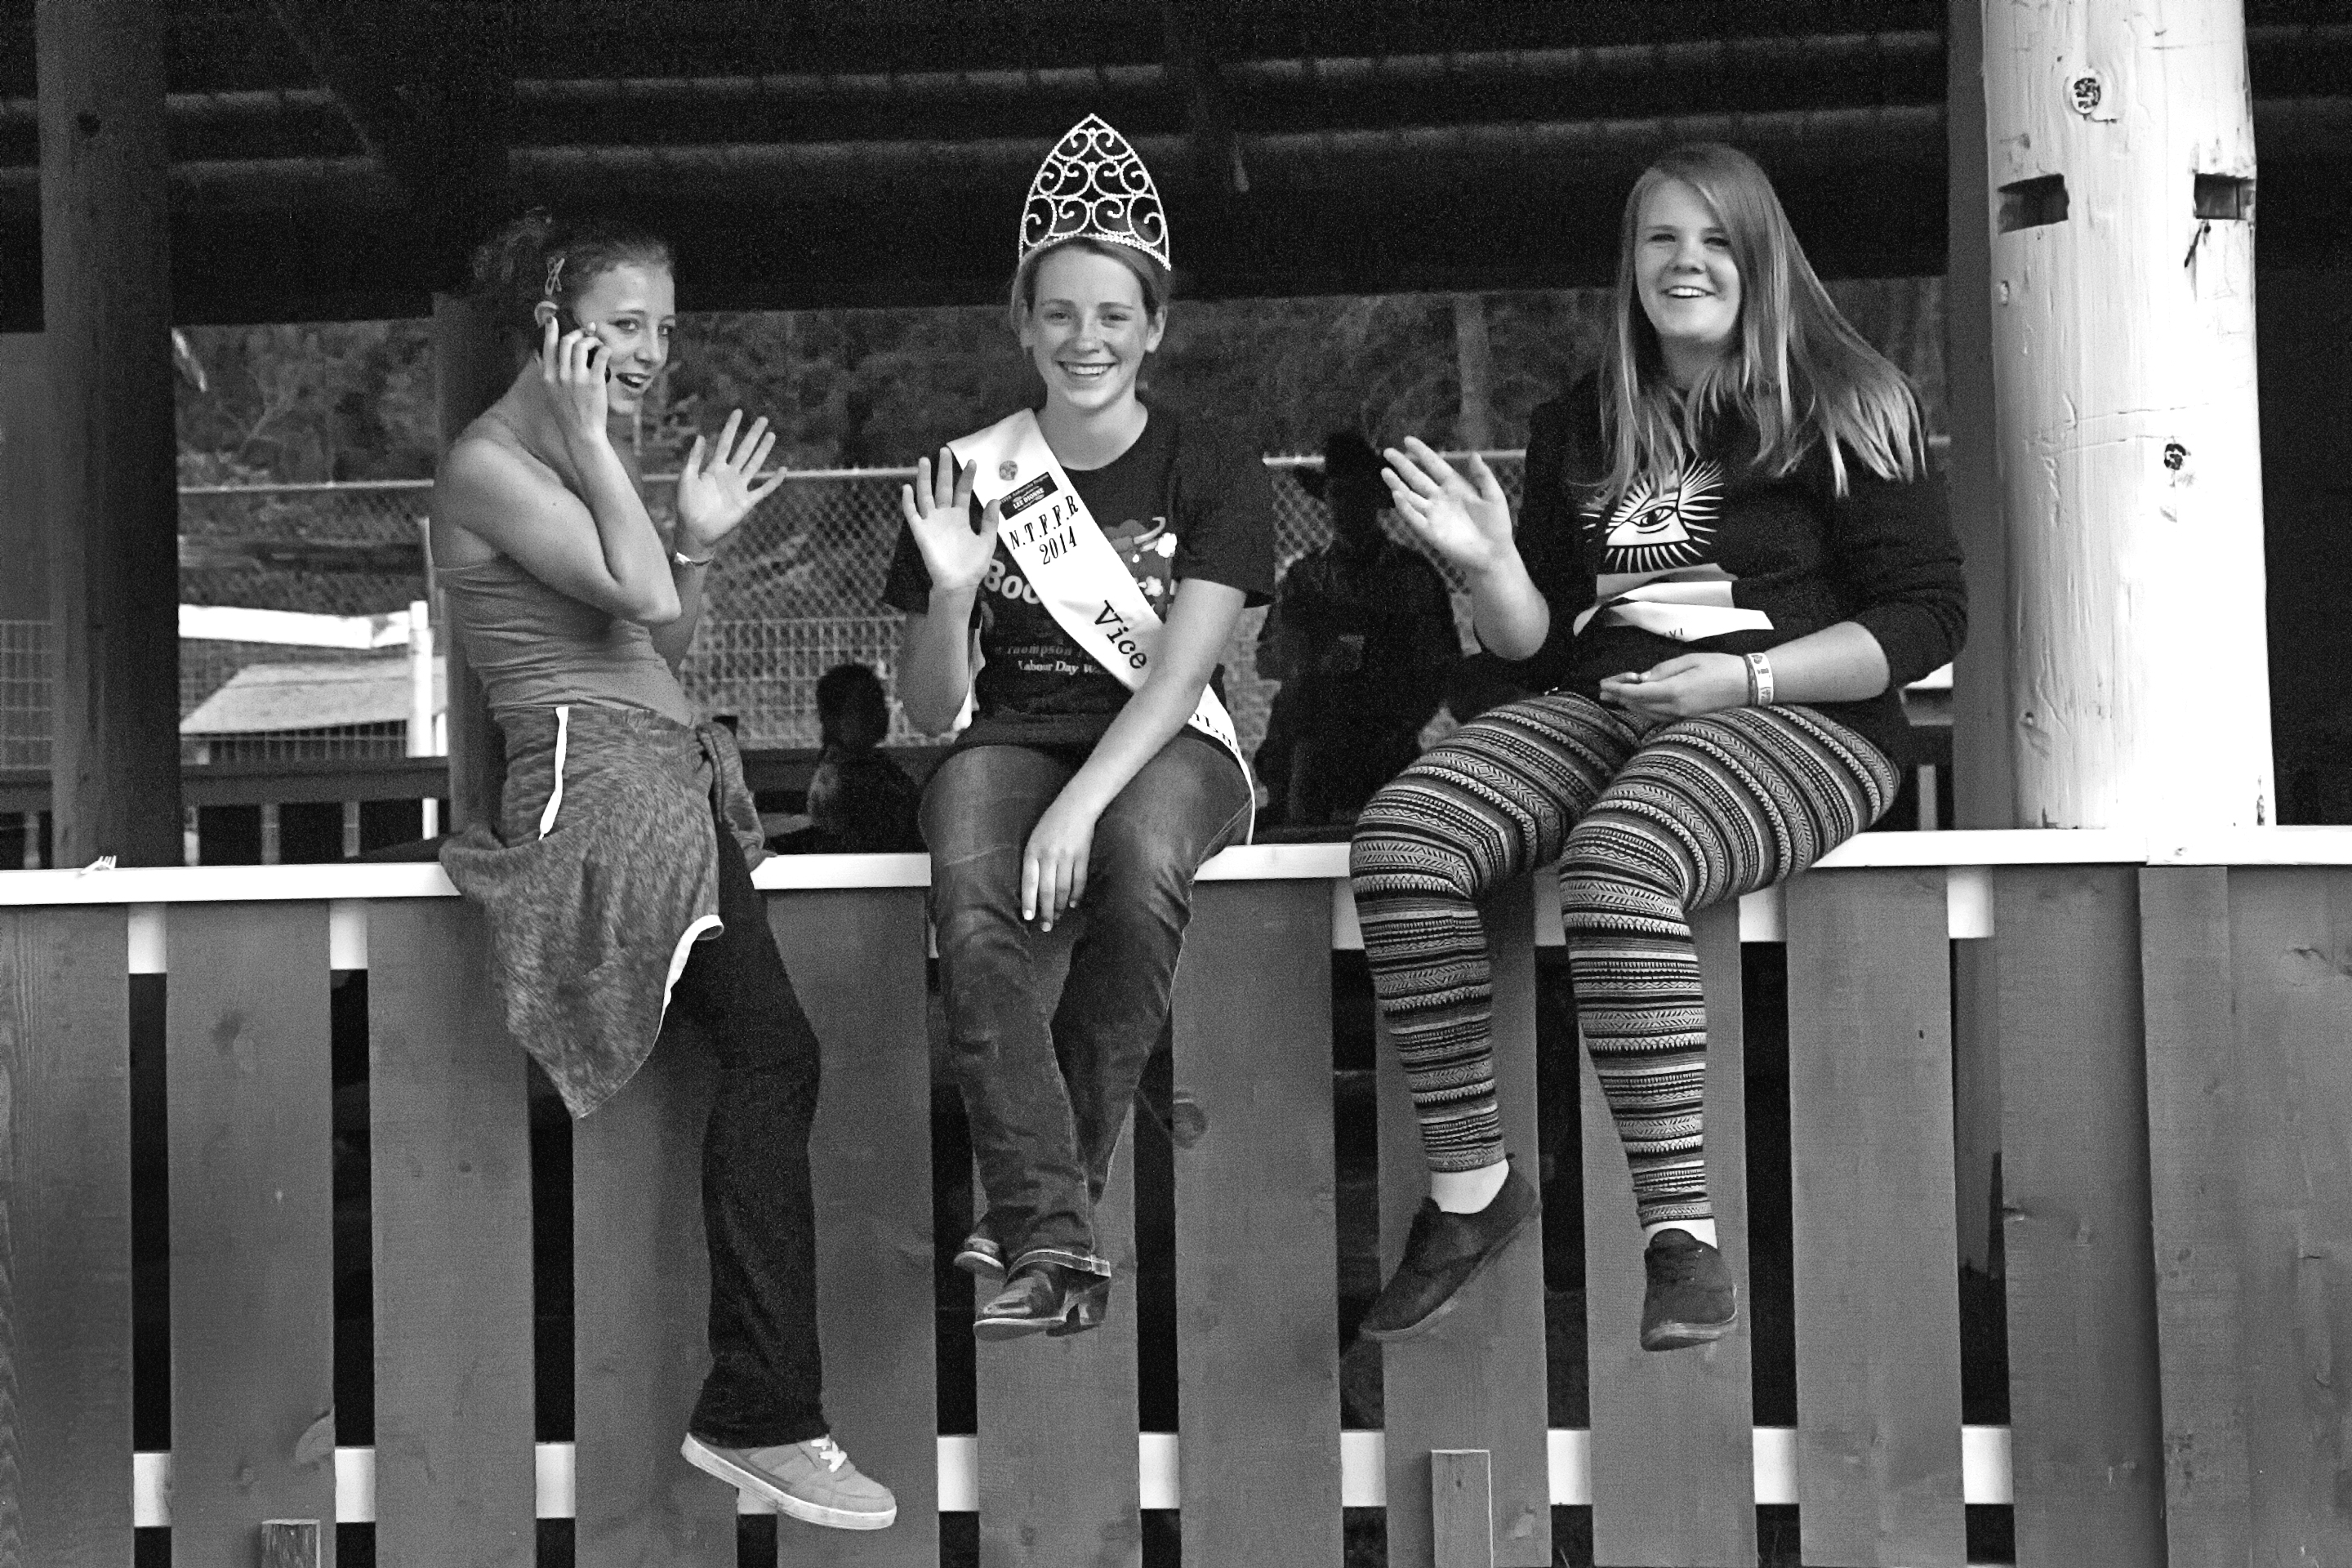
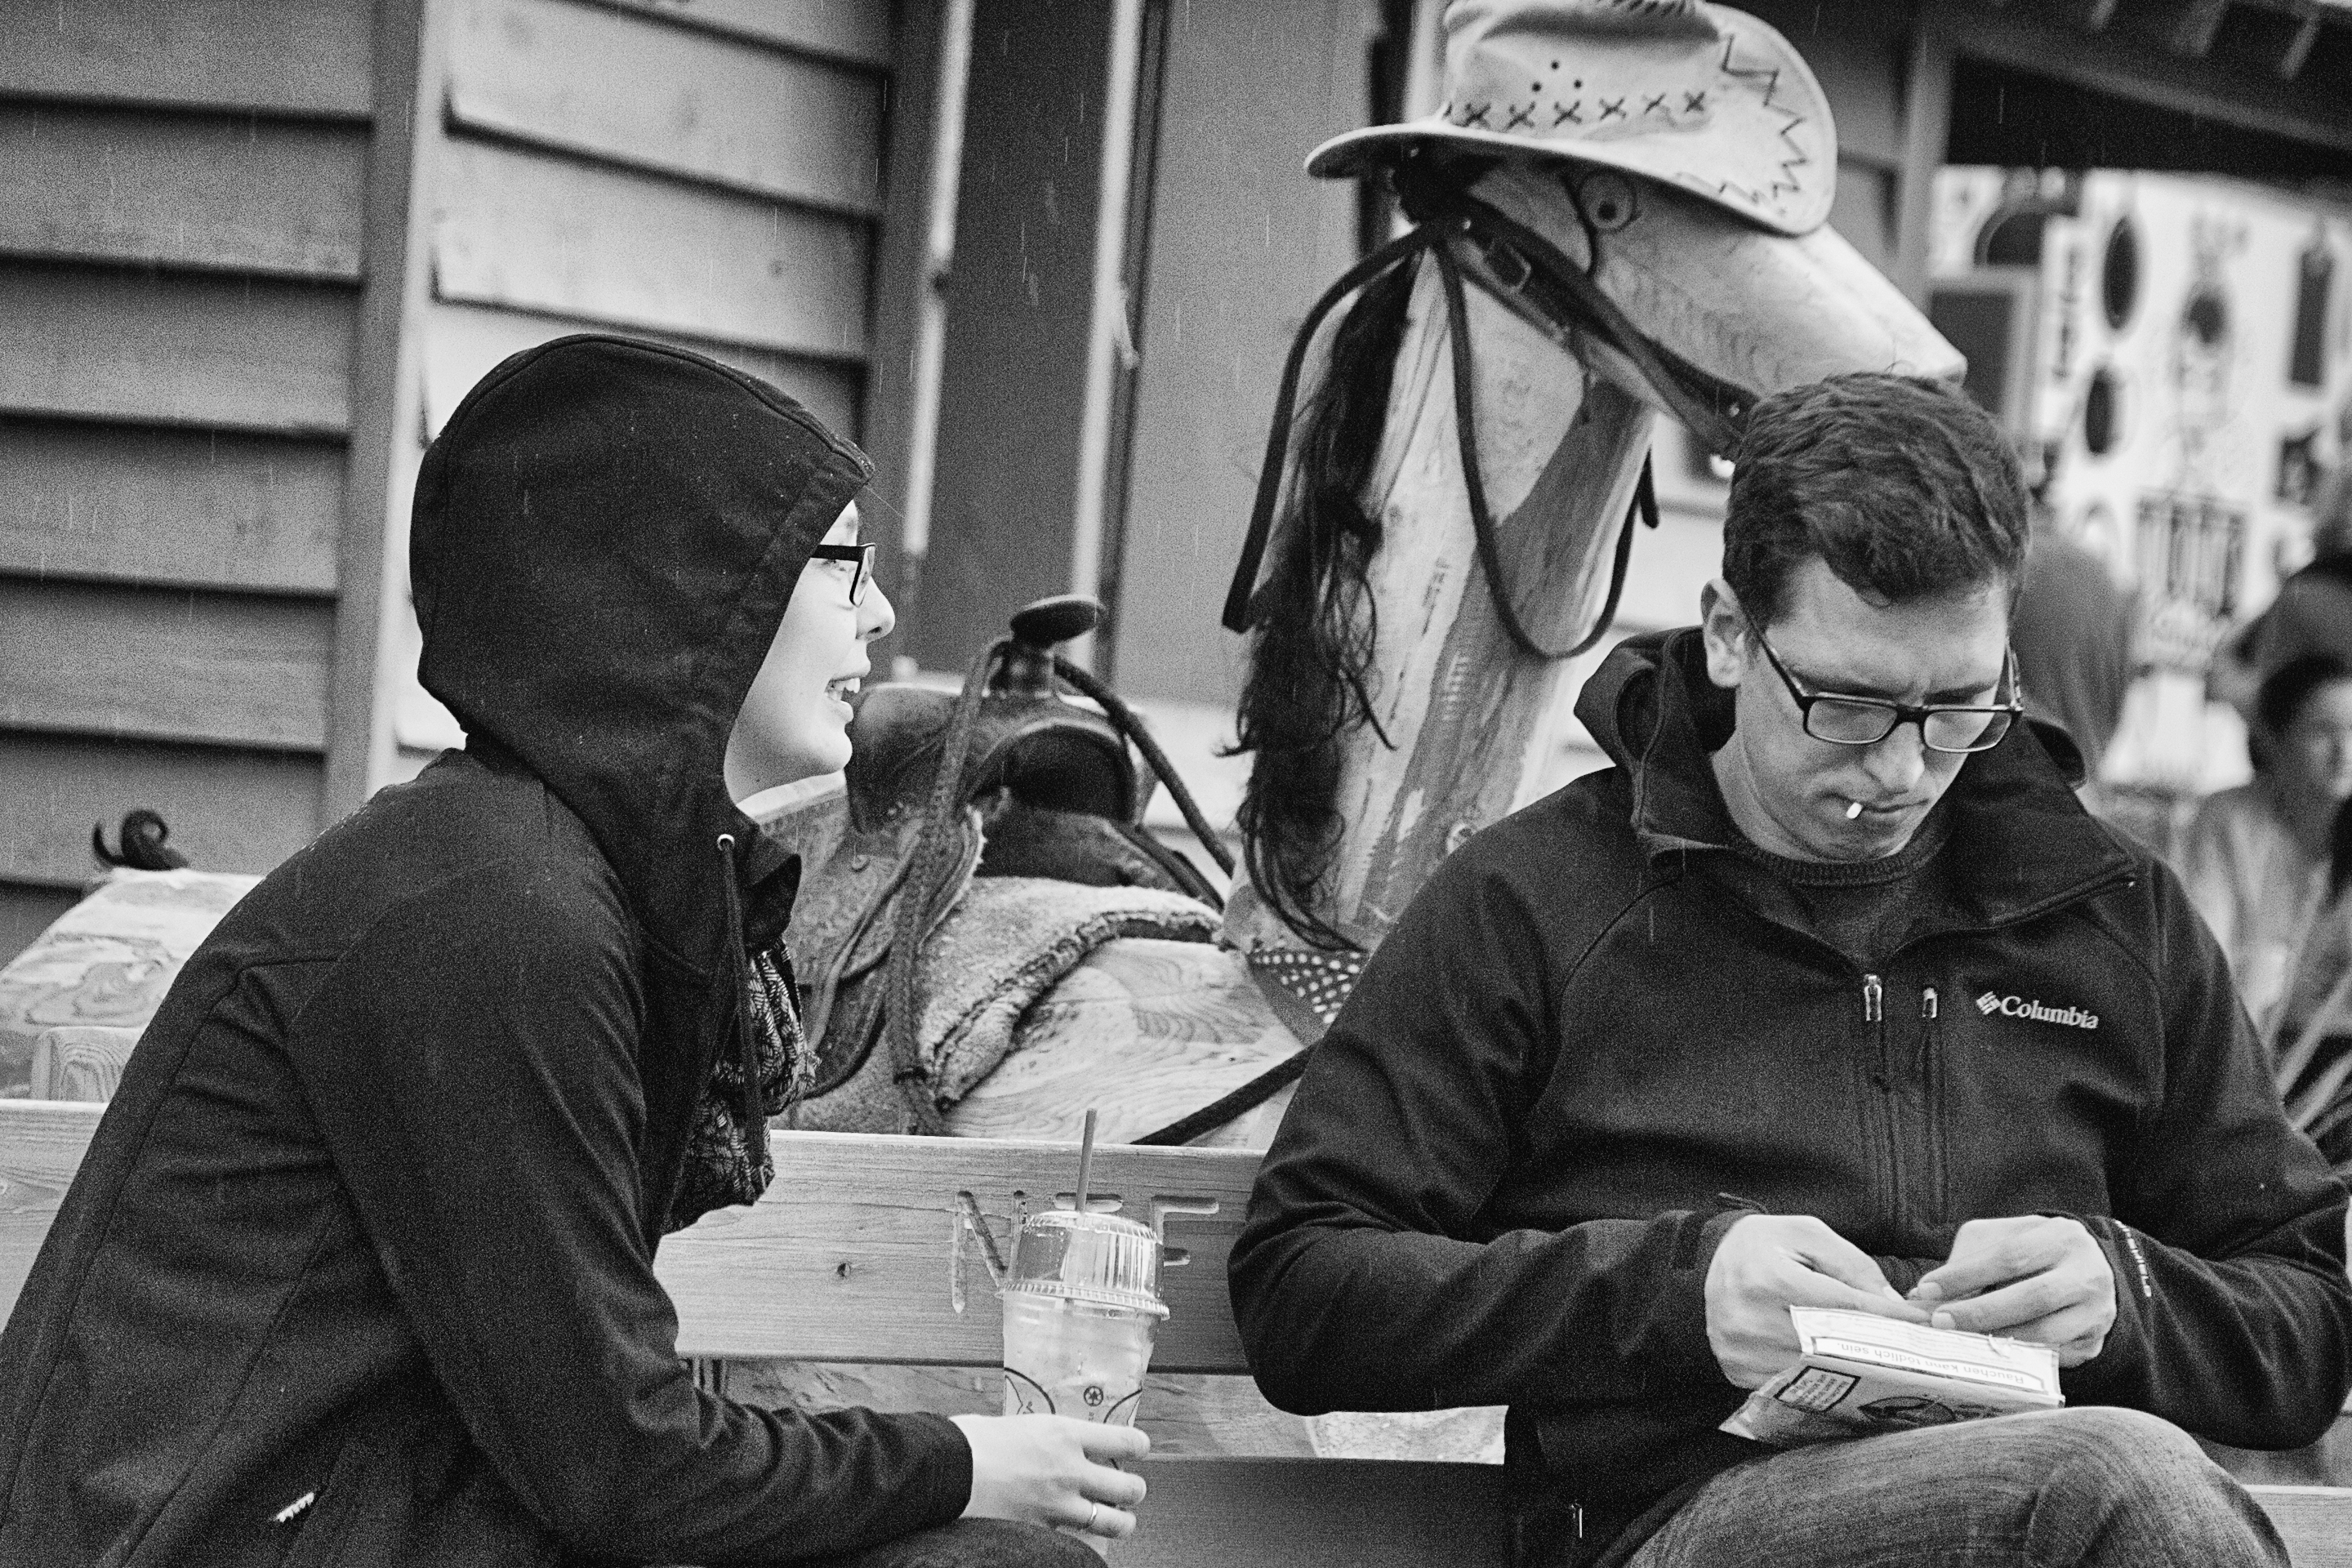
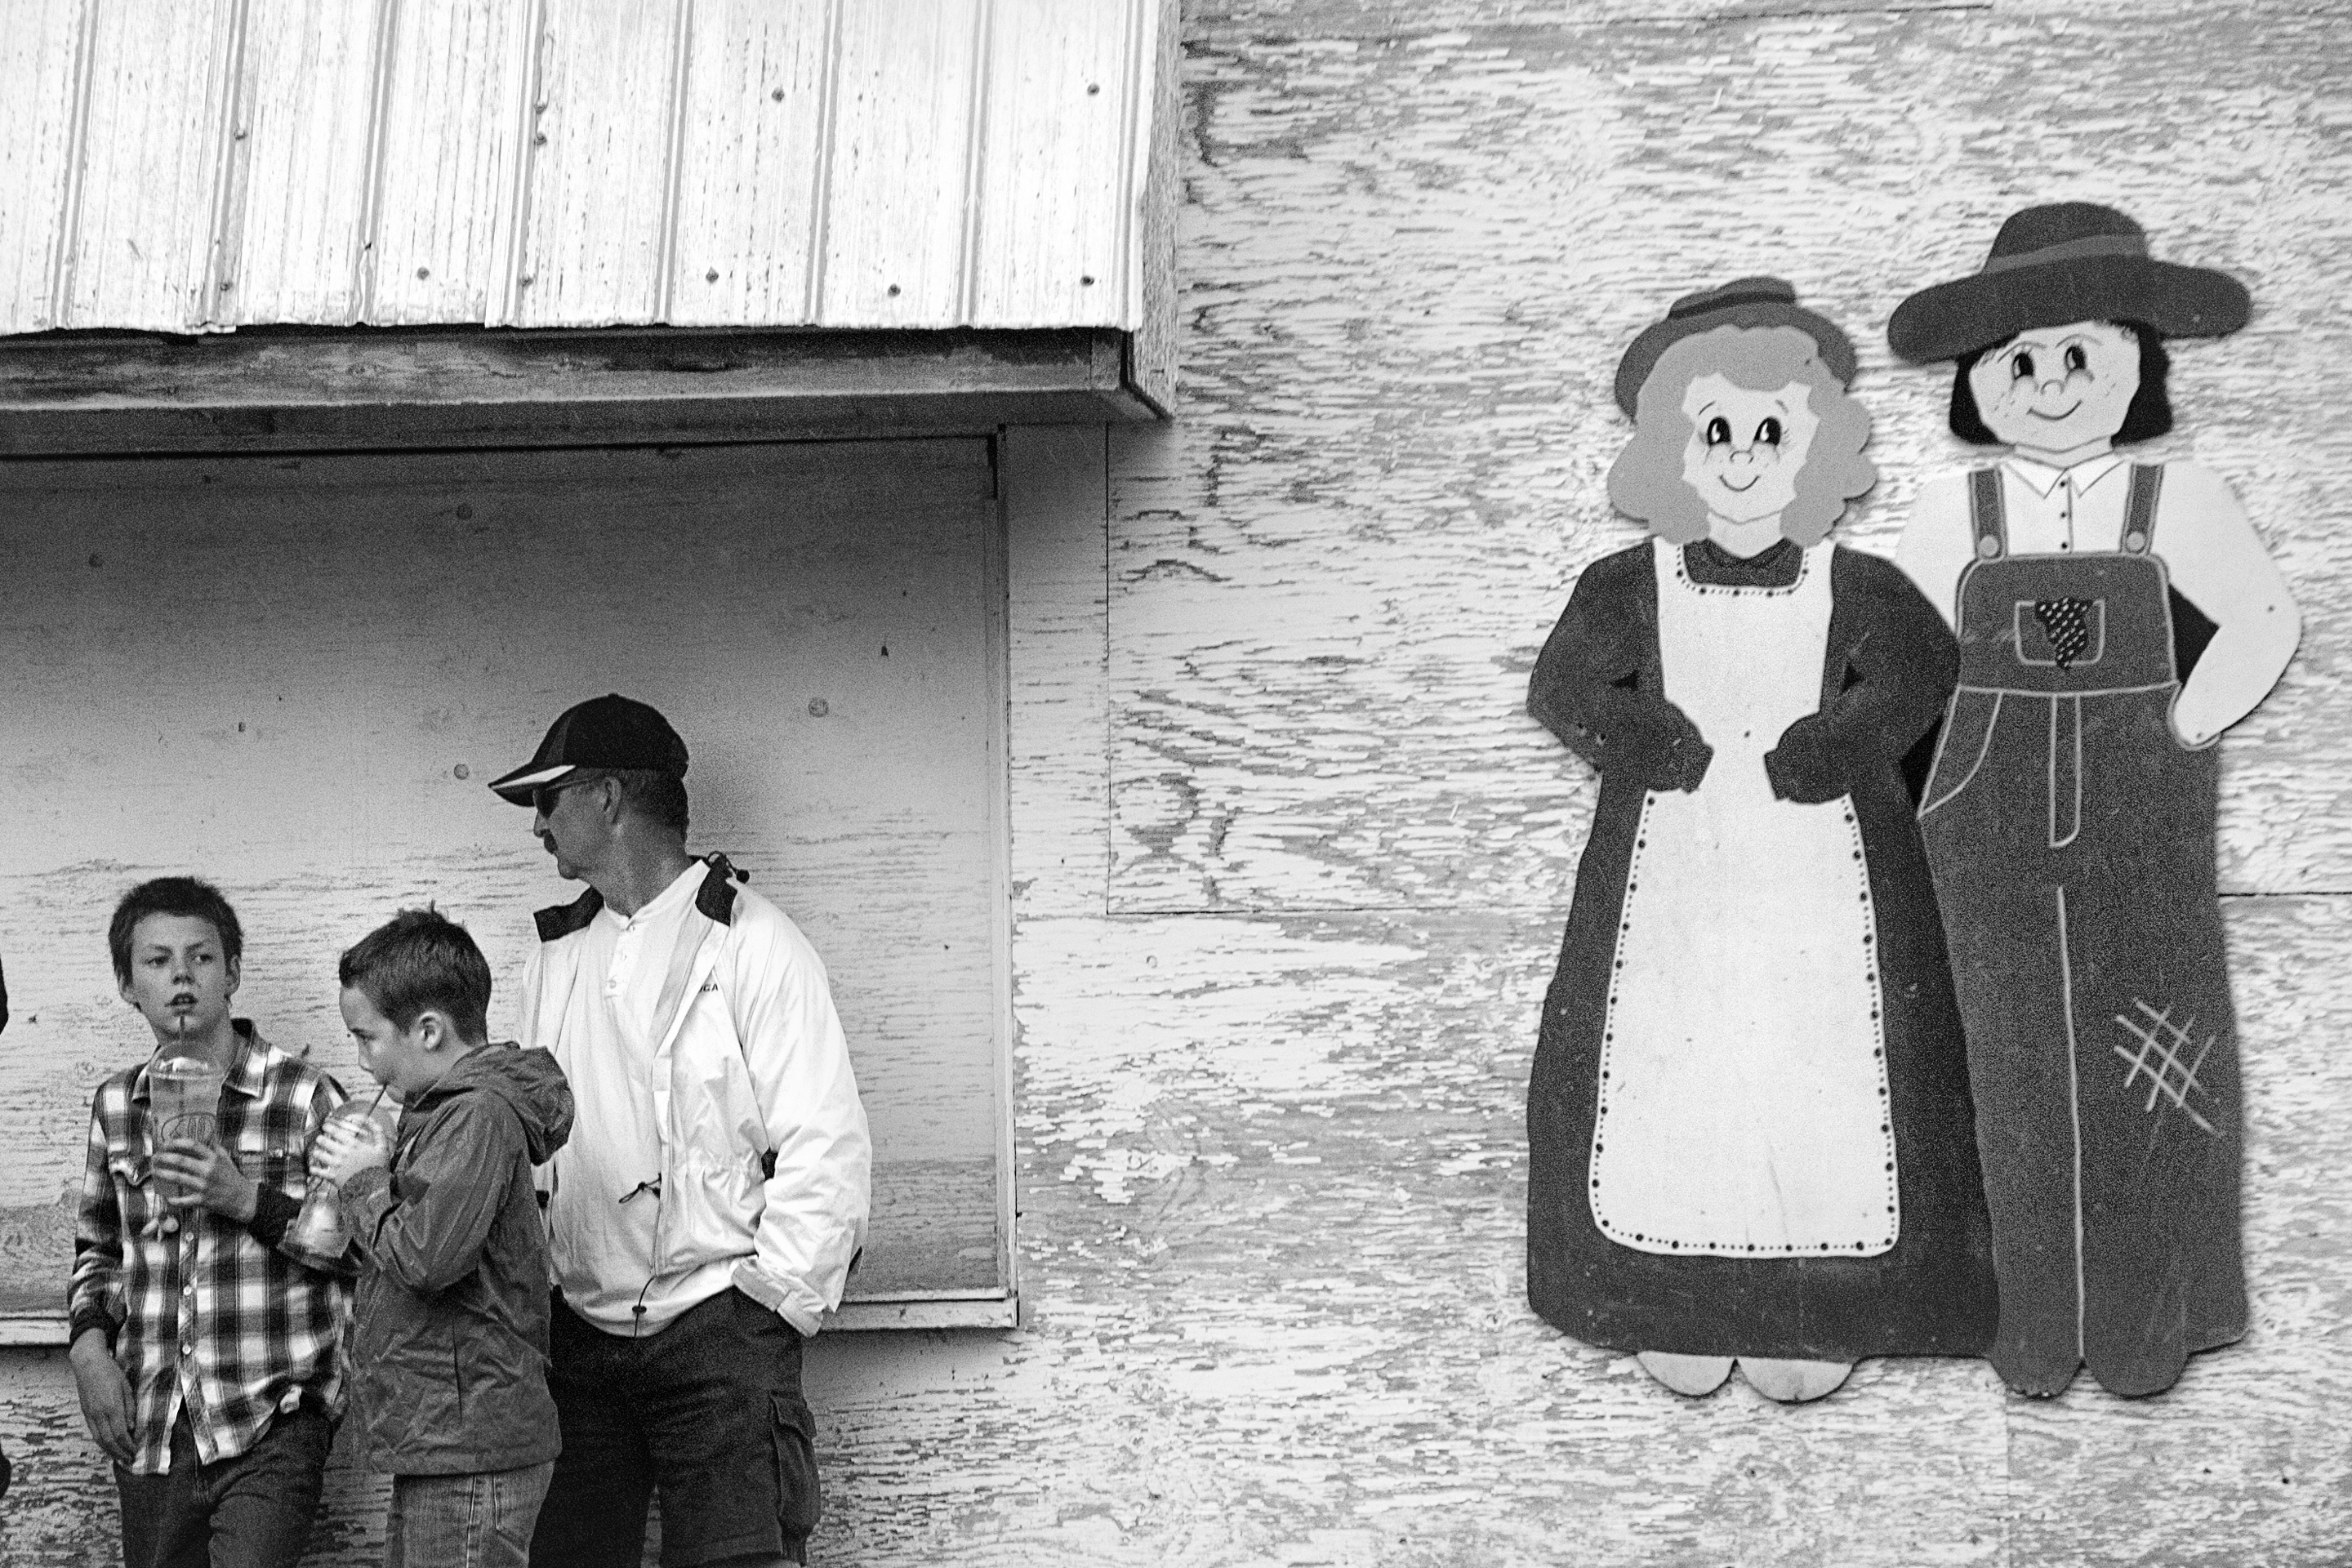
Last year I spent most of my time photographing the rodeo, but after discussions and encouragement from the many photographers I have met online that excel in street photography, I decided to dedicate my time this year to photographing the people I saw wandering or performing in the midway.

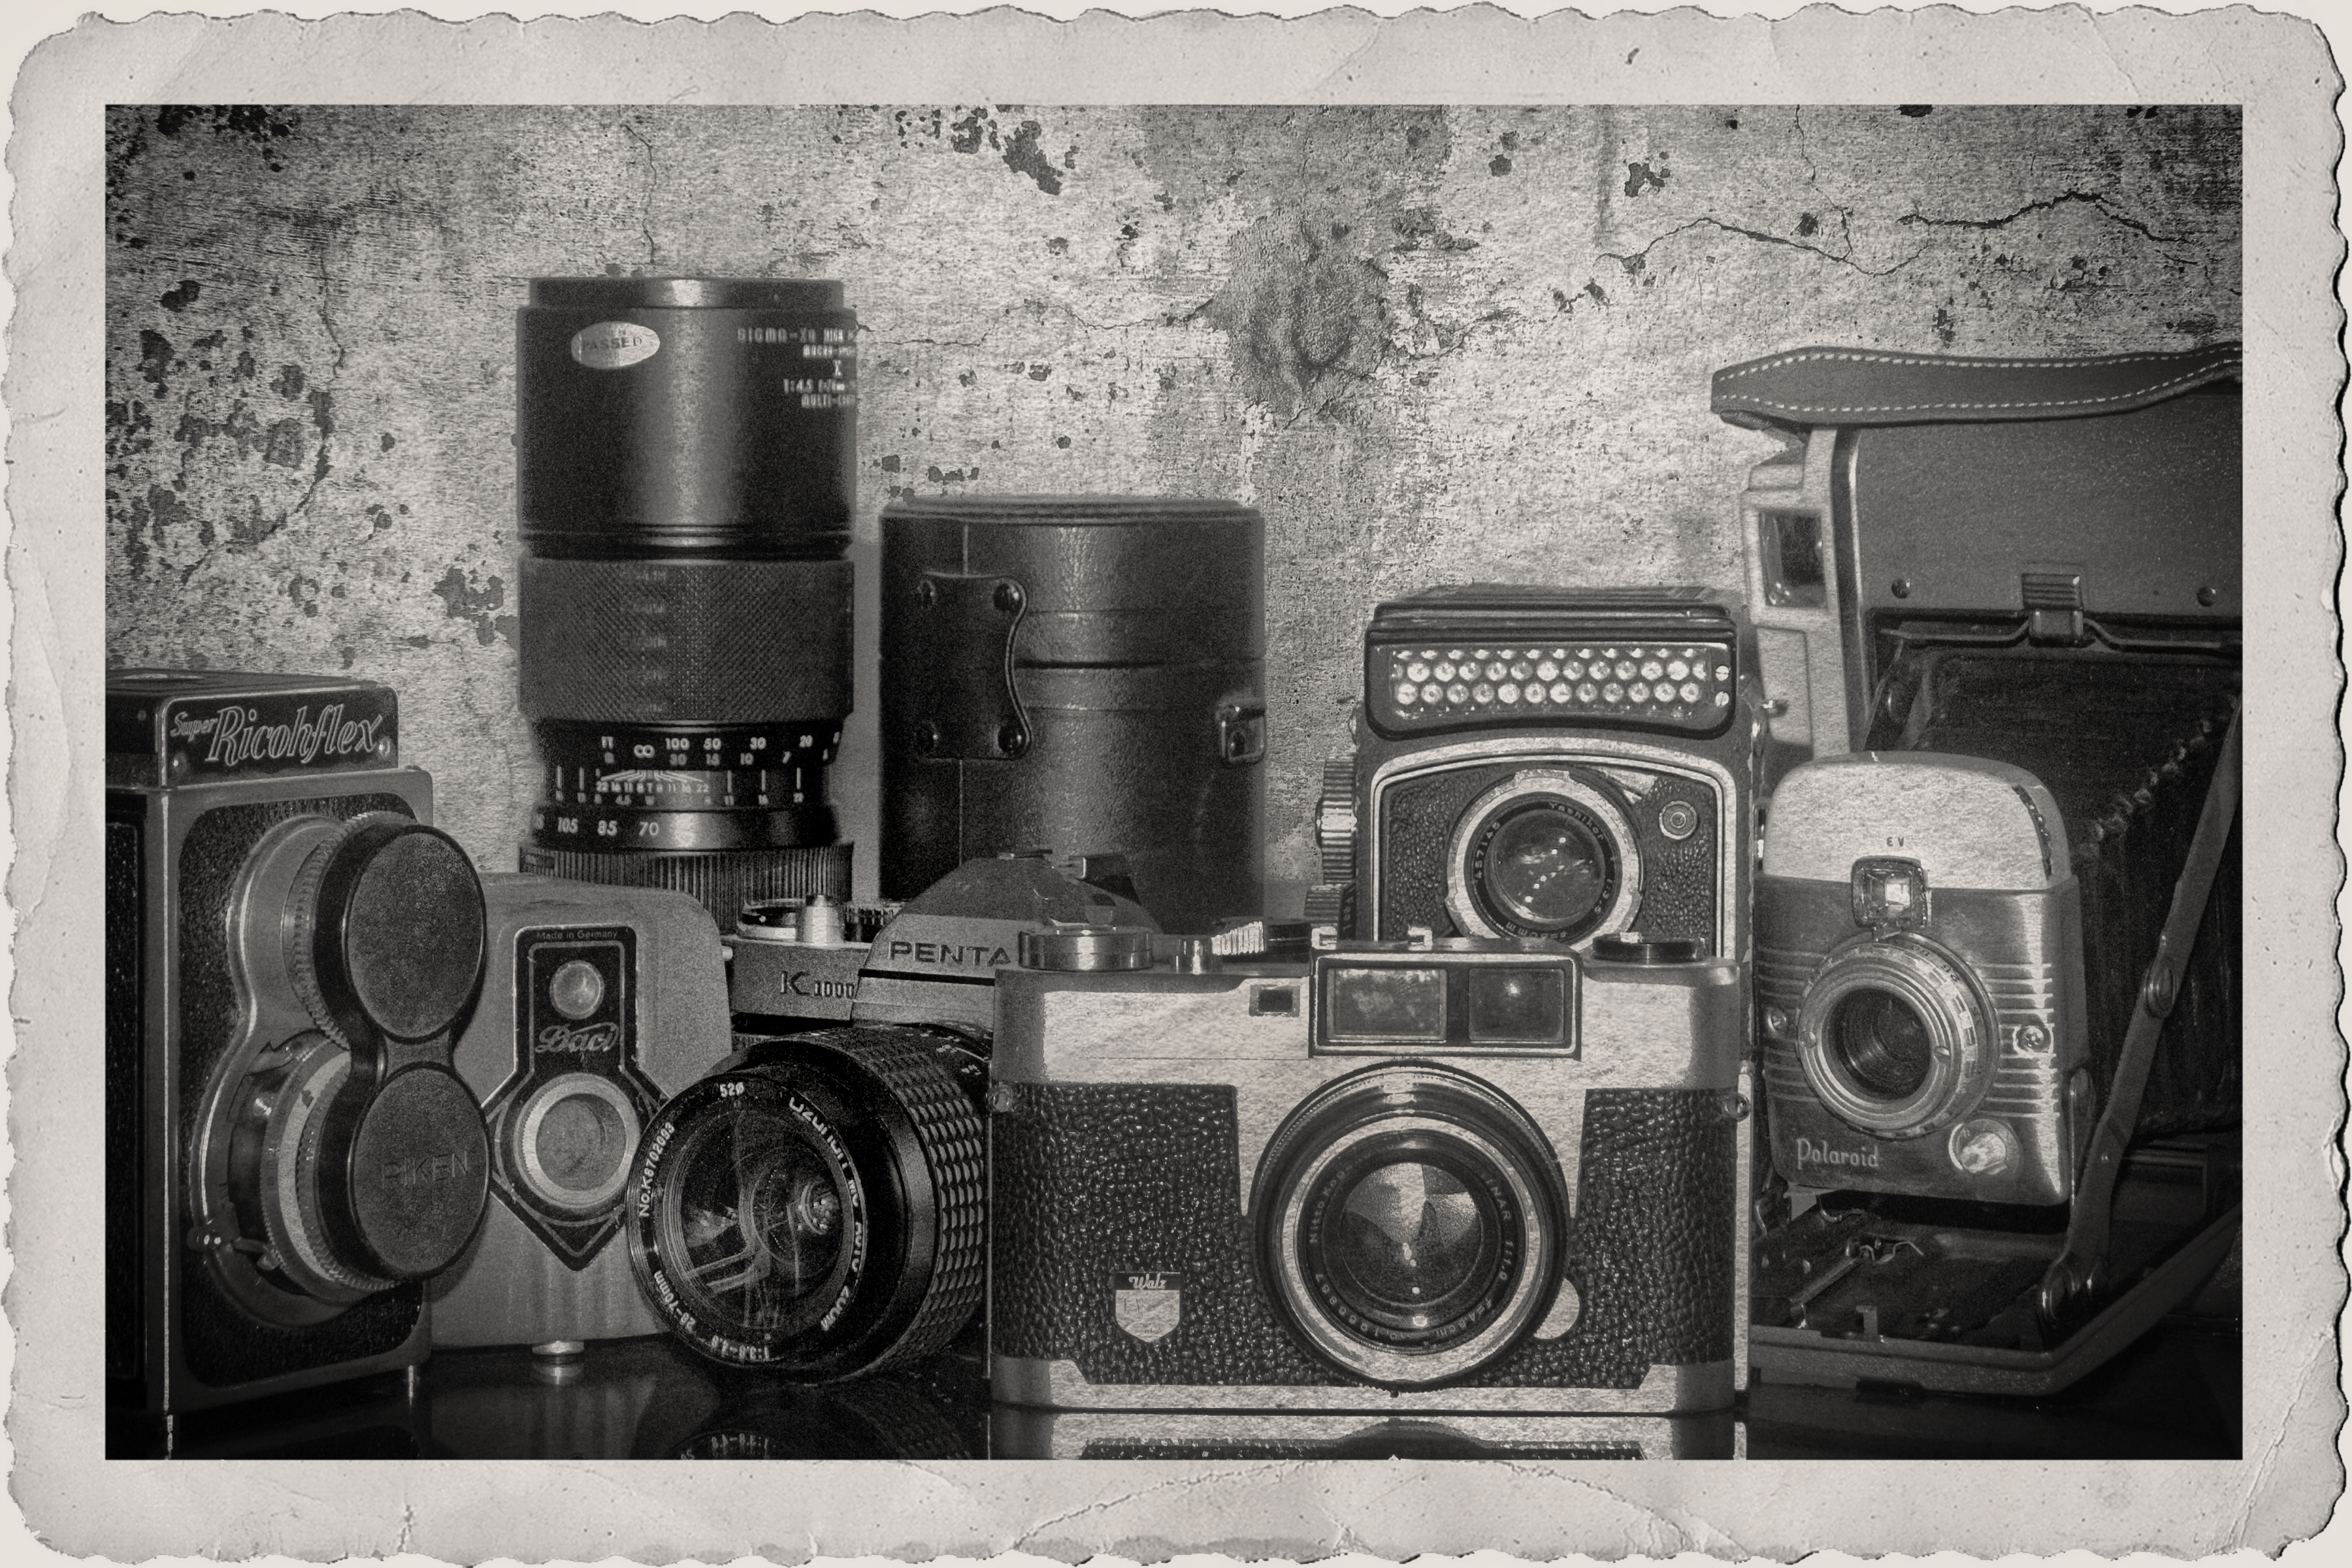
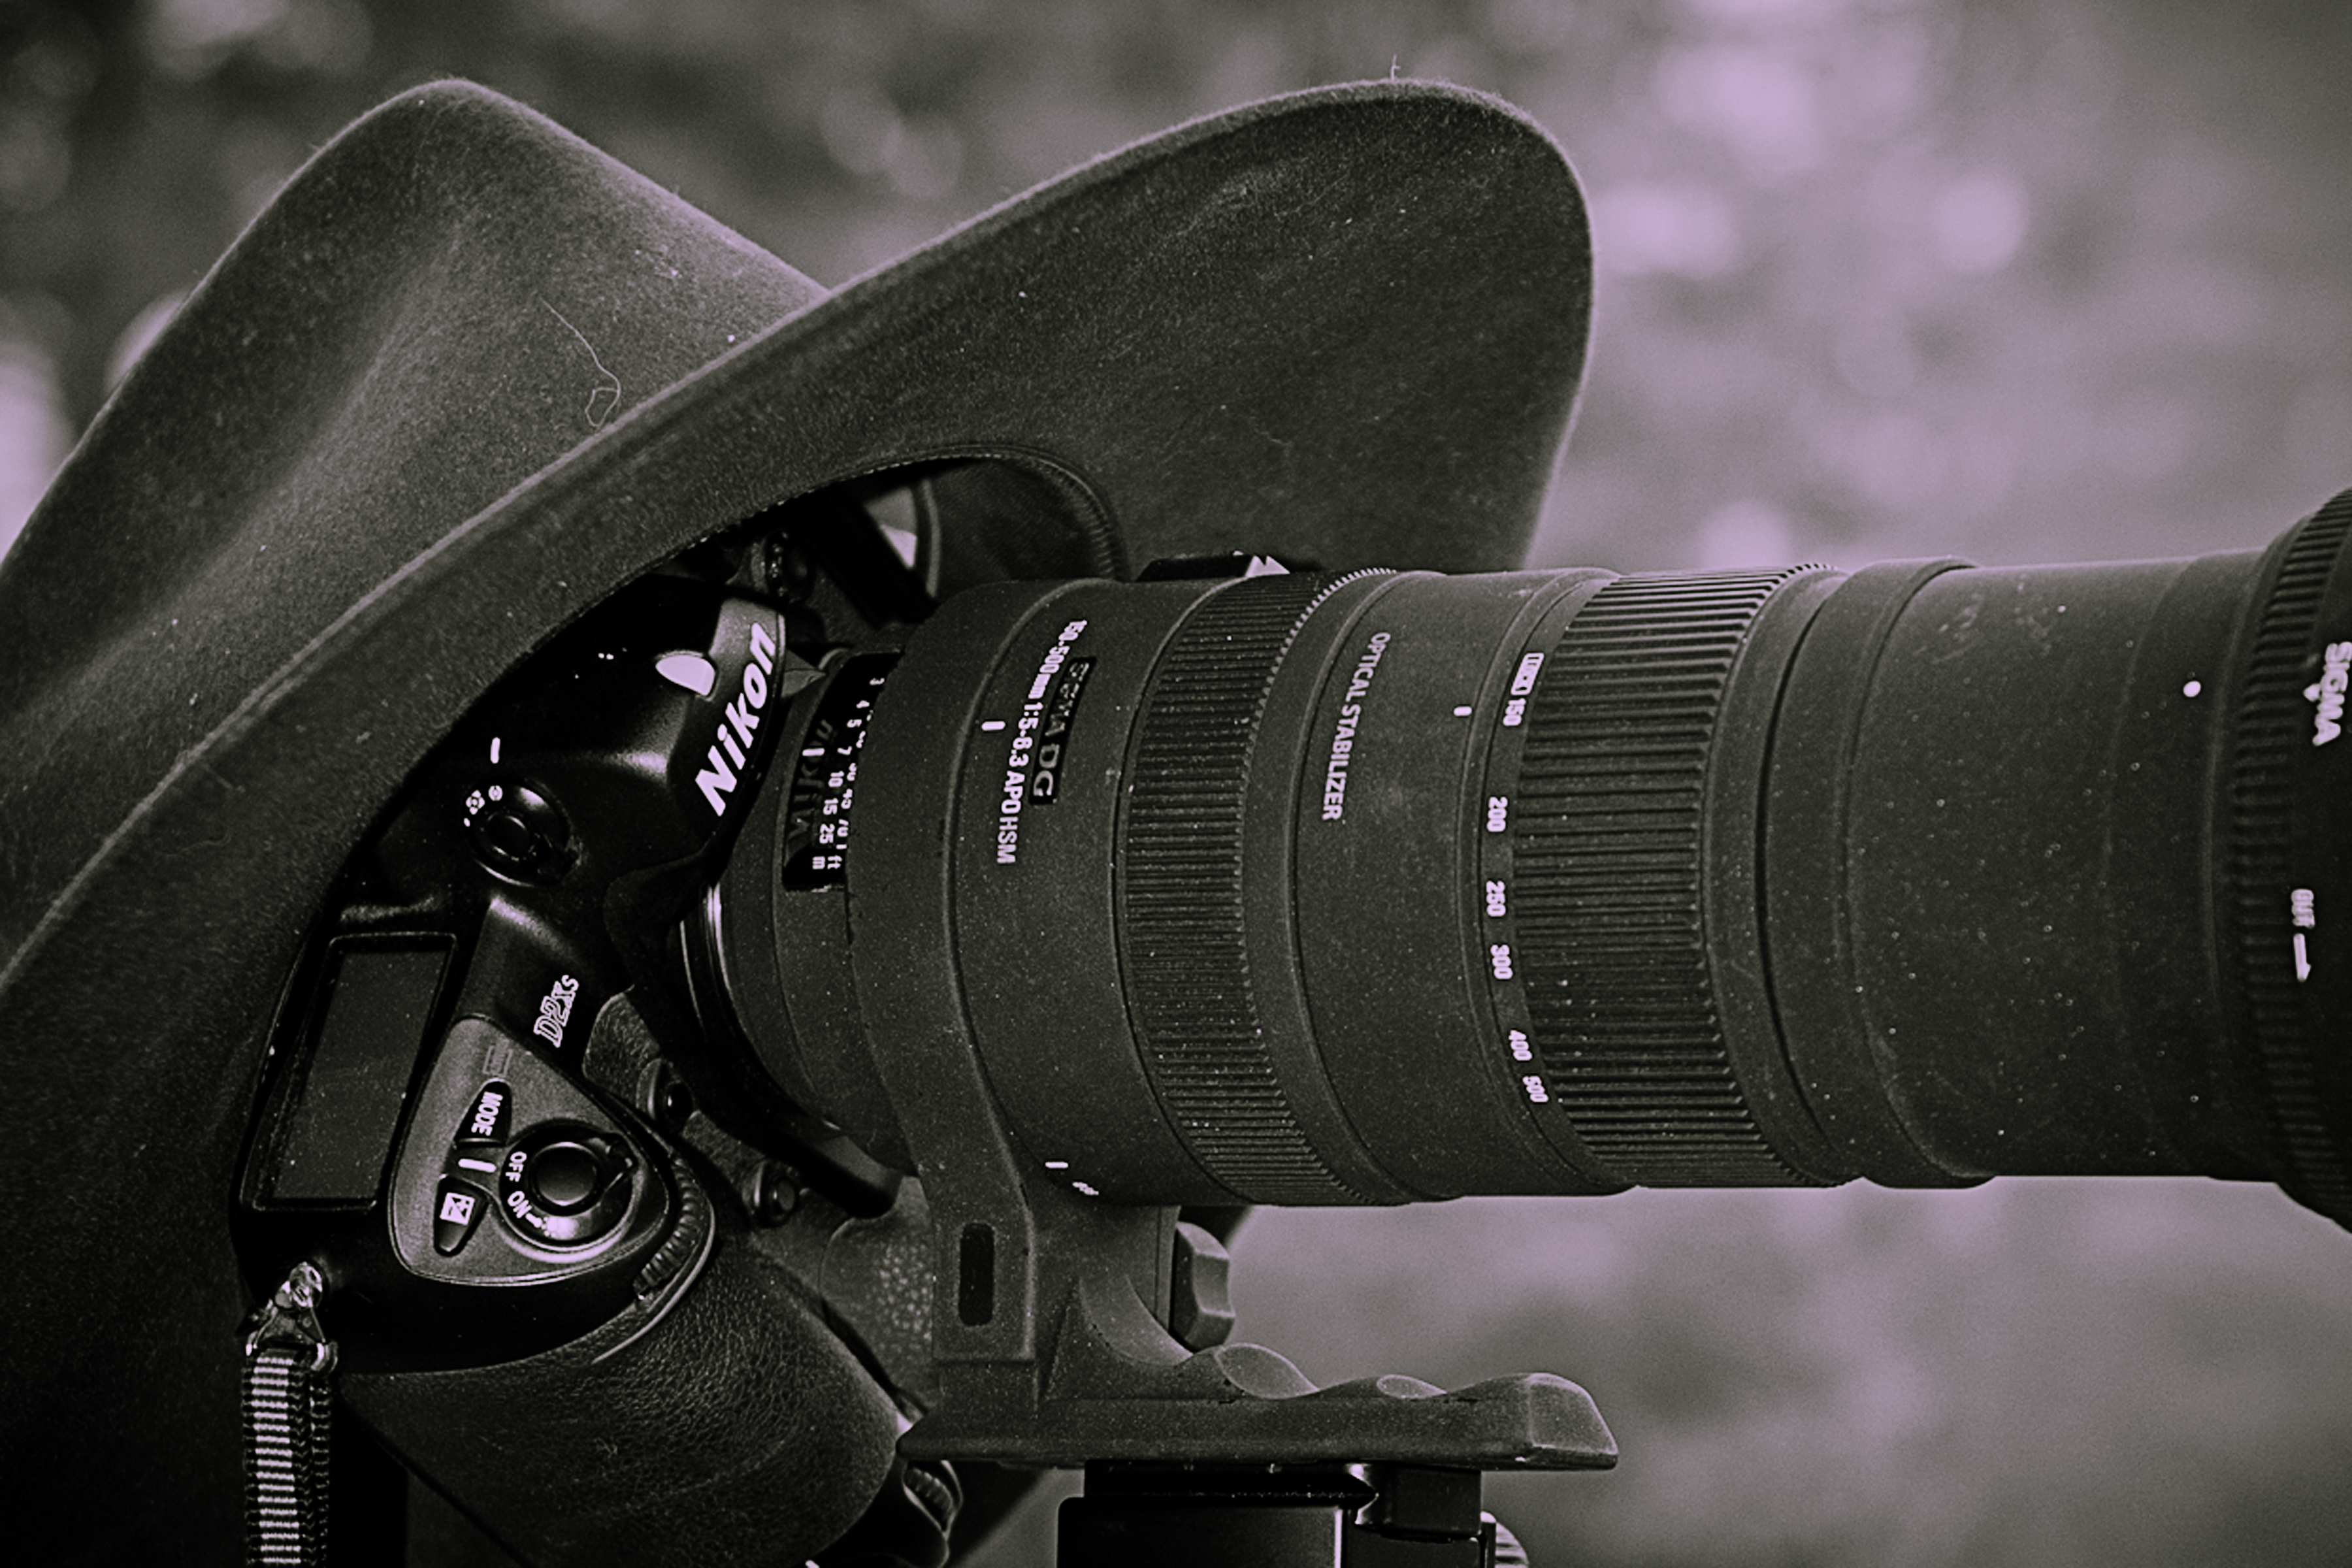
I have written before about my admiration of those that are proficient at wandering city streets creating stories with the way they photograph the people. Readers will recall I discussed my frustration last summer in Anacortes, Washington when I tried using a DSLR with a big 24-70mm lens mounted on it. People saw me coming with that big package and when I got close enough to grab a picture they almost leaned towards me to see what I was photographing. No chance of being inconspicuous or assuming stealth mode.

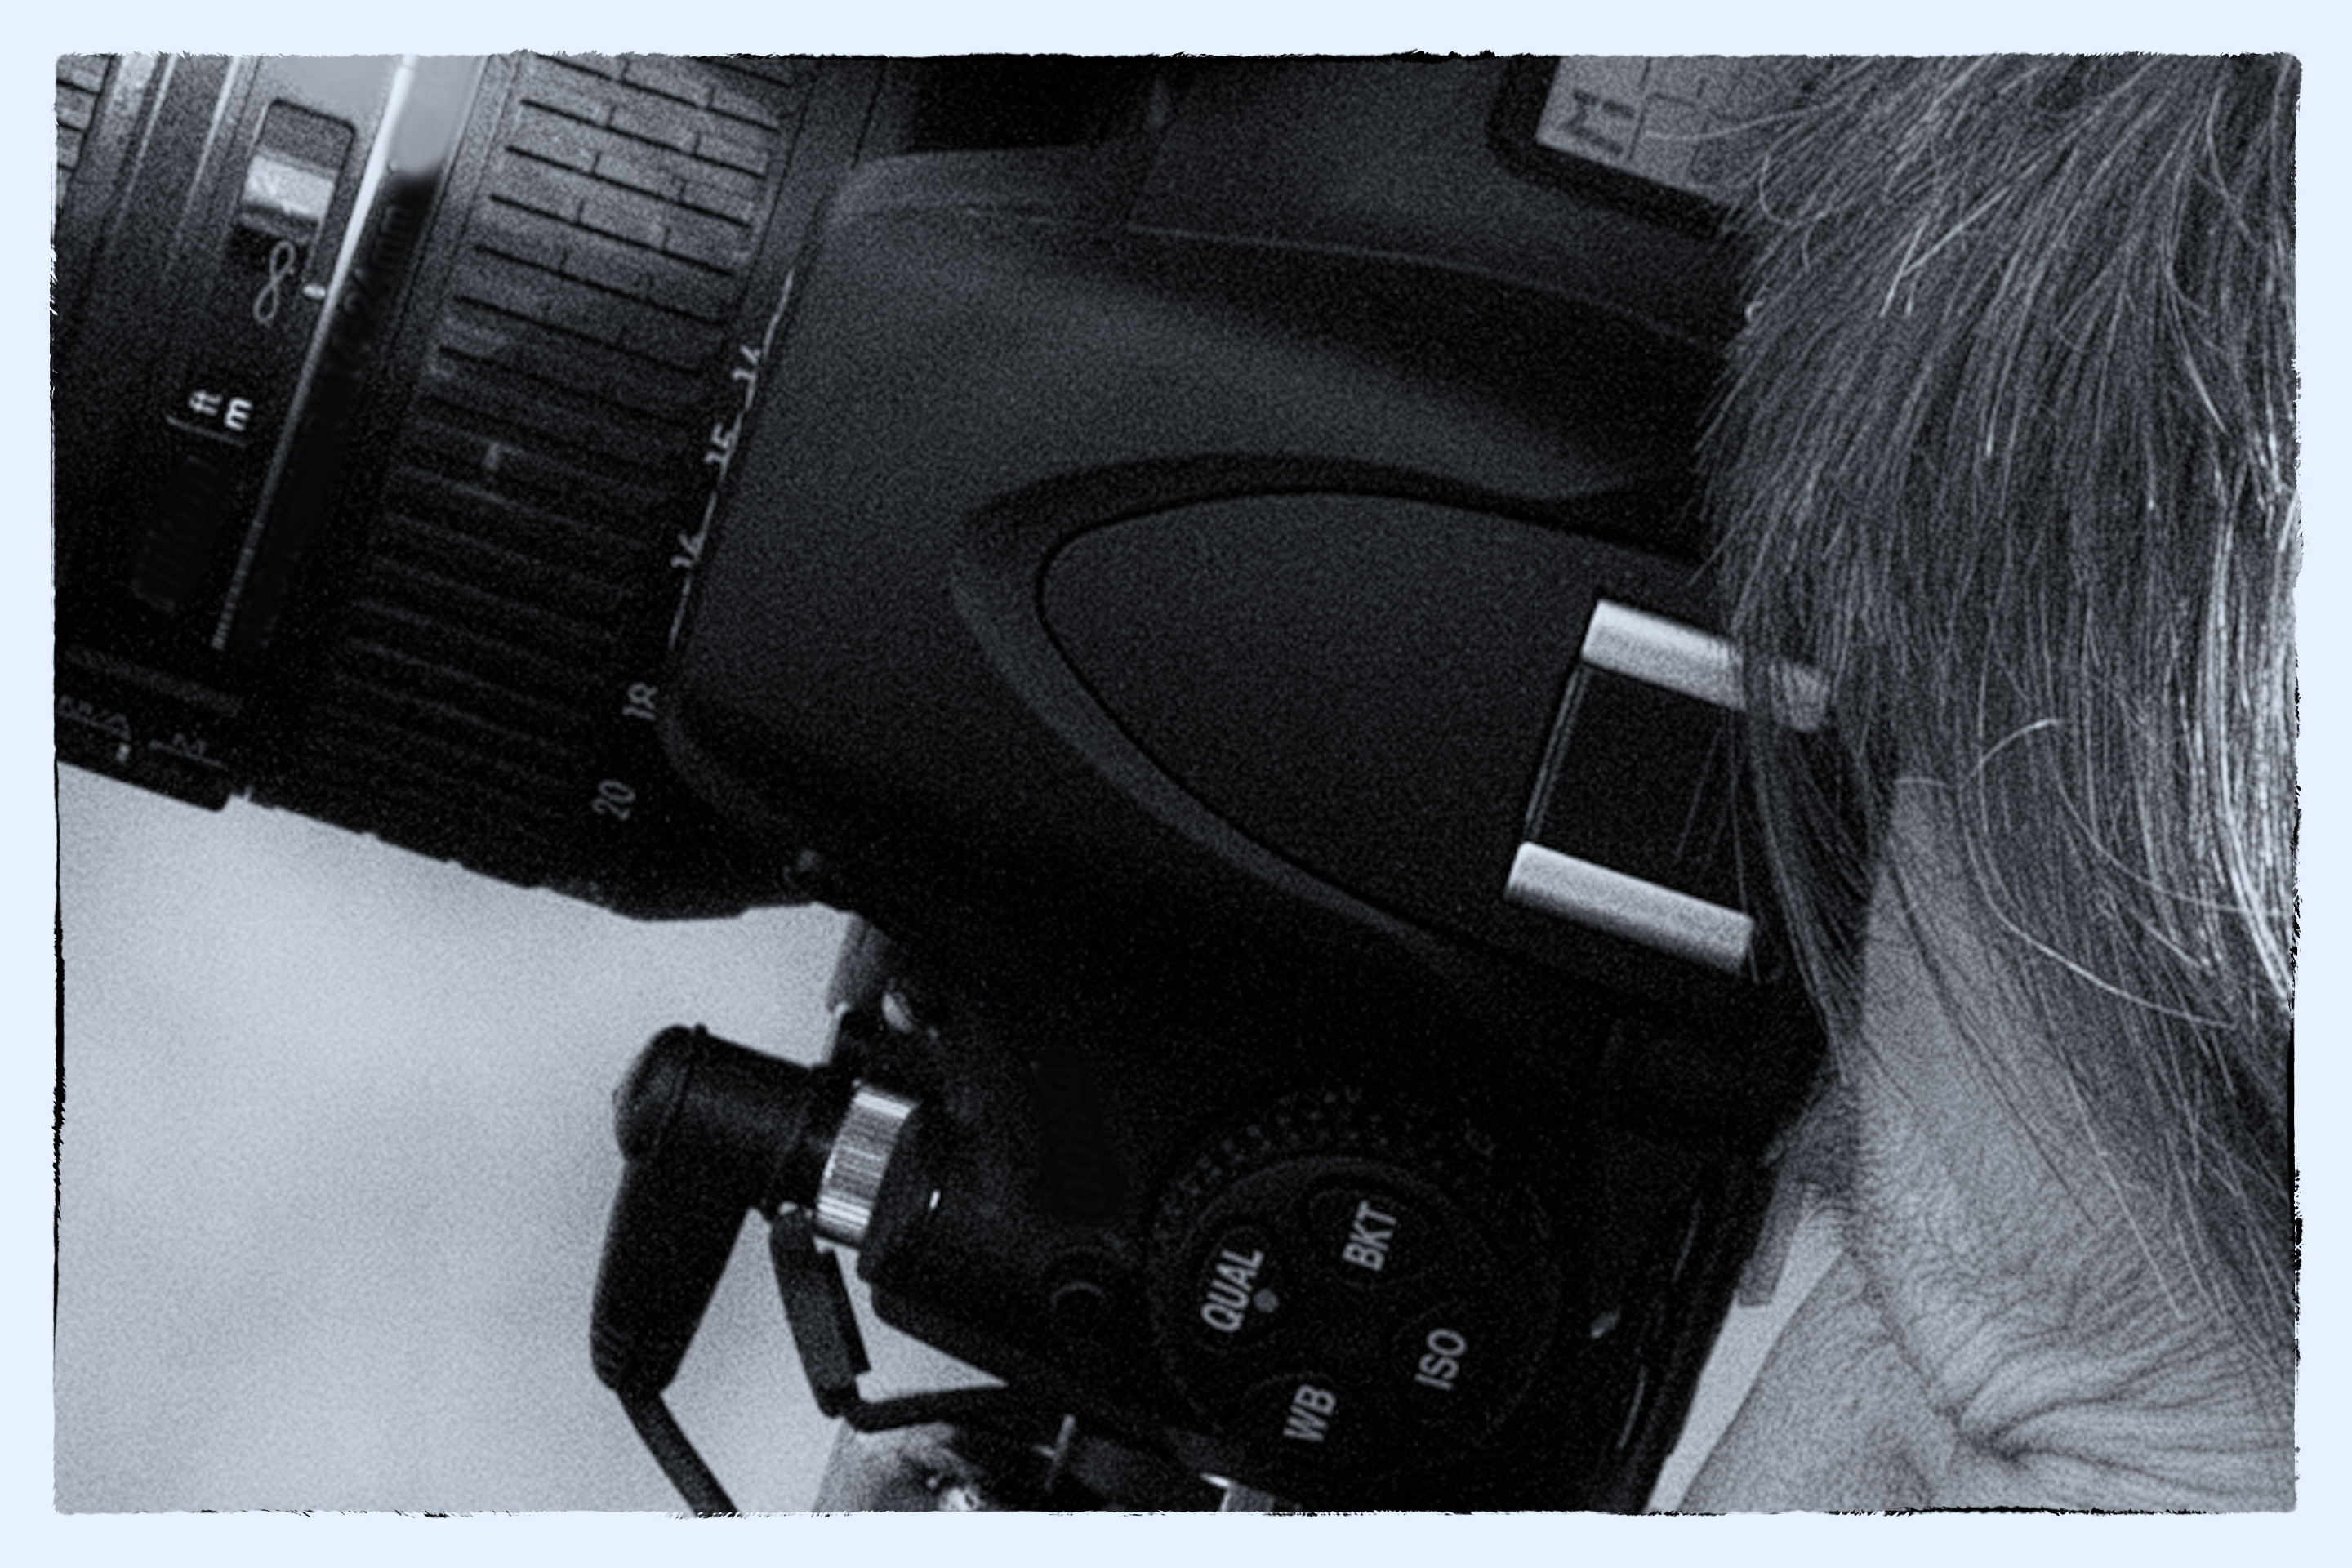
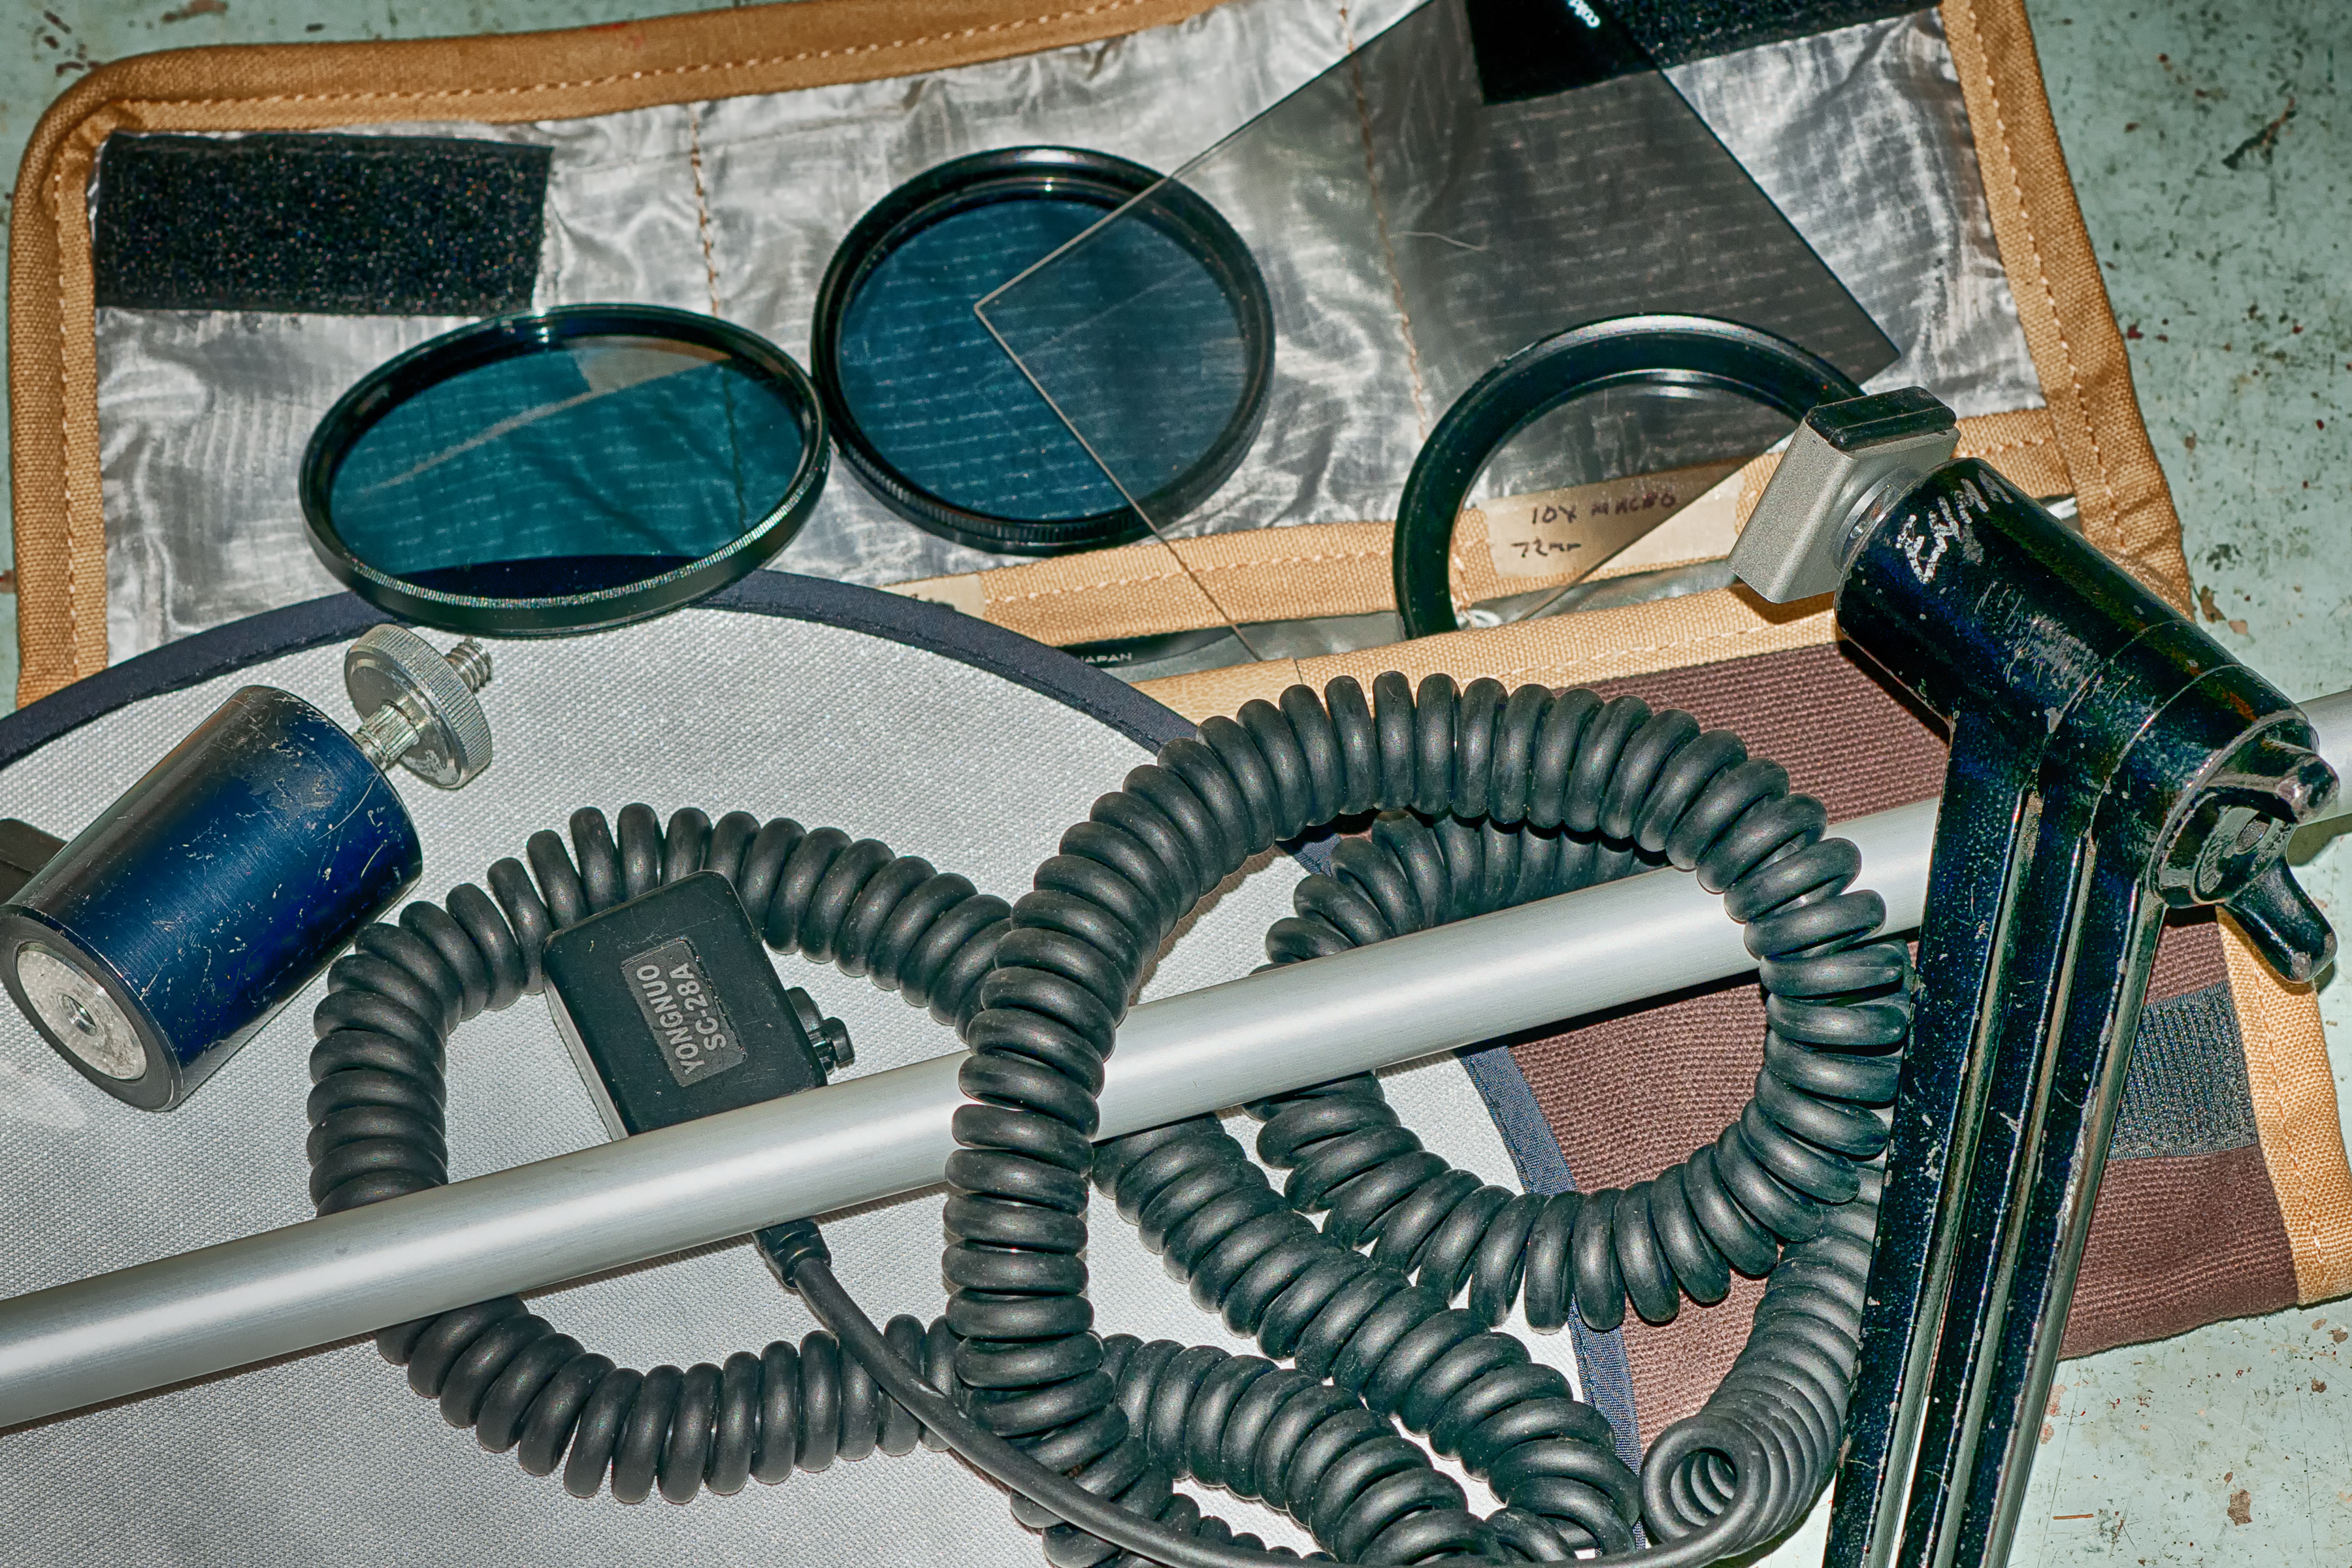
This time I brought a cropped frame DSLR and 105mm lens and extended my camera strap so I could point and shoot from the hip as I released the shutter. I think I can hear the laughing coming from some of those more skilled and experienced at this type of photography than I. Yep, I had little control over what I was aiming at. I did get some viewable shots, but I also got lots of images that showed the top of people’s heads and a great quantity of sky. How did those gunslingers in the old west hit their target?

Maybe I need to put some beer cans on a fence rail and practice like I saw actor Alan Ladd do in a movie I watched last week. Or better yet, I have a friend with one of those exciting little Fuji 100 cameras. I wonder if I took beer cans (full) over to his house instead of putting them on the fence, I could convince, or bribe, him to lend that camera to me next time I want to try.

I searched online for some street photography tips. Here are a few I could find.

  1. Use a wide-angle lens.
  2. Get close.
  3. Look for juxtaposition.
  4. Focus on the essential.
  5. Look for the light and shadows
  6. Look at the foreground and the background.
  7. Tell a story.

Street photography, whether at an event like a country fair, in a bustling city, or on some quiet back lane, is about photographing society around us. Some photographers’ shoot for the challenge, and some wander the city as a release of stress from everyday existence, and others because of their need to make some statement about the world in which they live. I wonder at the “Decisive Moment” of prolific French photographer Henri Cartier-Bresson, or the journalistic style of Leica toting Robert Doisneau, or the harsh images of marginalized people by Diane Arbus. They, and many others have left us with their own styles of street photography that affect each viewer on an emotional level.

I look forward to any comments. Thanks, John

Is it Time to Upgrade my Camera?

1. Cameras

getting the shot

Tripod & Hat


In the era of film cameras serious photographers would come to a point when they would consider upgrading from a 35mm SLR cameras to a medium format 120mm, or make the climb to a 4×5 view camera.

It was all about the size of the film and bigger really was better. I recall feeling bad for couples that had friends photograph their wedding with tiny 35mm cameras. Only those photographers wielding medium format cameras would be assured of quality final prints. If one wanted a colourful, sharp, grain free enlargement then 120mm or a larger format was a must.

What do I now say to photographers like the one I talked with recently who are considering a more serious approach to photography?

I always begin with the question, “what are your interests and what subjects do you like to photograph?”   My short answer for that digicam user was, if you want to shoot sports, wildlife, or even scenics and want enlargements bigger than 8×10, then, yes, get a DSLR.

I think printing quality 11×14, or bigger, enlargements are best produced with sensors that are considerably larger than what digicams provide.

I like digicams. They are perfect for intimate, candid shots. The compact size lets one put them in a pocket and go, and if used within their limits they can produce excellent images.   However, if one feels, like that fellow I talked with, they have reached their camera’s limits then it is time to move on.

I must add at this point, that with the entry of mid- and full-size sensor mirrorless cameras there are new and exciting choices. I would like to discuss those at another time, and hope for plenty of advice from readers on their preferences.

To simplify my discussion with him I put DSLRs into two categories, amateur and professional. However, the difference between amateur and pro cameras isn’t as easy as it was with film.

The most significant difference, in my opinion, is durability. Pro cameras feel sturdy, are heavy, and are sealed against the elements. When dropped, they bounce and usually don’t break, and even with hard use, the shutters will last a long time.

When the first DSLRs came onto the scene there was definitely a difference in the quality of the images between entry level and professional level cameras, but that is not as distinct now. The technology for sensors and in-camera processing has rocketed. The latest entry-level model may well have the same sensor as the previous summer’s expensive pro model as the technology is transferred over. The obvious difference may only be the weight and controls and debating megapixels has become just plain silly.

I know many are willing to argue about cropped frame vs. full frame, but I wonder if that’s more a personal preference than an upgrade.

For those, like the photographer I talked with, interested in purchasing used equipment; there will always be opportunities to purchase at reduced prices.

Whatever the camera availability, my advice to that fellow and others asking the “upgrading” question is to consider what kind of photography they want to do. Talk to other photographers about cameras that are interesting, go online and check out the many photography forums to find out what others with their same interest are using, and absolutely attend some classes.

Using a different camera is always fun and I believe learning how to control the technology a new camera offers is like a shot in the arm that gets the excitement going and helps ultimately to make better photographers.

Any comments on this subject, or mirrorless cameras are very welcome.

Thanks, John

My website is at www.enmanscamera.com


Thoughts on Street Photography

Thrift shop

Great shopping

Bakery

Rope guy

Waiting at the Festival

Of all the recent trends that has increased in popularity since digital cameras, it is street photography that intrigues me the most. Street photography is not a new phenomenon and has been around since the beginnings of photography. Just check out the work of French photographer Eugene Atget in the late early 1800’s, or Fred Herzog’s photos in 1950’s and 1960’s Vancouver, Canada. In spite of the long history the pastime is still a niche in the broad spectrum of interests that photographers have. However, I am spending more and more time viewing intriguing images of life on streets around the world captured by talented modern day photographers.

Wikipedia says, “Street photography is an art photography that features the human condition within public places and does not necessitate the presence of a street or even the urban environment…The origin of the term ‘Street’ refers to a time rather than a place, …when workers were rewarded with leisure time…and people engaged with each other …more publicly and therein the opportunity for the photographer.”

I’ve never been good at street photography. I have made a few pictures worth viewing, but I become more occupied with man-made things and get side tracked with some building’s shadow and miss those interesting people shots captured by photographers adept at seeing what I pass by.

On my recent visit to Anacortes, Washington, I did try a bit, but I quickly realized that with my big DSLR camera I was attracting too much attention. Whenever I stopped people slowed, turned to face me, and watched.

Since I started discussing photography on-line I have come in contact with some very skilled street photographers and regularly visit their blogs and websites to view their creative work. Those photographers don’t usually add comments, letting their work speak for itself, however, I found a discussion by Los Angeles street photographer, Eric Kim, and the following are some of his thoughts on being a street photographer.

Mr. Kim writes, “…When you start off in street photography you will be inspired by all these other photographers you see. You will look at their work and be amazed by their photos…my advice is this: start off copying the photographers whose work you admire. All the great renaissance painters started off as apprentices. They copied their masters for years, and learned all the basics and fundamentals. And once they mastered the basics, then they were able to go off and find their own voice.”

He counsels us to, “Follow your curiosity.” and says, “As a photographer you are a scientist. You experiment to find new results.”

Kim continues, “When I started photography I always thought it was my gear which held me back. I felt my camera or lens wasn’t good enough…but what I realized is that I was simply lacking education…I didn’t dedicate myself to learn enough about photography. I simply thought that buying gear would help me become inspired, and therefore become a better photographer.” I couldn’t agree more with him when he writes, “…education is the best investment money can buy. Education is something that will always stay with you, in your mind, thoughts, and actions.”

While writing this I thought about all the advice I could have gotten just by asking the talented street photographers I have come in contact with in the last few years. Those interested will find that a quick search will show many photographers to look at and from whom to learn. There is also “The International Collective of Photographers” at http://www.street-photographers.com/

I’m not ready to start roaming city streets yet, but there is a local Fall Fair coming up in September. That environment, with its festive participants, might be the perfect place to search for that decisive moment.

I always appreciate any comments. Thanks, John

My website is at www.enmanscamera.com


Problem Solving Approaches to Photography

The procession 1

The procession 2

The procession 3


There are times when all photographers end up with faulty photographs. Once in a while it can be blamed on the equipment, or processing, although certainly not as much now as when film was used. However, in my opinion, even today most of those faulty photographs are because of poor techniques.

A friend stopped by my shop last week to tell me about his trip to Mexico. He complained that his daughter’s cheap little point and shoot camera got better pictures than he had with his son’s expensive DSLR. I don’t think he was happy when I told him the problem was most likely with his technique. I was certain that little point and shoot’s tiny sensor or it’s lens didn’t match the quality of a DSLR.

I listened to a local photographer grumble about how local photo labs are failing to make her prints the way she thinks they should be. I expect she totally relies on her camera’s programs and is one of those of the belief that if the camera they have been using doesn’t give good pictures then they should buy a newer or different manufacturer’s offering to make it so. In her opinion, that latest camera is advertised as producing wonderful images and when she doesn’t get the correct colour balance or sharpness it can’t be the camera or her fault, it must be the labs.

Years ago I was asked by the Abbotsford Photo Arts Club to give a lecture about problem solving in photography during their annual session. That was long before any of us even thought of the amazing control computers in our cameras or on our desktops now give us. However, at that time I felt, and still do, that the responsibility for a good photograph belongs to the photographer and not the film companies, camera manufacturers, or some poor, overworked lab technician. The point of that lecture, so long ago, was that photographers should look at each photograph as a problem to be solved, and go through the process of correcting faults before releasing the shutter.

Photographers used to say that it was all in the negative; that a properly exposed and developed negative gave the best possibilities of a fine quality print. I still agree with that principle only now it isn’t an image about to be developed on film.

By the time I arrive on the scene to photograph my subject of choice I have already made several decisions and I try to do as the famous photographer, Ansel Adams would do and “previsualize” the image or in my words, “problem solve for the final photograph”.

Like Adams, photographers should be thinking about how the final photograph will be used and how to accomplish that. If one thinks of a final photograph as a series of problems to be solved there will be a smooth transition from initial idea to final print. For example one could begin by thinking about the subject and its environment. What is the background and how will that affect the subject? What is in the foreground that will interfere with that subject?   If one considers depth of field a decision must be made how much is wanted to be “in focus”. Continuing on, in a landscape photograph, photographers will probably want everything from the foreground to far off distance to be crystal clear; whereas, for a portrait the photographer may want the background to be “out of focus”. Another consideration is what is the lighting like and will its direction be flattering?

The sun and its direction is always very important when photographing people. I prefer to have it coming from behind my subject and as readers know, I like to use off-camera flash. Although, if for whatever reason that isn’t possible, I problem solve my way into a photograph that works.

Photographers don’t need to see problems as a deterrent or bad thing. When I suggest to photographers to take a problem solving approach to photography I am really just saying that every element in any creative photographic composition is important, and from start to finish if a photographer uses a system of photographic problem solving there will be less faulty and more successful images.

With digital technology one can easily determine what went wrong or is going wrong and take the time to problem solve before downloading to the computer or relying on technicians at the local photo lab and hoping they are equipped with PhotoShop wizardry.

I appreciate your comments. Thanks, John

My website is at www.enmanscamera.com

Photographers Must Remember to Consider the Background

Brewster copy 2  Spirit

Gracie 1

Fat Cat

chuck port copy

Looking Scout

Rikkonna 1

Much of the time photographers get so excited about the subject before their camera that they don’t pay any attention to anything else that is captured by the camera’s sensor when the exposure is made. Of course, things can be cropped out during postproduction, but what if the background is so busy that it obscures the intended subject of the photograph? The background can impact a subject in many ways and much of the time it interferes with the subject.

In the past I have written about composition, depth of field, and even bokeh. Composition can be as simple as creating an interesting photograph by using basic guidelines or compositional strategies for a balanced image. Depth of field is that area in front of and behind the subject that is acceptably clear, and bokeh refers to that portion of an image that is out of focus. Using those three mechanisms or strategies as a way to isolate a subject help photographers increase the impact their photographs have for viewers.

A serious wild life photographer once told me that it is important to have a background that is neutral and non descript. I had one experienced birder giving me tips on photographing Loons, explain that soft green water made better pictures than contrasty blue water. I think that this may be his personal opinion, but I have to agree that of the photos I took that day I liked way the green water looks better.

I recall a photographer who had exhibited his photograph in a local exhibition being angry because he didn’t get a mention by the judges on his photograph of an eagle posing on a branch. He had exposed it properly and displayed it sharply. He was so proud of his photograph of that bald eagle that he was unable to see the busy background and how it negatively impacted on the overall photograph. I believe the judges did see that.

My advice to that photographer would be to curb his excitement and spend some time examining his subject and its surroundings. Using the term, coined by Ansel Adams, that I mentioned in my 26 June 2014 article, he should “previsualize” the image for its best impact.

Compose and isolate the center of interest, and decide how to use the background to the best effect; whether the background should be in, out, or partially focused, or to have it clear or cluttered, and if it is appropriate for inclusion or to be excluded. A busy background distracts viewer’s attention.

Backgrounds present both opportunities and challenges to photographers. Here are four very simple suggestions other photographers have told me take into consideration to make the background work.

1. Check your background before pressing the shutter;
2. Pay attention to your shooting angle;
3. Use the aperture or the focal length to blur the background;
4. Fill the frame with your subject.
They are all great tips, or thoughts for us all to remember, and I personally like the words of Ansel Adams that fits well,  “A good photograph is knowing where to stand.” And I’ll add, remember to consider the background.

I enjoy all comments. Thanks, John

My website is at http://www.enmanscamera.com

Photographers – What is your studio lighting setup?

My inexpensive and very portable "Portrait kit". Works easily for indoor or out of doors lighting.

My inexpensive and very portable “Portrait kit” works easily for indoor or out of doors lighting.

Last week an online forum in which I participated asked the question, “What is your studio lighting setup?”

Most participants were posting the brand name they used, and how many lights they owned, however, my post was about what I would call “kits”, that I used for each different situation or environment.

My opinion has always been that there are different tools for different jobs, and I have four individual lighting setups that fit particular photographic undertakings.

My “event kit” consists of four TTL hot shoe flashes. My “portrait kit” consists of three older manual hotshoe flashes mounted on wireless receivers. I also have two “studio kits”. The first studio kit, for those situations where I can find power, has a 1000w power pack with four strobe heads. The second kit is a battery-operated 280w strobe that will go anywhere.

Some forum members complained that they would have to wait till they had the money before a home studio lighting situation could be set up. I believe they only paid attention to those responders that included the manufacturer’s names for their expensive studio type lighting setups.

Yes, I agree, if one wants big powerful studio strobes there will be a considerable price attached.  And each manufacturer will hope to sell their own brand of light stands and light modifiers along with the lighting units. Yes indeed, all that will be expensive.

Most home photography studios are in the basement, or in a spare room to be quickly set up for a portrait session. However, the big name brands never discuss light volume or power vs. studio size.

My opinion is, if the room is less than twelve feet high, thirty feet long and only used for small group or single person portraits, those big, powerful, fast recycling, and expensive studio lights might be overkill, and a real hassle when one wants to soften the background by shooting a wide aperture because there is just too much power.

I wrote about the four kits that I use for different situations. The small hotshoe flashes I use for events and portraits, and the bigger less portable units I use with large groups, moving subjects, or when I just want coverage out of doors. I think those photographers intent on setting up small home studios for portraits and small groups don’t need to go to the expense of the brawny, studio type lights. Photographers can easily, and without much initial cost, set up a studio with what I called my “portrait kit”.

My portrait kit only has three hotshoe flashes, each with it’s own wireless receiver and two stands. Depending on the space a client provides for me to use, I use a small shoot-through umbrella, an umbrella brolly box, once in a while I use a soft box, and sometimes include a reflector. And it’s the inexpensive and easily stored “portrait kit” that I would recommend for most first-time, home studio photographers.

Wireless senders and receivers come in all sorts of incarnations, and can be, depending on brand and manufacturer, if one shops around, purchased for prices less than $100 for two receivers and a sender.

I use the inexpensive sender/receivers that fit under my flash, seated on a light stand bracket, and holds an umbrella, a brolly, or sometimes a softbox. And I use three Vivitar 283 flashes dating from the 1970s that I bought used.

My total cost for 3 flashes, the wireless sender & receivers, 2 shoot through umbrellas, stands, and 2 flash/stand brackets, and a small tabletop tripod that I can place behind my portrait subject was under $400 Canadian.  All of this is much less expensive, and a lot easier to store and/or move around than the big. studio-type flash units.

I make lighting tests before the person who I will be photographing arrives to get the correct exposure, and when he/she does show up, I take two or three more test shots as I move the lights for the most flattering effect.

Even if there were a wad of cash burning a hole it your pocket, my advice would be to proceed slowly, and learn how best to photograph a person first. Using hotshoe speedlights off-camera will be perfect for that educational process, and when they are no longer a good fit with your creative growth, the choices as to the next step in lighting equipment will be educated decisions instead of emotional.

As always I look forward to any comments. Thanks, John

My website is at www.enmanscamera.com

My photography Resolutions for 2014

Every year I write about my New Year’s Photography resolutions. I’ll remind readers they aren’t only resolutions, but things I’d been thinking about for some time. This year, as last, I’ll also call them my photography goals as well as my New Year’s resolutions for the year to come.

This year I kept the number at six and mixed them into no real order. Too many goals don’t seem to work for me. However, I included five more I found on the Internet for new photographers.

My first resolution is an easy one that I recommend to all serious photographers. The resolution is to get together with other photographers. Collaborate with like-minded enthusiasts, plan an outing or just get together for refreshments and talk at some local spot.

My second resolution is to plan several photographer vacations this year.  I’ll be sure to make them about photography, not those rushing trips where one just grabs a picture now and then on a tiny point and shoot camera. These will be the kind of excursions that allow me look at the world in new ways and inspire me to use the equipment, knowledge, and talents I have.

My third resolution is to continue my ongoing, and seemly never-ending quest to organize my old photographic slides.  I make this resolution every year.

My fourth resolution is to upgrade my computer, well actually, to purchase a new computer. Gosh, I’d do almost anything to skip this one, but I suppose I must be resolute in this resolution.

My fifth resolution is to add a lens this year. Not that I really require anything, but there are a couple that are intriguing.  Nevertheless, because I prefer to purchase used equipment, I am always on the look out for bargains that fit the kind of photography I do.

My sixth resolution is to attend a photographic workshop. The subject doesn’t really matter; I always learn something whether it’s from the leader or from my classmates. I regularly buy books on different photographic subjects and I am an avid reader of many online bloggers and teachers, but the experience of being part of a class offers so much more.

I decided to search for other photographer’s New Year Resolutions and found a list by www.photoguides.net I changed their order and selected five that I think will benefit those readers new to this exciting medium in the year to come.

Their first New Year’s resolution is to, “Use filters”.

The second resolution, “Never use Auto mode” I do like that, but I think I would change it to “learn when and where to use Auto modes”, because I look at cameras and their functions as multipurpose tools.

The third resolution, “Shoot more in RAW” surprises me. Not the resolution, but that any serious photographer, even a beginner, wouldn’t prefer RAW.

The fourth, “Take control of your flash” might just be my favourite resolution. Anyone familiar with my photography knows how much I like flash.

For the fifth and last resolution for 2014.  I’ll just smile and nod my head, “Stop the car”.

I am sure readers will make their own resolutions for the year we have just begun.  What could they be? I can only imagine.  Let me know.

I wish you and yours the best in the New Year.

My website is at www.enmanscamera.com

Photographing Things That Go Fast.

Lucas racing   Flying Black  Quick turning  At the gate  White bull calfa Fast court      Nascar

I received a call from a photographer asking help with a new camera purchase. He had selected two and was comparing their difference in frames-per-second. I had read about both cameras and have to admit with so many other spectacular and enticing features both offered I hadn’t paid much attention to how many frames each could shoot in one burst.

When I asked him why FPS was important he said, “So I can photograph things that go fast”.  A good point, although a minor one in my opinion, shooting with continuous advance might increase the number of keepers he has, as he learns techniques for photographing fast moving subjects.

I will admit I like photographing things that go fast. Capturing less than of second of a subject’s life that will be gone forever is exciting.  That photographer could hope to stop the action by putting his camera into it’s P, or A mode, and employing his camera like a machine gun, make a burst of the shutter to stop a moving subject.

Some experienced photographers know how to get great results at the 8-frames-per-second or more, but if he is just starting out, he might want to dial it back a little and experiment to find what works best. The belief that faster would be better is not always the case. A DSLR cannot always find focus on a passing subject while the mirror is up and one can’t track the action through a viewfinder blocked while several frames are being made.

When I approach action photography at say, a basketball game, rodeo, or cars at a dragstrip, I don’t bother with the continuous frame feature on my camera. I know that the best way to stop action is with a fast shutterspeed. First I increase the ISO so the sensor is more light sensitive. Modern cameras have no problem with ISO settings of 800 or more and depending on how bright the location is I might move ISO higher or lower. I just make some tests before things get going.

Next I set my camera to a mode where I choose the shutter and the camera chooses the aperture. (S on Nikon and TV on Canon)  I select the fastest shutterspeed that will let me keep some depth of field, then do more test shots, and I am ready to start taking pictures.

I anticipate and choose the best location to catch the action. Gosh, it’s all that easy. I suppose one could do additional testing with a high burst of frames-per-second. I don’t think that is needed, it just eats up memory and might require hours of editing in Photoshop, but what the heck, with today’s exciting technology we need to experiment to find what works best for our shooting style.

My first camera didn’t have auto focus, programmed exposure modes, or eight-frames-a-second capability. I couldn’t even shoot at shutterspeeds over 1/500th of a second. But, I read a lot, took classes and learned about the aperture and shutter, learned how to follow a moving subject, and about how my camera exposed a subject. And practiced a lot in spite of the price attached to each roll of film.

Oh, and my advice to that photographer didn’t discuss the need for fast shutterspeeds. As I wrote, there were so many other spectacular, and enticing things about the cameras we talked about, that I forgot about adding an opinion about frames-per-second.

I really appreciate any and all comments. Thanks, John

My new website is at www.enmanscamera.com

Taking Pictures at the Party

Tree Planter's 122  Tree Planter's 095  Tree Planter's 102  Tree Planter's 047   Tree Planter's 076  Tree Planter's 071

I can hardly believe how fast this year has gone by!  Wasn’t I just complaining about the unforgiving heat during a wedding I photographed on a cloudless +35C day?

Now, here I am bundled up in the +1c cold and snow, with new snow tires mounted on my car. Gosh, there is even an advertisement on television about what wine to bring to upcoming Christmas parties. Yikes!  Don’t get me wrong I like Christmas, and everything that goes with it, but I am not ready for winter’s snow yet, and neither is all the stuff in our yard that will get covered and damaged if I don’t get off my-lazy-whatever and pick them up.

Even though it seems early the Christmas season is coming up fast and that means photographic opportunities as we join family, friends, and co-workers at all the year-end festive events that are going to begin in December.

Photographer friends are going to dive in, digital cameras in hand, happily filling memory cards with candid photos.  The act of picture taking has become so easy and so much fun as photographers rush over to take a picture, look at the LCD, and quickly slide back to show others those tiny images.

For many photography has become more about the process of picture taking than it is about creating art, or even documenting the party; it is more about standing in front of people, taking lots of quick snapshots, than it is about making memorable photographs.

Most images made in this fashion never become more than space-taking files stored on computers that after quickly being looked at, laughed at, or smiled at, are tucked away with good intentions to be used in some fashion in the future, but after that initial viewing they loose their value because there are too many, and very few are good enough to give to others anyway.

How should readers approach photography at the next party?  Yes, readers should continue to make candid photographs of people having fun, but, perhaps, they should also think about making pictures that tell a story, capture an exciting moment, and importantly, flatter the subjects.

Most people don’t mind seeing a picture of themselves being silly or having fun, but they don’t like pictures that make them look stupid or unattractive.

My approach is to take a moment to look at the room in which I intend to make photographs, make a couple of test shots with longer shutter speeds (my favourite is 1/60th of a second), to include some ambient light when making exposures using the on-camera flash so as not to end up with brightly lit faces surrounded by a black environment.

I suggest taking group shots with two or three people. Get them to position themselves so they are squeezed together with a tight composition, and include only a little background or foreground. Don’t shoot fast, steady the camera, and select a shutter speed that includes the ambient light. Fortunately most modern DSLRs easily allow ISO sensitivity that is 1600, and some go a lot higher.

Shutter speeds of 1/60th of a second, or less, doesn’t always work for children playing in the snow during the day because moving subjects will be blurry, but, with limited lighting moving subjects will only be exposed when the flash goes off.

Lighting everything with complicated studio equipment would be great, but that would ruin the party for everyone. The occasion would become more about the photography than about the fun and festivities.  I use an on-camera flash and make adjustments as I go. I want to join in on the fun, not act like a photojournalist.

Family and friends don’t mind having their pictures taken as long as its enjoyable and I want pictures that show them having a good time. So, along with those quick candids I make posed portraits with smiling faces, and if I select some pictures to give away later I want people to like the pictures taken of them and honestly thank me.

I always enjoy everyones comments, John

My website at www.enmanscamera.com

What is Your Favourite Photographic Accessory?

Accesories

Thursday mornings at my shop, I always have coffee with several friends. The conversation is always good, lively and is, of course, usually about photography.

Last week we ended our morning conversation discussing how off-camera flash technology was advancing, and I had mentioned how amazing it was to be able to synchronize a camera’s flash at 1/8000th of a second, and how I liked the versatility of positioning a speedlight with the off-camera flash bracket that I use.

Later that day as I thought about what my friends had talked about that morning, I got to thinking about how some accessories make our experience as photographers easier. There is always lots of discussion about cameras and lenses, but photographers only seem to mention occasionally the accessories that they use.

I decided to post the question, “What is your favourite photographic accessory?” on a couple on-line photography forums, but I received very few replies. I suspect “What is your favourite camera or lens” would have gained more attention. Nevertheless, here are some responses that I selected.

This first from someone called Hawaiiboy says, “I would have to say my tripod combined with my wired timer/remote.”

Then Merlin from British Columbia wrote, “My iphone.  I use maps to find my way around and play birdcalls when needed.  It acts as a flashlight at night.  Oh yeah I can even make phone calls with it.”

The third I’ll include is from a Toronto, Ontario photographer, “My 10 stop Neutral Density filter is right up there.”

Another photographer called Cicopo in Ontario posted, “My cable release and tripod because that allows me to shoot from a higher perspective and steadies my camera.”

Dave from Alberta included, “I would have to go with the obvious ones like an air bulb blower, and micro-fibre cleaning cloth. I photograph mainly out side so I use them a lot.

A photographer named Matt that shoots in Manitoba wrote, “My monopod, the next best way to stabilize my camera after a tripod. I also use it like a walking stick during my weekend hikes.”

My wife Linda leaned back over her chair, after I interrupted her reading with the question, and said, “My polarizing and graduated ND filters. I shoot mostly scenics and those filters help me control the sky.”

From Saskatchewan, Gary wrote, I’d include my 5 in One reflector as my favourite accessory. I shoot portraits and always use a reflector.

I think my favourite commentator was Hendrik, from Alberta who wrote, “My bean bag. It gives me the best stability I can ask for; it enables me to shoot from the safety of my car and lets me use my car as a blind. When I am out a whole day and stop for lunch, I can use it as a super comfy pillow to lay down in the grass and look at the clouds flying by.”

I’ll add one of my personal favourite accessories. I have written many times in the past that I almost never photograph people, indoors or out, without adding light from a flash. My favourite accessory that makes that all so easy is a flash bracket that I use to lift my flash way up off my camera.

I am sure readers will have their own, even if they never think about it, that is there in the camera bag, always waiting and ready to be used. These favourites that I listed from my responses aren’t that special, they are just those accessories that, as I wrote earlier, make our experience as photographers easier.

I like comments. Let me know what you think.

My website is at www.enmanscamera.com