Constable Mike Moyer.
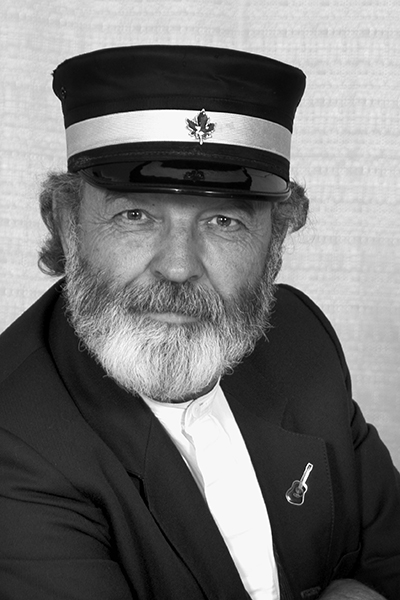
Professional Actor
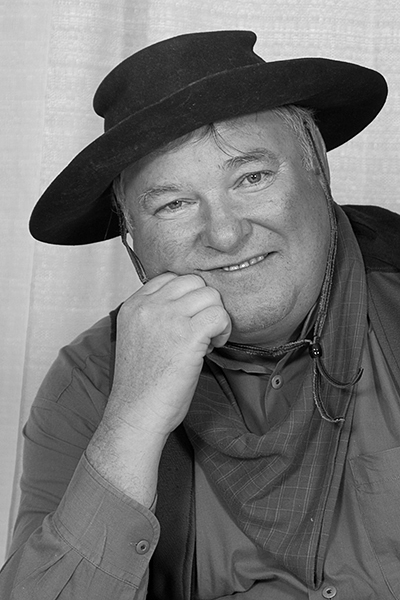
Professional Actor
I had an interesting discussion with another photographer over coffee this morning. He had brought his memory card with several different pictures and as we talked about his shots he asked, “What is your favorite photography subject?”
Like many other photographers, what I like best changes with whatever I’m currently photographing, and I enjoy photographing just about everything. But in truth most of my subjects in the past 40 years have been people. My reply was, “I enjoy photographing people.”
I’ve been employed doing many types of photography since I began earning my living as a photographer in the 1970’s. And I have worked as a photographer for all types of organizations photographing all types of subjects. However, most of the time I have photographed people. I think most photography is of people. We take pictures of our family, of friends, and of people at celebrations and other events.
His next question was, “how do you make a photograph that is more than just the usual snap shot?”
Here are my 10 suggestions that contribute to successful people photographs.
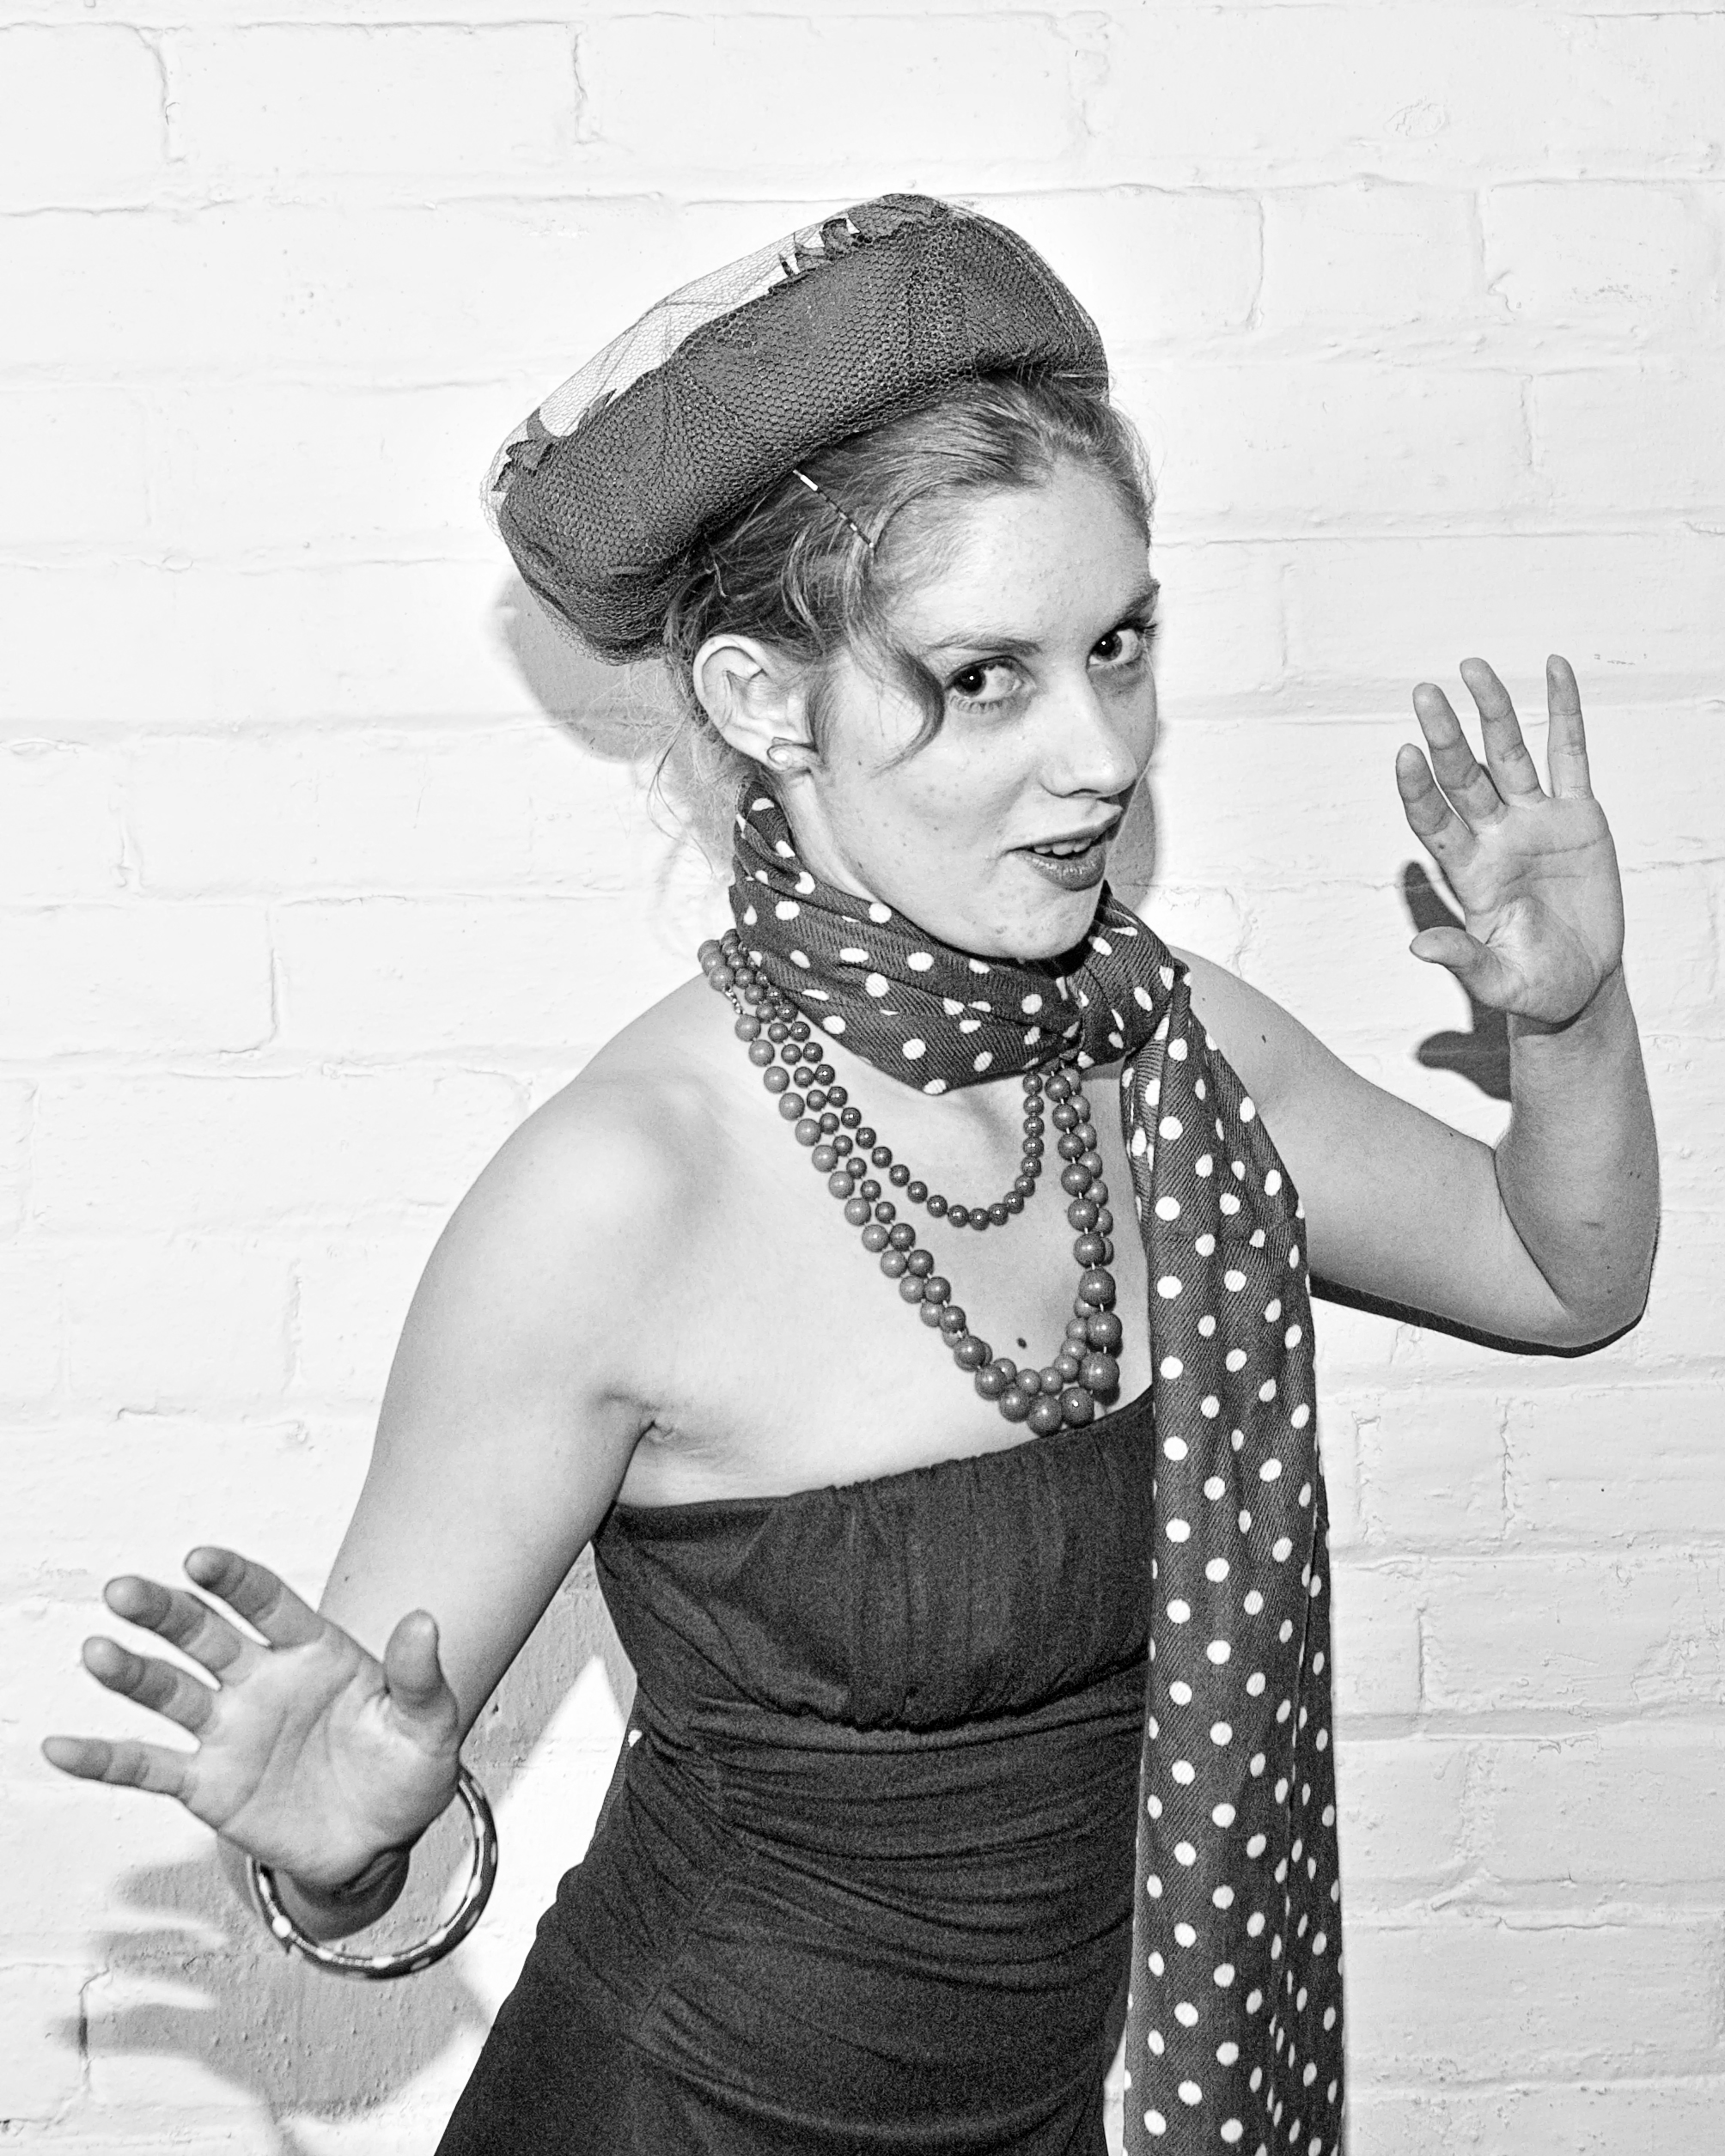
- When you take pictures of people look at them and pay attention to their appearance to ensure they look their best. Don’t just rapidly take a photo and realize later that you should have had your subject adjust something, e.g., a necklace, glasses, a collar, or especially, that tie.
- Do three-quarter poses of single subjects. By that I mean turn their body so that they view the camera from over their shoulder. Choose interesting and flattering angles or points of view. Avoid straight on or “up the nose” headshots.
- Focus on the subject’s eyes. When we talk to people we make eye contact. There is a greater chance of your subject liking the photo if their eyes are sharp and not closed or looking away. Ensure that subjects smile. In my experience when subjects say they want a serious photo without a smile they appear sour or unhappy in the final photo. Do one of each as a compromise.
- Select an appropriate lens. Avoid short focal length lenses. On a full frame camera my favorite is 105mm. However, with crop-frame cameras I don’t mind 70mm. Longer focal length lenses create a flattering perspective.
- For portraits, an aperture of f/4 or wider will soften the background and make your subject stand out, but for group photos use an aperture of at least f/8 or smaller to increase the zone of focus (depth of field).
- Look at the background behind your subject especially when doing outdoor portraitures. You don’t want the photo to appear to have something growing out of your subject’s head or to have objects in your photograph that are distracting.
- Pay attention to uncomplimentary shadows created by the sun, your flash, or other light sources.
- Get things ready first. Contemplate the poses before you photograph your subject. The best way to bore your subject and loose the moment is to make them wait.
- Tighten up the shot. Get rid of unwanted elements in the photograph that do nothing for it. If there is more than one person make them get close together.
- Talk to your subjects. The most successful portrait photographers are those who talk to and relate to their subjects. We are dealing with people and we communicate by talking. Don’t hide behind the camera.
And as always be positive about the photograph you are about to make. Get excited. Your excitement will be contagious and affect those around you.
I appreciate comments. Thanks, John
My website is at http://www.enmanscamera.com