Snowshoes Are Perfect For Winter Photography         

Passing the shed

Afternoon sun

Melting snow

Barn View

Winter is here and there is enough snow for me to put on my snowshoes and make my first winter hike to the high meadow above my home. Last January my walk up into that meadow’s deep snow was on a cold, -3C day, under a bright, almost-cloudless, blue sky, and I remember I was shooting with a lightweight, 18-105mm lens on my cropped-frame camera.

Yesterday I had chosen to mount a lightweight 24-85mm on my full-frame camera. Both this year and last I incorporated a polarizer to darken the skies, increase the contrast in the scene, and suppress glare from the surface of the bright white snow, on the partly cloudy +1C day that had me wishing I didn’t wear the extra undershirt.

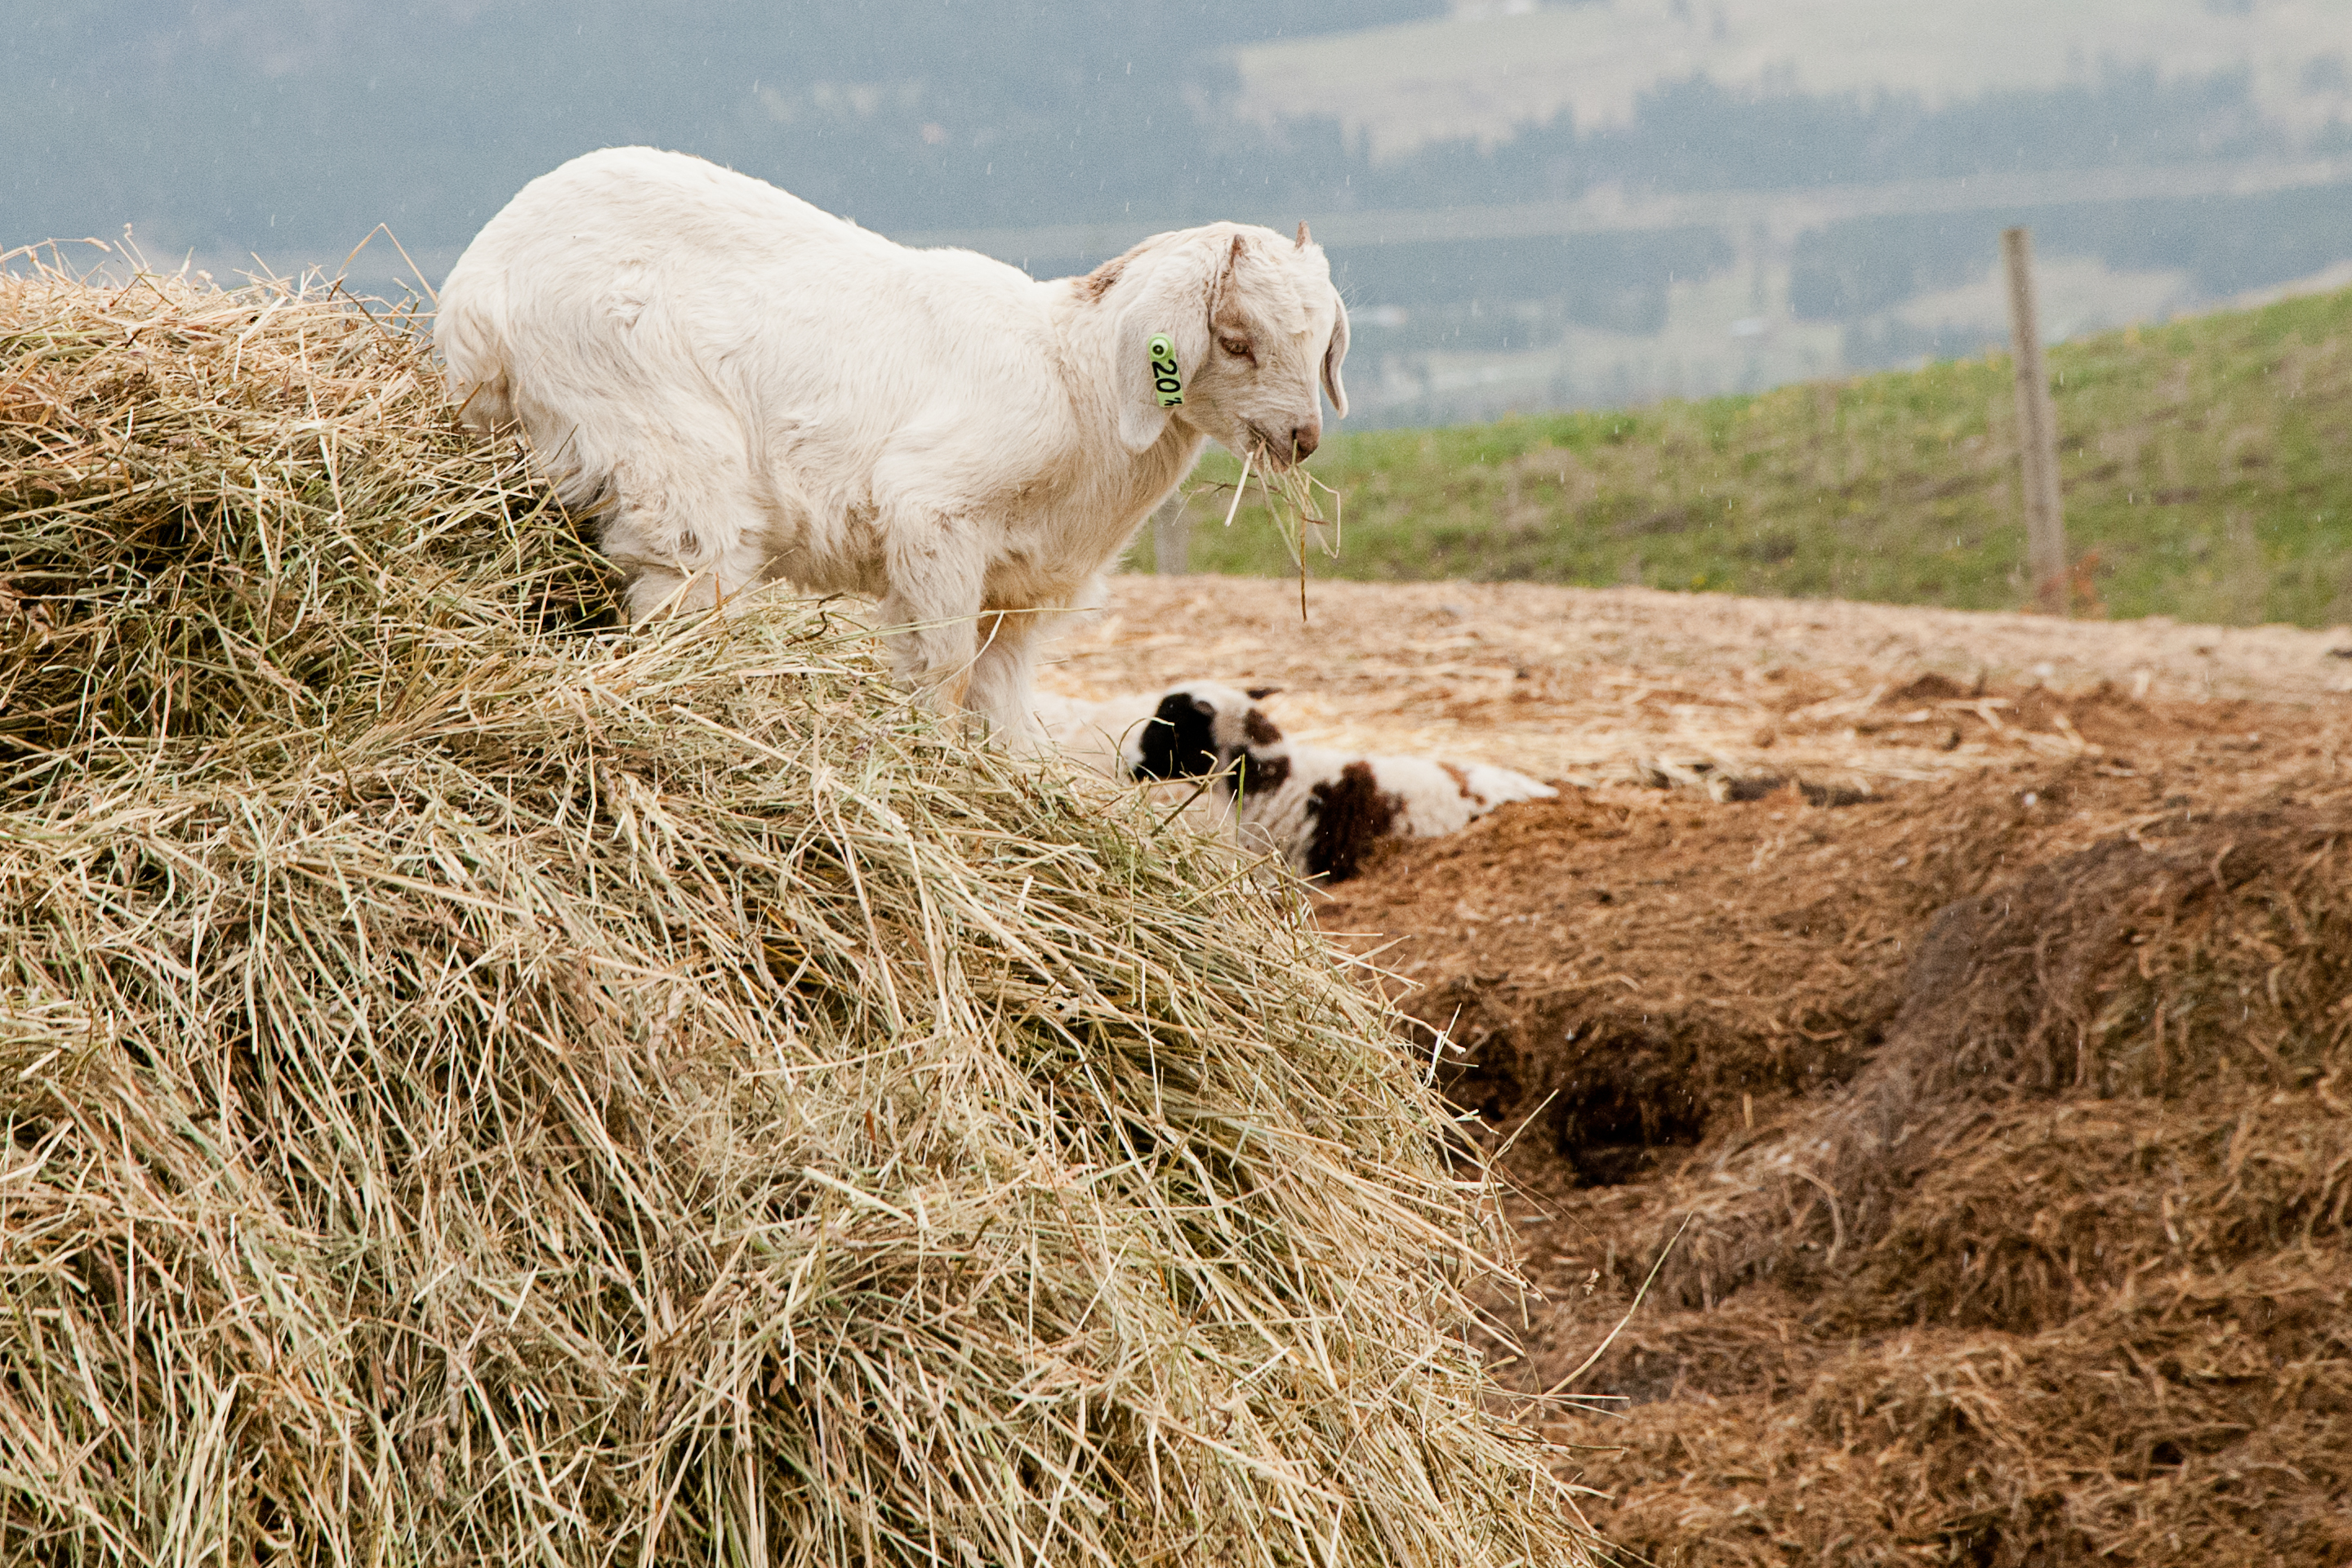
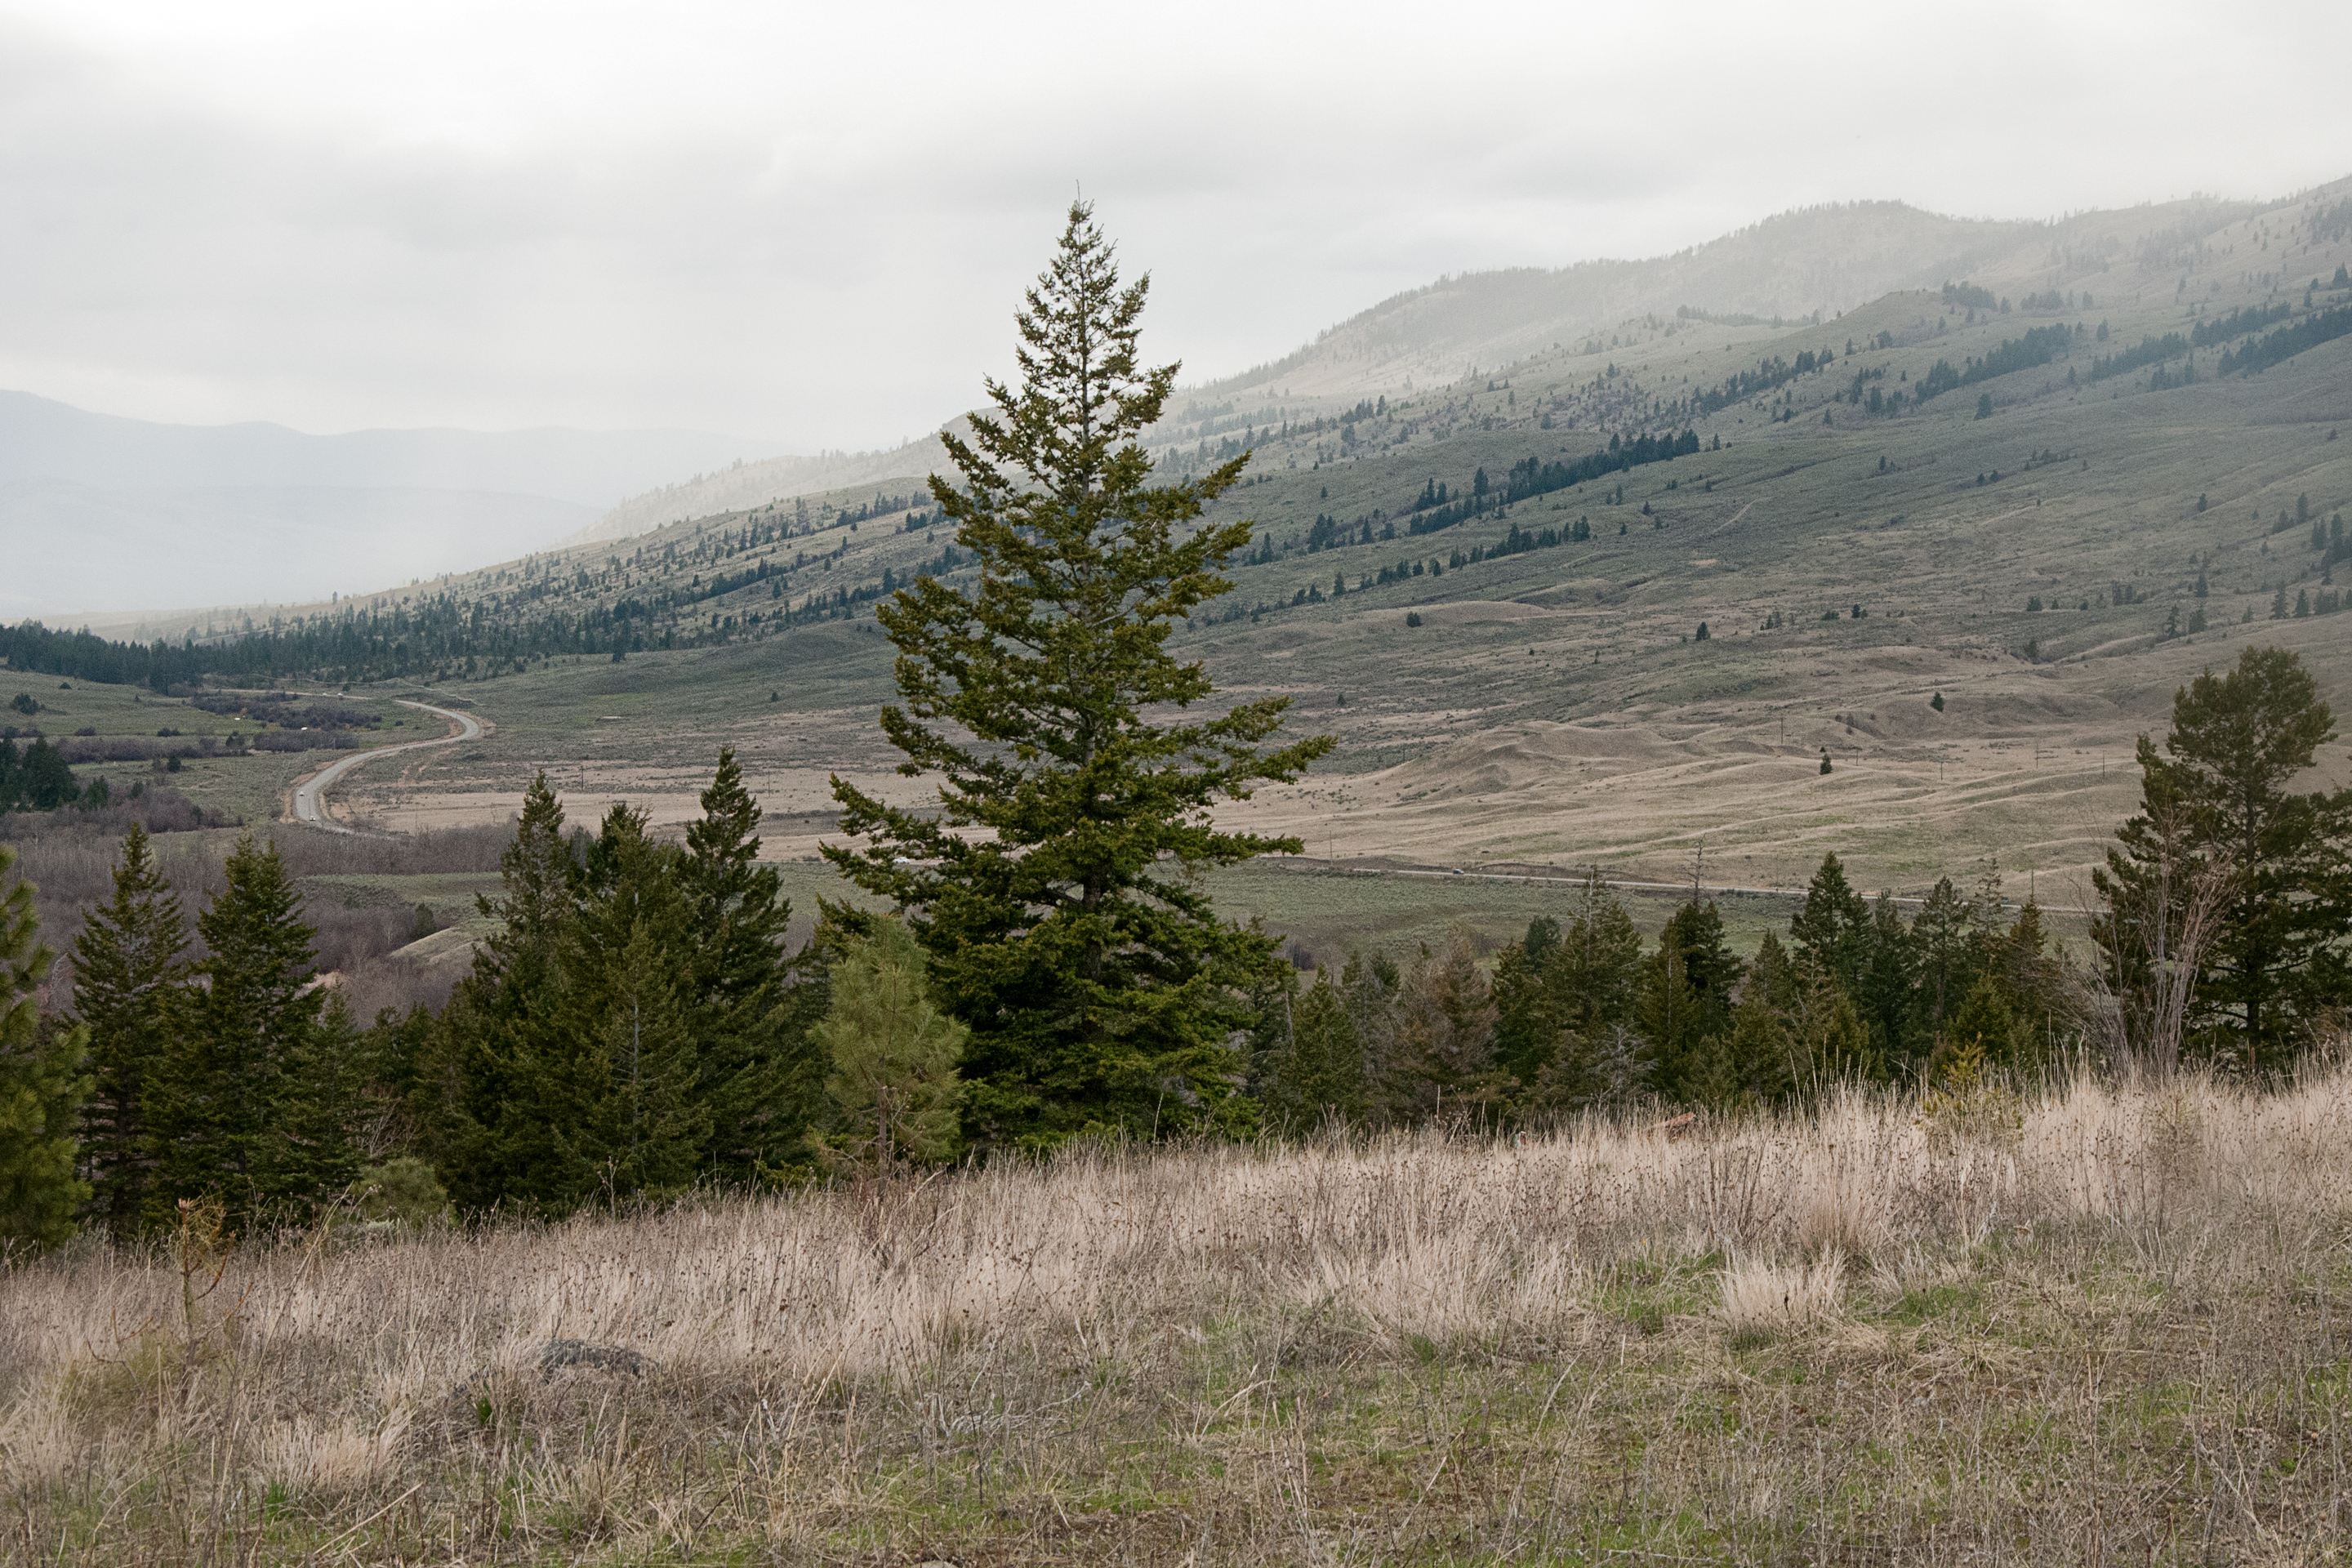
I trekked up the hill, and as I had so many times before, I photographed everything. There are rarely any animals in sight in that long meadow. If so they can hear my snowshoes crunching through the snow on the long hill and stay hidden just out of sight. As there usually is when I begin to cross the meadow, a crow cries out a warning to the silent watchers. Then it got quiet with only the sounds from my snowshoes and camera’s shutter as I tramped around photographing the hilltop meadow above the Thompson River Valley.

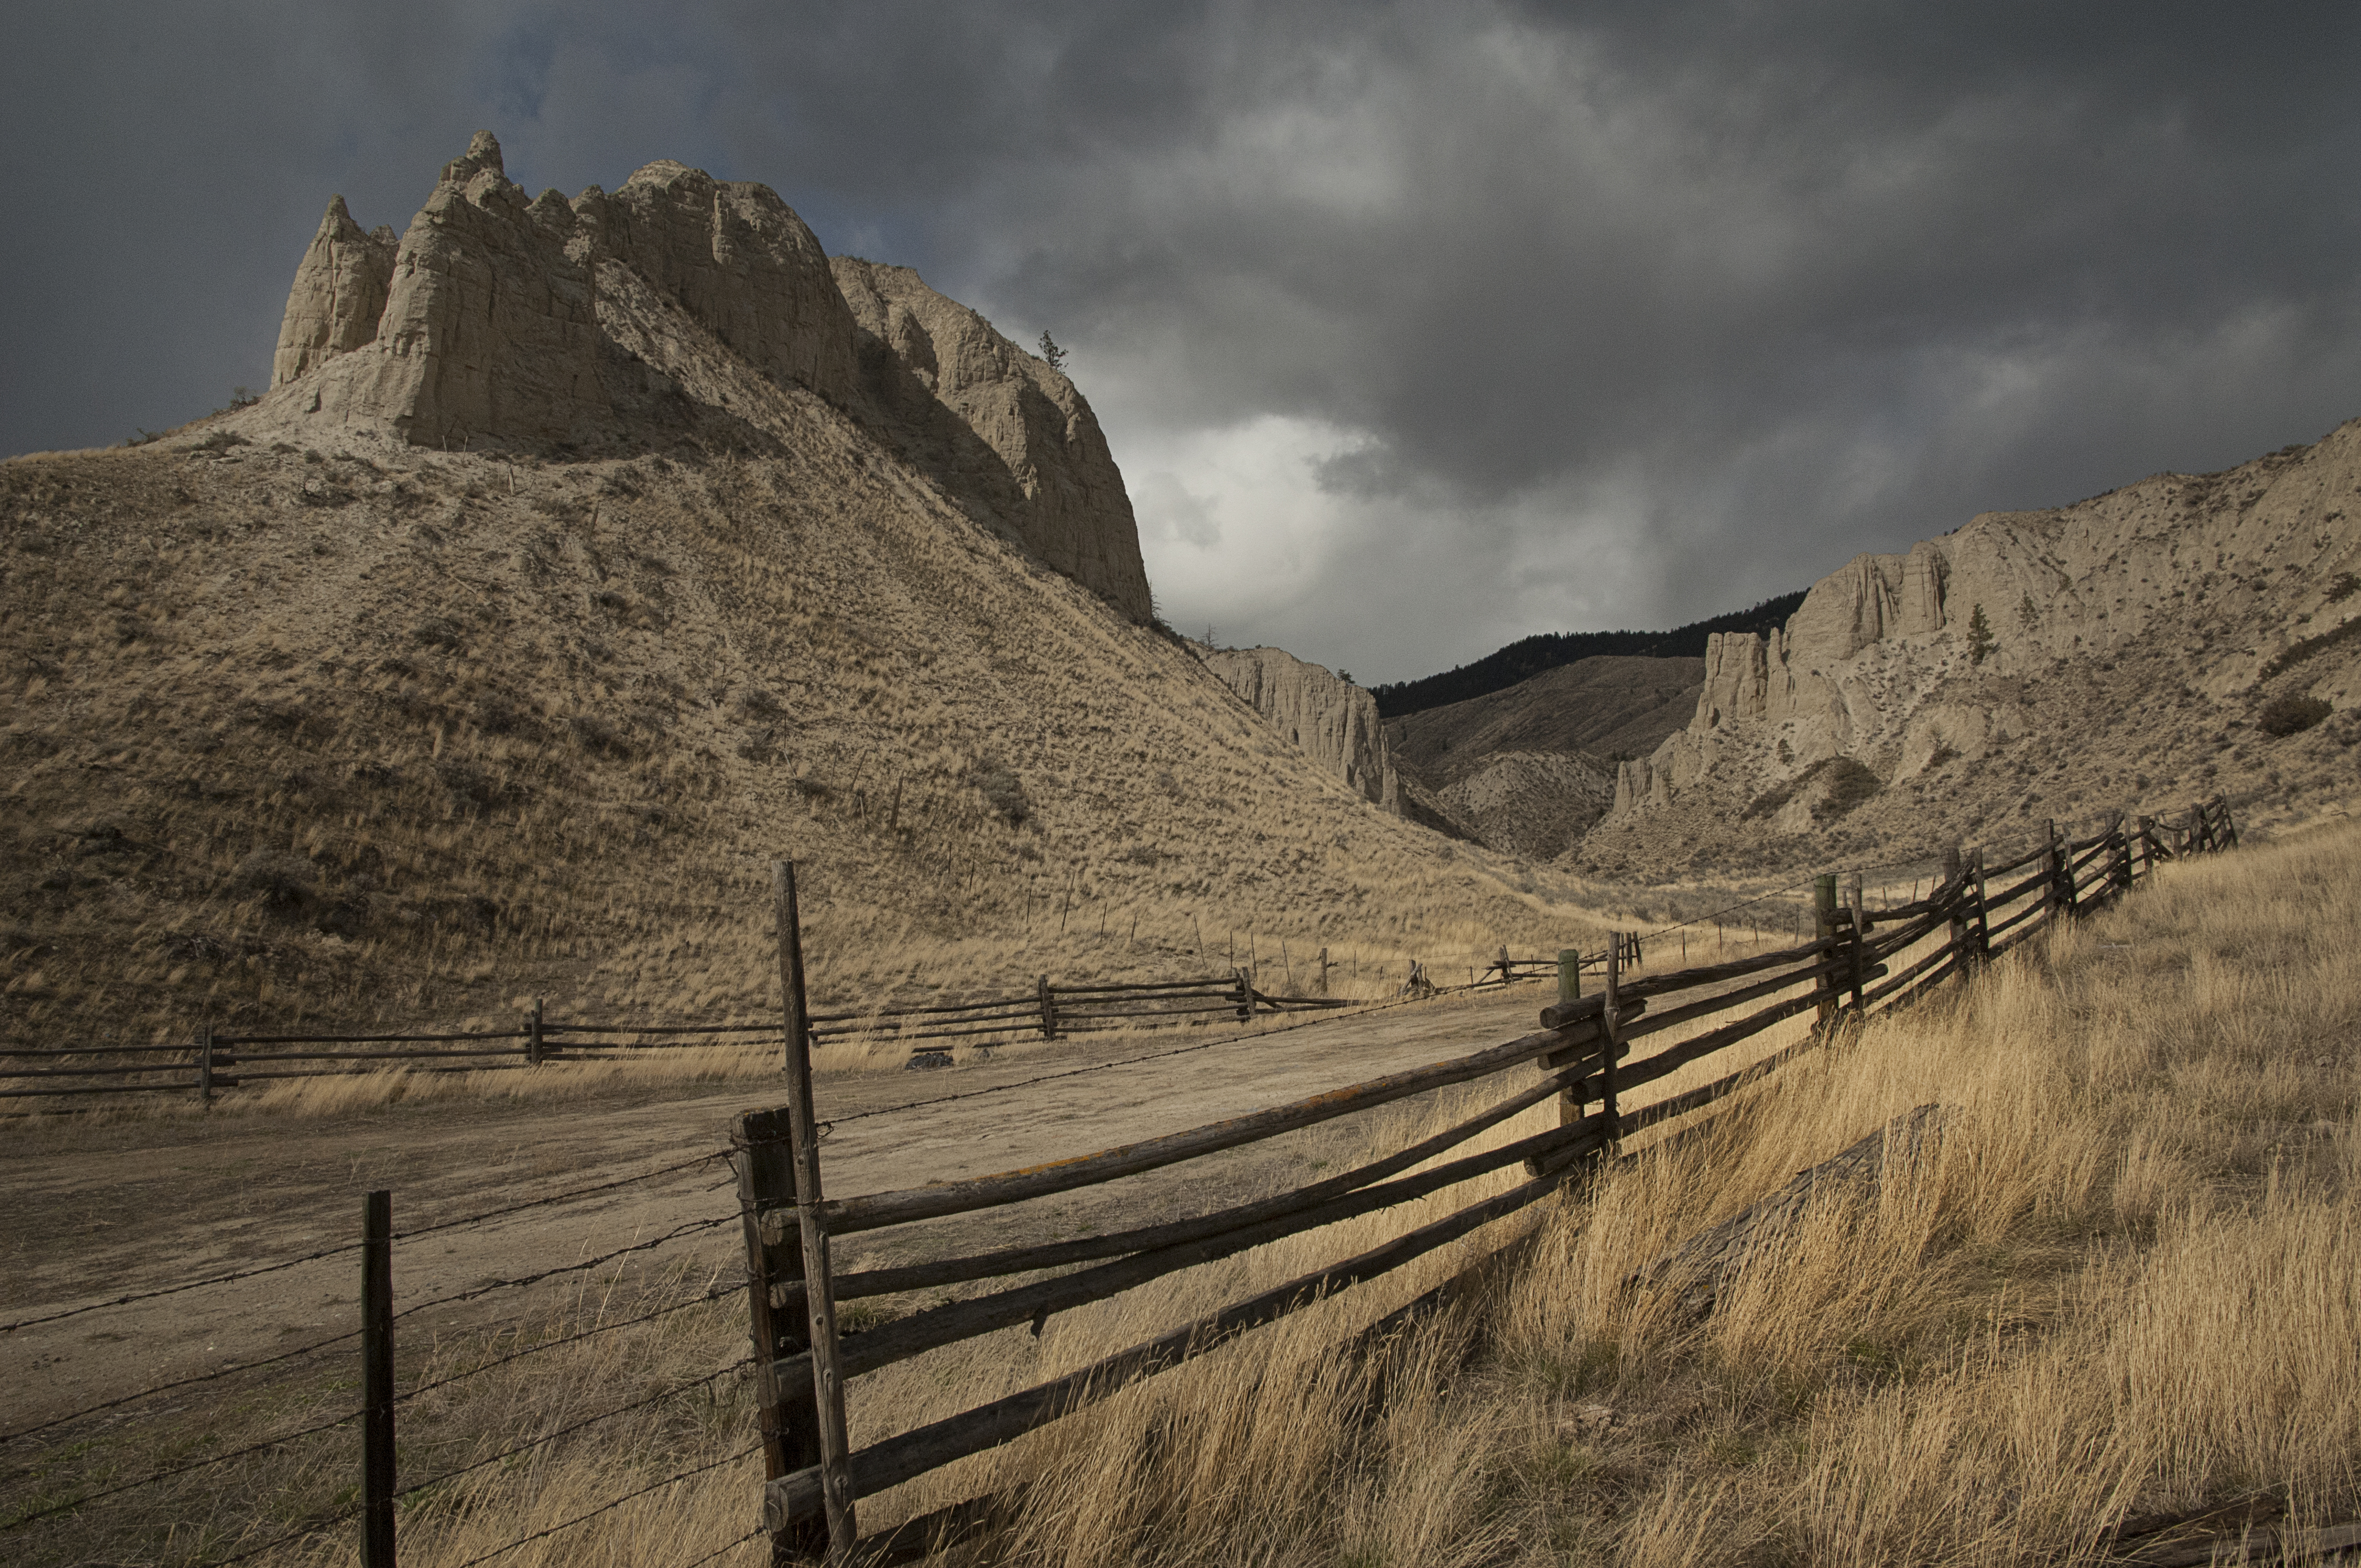
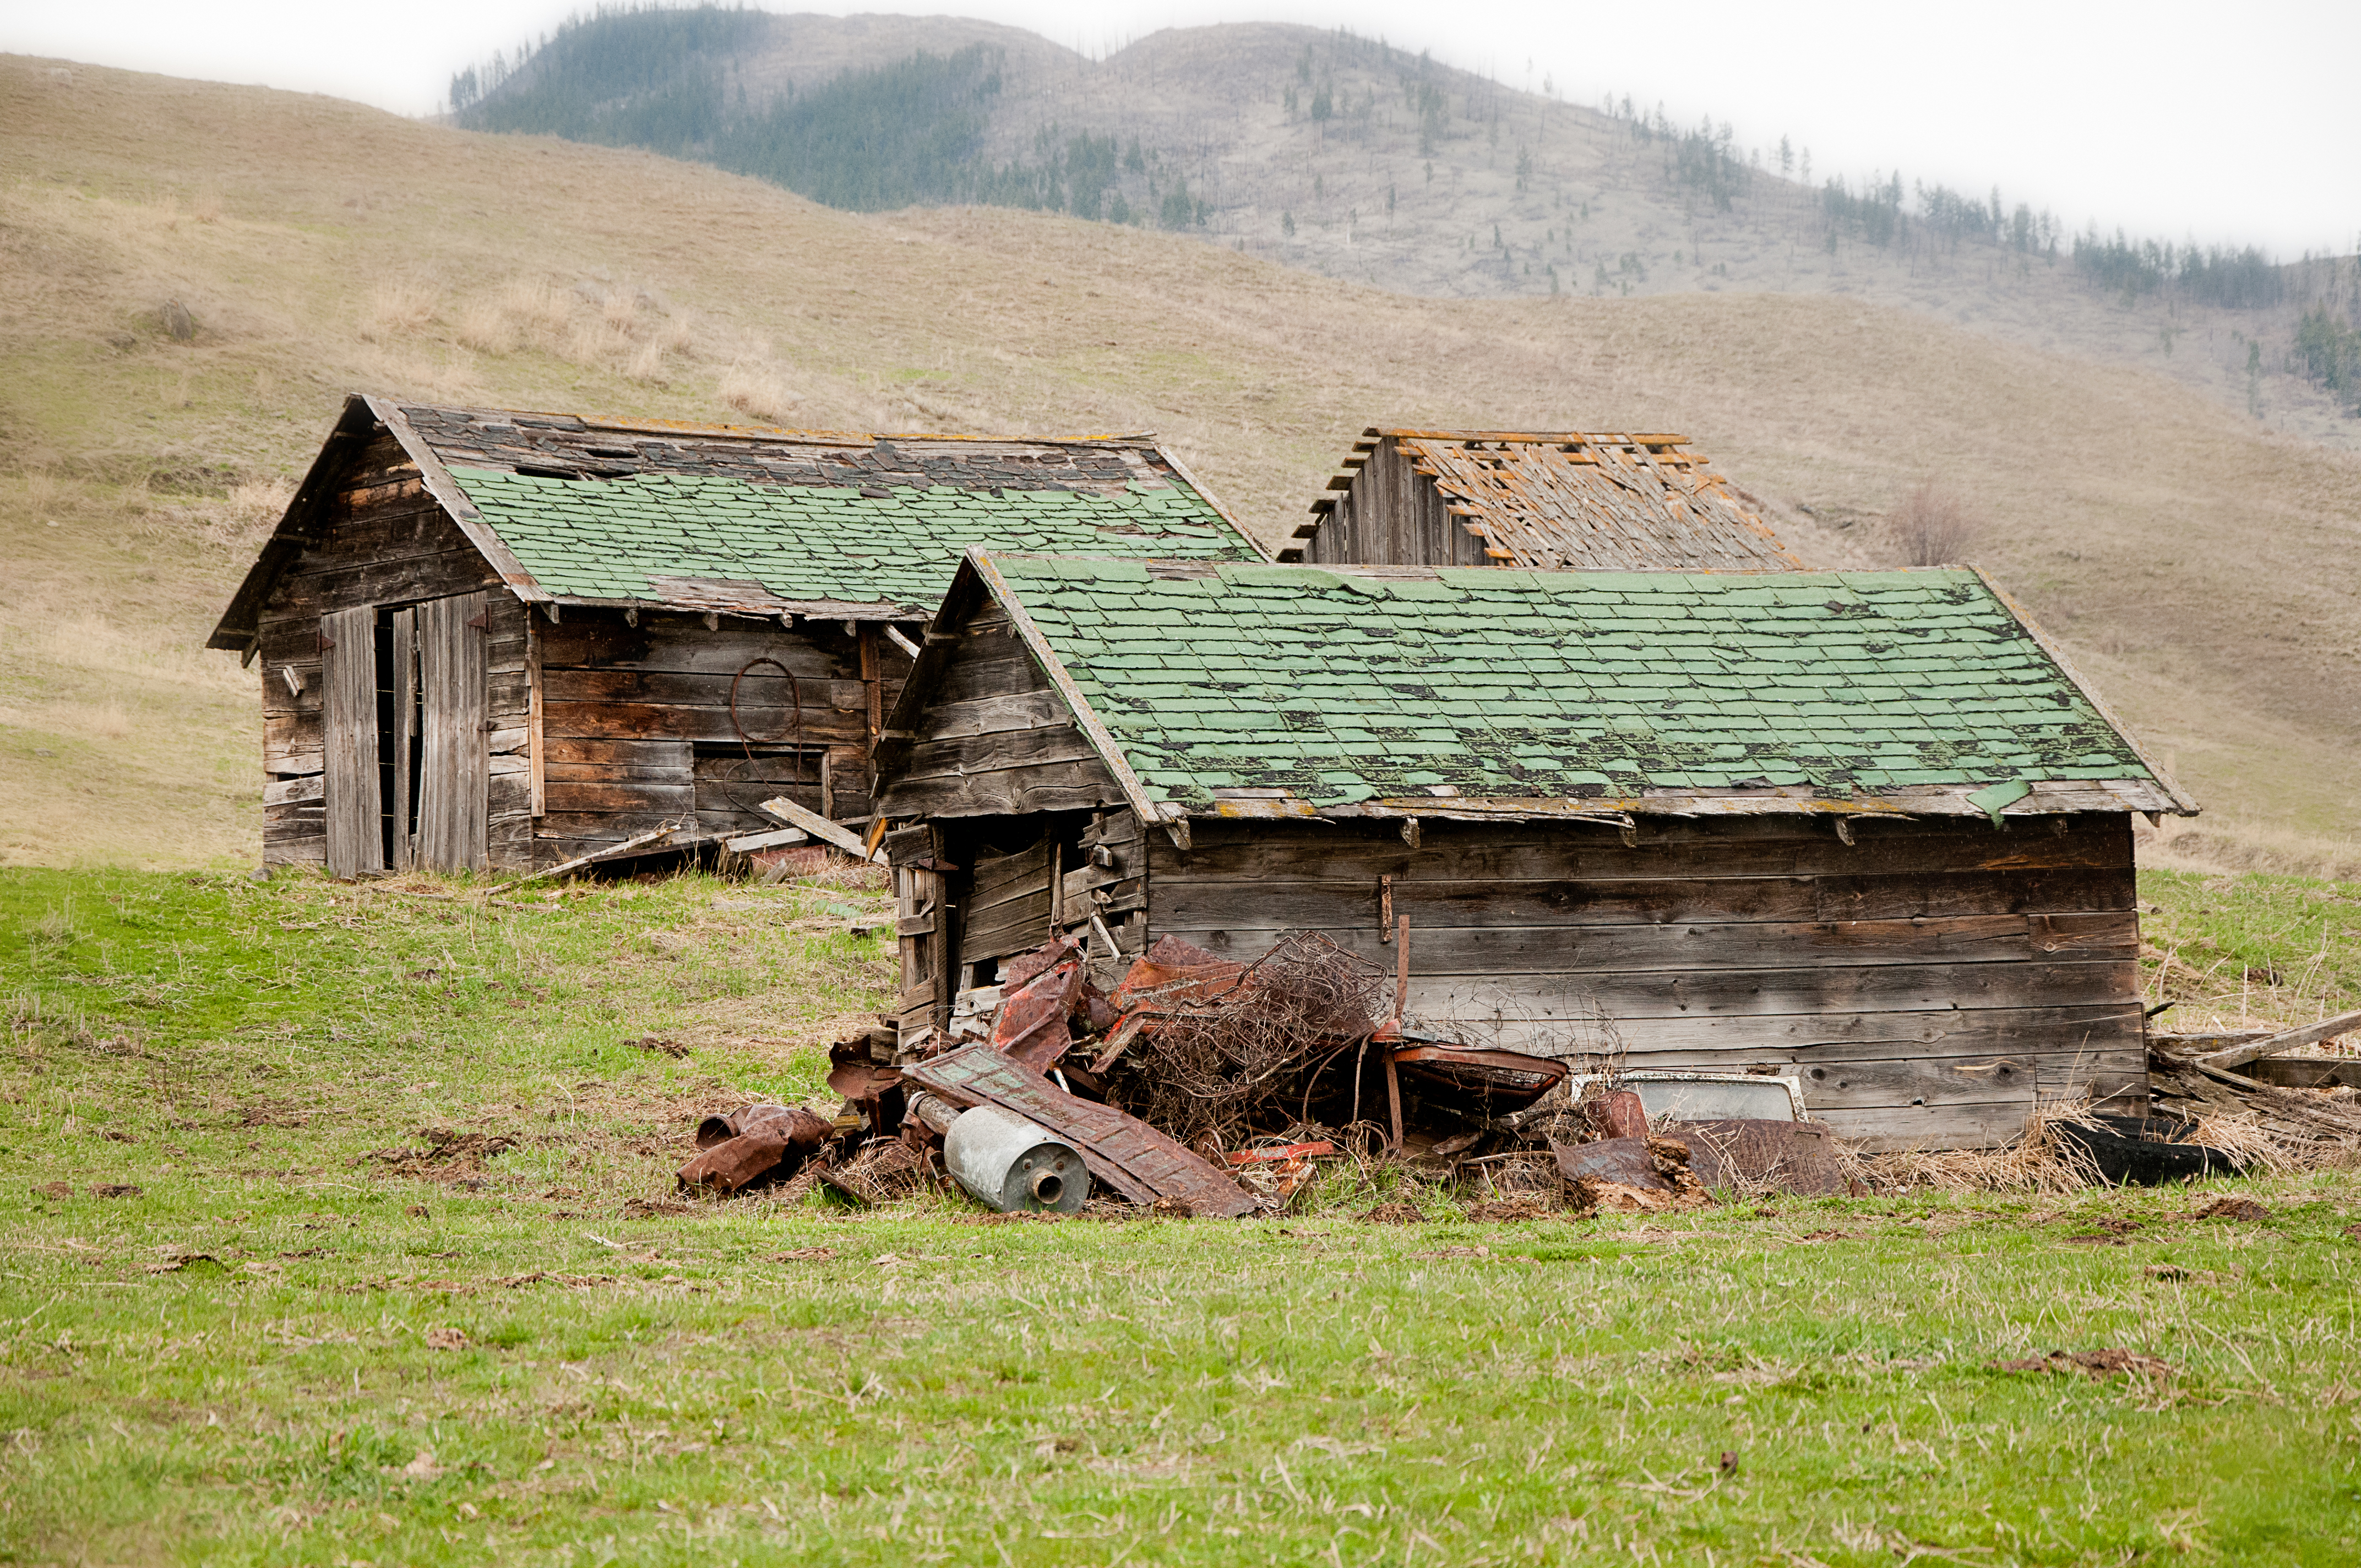
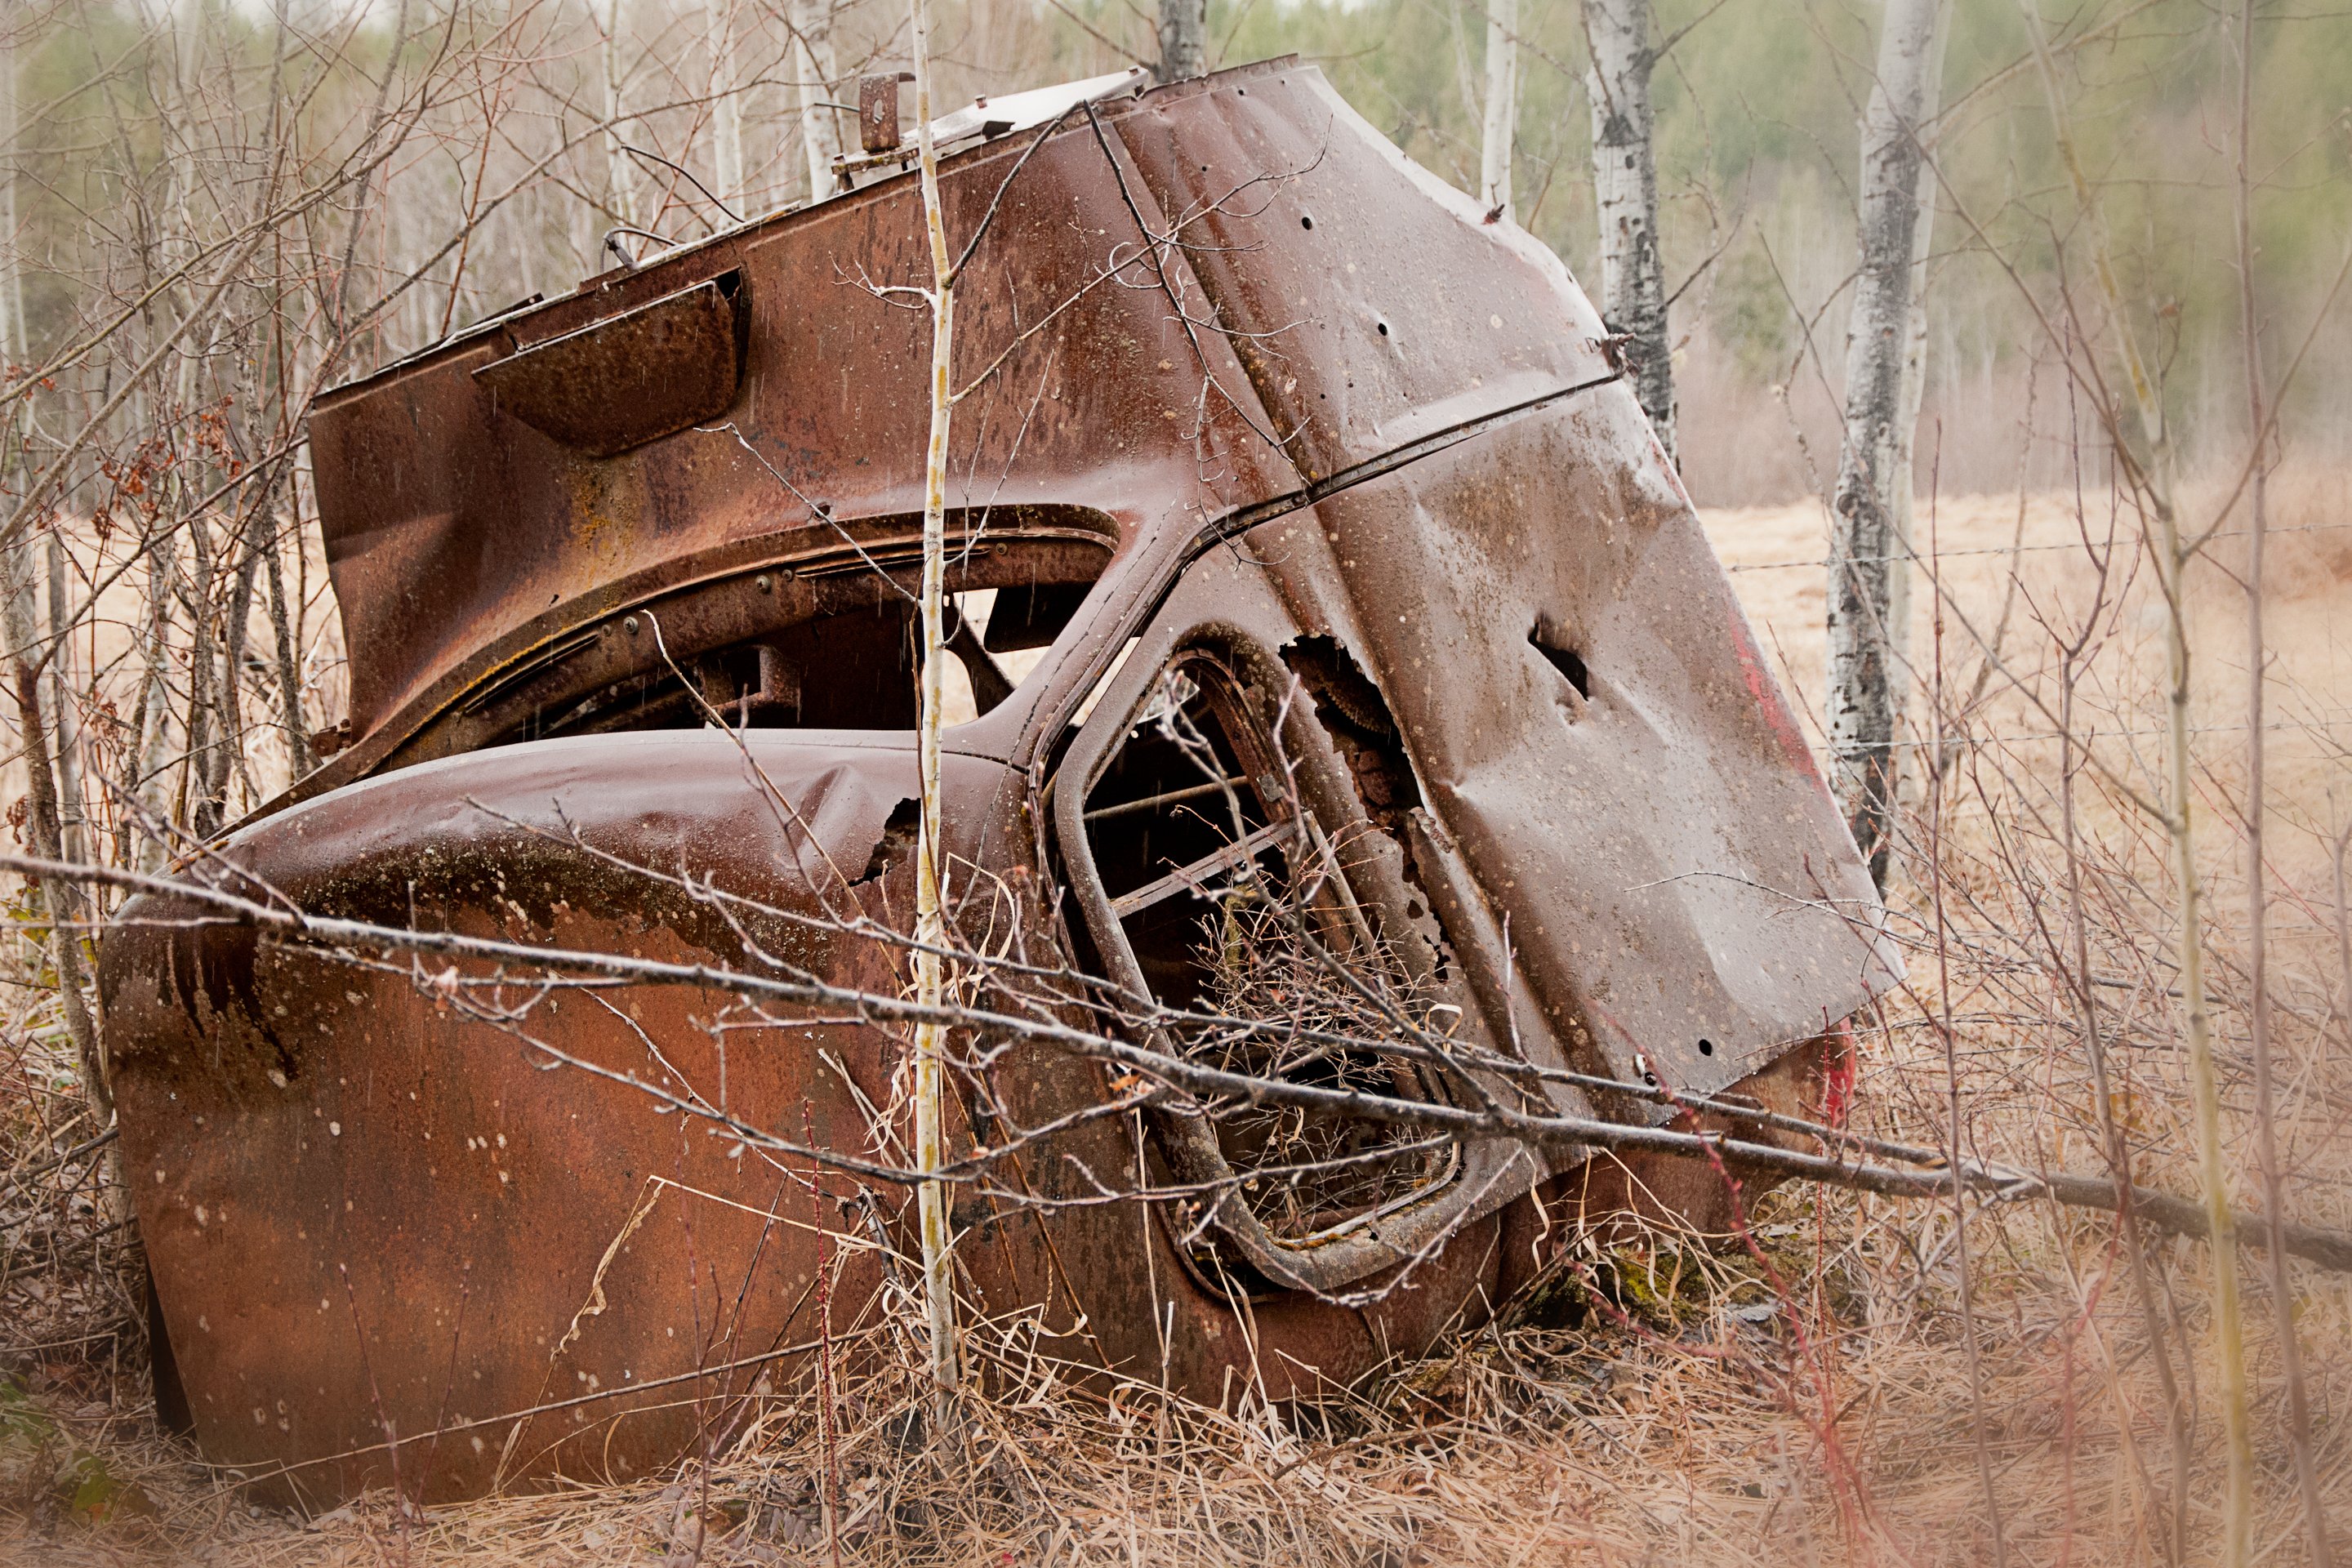
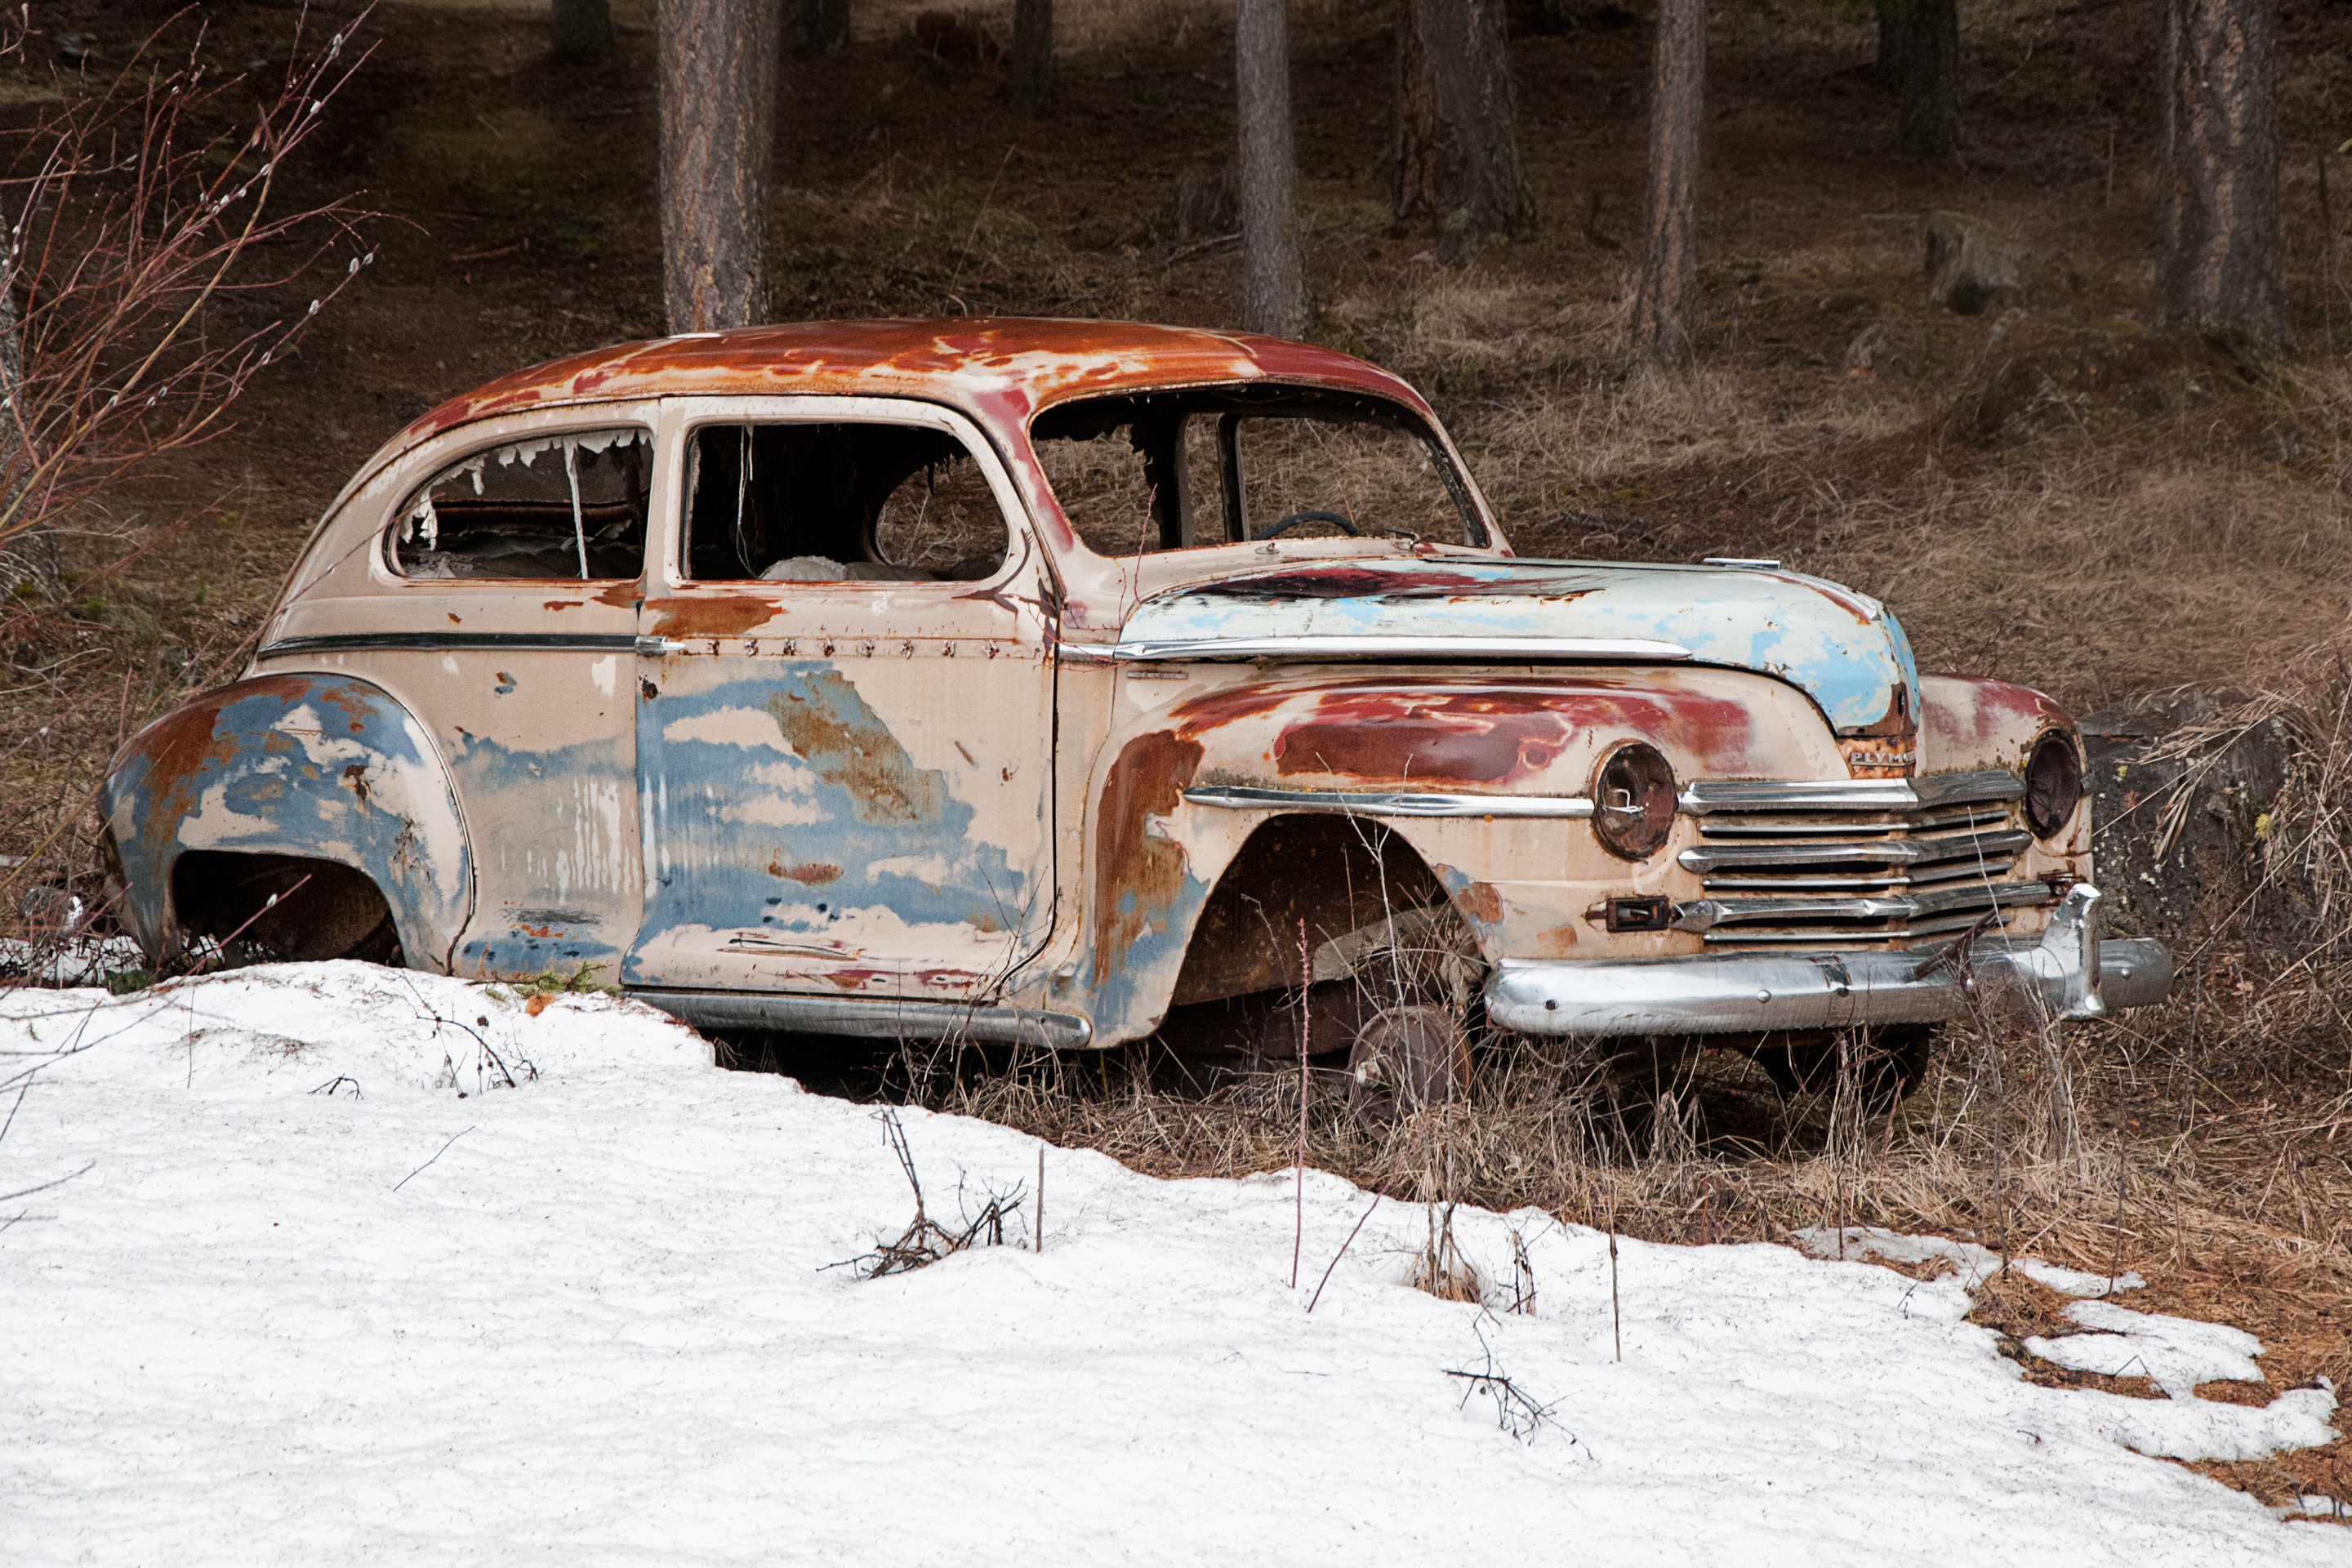
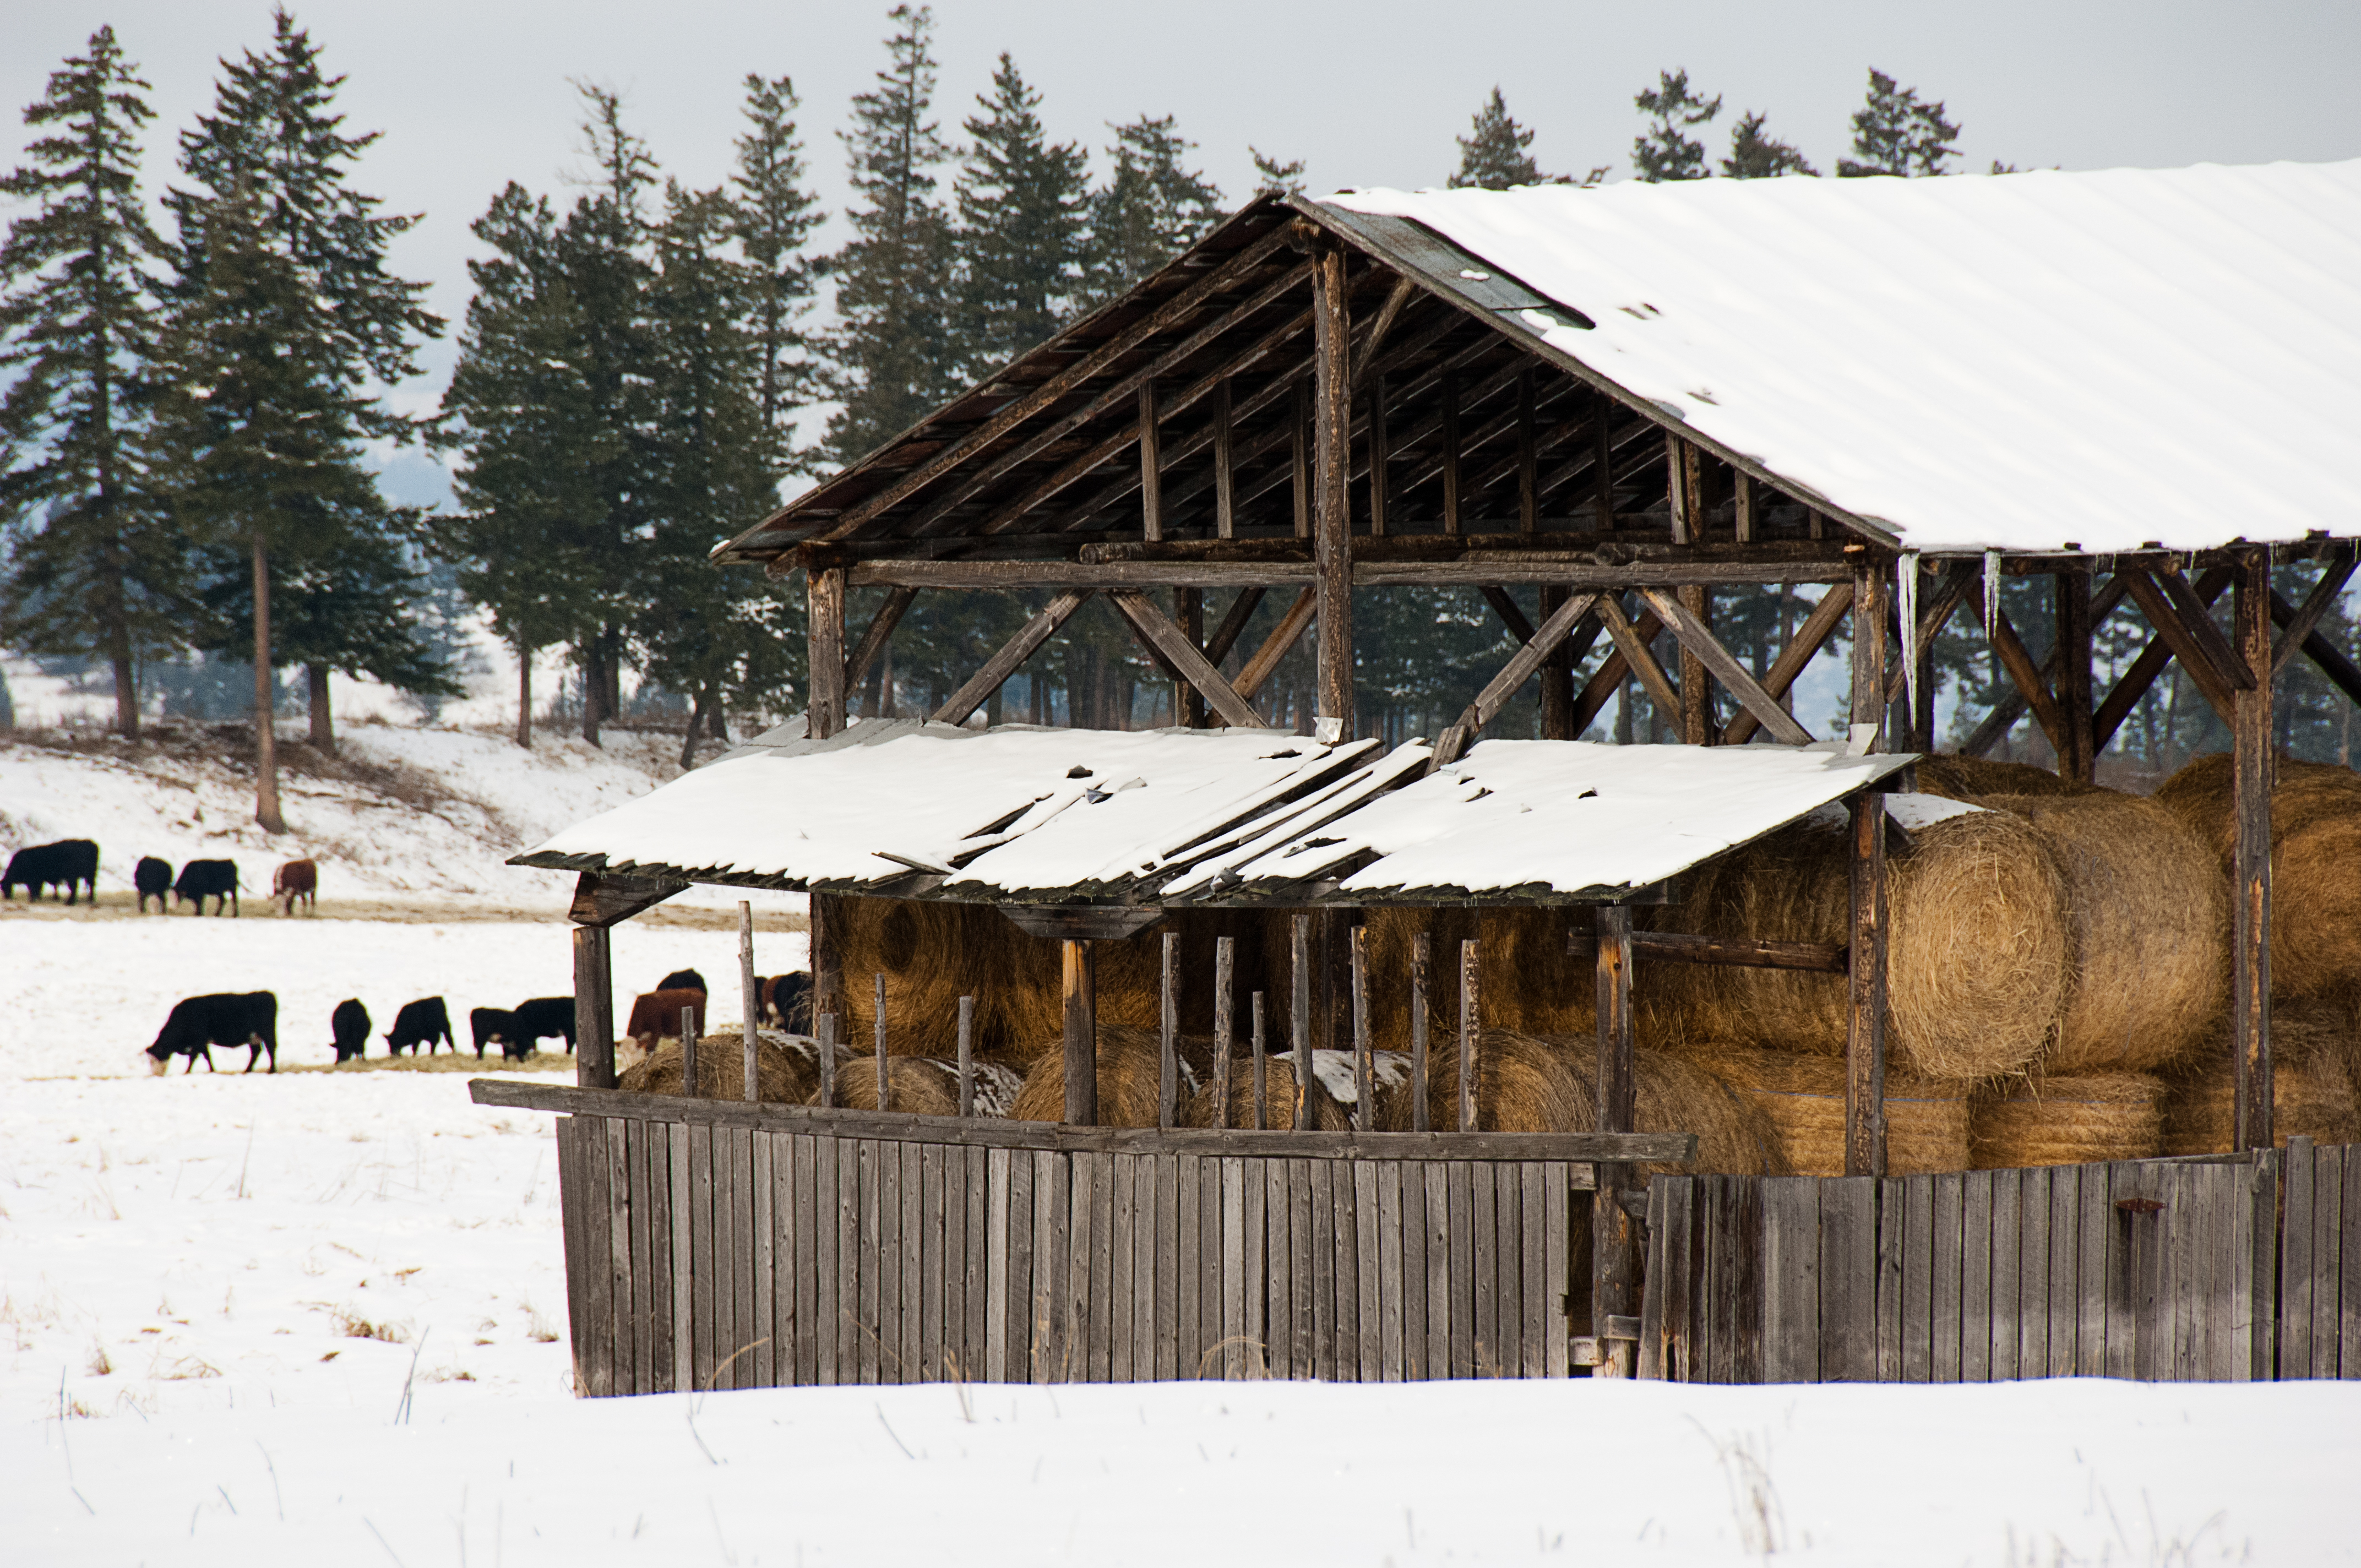
As I have done so in the past, and too many times to count, I wandered around the snow-covered grassland photographing the two remaining structures from an old homestead under the looming Martin Mountain. I don’t know how long ago that area was farmed, or how old the buildings are, but there is what’s left of an old car that appears to have been wrecked and left behind some time in the 1930s or 1940s. There is an abandoned cellar, a barn, a shed, a fruit tree, a garbage dump, the detritus of a family’s life, a family who shut down their farm and left.

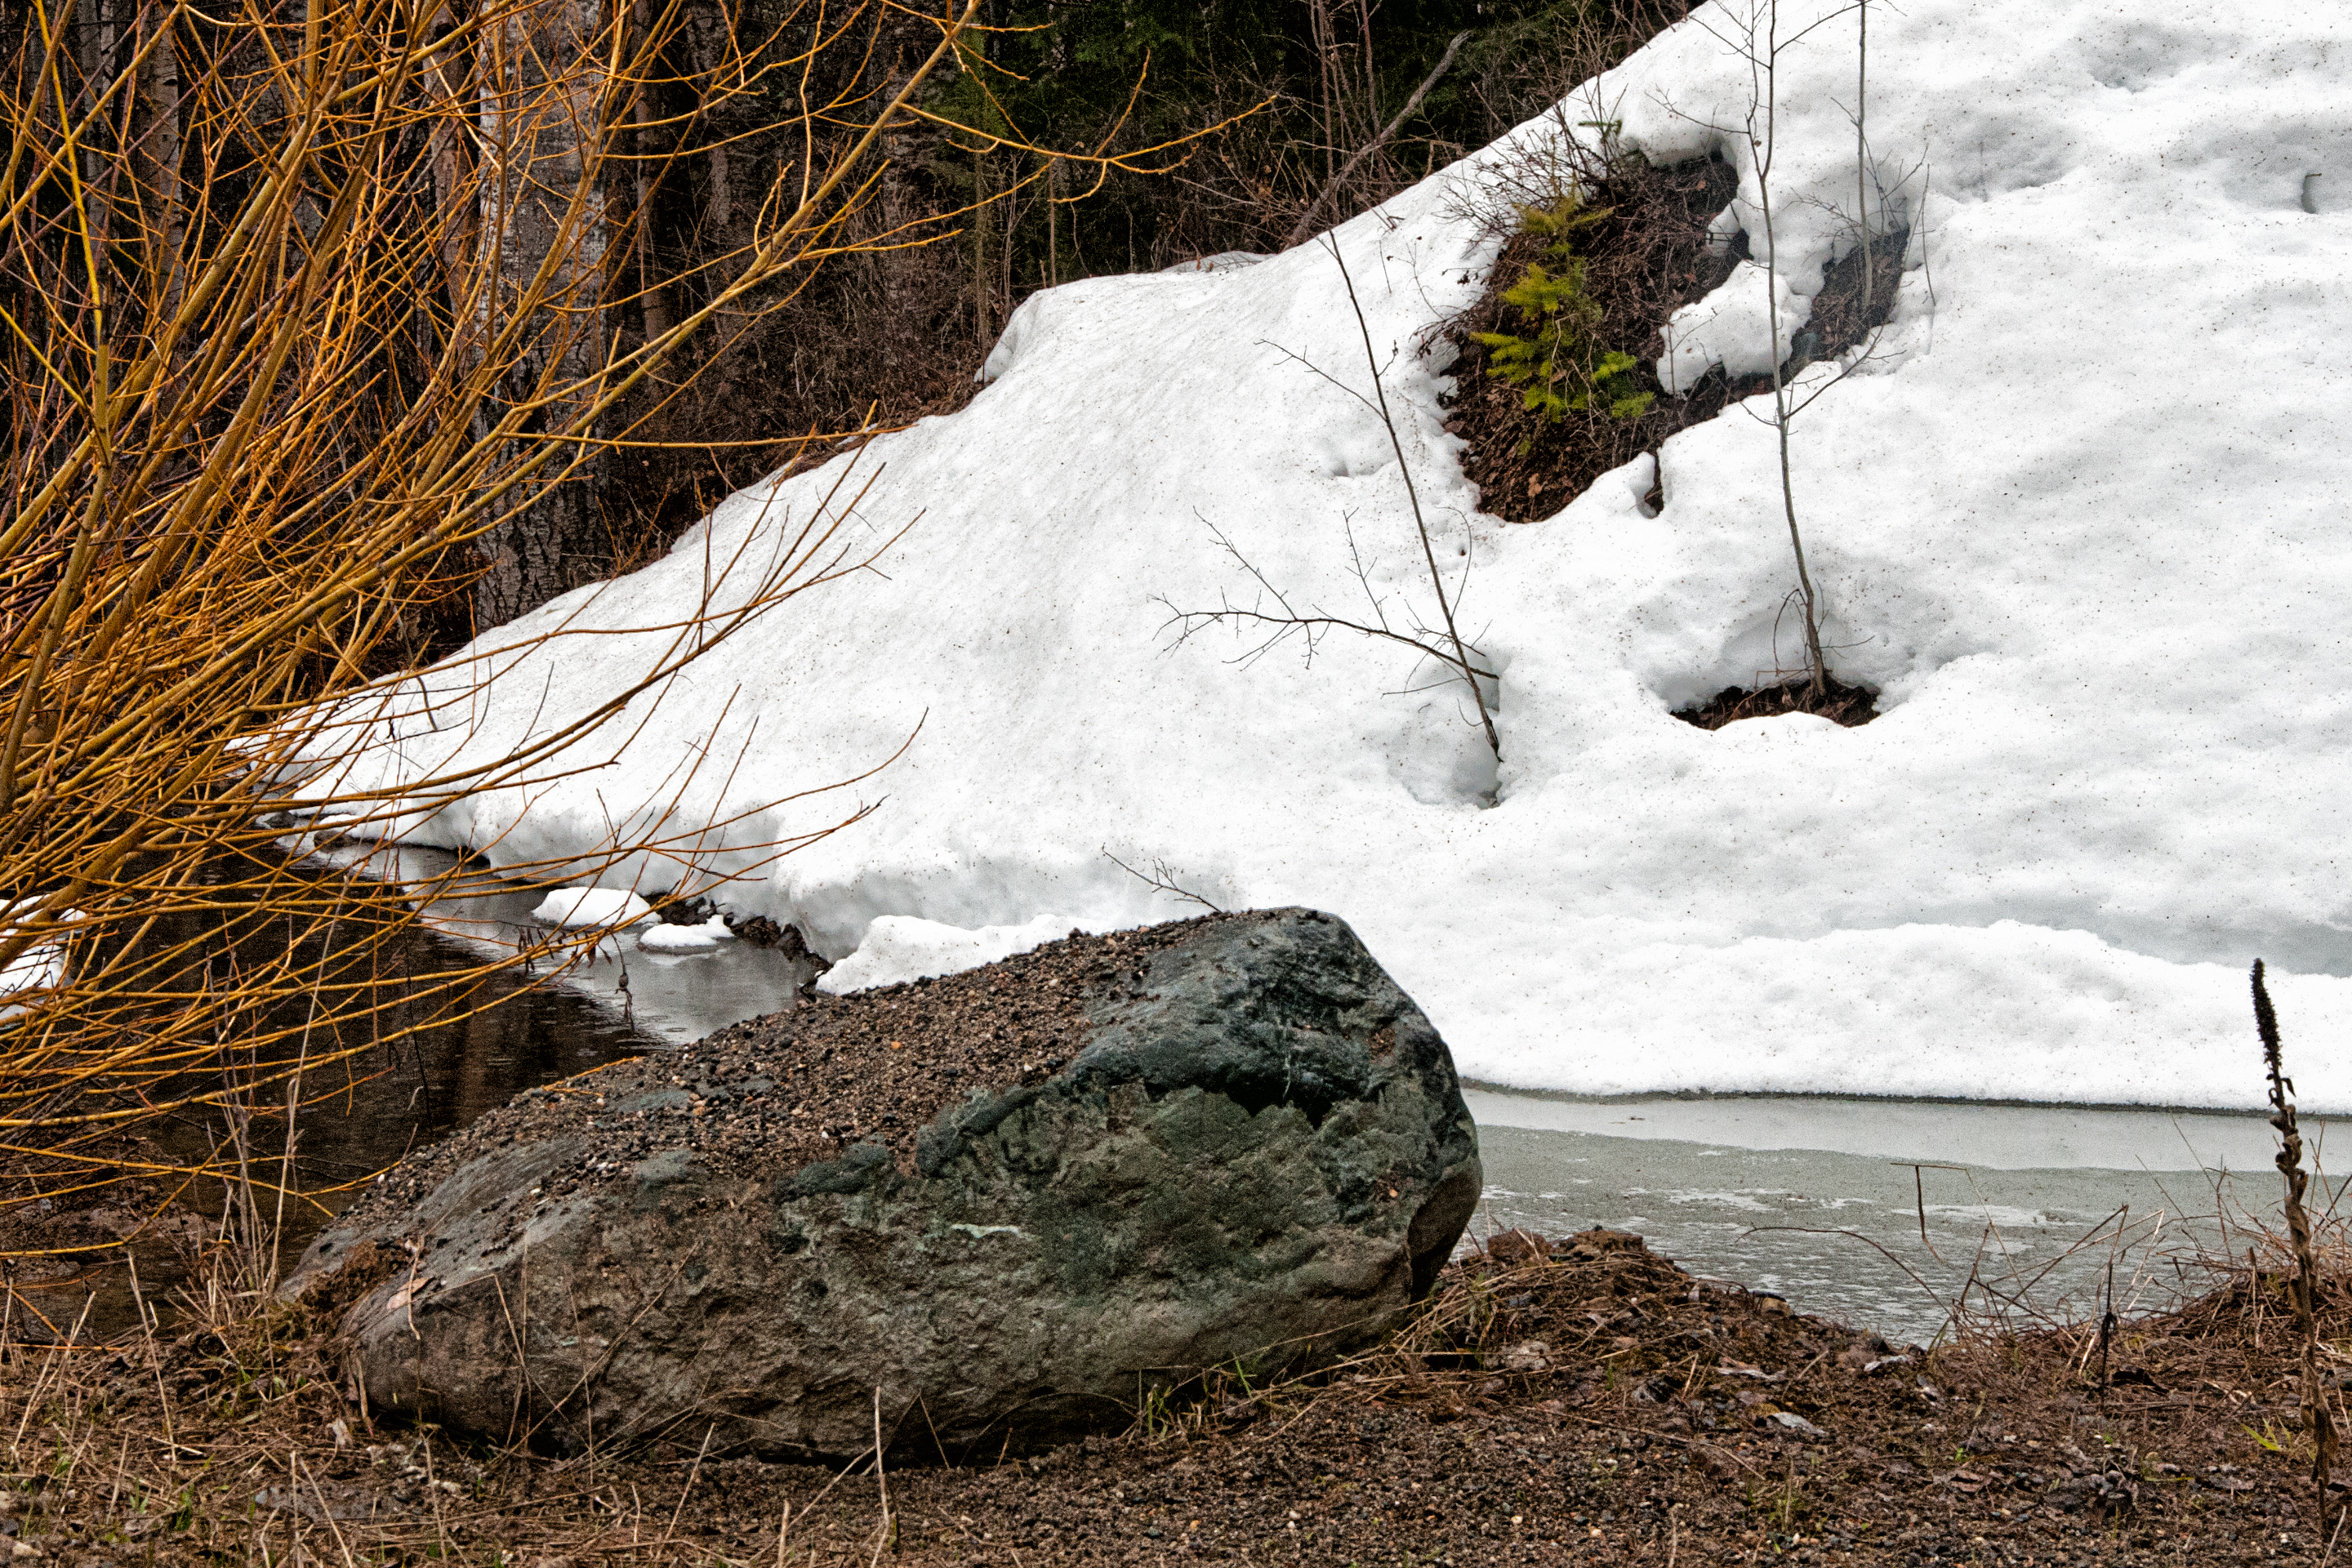
I like the solitary walk. I closed the front gate to our yard and started out on the road following tracks a lonely coyote made during the early morning hours. The tracks led up the road to a lower field and headed uphill following snowshoe tracks that one of my other neighbor’s must have made. I always expect to be the only human making tracks up there, however, this time I followed someone that took much shorter strides than me, eventually crossing the creek at the far end of the meadow and to keep going out of sight through the trees without returning.

I like snowshoeing. When I was a youngster snowshoes were the perfect winter accessory. We’d snowshoe up the hill, change to our skis that had been strapped to our backs and ski back down. I remember a trip with my younger brother Rodger, and a friend named Alan. We traveled for three days sleeping in snow caves we made by digging into snowdrifts. Snowshoes got us up hills and skis got us down.

All these years later I am still wandering the winter backwoods, only now I always carry my camera. Snowshoes are perfect for the winter photographer. I have also skied with a camera, but there is always the chance of falling and covering the camera with wet snow. At my age snowshoes are safer and besides it’s easier to position and reposition oneself while composing a photograph. Skis would not work as well.

I Like Calendars     


Calendars

I remember a life drawing class in which we would all have to hang our assignment for each week on the classroom wall. Then we would all noisily sit around and wait for our colourful instructor, Mario, to make his grand entry. Mario was a tall, dark, flamboyant Italian that always talked loudly while waving his hands around in the air for effect.

As we held our breath he would slowly walk along the exhibition of our talent and skill. Then he would suddenly stop and with a wide sweep of his arm gesture to someone’s drawing and in his thickest accent declare, “This, this, this, belongs on a Los Vegas Hotel room wall!” I remember more than once watching a fragile classmate moved to despair or with a bowed head rush from the room in disgrace. As cold hearted as that life drawing coach was I did get his point regarding art.

We rarely look at the artwork that is always hanging in the hotel room. It is just there to fill space on the otherwise blank wall, and if we did notice, that framed art was quickly forgotten when we left. I can honestly say that although my friends or family might have remarked at the cleanliness of a room, it’s location or the softness of the bed. I can’t remember anyone ever saying, “Gosh, the artwork in our room was marvellous.”

Good art is enduring. We live with it, cherish it, and the longer we do the more we take pleasure in it.

Now comes my delight with calendars. It is not that I need to know what day it is; that is a utilitarian benefit. I like those with pictures.

Calendar pictures must immediately have an impact. A successful calendar picture grabs our attention and quickly tells a simple story. However, unlike the art my instructor was demanding, calendars only have to endure for about thirty days at the most. Each picture only has to artfully work to capture our attention and give us the proper date for one month. Then we get to start all over, and we get to enjoy a different picture with more information on important dates for another month. Hmm…functional art, what could be better.

November is my month to start seeking calendars. I hate searching for calendars in January. There is something wrong in hanging a calendar mid-month. My wife and I have the perfect approach for photographers. We each choose from the photos we have taken during the month and I print a new calendar each month. No rules, no themes. We select a picture we each like and I make an 11×14 print that is half picture and half calendar – side by side, or up and down.

That’s not to say that I don’t get other calendars. If one grabs our fancy while shopping we’ll get that also. Then there are those we receive as gifts. I can’t have too many calendars. Getting to view lots of new pictures each month, it doesn’t get much better than that. We also choose images and have calendars made for us that we give away at Christmas.

My advice to readers like me, that enjoy having their pictures hanging on their walls, is to start putting your own calendar for 2016 together now. Stop by the local business supply store or look online. And remember calendars make great Christmas gifts.

Photographing People   

Michael

Dave Monsees

By John 001

Monica

Bailea

Kevin


This week a friend asked me what my favourite photography subject is. After our talk I decided to post this rewrite of an article I wrote some time ago.

I enjoy photographing just about anything. Nevertheless, I’d have to answer that I probably take pleasure in photographing people the most.

I’ve been employed doing many types of photography since I began earning my living as a photographer in the 1970’s. I have done different kinds of photographic work for all types of organizations; however, I have found myself photographing people most of the time.

That’s not that unique; I think most photography is really about people. We take pictures of our family, friends, and people at celebrations and other events.

When I taught photography in the 1980s I would ask the question about a favourite subject of my students and “people” was a rare response. However, since the introduction of digital cameras and the relaxed point and shoot style many employ today, I’ll bet people photography ranks near the top as a reply.

If indeed, as I confessed to my friend, my favourite subject is people, I suppose I might put together a few tips for him and my readers on my favourite subject.

I quickly jotted down 10 suggestions to help readers be successful when photographing people.

  1. When you take pictures of people look at them and pay attention to their appearance so you ensure they look their best for the photograph. Don’t just rapidly snap away and realize later that you should have had your subject adjust something, e.g., a necklace, glasses, or especially that tie.
  2. Choose interesting and flattering angles or points of view. Also try three-quarter poses of single subjects. By that I mean that the person turns their body so that they view the camera from over their shoulder.
  3. Focus on the subject’s eyes. When we talk to people we make eye contact. There is a greater chance of your subject liking the photo if their eyes are sharp and not closed or looking away. Ensure that subjects smile or at least have a pleasant look. In my experience when subjects say they want a serious photo without a smile they appear sour or unhappy in the final photo. Do one of each as a compromise.
  4. I don’t like lenses shorter than 85mm. My favourite is 105mm. (Although recently I have been choosing my 70-200mm.) Longer focal length lenses always create a flattering perspective.
  5. For photographing one or two people an aperture of f/4 or wider will soften the background and make your subject stand out, but for group photos use an aperture of at least f/8 or smaller to increase the depth of field.
  6. Pay attention to your subject’s background especially when doing outdoor portraitures. You don’t want the photo to appear to have something growing out of a person’s head (e.g. like a stop sign), or have objects in your photograph that are distracting.
  7. Watch out for uncomplimentary shadows created by the sun, your flash, or other light sources.
  8. Get things ready first. Contemplate the poses before you photograph your subject. The best way to bore people and loose the moment is to make them wait.
  9. Tighten up the shot. Again, get rid of unwanted elements in the photograph that do nothing for it. If there is more than one person make them get close together.
  1. Talk to your subjects. The most successful portrait photographers are those who talk to and interact with their subjects. We are dealing with people and we communicate by talking. Don’t hide behind the camera.

And as always be positive about the photograph you are about to make. Get excited. Your excitement will be contagious and affect those around you.

Which Button is for the Composition Mode?        

Pritchard store

Open Gates bw

Forest path

Canon Beach 2

Palouse falls 2

Which button is for the composition mode?     Yes, I did get asked that question the other day, but it is not as silly as it first sounds. I’ll go back to the conversation from which it comes.

A customer stopped by my shop wanting to get a different camera other than the one he had been using for over 20 years.

I was showing him a couple of cameras and explaining the different modes like “aperture priority”, “shutter priority”, “program” and “manual” when he made the statement, “All that seems a bit complicated, just show me which button is for the composition mode because mostly I like taking scenics”.

The other customer in the store stopped her browsing, turned, and just looked at me. I’m not sure if she was troubled by his statement, or also wanted to know about this secret button.

I replied, “Composition is what you do, not the camera, to position your subject within the viewfinder frame,” and added; “composition also deals with perspective and the relationship you create between subjects in the foreground and background.”

Does all that seem too complicated of an answer? I was making squares and rectangles with my hand and moving things around on the counter as I explained it hoping to make it clear to him. Now, however, let us go back to his question of the “composition button” and what he was trying to achieve with his camera. Remember his last camera was from the 1970’s. Even auto focus was new to him.

Cameras programmed since the 1980s are pretty capable of getting the exposure correct in all but the most contrasty lighting conditions. If he were to get serious now that he was about to get a DSLR he would be trying to discover how other successful photographers compose a scenic. Or he would be doing some reading, joining a camera club, or taking some classes that would teach him composition. My impression was that he just liked to take pictures and capture memories of the places he has been. So I think either the mode with the “little mountains” or with the “running person” on the dial of the camera I was showing him would give him exactly what he was looking for and we could, if we wanted to, call them composition modes.

The exposure mode I feel most comfortable with is manual and I am continually thumbing through the different menus on my camera to reset things. I make my living using a camera so I have a camera in my hand a lot of the time. I think each of us needs to use our cameras in ways that make us comfortable so we won’t happen to be confused and experimenting with the settings at that moment when the action happens in front of our camera.

I used to call that a “Kodak moment”. Hmmm, I think I need to find a new phrase now that I am no longer using Kodak films and that company has pretty much disappeared.

In any event, I recommended that he not worry too much about composition and experiment with the different modes his camera has to offer other than “P”. Hopefully he’ll stop by again and I can get him using his DSLR as more than just a point and shoot camera.

In closing this article that started with thoughts of composition, I particularly like this quote of Alexander Lee Nyerges of the Art Institute of Dayton, Ohio, when discussing an exhibition of Ansel Adams of the American West.

“His landscapes were operatic in composition, complete with lighting, tragedy and drama—luring those who viewed his works to seek Nature and capture the spirit of the wilderness.” I am certain Adams had a special button for composition.

The Vancouver Camera Show and Swap meet 2015

Linda at the SwapMeet

Linda at our table

Camera Swap find

A good find at the Swap meet

Camera Swap Meet

Check out this Leica

Vancouver Swap meet 2

Lets assemble this 4X5 camera 

Ziggy Rhode

The Swap Meet organizer, Ziggy Rhode selling a Hasselblad

Vancouver Swap Meet 1

Wow, a nice twin lens at the Vancouver swap.


The Western Canada Photographic Historic Association hosts Vancouver, British Columbia’s, original camera show and swap meet each year. This long-running show has now reached its 39th year, and makes the claim of being the largest in Canada with I believe approximately 120 tables, and I have no doubt well over 1,000 people walked through the doors this year.

I can’t remember exactly when we (my wife and I) had our first table there, maybe some time late 1990s. Since then each year we join an always-interesting diversity of photographers in a large, photographic equipment packed hall in Burnaby, BC, who are eager to exchange information and ideas, and, of course, are looking for great deals on all kinds of camera equipment.

Each year we make the three and a half hour drive from Kamloops the day before and lodge overnight and eagerly join other vendors the next day at 7:30AM to setup. The early morning scene is so much fun as we interact with others busily arranging equipment on tables before the show even begins. When I arrived I was happy to see people I have known for years. Better put, I was happy to see people I have known for only one day a year for about 20 years.

For me it is always a rush to organize my table quickly so I am ready for the swap meet’s early bird shoppers who pay a premium to begin shopping at 9am. That group of shoppers isn’t so much into browsing as they are searching for specific pieces, and they will walk quickly by a vendor’s table unless they spy that item.

At the 10am regular admission I always am glad to get a chance to sit for a moment (only a moment) after the hour of non-stop showing, demonstrating, explaining, and, of course, bargaining with savvy photographers.

Spending a day surrounded by a huge selection of cameras and other photography equipment is exhilarating, and getting a chance to talk with other photographers about their different interests is invigorating. Even after all these years I always learn something.

As I have mentioned before when I have written about this exciting event, one will find photographers of every age, from experienced elders to young people accompanied by patient parents. This congregation includes all kinds of lifestyles, interests, and photographic specialties. There are those that are dedicated to film, historic cameras, and processes of the past, walking alongside others that carry the latest and brightest in modern technology.

Other than actually pointing a camera at some inspiring subject, a gathering like the Vancouver Swap is a superb way to meet and exchange information with other photographers, and look at and check out the many kinds of photographic equipment that would not be so easily available anywhere else.

I had a great time with the photographers I met this year and the depending on who joined me at my table, the conversations always changed. My day of selling was a success, as it was for most of the dealers I talked to at the end of the day. And I even had some time to purchase another lens for myself, which is always nice.

I always look forward to any comments. Thank you, John


Thoughts on Photography in Low Light and Camera Noise.

Musicians 1

Musicians 2

Musicians 3

Musicians 4


Musicians 6

Musicians 7

Dancers


A friend dropped by my shop to show me photographs he took of some musicians performing at a local evening event. As we looked at his images, we talked about how successful they were and how he had to push his ISO higher and higher for lighting conditions he was forced to shoot under.

He began by rating his camera first at ISO 800, then later, higher than that because of the low mood lighting. He didn’t want to use a flash because it would have disturbed the ambiance of the musicians and for the audience. The only illumination was a couple of little spotlights that had been redirected towards the musicians. In compensating for the low light, his only concern as he prepared to shoot was image noise.

Digital image noise is noticeable by the presence of coloured speckles where there shouldn’t be any. For example, instead of clear dark or coloured background, there might be different colour speckles in the background. Noise is closest to the “grain” one used to see when using high ISO films, except with film it was more about those areas that didn’t expose correctly.

Photographers have always struggled with the effect of high ISOs and I remember when 400 ISO was considered a pretty grainy film. In the days when film was king there were all sorts of special chemicals to process film to try to get fine grain and allow for pushing film to a higher ISO than 400. Photography magazines had article after article discussing ISO grain.

If photographers asked my advice ten years ago I would have suggested they use Ilford’s Delta 3200 ISO black and white film and to rate it at 1600 and process it in Ilford Perceptol, but these days some camera sensors are amazing in their ability to “see” light. Modern camera companies control the way images are processed in their cameras, and there is a lot of marketing based on beautiful images to encourage buyers to spend money on whichever new model they are promoting.

When selecting higher ISO today, the signal from light photons is amplified, and with that the background electrical noise that is present in a camera’s electrical system is also amplified.

Without enough light for a proper exposure the camera’s sensor will collect a weak signal and more background electrical noise is also collected.

This isn’t the place for making recommendations for which is the best camera for low light shooting. I’ll leave that to others. I suggest readers do some research on different manufacturers and tests on the cameras they own. There are also programs like Noise Ninja, Neat Image, Topaz DeNoise, and NIK’s Dfine that can reduce the effect of high ISO, and those that aren’t in the mood to follow the herd of photographers that purchase a new camera every year just to reduce digital noise, might try one of those programs.

For me, it comes down to the purpose of the photographs. If I was photographing a college basketball game and the images would be used in brochures or magazines, I would want the cleanest, lowest noise images I could get; but if they were going to end up as pictures in an on line album, or just stored in a computer’s hard drive for friends’ viewing, I wouldn’t be too concerned about noise. Therefore, I suggest that photographers determine the purpose in advance of any photos taken in low light.

There is a lot of information on the Internet about specific cameras and their abilities regarding sensor noise. I suggest doing some research and checking out other photographers’ comments regarding what they own, or may be thinking of upgrading to, and as I said before, do some experimenting with the camera they have.

I enjoy receiving comments. Thanks, John

My website is at www.enmanscamera.com

Depth of Field

I have included a few examples that show the technique.

I have included a few examples that show control over the technique.

D of F 2

hoodo and fence 3

Plowing the field

Shoot'n the sunrise 1

A smaller aperture for more depth of field.

Shoot'n the sunrise 2

A wider aperture for less depth of field.

Heron

Blue Freighter Frog

Brewster copy 2

Truck in the meadow copy

River Sandon BC


A topic that I recently discussed in my classes, that I repeatedly explain to photographers that come to my shop complaining about what they believe are lens focusing problems, and have written more than once about is “depth-of-field”, but it still seems to be an elusive concept for many. However, it is really important and photographers should make the effort to grasp it even though it appears difficult.

I pondered this last Thursday when a local photographer showed me an image she had made during a wedding. She showed it to me proudly and commented that she has chosen that lens because it let in more light when photographing in low light, but complained that the expensive lens she had didn’t seem all that sharp.

The image showed a view of the central aisle of the church with pews left and right, leading up to the bride in the distant centre, approximately 20 feet from where the photographer was standing. The overall exposure shot at an aperture of f/2.8 was fairly good. However, what that photographer saw was the lack of sharpness everywhere, except for the bride standing in the aisle.

The definition of depth-of-field is “that area around the main subject, in front of, and behind it, that is in acceptably sharp focus”. In application the wider the lens’ aperture is set the less will be the depth of field, or that area of sharp focus, around the main subject will be.

Wide aperture lenses are very popular these days and using a lens at a wide aperture like f/2.8 when making a portrait isolates the main subject and produces a soft, out-of-focus background referred to as bokeh by reducing the depth of field. Bokeh is a pleasing soft blur produced by a wide aperture lens in the out-of-focus area directly behind the subject.

In this instance the photographer was relying on the wide aperture to increase the exposure in limited lighting conditions. That additional light allowed a faster shutterspeed for handholding, but along with the benefit of additional light reaching the camera’s sensor the resulting effect was to reduce depth of field.

Using that wide aperture created a field of focus in front of the subject of a couple feet and only a bit more behind that would be fine in a portrait, however in that photograph of the church aisle with pews on both sides, that included lots in the foreground and much of the background, looked out-of-focus.

Many photographers unwittingly rely too much on their photography equipment to (magically?) make good images, and blame faults in their photographs on that same equipment. Understanding the basic concept of depth-of-field would have made that photograph more to the photographer’s liking.

The smaller the lens aperture number is the less the depth-of-field. I prefer using a small aperture (larger number) for scenic photography and, as in this instance, interiors. The answer to that photographer’s low light problem would be to increase the ISO and use a smaller aperture. (I would be surprised to find a modern DSLR that wouldn’t shoot noise free at ISO1600 or even more)

Assuming the lens isn’t sharp when the real problem is with photographic technique is expensive if the photographer goes so far as to replacing a lens. My recommendation is to spend time learning the basics of depth of field instead of blaming equipment when problems occur.


I appreciate reader’s comments. Thanks, John

My website is at www.enmanscamera.com

Another roadside photographer, again.

Thompson Valley  abandoned in the rain  Wet goat 1  wet goats 2  Forgotten in the rain  Rusting in the rain  Roadside in spring  Forgotten car  cows waiting in the rain  A wet road to Kamloops

Sometimes I just like to go for a drive. Rain or shine, it is always nice to just go out and look around.

We had been lazing around all day. I had put up one of those portable, collapsible canopies on the front porch hoping the day would be nice enough for us to sit outside for lunch, but the rain and cooling wind moved in. So I thought, what the heck, let’s get in the car and drive up the dirt road towards the forest ringed Hyas Lake and if the rain lets up a bit there might be a photo or two waiting to be made.

We packed our cameras in the car and set off. The day had a heavy overcast, but no low hanging clouds and the rain was, hmm…intermittent. Ya, that’s a good word for when its nice and dry till one gets about fifty feet from the car, then the rain comes down. And I forgot my hat. But I didn’t forget to bring a small kitchen towel and I kept wiping the camera down to stop water from pooling I places that might leak into the camera’s electronics.

Overcast days always make things looks much more colourful than bright sunny days. Not the sky, of course, but the trees, shrubs and grass do have a deeper color and I always add just a bit of contrast in Photoshop to bring out the damp colourful tones.

The dirt road was surprisingly dry till we started up the turn-off to Hyas Lake. Then it quickly became a snow covered, muddy rutted mess and we turned around.

There are some old abandoned buildings along that road that are fun to photograph, although for years I have expected to see them gone. Old buildings have a habit of disappearing. Sometimes because of vandals, sometimes the landowners take ‘em down and sometime they just get tired of many years of standing.

I remember when I first moved to the Kamloops area. I spent months photographing crumbling wood and log buildings. The next year I engaged a local printer to make calendars for me that I easily sold that December. Within two or three years every one of the old abandoned buildings in that calendar was gone.

I am of the belief that the most successful pictures come about when one has a plan, but a slow drive is enjoyable whether one points a camera at something or not. I could say the plan was to look at the long valley, find out if those old building survived the winter, see how far we go before the road was impassable, and if the time was right make a picture or two.

As it was I photographed a view of the snow capped Martin Mountain above my home, some goats playing on a mound of wet hay, a couple of rusting vehicles, some soaked cows in a field and another valley view. Not the most exciting day of photography I have ever had, but good enough for a lazy, rainy day I supposed.

Roadside photography is opportunistic and enjoyable, we talk, stop and look at things, make a few pictures. As we drove along the wet dirt road I thought of the many photographers I have known or read about that just pointed that camera and anything for the pure fun of it.

And I think many readers will agree with famous French photographer Jacques-Henri Lartigue when he said, “It’s marvelous, marvelous! Nothing will ever be as much fun. I’m going to photograph everything, everything?”

As always, I look forward to any comments. Thanks, John

My website is at www.enmanscamera.com


My photography Resolutions for 2014

Every year I write about my New Year’s Photography resolutions. I’ll remind readers they aren’t only resolutions, but things I’d been thinking about for some time. This year, as last, I’ll also call them my photography goals as well as my New Year’s resolutions for the year to come.

This year I kept the number at six and mixed them into no real order. Too many goals don’t seem to work for me. However, I included five more I found on the Internet for new photographers.

My first resolution is an easy one that I recommend to all serious photographers. The resolution is to get together with other photographers. Collaborate with like-minded enthusiasts, plan an outing or just get together for refreshments and talk at some local spot.

My second resolution is to plan several photographer vacations this year.  I’ll be sure to make them about photography, not those rushing trips where one just grabs a picture now and then on a tiny point and shoot camera. These will be the kind of excursions that allow me look at the world in new ways and inspire me to use the equipment, knowledge, and talents I have.

My third resolution is to continue my ongoing, and seemly never-ending quest to organize my old photographic slides.  I make this resolution every year.

My fourth resolution is to upgrade my computer, well actually, to purchase a new computer. Gosh, I’d do almost anything to skip this one, but I suppose I must be resolute in this resolution.

My fifth resolution is to add a lens this year. Not that I really require anything, but there are a couple that are intriguing.  Nevertheless, because I prefer to purchase used equipment, I am always on the look out for bargains that fit the kind of photography I do.

My sixth resolution is to attend a photographic workshop. The subject doesn’t really matter; I always learn something whether it’s from the leader or from my classmates. I regularly buy books on different photographic subjects and I am an avid reader of many online bloggers and teachers, but the experience of being part of a class offers so much more.

I decided to search for other photographer’s New Year Resolutions and found a list by www.photoguides.net I changed their order and selected five that I think will benefit those readers new to this exciting medium in the year to come.

Their first New Year’s resolution is to, “Use filters”.

The second resolution, “Never use Auto mode” I do like that, but I think I would change it to “learn when and where to use Auto modes”, because I look at cameras and their functions as multipurpose tools.

The third resolution, “Shoot more in RAW” surprises me. Not the resolution, but that any serious photographer, even a beginner, wouldn’t prefer RAW.

The fourth, “Take control of your flash” might just be my favourite resolution. Anyone familiar with my photography knows how much I like flash.

For the fifth and last resolution for 2014.  I’ll just smile and nod my head, “Stop the car”.

I am sure readers will make their own resolutions for the year we have just begun.  What could they be? I can only imagine.  Let me know.

I wish you and yours the best in the New Year.

My website is at www.enmanscamera.com

Shoot Your Way to Work

Going to work  Passing a neighbor  Just passing  Watching me go  Field view  Into the valley  On to Kamloops

It seems like several lifetimes ago when I worked as an instructor in California, and my students, were mostly inner city in third, fourth, and fifth grades, and in many cases, were not interested in anything other than getting through the day, so they could do something more enjoyable.

My job in the Alternative Education Program of the US Office of Education at the time was finding more creative methods for teaching children that would bring some excitement to learning the basics that seemed boring to young minds.

This story is going to get around to cameras, just bare with me.  At the time I wanted to involve photography, so when one of the lead instructors complained that young students couldn’t discuss the neighborhoods they walked through on the way to school, and he wanted to work on that as a project. I took the opportunity to insert photography into his project.

We started by giving the kids a pad and pencil and asked them to write about their trip to school. Some days later we all made pirate eye patches and gave them the centers from toilet tissue rolls. Students wore the patch on one eye, and used the roll tubes to look at things as they walked to school, and then later wrote about the trip to school. They saw more and more and wrote pages about the things they originally ignored.

On the final week of the project we gave them all Diana F cameras to take photographs along the way. The Diana F is a blue and black plastic, 120mm, roll film camera with a fixed shutterspeed, and, as I remember, a three-stop aperture. Actually, since then the Diana F has become a kind of “cult camera”.  Who knew? At the time it was just an inexpensive camera that the school didn’t mind loosing.

Some helpful parents had made double-layered, lightproof developing bags, that cameras and Kodak apron-type developing tanks were put into, and then tied to the student’s arms to keep out the light. After what seemed a painfully long time the tanks would emerge with the film safely inside.

We processed the film and the kids would run around the schoolyard with film flying high till it was dried in the warm California air. I once had to prove to an administrator that the developer was safe by drinking a little paper cup full. OK, I did have an upset stomach later, but I never told.

I made little cardboard and glass contact printers and everyone would place their film on Studio Proof paper and sit in the sun on the sidewalk till purple images appeared. Now long discontinued, Studio Proof paper was once used by portrait photographers to make sure the customers returned for their pictures. The deep purple pictures would fade to a solid colour in a few weeks.

Purple pictures of their neighborhood in hand the students would sit and actually write stories about the now memorable walk to school. Sure they had the pictures, but the viewfinder heightened the process of seeing.  There is something about photography and the act of image making that helps and reminds us how unforgettable and exciting it is to be in the place we live.

I recently thought about that long ago episode with photography. So for a fun thing for myself one day I thought I should try, as I had those students do, to shoot my way to work. I am always rushing at the last minute when heading to work in the morning and that makes taking pictures a rushed thing.  For my trip to work I used the spy it, stop-the-car, jump out, shoot fast and drive off method. Not my usual way, but I admit I had fun, got lots of interesting pictures, and wasn’t too late getting to my shop, and I had fun.

I hope you enjoyed the pictures of my way to town….

Please don’t hesitate to comment.

My new website is at www.enmanscamera.com