

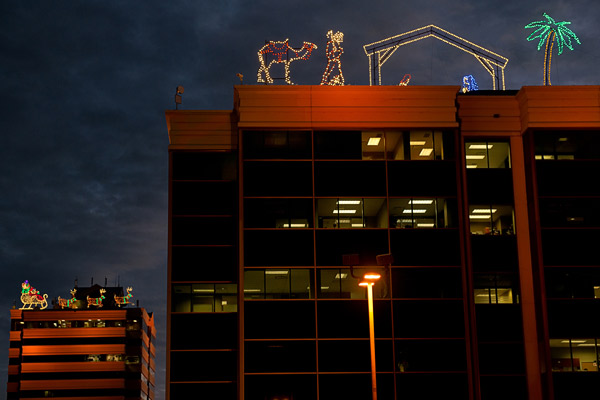
Well, it has been a wonderful Christmas holiday and I have enjoyed everything about it; the bright colours, gaudy decorations, the sentimental music, silly TV programs, and I especially like the Christmas lights in the city.
A drive this time of year through any town or city neighbourhood is an exciting visual presentation of festive bright lights and another opportunity for, at least a few weeks, to have fun experimenting and photographing the season’s sparkling subjects.
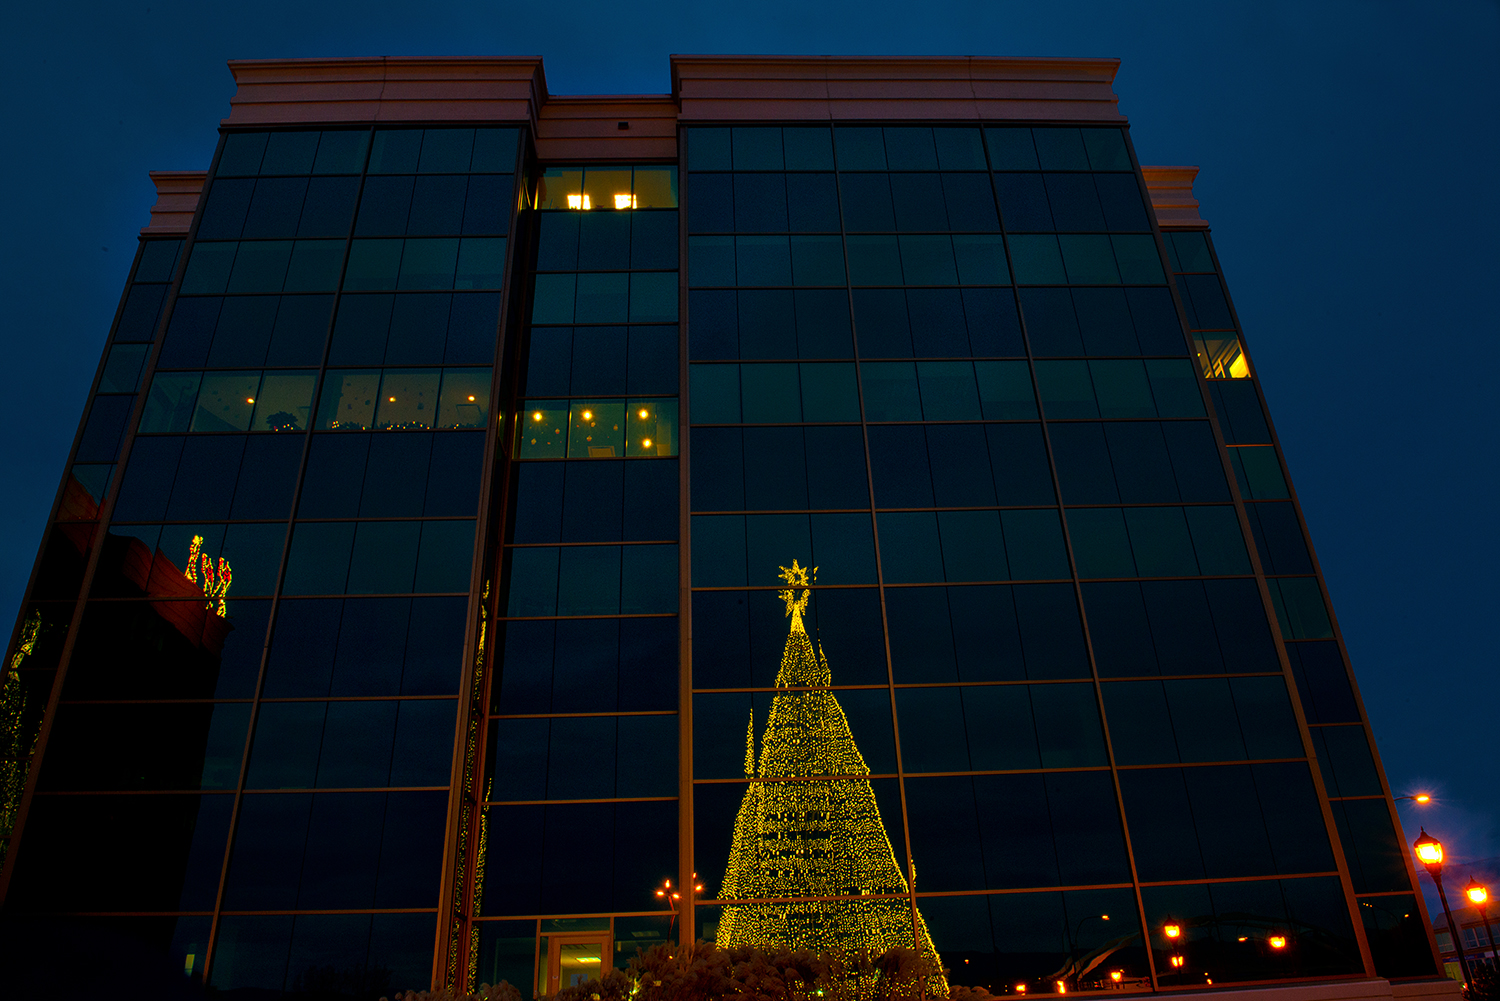
Photographers that want to make pictures of Christmas lights usually wait until dark and end up exposing for only the lights, and the resulting photographs show lots of colours, but don’t say anything about the location or environment; and a photograph in daylight doesn’t show the lights at all.
The photographer’s goal should be to balance an exposure for ambient light (existing environmental light) to and the electric lights. So to provide help and clarification to my readers here is my quick holiday how to for photographing their city or town’s Christmas lights.
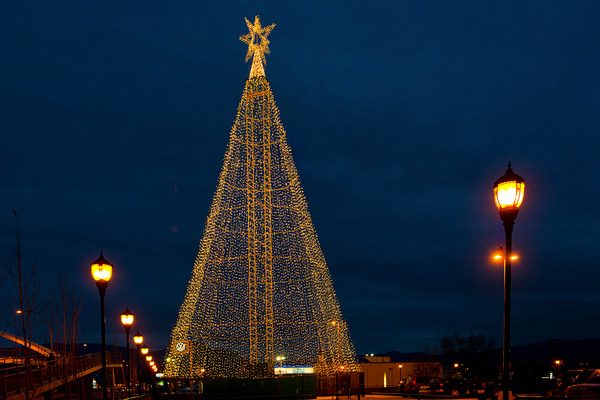
As I suggested when I wrote about photographing the CP Holiday Train, begin by choosing the location well in advance, before it gets dark, and prepare to begin when the electric lights are first turned on, when there is still some light in the sky, yet dark enough for the lights to be bright.
Place the camera tightly on a tripod so it’s nice and steady because the exposures can be long. I like using a cable release, but if you don’t have one available, use the camera’s self-timer. The idea is to stop camera-shake.
Photographers can experiment by setting the white balance to “tungsten”. That setting will correctly balance the different lighting types; and as a bonus it will deepen the blue in the sky. I then control the final intensity with PhotoShop.
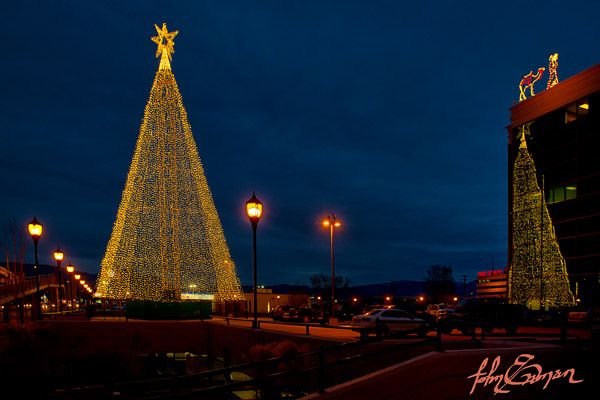
The composition should also include reflective subjects in the foreground like snow, sidewalks, cars and anything else that adds to the viewer’s attention.
Expose for the sky or buildings and make several test shots and keep checking the camera’s LCD. The lights will become more and more exciting as the sky light fades and as pictures are captured. There will be some length of time between your first images just before the sun sets and the last when everything gets very dark. I also do this in reverse, starting before the sun comes up in the morning.
Dress warm, so you aren’t uncomfortable and rush things. I expect the whole “shoot” should last less than 15 minutes if one is prepared. When the images on the camera’s LCD look too dark everything is finished and its time to rush home, excitedly transfer the images to the computer and have a warm drink.
Most importantly, the quality of light in a photo comes down to balancing the light; it creates the whole look of your photo and now is a good time, with all the added decorative illuminations, to learn about controlling the light around us. If your goal is a black and white image you will need an exposure that shows detail in all the subjects.
In summary, select the correct time of day just before everything is too dark or too light for a composition with sky, foreground, and bright lights. And be sure to leave enough time to experiment. Readers should be able to successfully photograph their own towns, or any favourite location.
I look forward to any comments. Thanks, John
My website is at www.enmanscamera.com

Good info! Thanks.
And Merry Christmas!
LikeLike
Thanks Frank, and a warm Xmas to you also.
LikeLike
Merry Christmas & Happy New Year ❤
LikeLike
Thank you Risty, Its gonna be a great year!
LikeLike