Photographing Flowers by Bathroom Window Light       

Daffodil BW

This week my wife and I had our first serious walk of the year around her garden.

Everything was competing for a place in the sun and the colours were beginning with white being the most prominent. I guess that might be because the first flowers to bloom in my wife’s garden this year were her white daffodils, and there are lots. We were looking for flowers to bring inside the house, so the abundant daffodils were the natural selection.

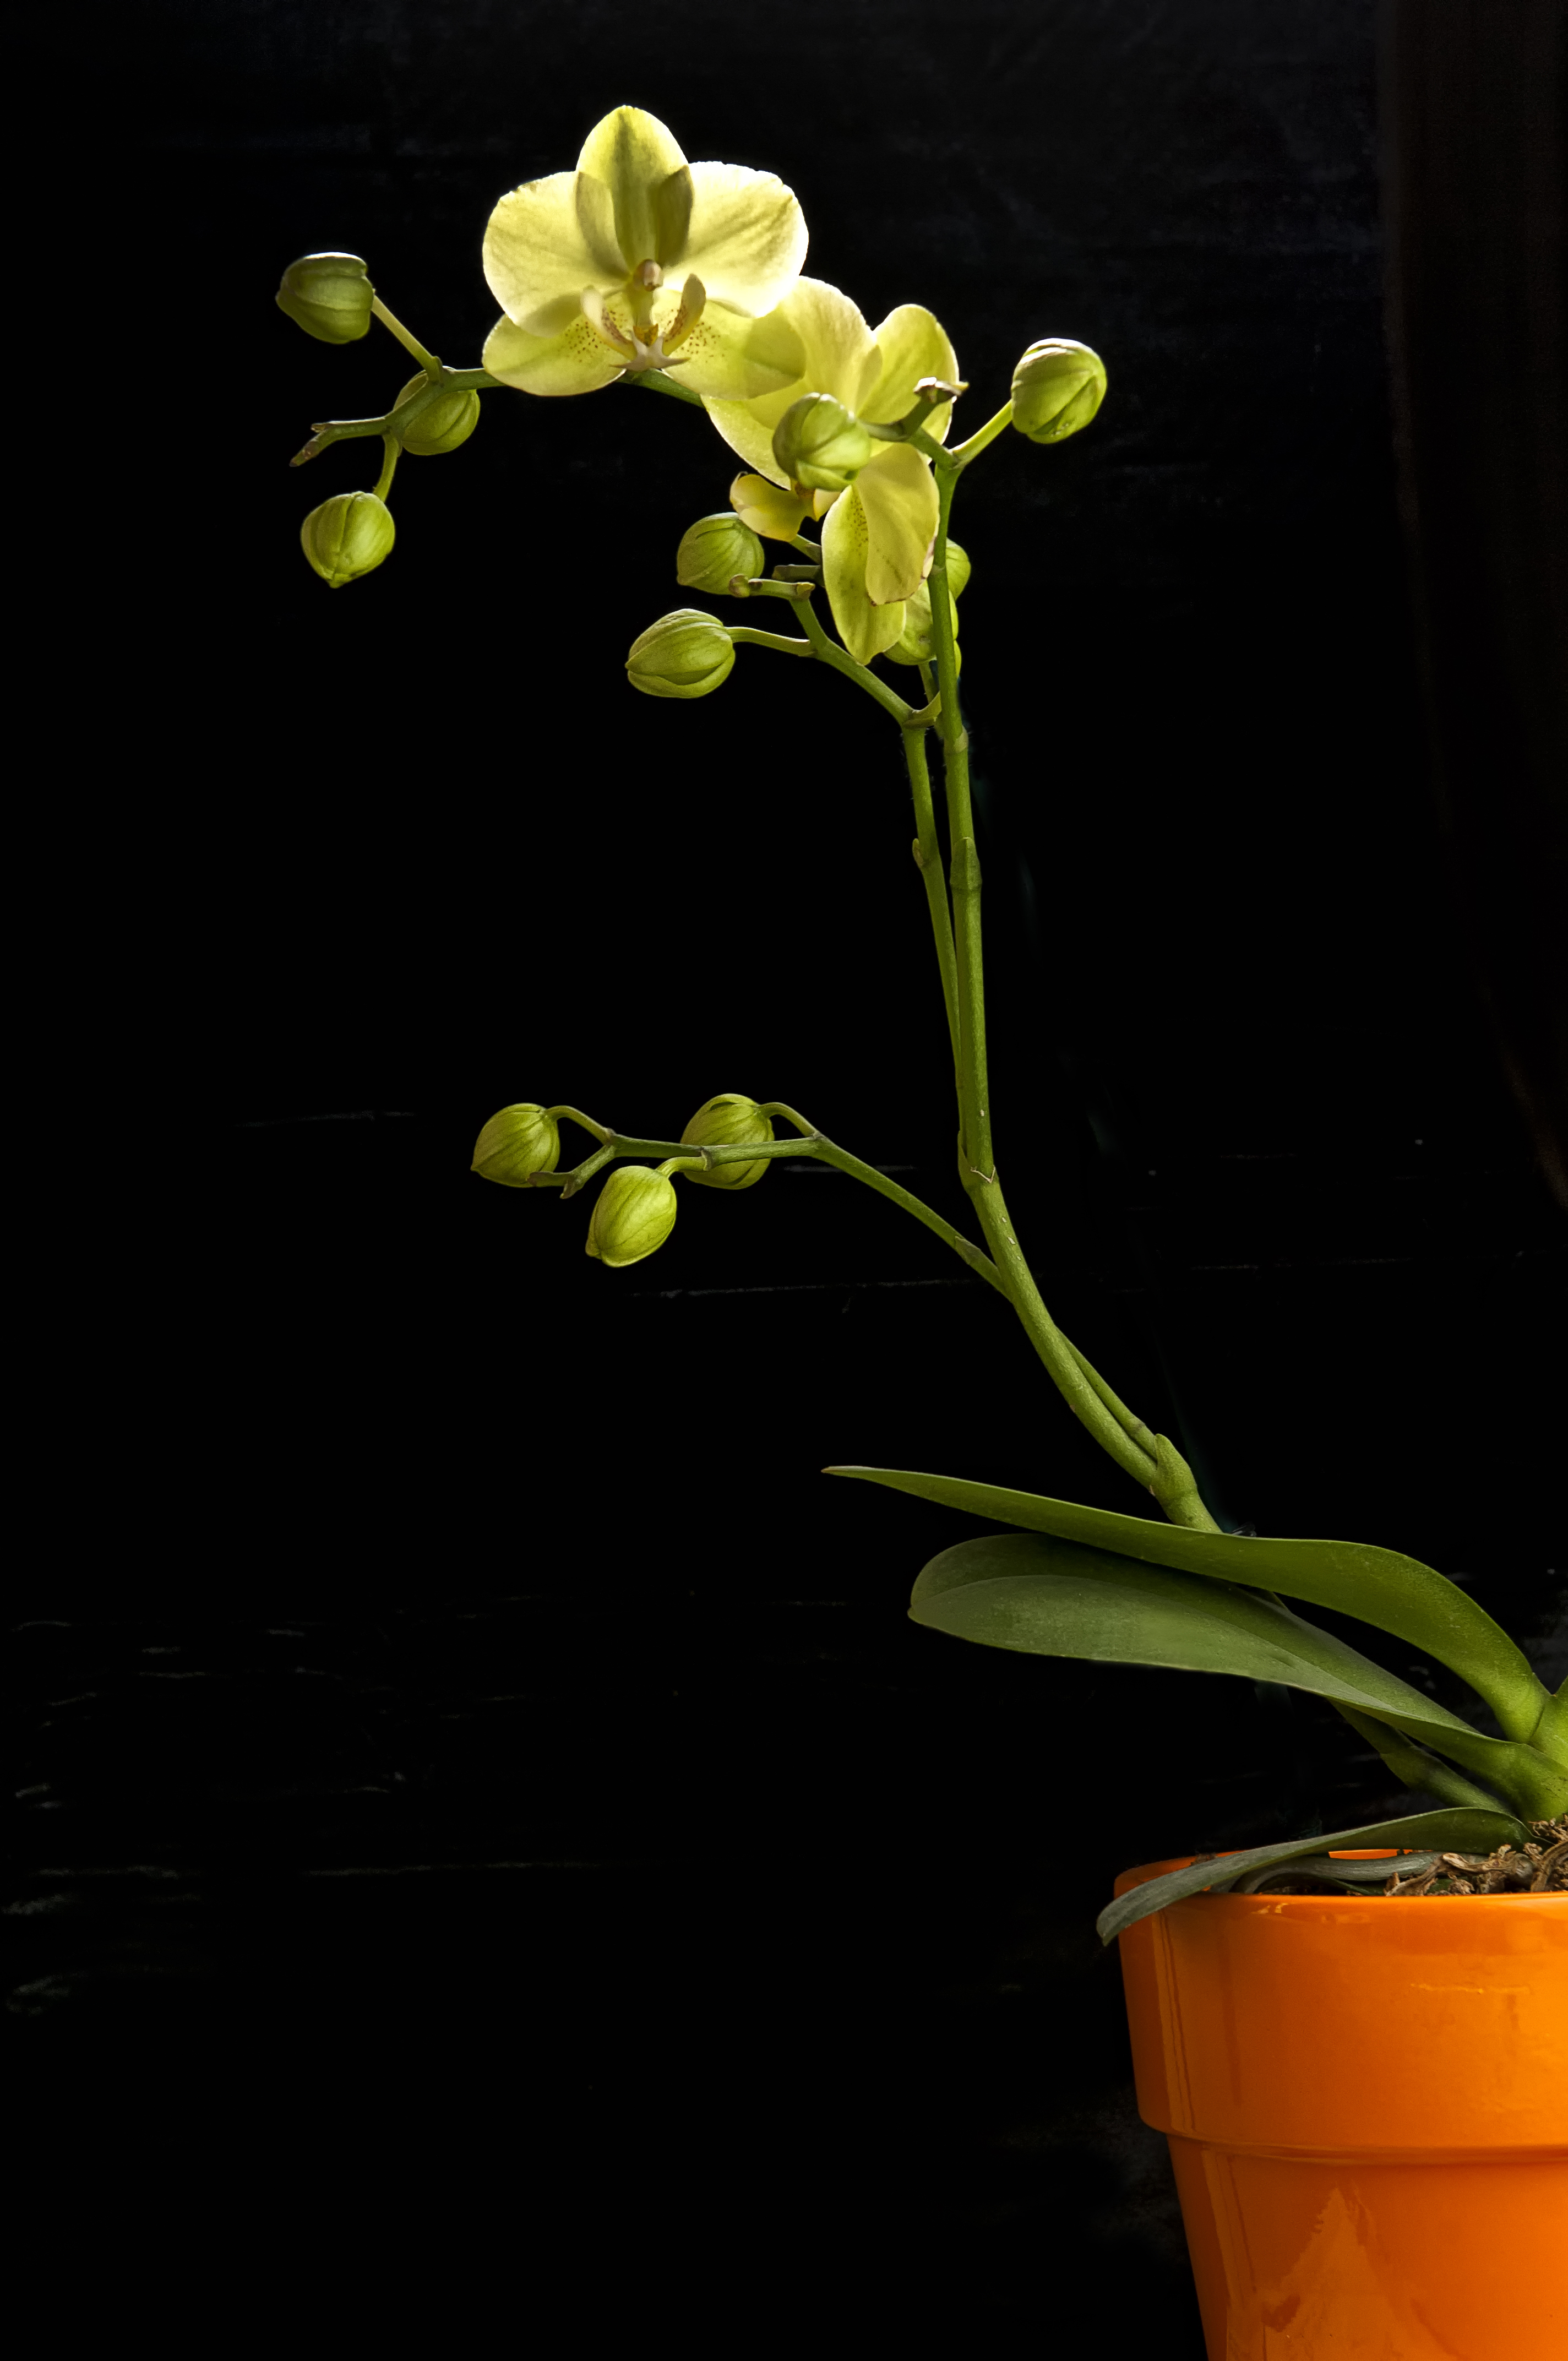
In March of 2013 I wrote, “Photographing an Orchid in the Bathtub.” In that article I discussed how one morning, I realized that a lone blooming orchid that my wife was watering on top of an upside down plastic barrel in our bathroom tub was a photo opportunity in the making.

At that time I could see a back light beginning to come through the frosted bathroom window and the slight beginnings of a back glow on the flower. It as in the morning and I knew within an hour or so the sun would move to that side of the house and continue in a southern arc for the rest of the day.

It was with that in mind that we decided it would be fun to photograph the daffodils before Linda choose a final location to display them in the living room.

One could set up a small studio for flower photography anywhere in a house. I even have a small diffusion box especially designed for product photography. Nevertheless the soft diffuse light coming through the frosted bathroom window glass is almost perfect for flowers.

I found another plastic 5-gallon barrel, placed it up side down in the tub with the white daffodils on top, and set up a speedlight coupled with an umbrella on a lightstand to photograph the daffodils.

When I photographed that orchid it was early morning. However, this time it was late morning and a more direct light was coming through the bathroom window. So I took the outer cover off the big 5-in-1 reflector I have and it became another layer of diffusion when I placed it between the daffodils and the window.

All I had to do then was point my 135mm lens, shoot, arrange the flowers, shoot again and rearrange. When I mentioned to Linda that the flowers would look good as a black and white photo she said. “Everything is pretty much monochromatic anyway”, so it was with a final b&w image in mind that I took the picture.

Photographing an Orchid in the Bathtub.

Orchid

My favorite flower photographer, Robert Mapplethorpe once said, “ The more pictures you see, the better your are as a photographer.”

My wife placed a potted orchid in the bathtub. I walked by that evening thinking that was a good place to water her latest plant and never gave it another thought that night.  While I wandered about making coffee and breakfast the next morning, I realized that lone orchid sitting on top of an upside down plastic barrel in our bathroom tub was a photo opportunity in the making.

I could see the light beginning to come through the frosted bathroom window and the slight beginnings of a glow on the flower. I knew within an hour or so the sun would move to that side of the house and continue in that southern path for the rest of the day.

When my wife had come home with that flower some days ago she had suggested I make a few photos of it for our monthly calendar

I had been taking staff portraits for a client and I hadn’t put equipment away yet so I thought I’d setting up a small studio and take pictures. However, as I looked at the soft diffused light coming through that frosted window and realized the continually changing quality of the natural light would give me a fun and leisurely project that could last all day.

All I needed to do was set up a natural light studio in the bathroom.

My Orchid studio

I began by erecting a black velvet backdrop behind the flower just below the window.

The light came through a window above and behind the orchid. The bathroom was bright, but not enough for a balanced image, so I positioned a white reflector front right between the tripod-mounted camera and the tub. I’ll mention here that I tried white, gold and silver reflector coverings and decided on white.

My camera’s ISO was set at 100, the aperture at f/8 in the morning, and f/16 until late afternoon. That left exposure control with the shutter and after my initial meter readings in the morning all I had to do was keep testing by releasing the shutter and checking my LCD as the light factors changed throughout the day. This project was about capturing the quality of light as much as it was about making a good portrait of my wife’s orchid. All I had to do was make regular trips to the bathroom, sit on the floor instead of the toilet, and take pictures as the light changed.

Photographer Robert Mapplethorpe excelled at this style of plant photography and he was my inspiration for this. Many of his artistic and sensuous flower photographs were carefully positioned next to a window so he could create wonderful flower photographs using both natural light and studio lighting.  My photography usually includes some type of artificial light, so this project was a change and fitted perfectly into my goal this year to expand and move my comfort zones.

By the end of the day I had taken over eighty images to choose from. I selected out and selected out again until I had one that worked best for me. I wanted the image to be more about a creative form than about the orchid and cropped severely to force that view. All and all, it was a successful day and a great photograph for this month’s calendar.

I appreciate any comments. Thanks, John

My website is at www.enmanscamera.com

Do Something Different with your Photography

I advise photographers to stick by the rules of composition and exposure to make successful photographs. But there is another valuable lesson that I don’t always discuss with photographers, and that is to experiment with their equipment and the photography they are producing and that subject came up during a discussion with a photographer that stopped by my shop last week.  His lament was “everyone’s a photographer now days and most of what I see (I think he was talking about the city he lived in) is pretty much the same…and I feel like I am just one of that crowd.”

I suggested trying to do photography in a different way, and to disregard advice from others and begin a personal exploration of creating and experimenting with photography to make something totally new and different from what is most comfortable.  Push the envelope and, in doing that, become more aware of what you are capable of doing, as well as what the equipment you own is capable of doing.

The famous photographer Ansel Adams once said, “You don’t take a photograph, you make it”.   I think that we might take the time to do just that.  Consider alternative and unique perspectives when photographing a new subject and try different camera techniques and try equipment you haven’t tried before.

That might be as simple as trying to shoot only from a tripod for a time period. If you don’t have own a tripod, borrow one, and make a commitment to use it for every photograph you take for the next month. Some times you’ll hate it, sometimes you’ll love it; but the outcome will be learning to “make pictures” in a different way.

Or perhaps, and maybe more difficult, select something that wouldn’t normally be considered a subject.  Use your camera to really photograph it and try angles that make people wonder if you have lost your mind. The opinion as to whether the photographs are successful will be yours, since the only opinion that really counts is yours when you have crawled through the dirt and photographed that flagpole from its base looking straight up through the flowers around it as a black crow flies overhead.

Try to be expressive with your photography.  When you photograph something think about getting rid of anything that complicates it.  Simplify, simplify, simplify.  Go for a minimalist effect.  I remember a photojournalist in the 1970’s telling me that the words he thought of before photographing a subject was “tighten up”.

Try a different way of photography and using light. See what happens when the color balance is absolutely wrong, or the lighting produces unusual colors and you photograph just the oddly colored items. One might carefully observe the lighting and wait.  Wait until it affects a subject in an interesting, and maybe better yet, in an incredible way.  Waiting for the light takes patience and that could mean waiting an hour, an afternoon, or all day for the light to become what a photographer wants when looking for something different.

Experimental photographs “made” from these efforts will have us thinking outside the box and when others view photos so different from what we normally produce it is they who probably won’t understand.  That’s a good thing because our objective to be different will have been achieved, and most importantly, we will have learned something new about photography.

One of the outstanding features of digital cameras is how delightfully easy and helpful they can be when experimenting.   The only real cost for to try something completely different with a digital camera is the time and effort.  Look at your images on a computer screen and decide if each worked for you or not.  I expect the result will not be boring and you will have learned more about, not only, how your camera works and responds, as well as any other equipment you tried for the first time, and you will likely have learned more about light, shadow, composition, and exposure.

You might well develop a way of photography that starts with the question, “How can I photograph my subject in such a way that makes it different?”

My website is at www.enmanscamera.com

A successful off-camera hotshoe flash workshop

The following is a quote credited to George Eastman, founder of Kodak. “Light makes photography. Embrace light. Admire it. Love it. But above all, know light. Know it for all you are worth, and you will know the key to photography.”

On Sunday 30 October, fellow photographer and friend, Rick Tolhurst and I held the first in a series of local lighting workshops we will be providing. We called it “Dawn of Light”. Yes, it is a catchy, almost meaningless title at first, but it actually fits if one applies a dictionary definition.  The word dawn means, “the first appearance of light in the sky…figurative or the beginning of a phenomenon or period of time…” so, consequently, that title works well for those trying to help photographers enter the world of using and controlling off-camera flash for the first time.

Photographers all work with their subjects differently. Some might be portraitists, some call themselves glamour photographers, there are those that do boudoir, baby, or maternity sessions, some shoot family groups, and, of course, there are those that photograph weddings. The approach may be different, however, the one thing in common is the need to use additional lighting.

As instructors, we weren’t concerned about anyone being a beginner at lighting, or having never used a flash off-camera, because, the fact that these photographers were there showed they were ready.

The discussion and action packed day began with coffee, donuts and introductions.  We had advertised, “This one-day workshop is really about one thing: using off-camera hotshoe flash with a DSLR to move your photography to the next level.  The main objective for this session is using wireless, off-camera hotshoe flashes and balancing (controlling) light with ambient lighting.”

After the morning session of instruction, questions, and demonstrations, the participants grabbed their cameras, split into teams of two or three photographers and went at it. In a large room Tolhurst and I had set up three lighting stations; the first with a shoot-through umbrella and some reflectors, the second employed an umbrella/softbox brolly and another shoot-through, and for the third we had a 24” softbox and a 40” reflector type umbrella. We also placed a beauty dish on a boom stand.  There were more light stands, umbrellas, softboxes and reflectors lying around ready for anyone who wanted them.

All the lighting equipment was fitted with wireless receivers, and all the learners needed to do was to take turns mounting senders on their cameras, and the large room became an animated, action packed scene. At this moment I stepped back to watch the enthusiastic photography students apply the information from the morning session into what can only be described as an exhilarating application. When this occurs my role is to act as a guide, an equipment mover, a resource for any questions, and the guy that congratulates successes. Tolhurst and I were busy interacting with the participants for the remainder of the day.

Many classes that are advertised as “workshops” actually are nothing more than long lectures with handouts. That works out easier for those putting on the session, as they present the subject, give demonstrations, answer questions and wait for acclamation.  Many participants are so eager and hungry for information, or are at least enthused by what seem to be prophetic words, that they leave happy, but has learning occurred? Some even return home and try to do what was presented in the “workshop”.  To me a “workshop” should be the same as those high school days when I took wood shop. I want to touch, experiment, and challenge what I just heard in the instructor’s lecture.

For this session we wanted an interactive class and that is harder, for the presenters become participants and loose the celebrity of standing in front.  However, this workshop was about participants actually learning to use off-camera flash to combine ambient and electronic lighting in order to flatter subjects instead of just brightening them up.

Judging from the smiling faces of the group, and the images seen on camera LCD screens, and the follow up emails and Facebook messages I have received since Sunday, the “Dawn of Light” lighting workshop was a strong success. To make it more successful, those that attended should review their notes, find a subject, and spend some time reinforcing what they learned using off-camera flashes.

www.enmanscamera.com