The Lens – The Most Important Part of the Camera

Lenses

The Lens – The Most Important Part of the Camera

Ask any experienced photographer whether to buy a new camera or a new lens and the answer will usually be, “it’s all about the glass,” or, “a good lens is more important than a good camera.”

A bad lens on a good camera will still make poor images, but a good lens on a poor or average camera will most likely give the photographer good results.

I listened to several friends talking over coffee about reviews they had read about the latest camera offering from Canon. The discussion began with questions like, “why does a photographer that doesn’t shoot sports need a camera with 7 or 8 frames a second” and “I really don’t spend much time shooting in low light situations, so why would I spend extra money on a camera because it is capable of a high ISO.” However, as expected, it wasn’t long before the talk easily turned to an exchange of views on lenses. Remember, because after all, “it’s all about the glass.”

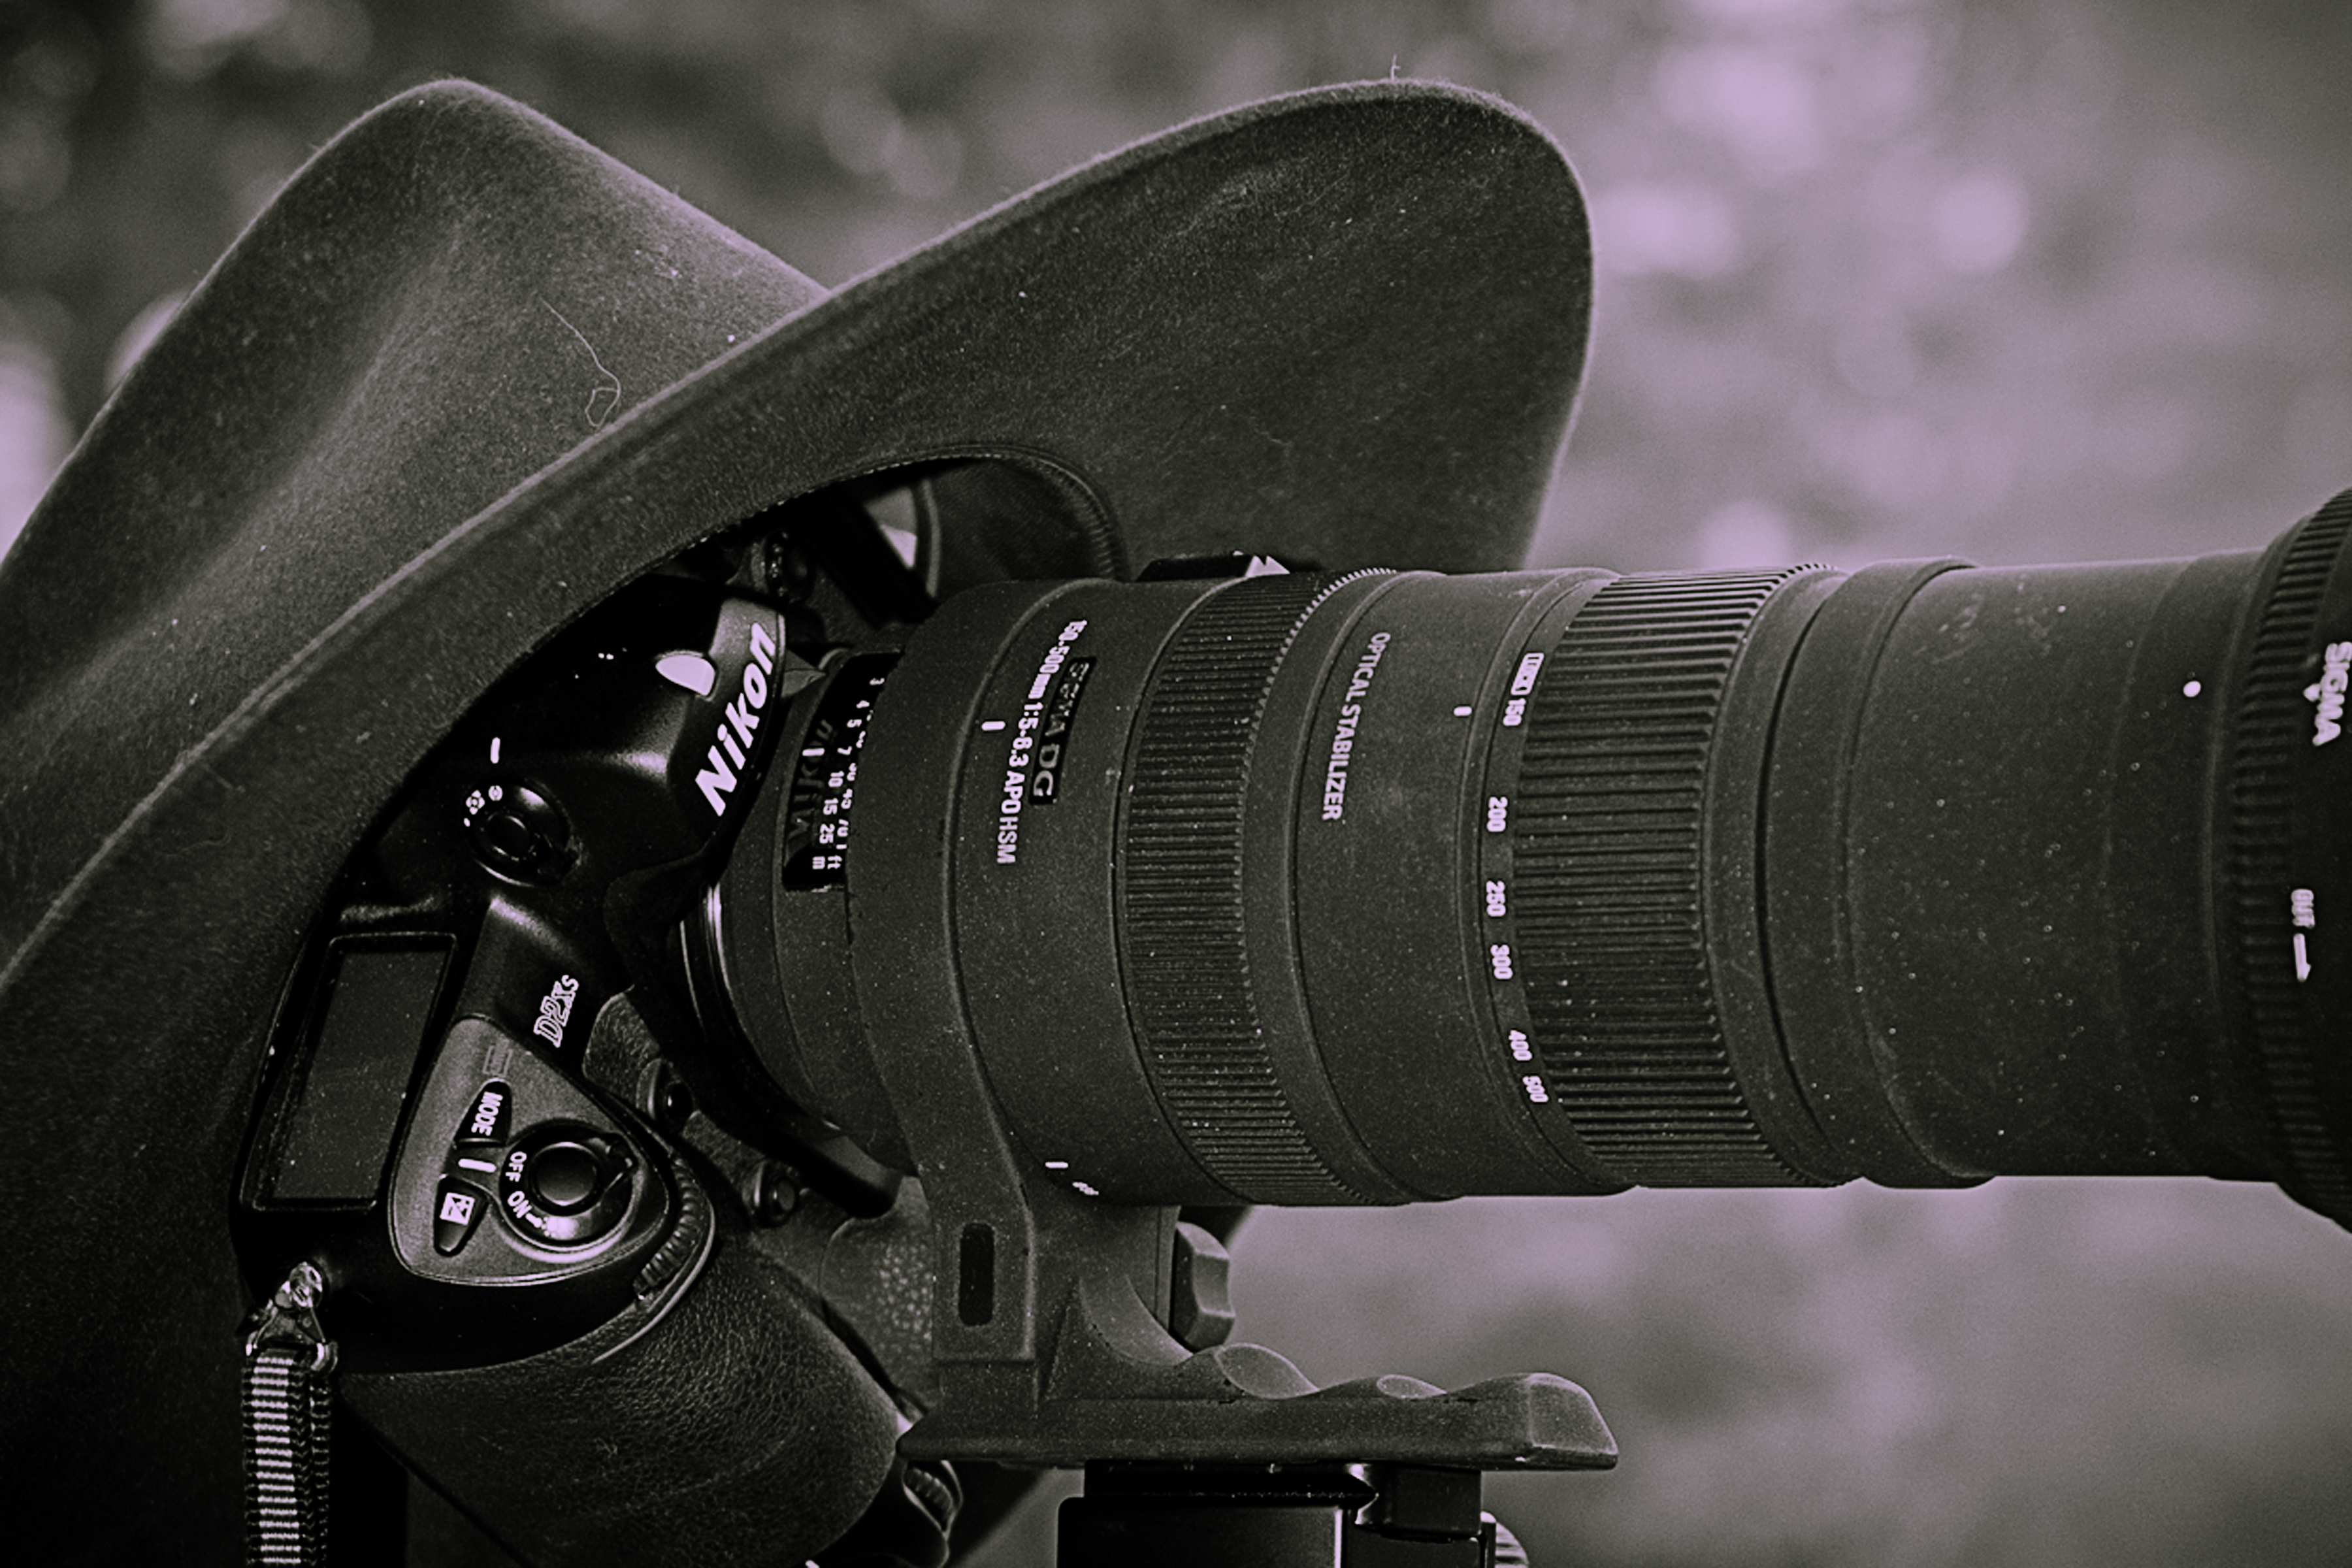
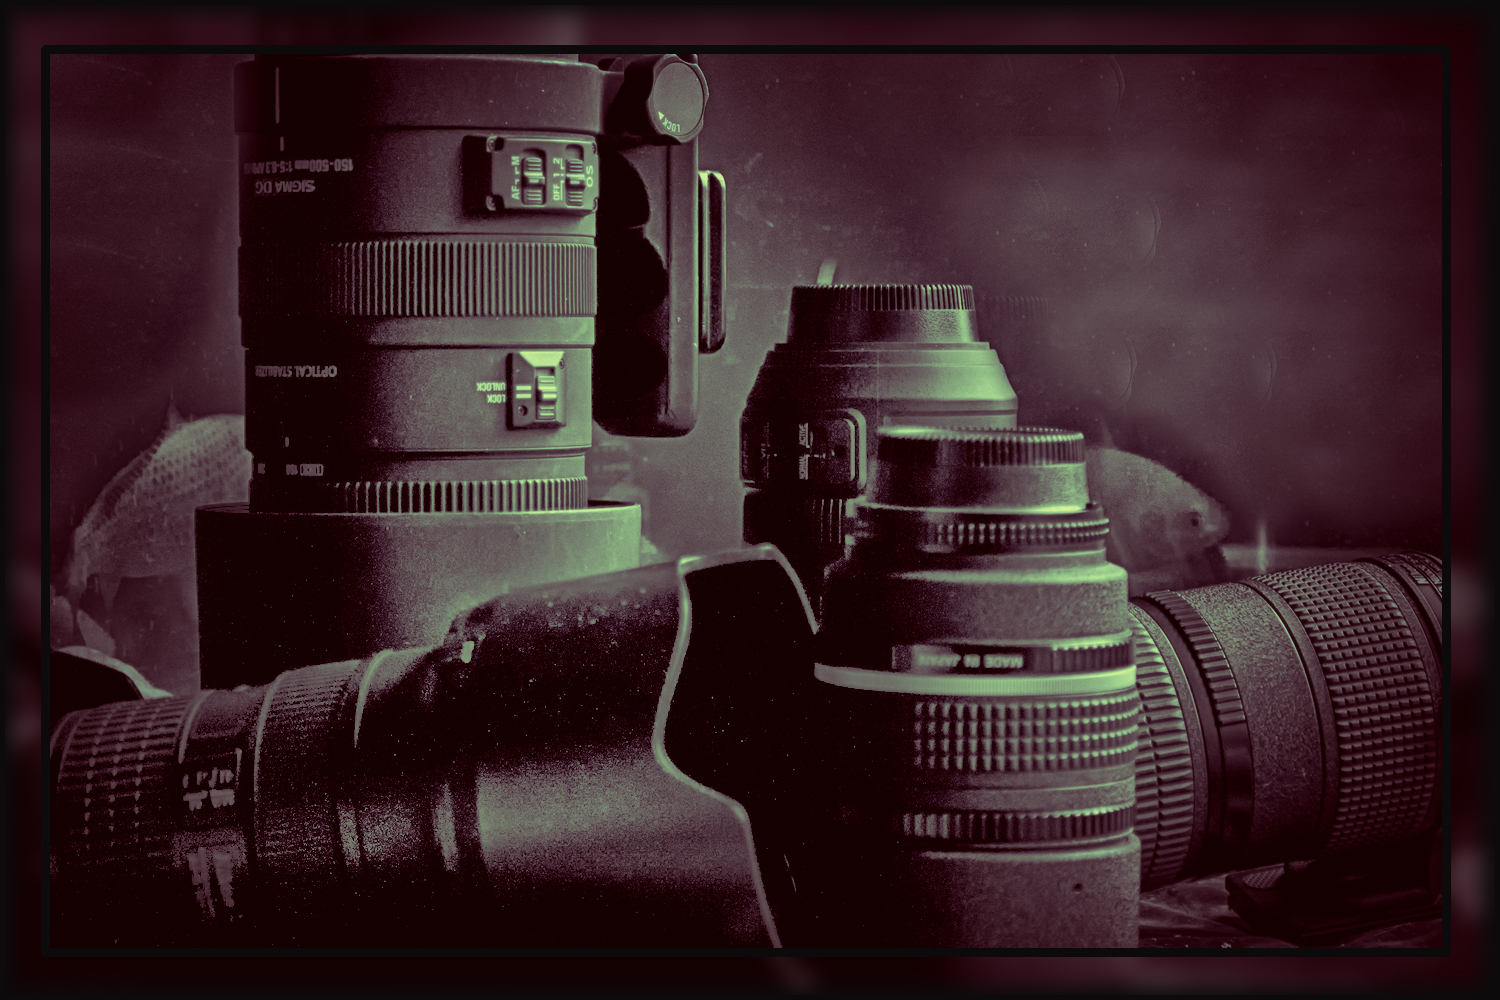
The conversation easily moved from a difference of opinion between those that preferred prime (fixed focal length) lenses, and those, like me, that chose multi-focal length (zoom) lenses. We talked about the importance of wide angle and, of course, wide aperture lenses.

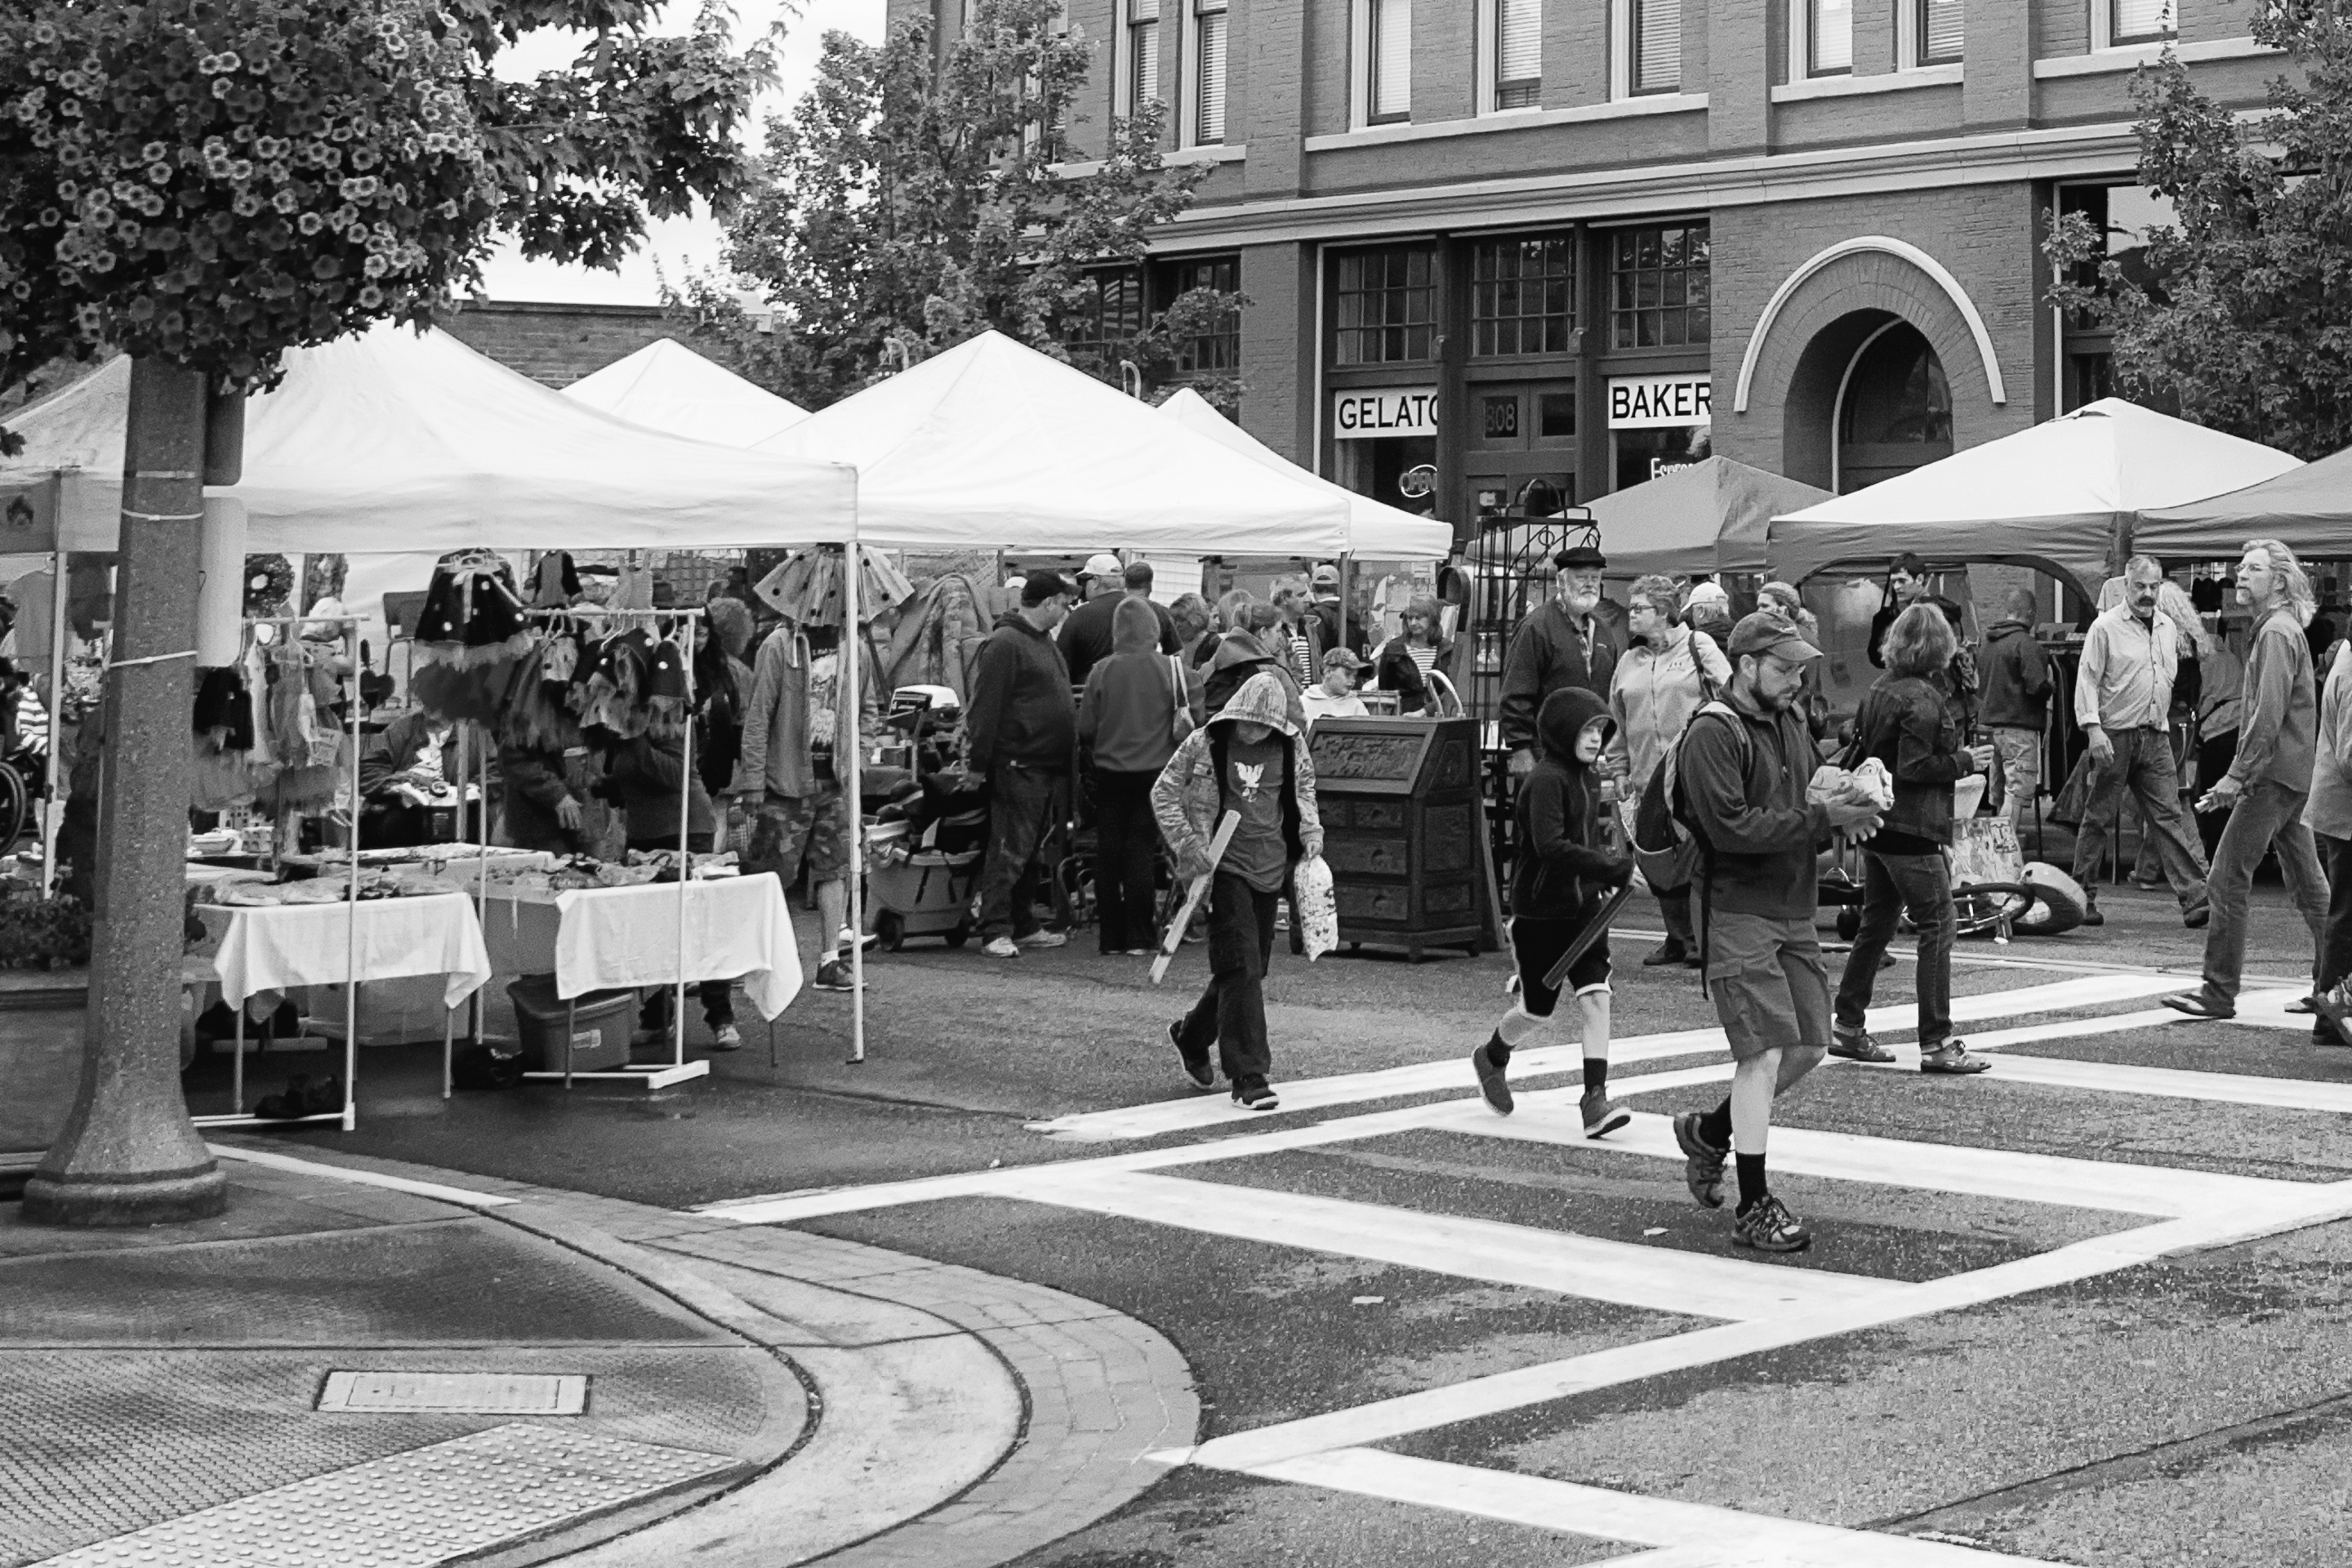
Just because you can change the lens doesn’t mean you have to, but I don’t know many photographers that are that sensible. Mostly we are willing to change lenses as soon as we have extra cash in our pockets, more emotional and impulsive than sensible.

I know very few are content with the short zoom that came as a package with the camera any more than they are with the tires the manufacturer installed on their car. Yes, the lenses, just like the tires aren’t high quality, but that’s not my point. What I mean is that changing lenses is like changing the visual personality of the image, and most photographers I know are engaged in, what I’ll call, a search for a perspective that fits their personality and personal vision.

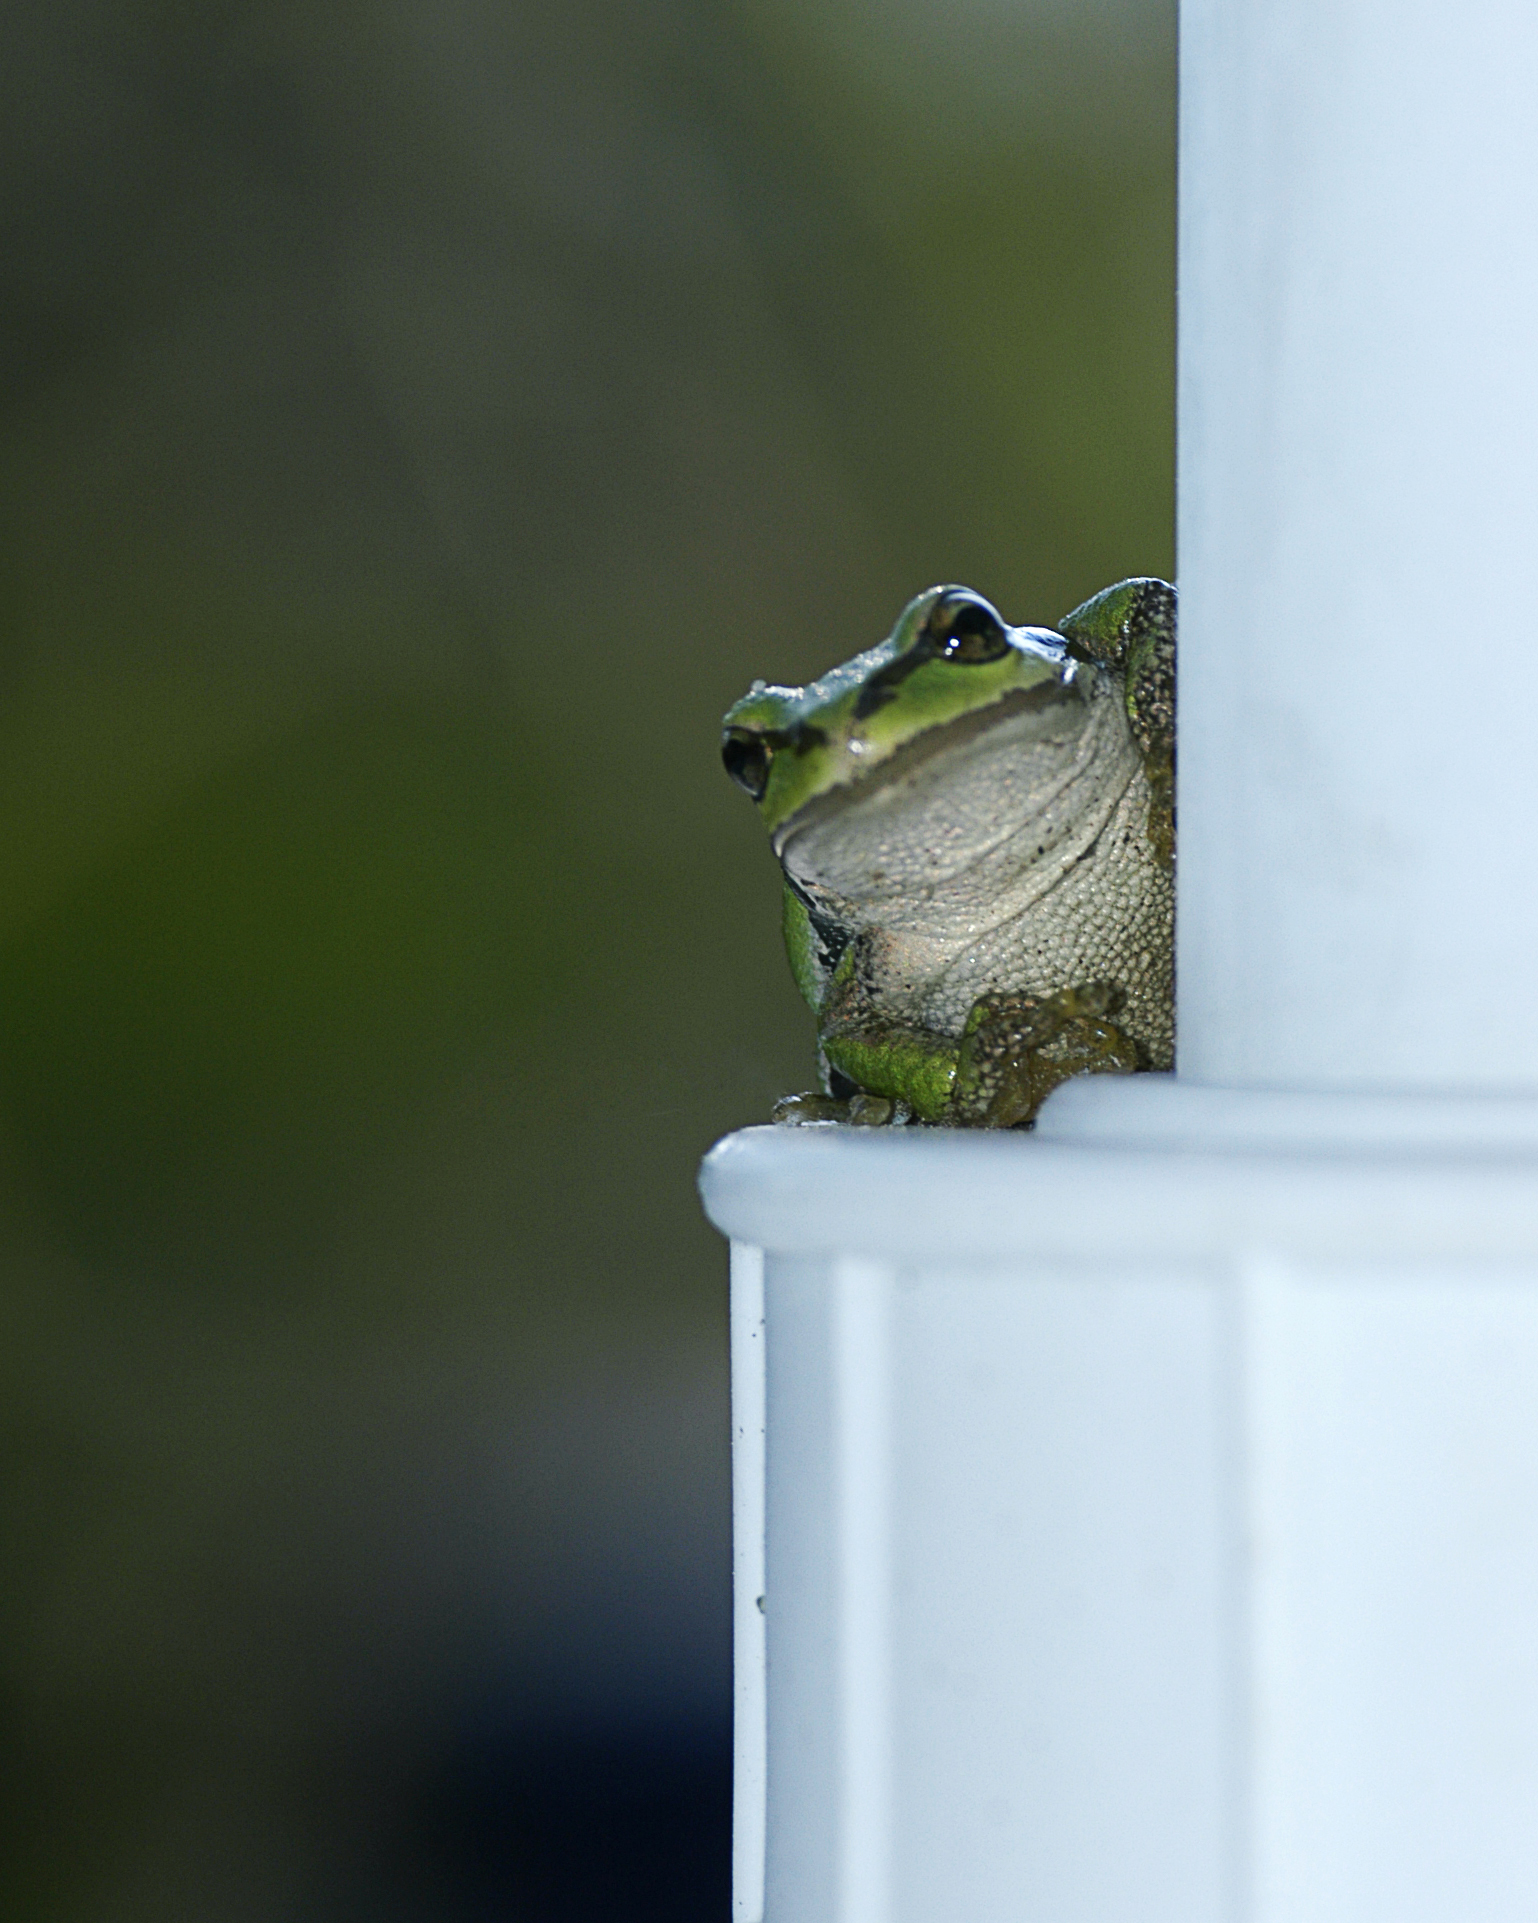
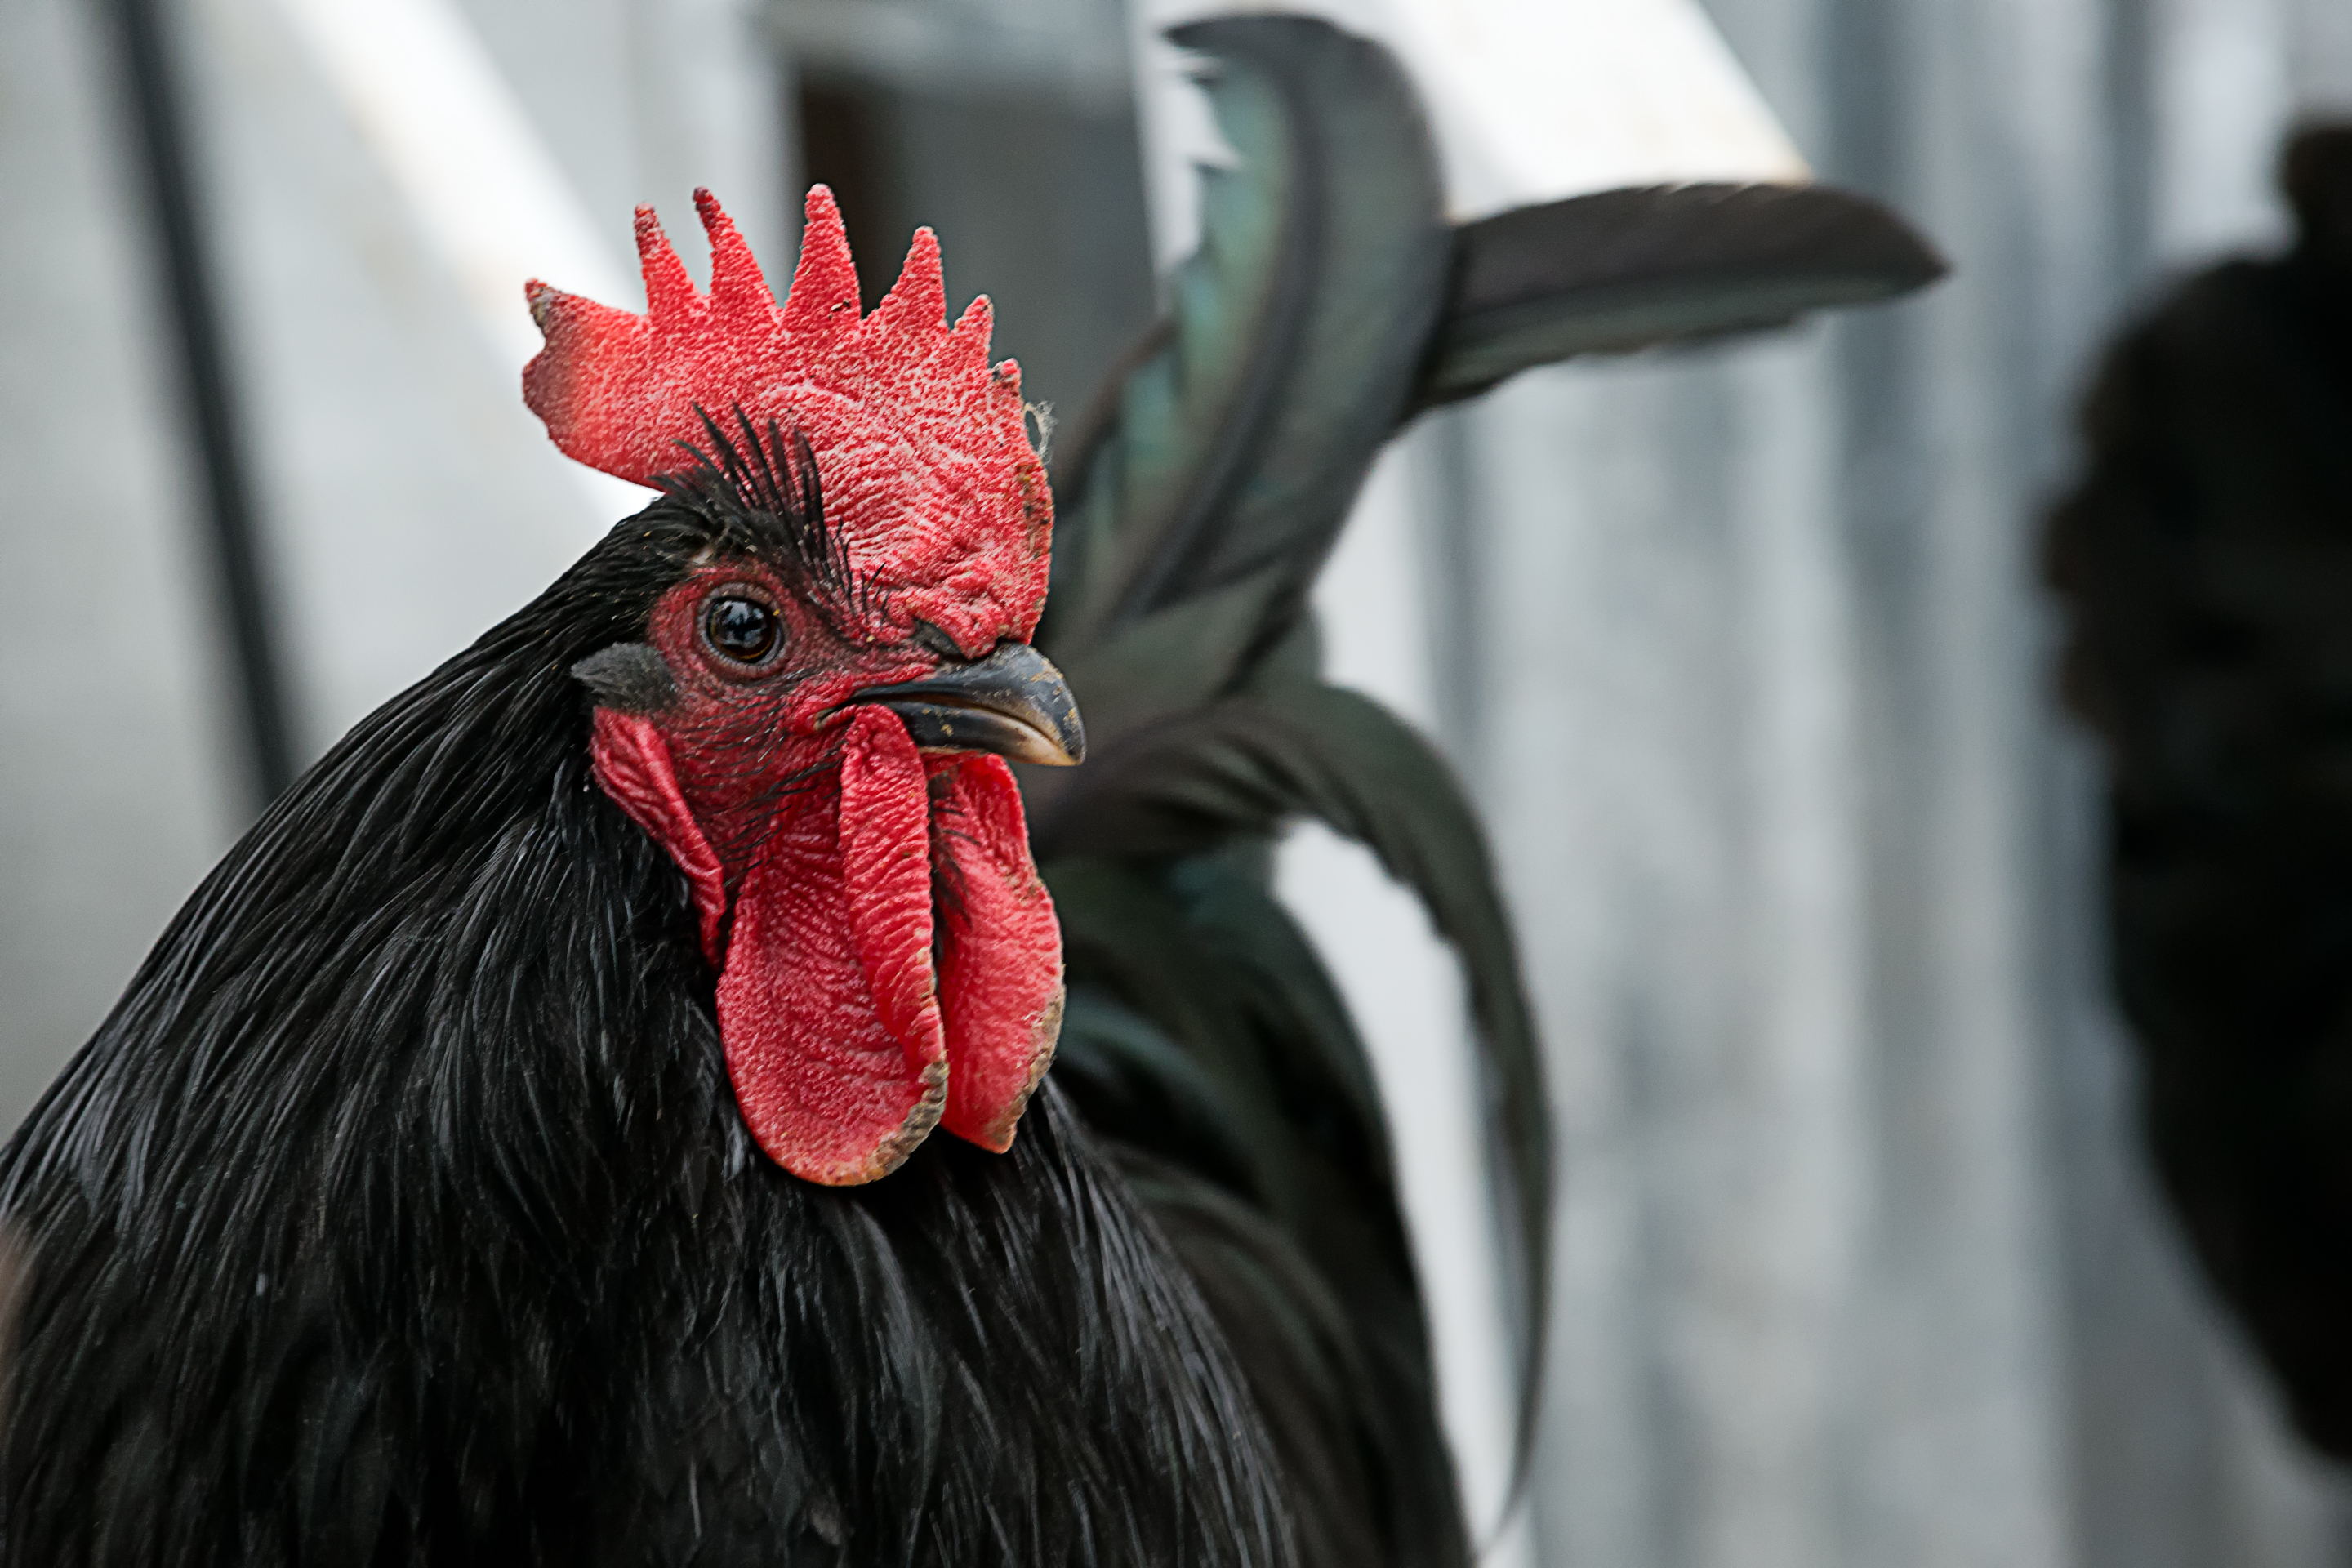
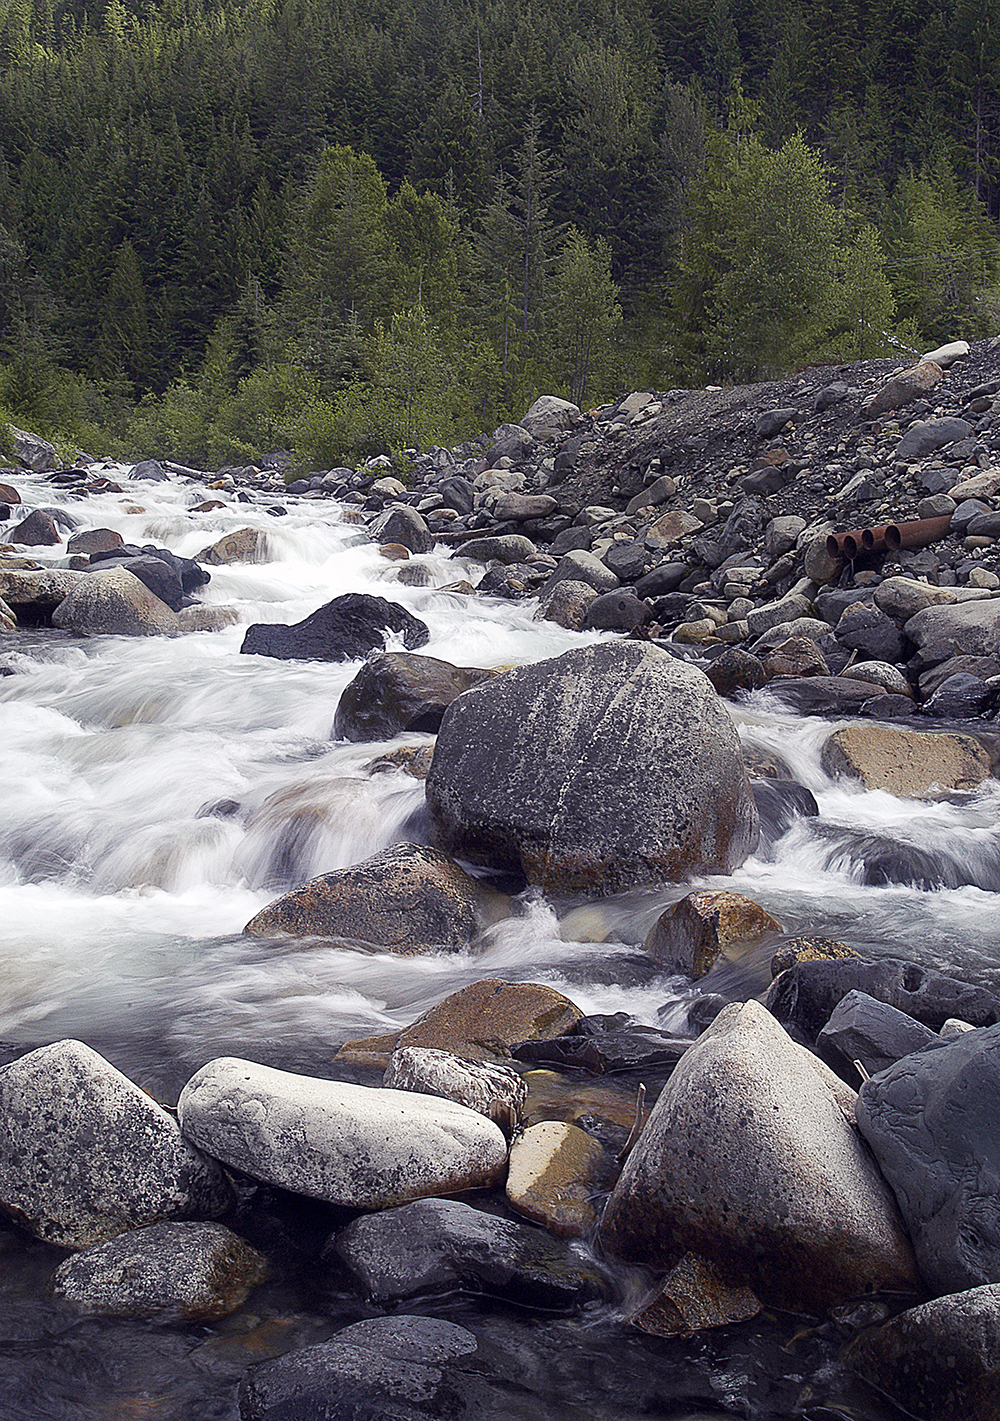
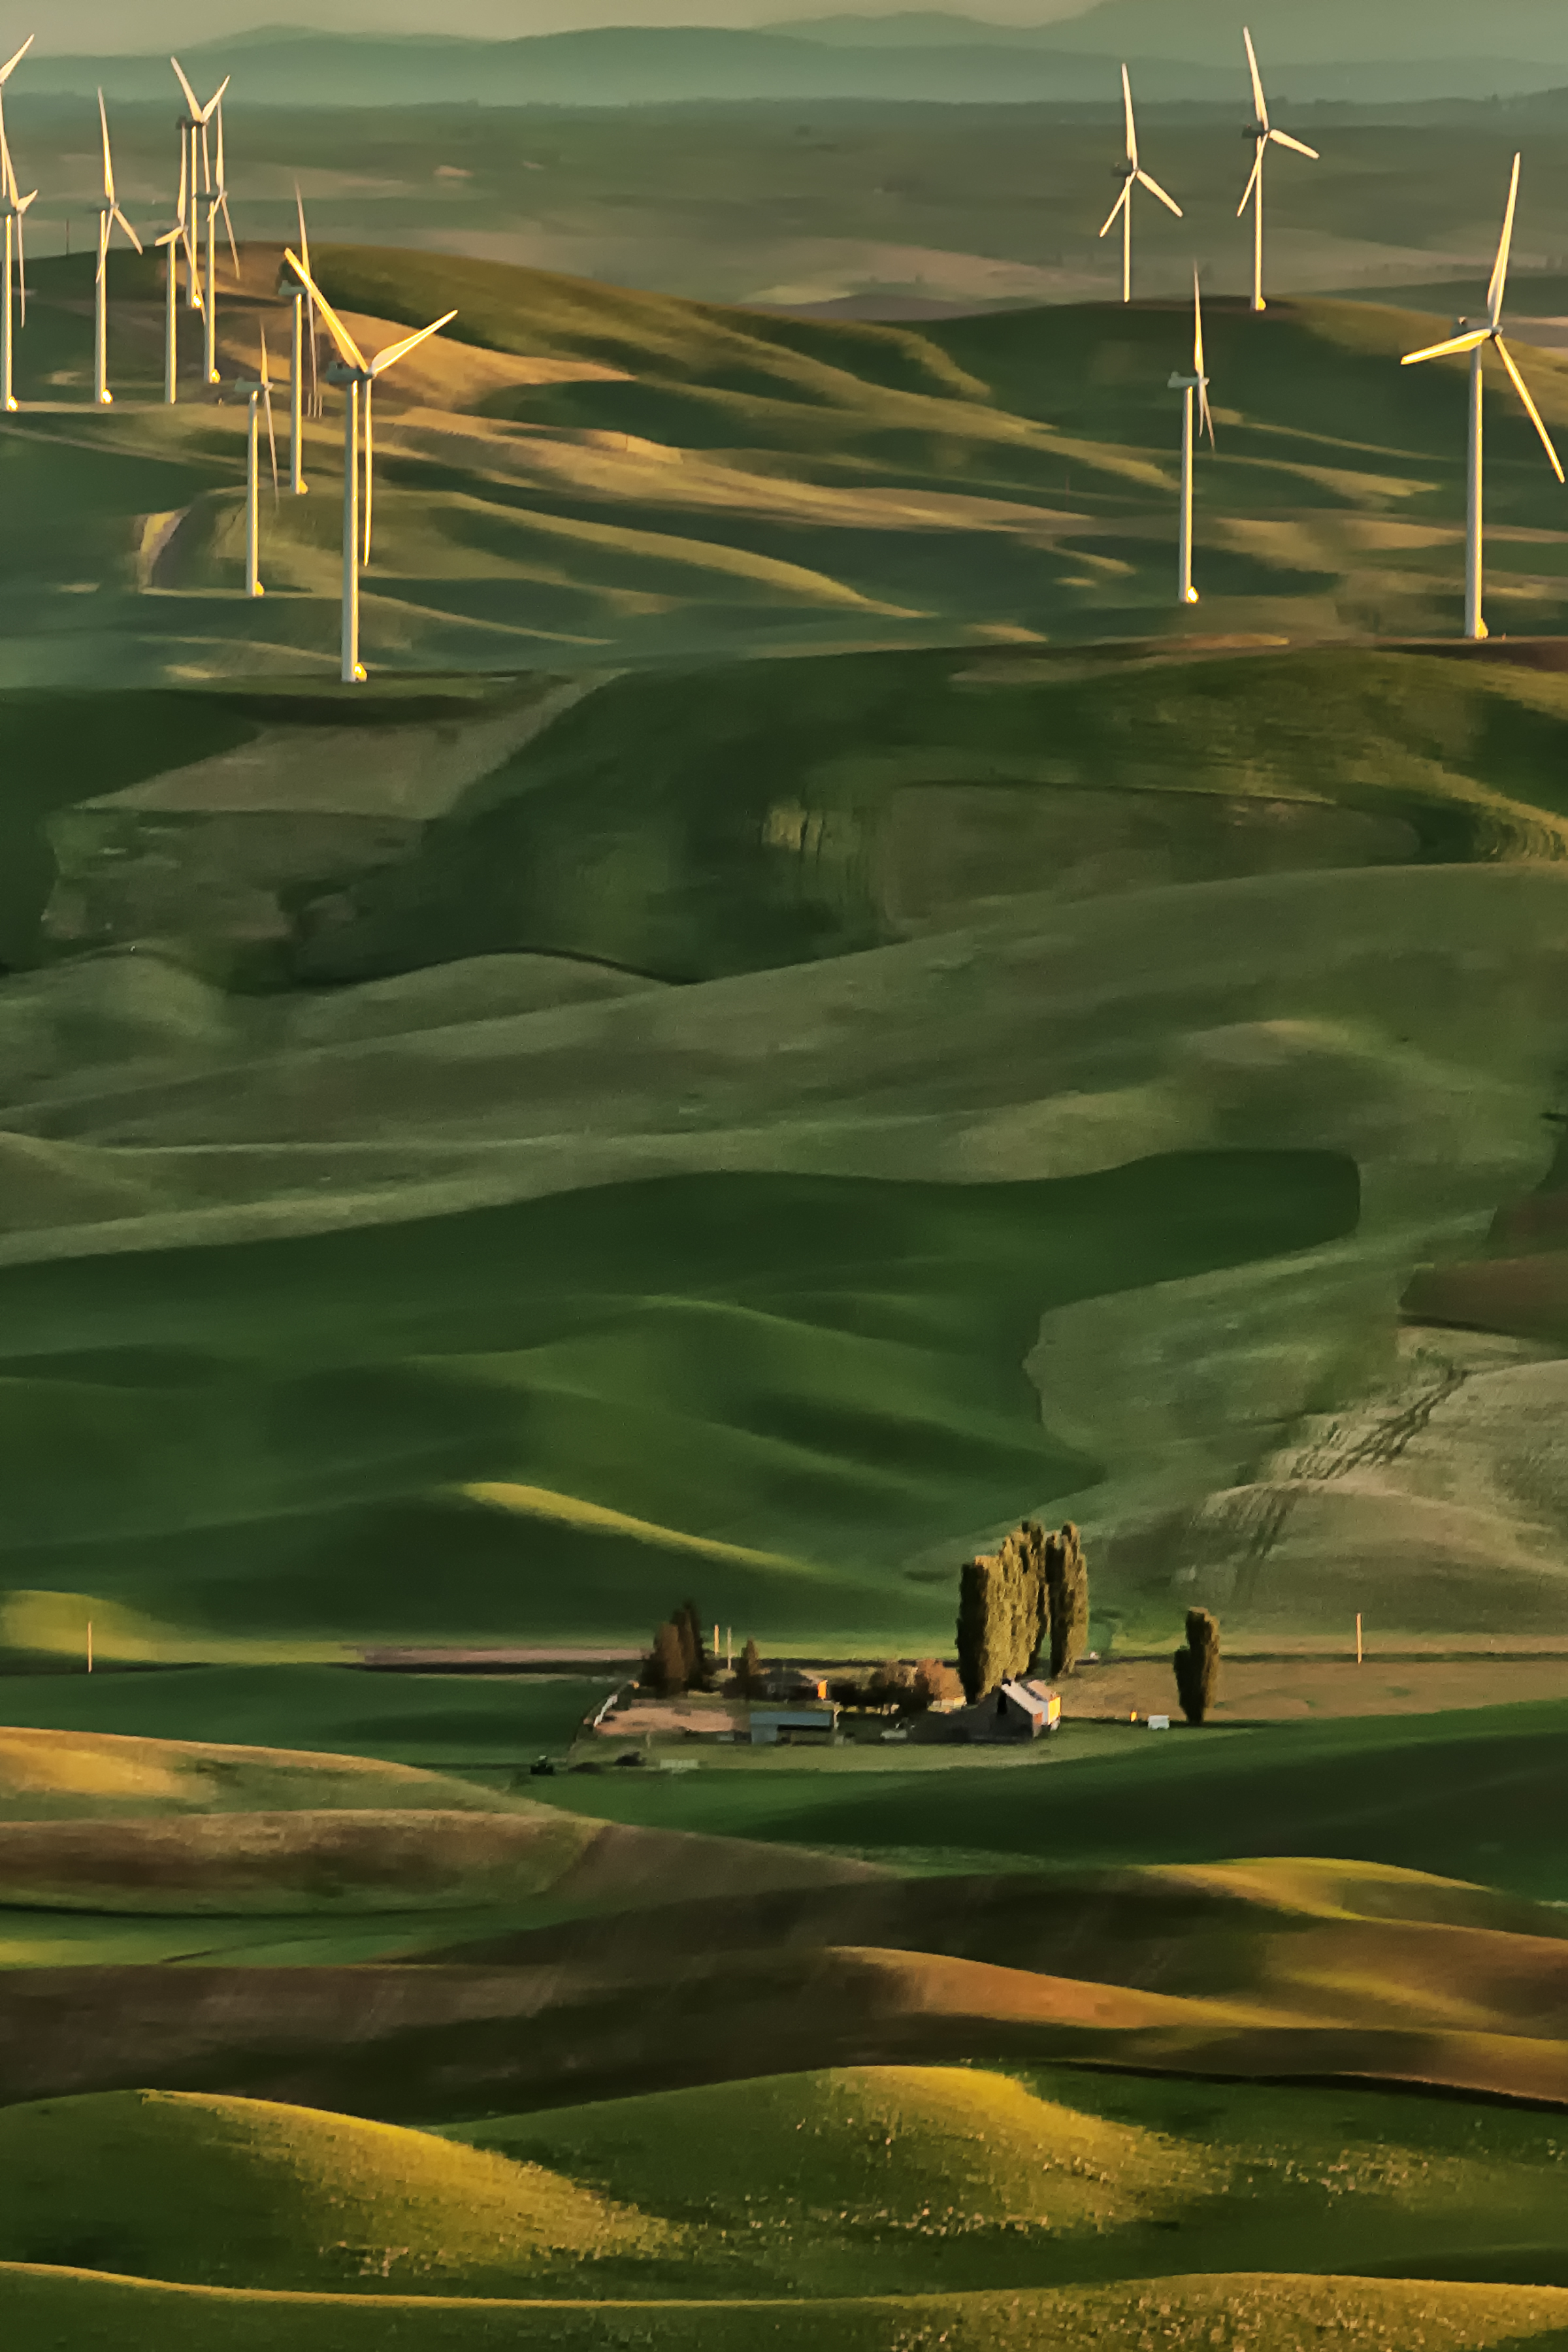
The camera might capture some subject’s personality, but the lens, in my opinion, says more about the photographer than the subject.

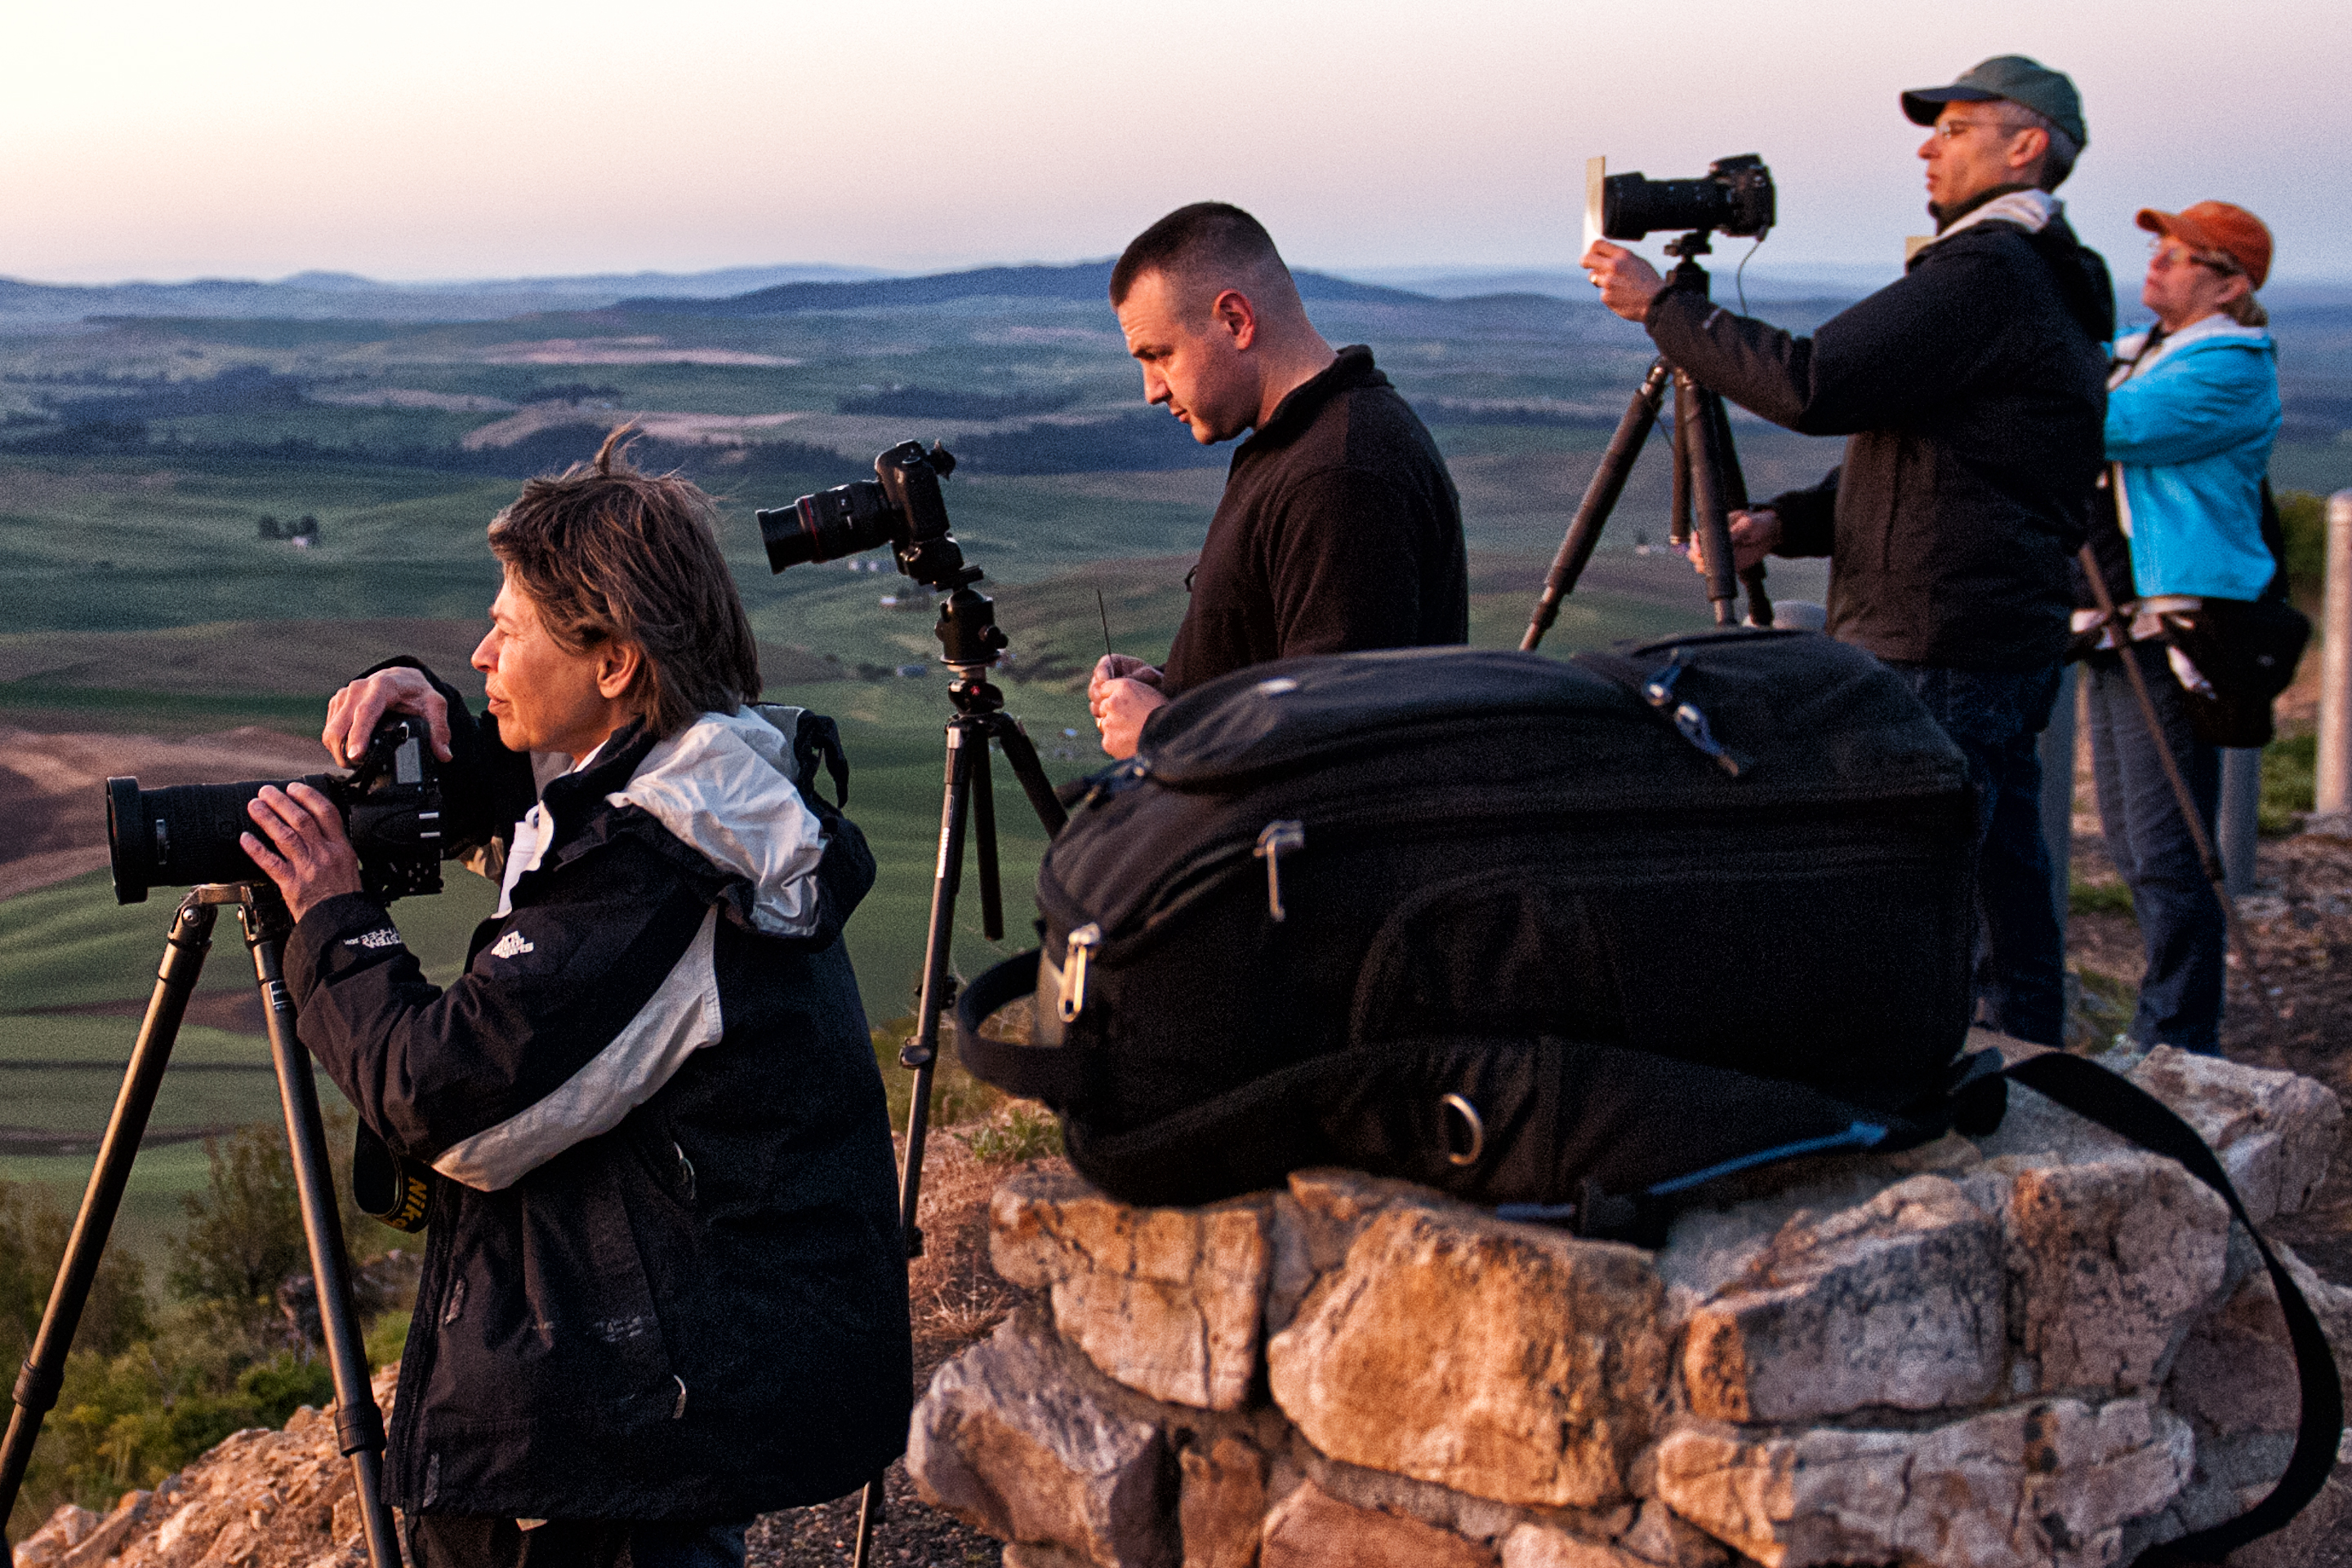
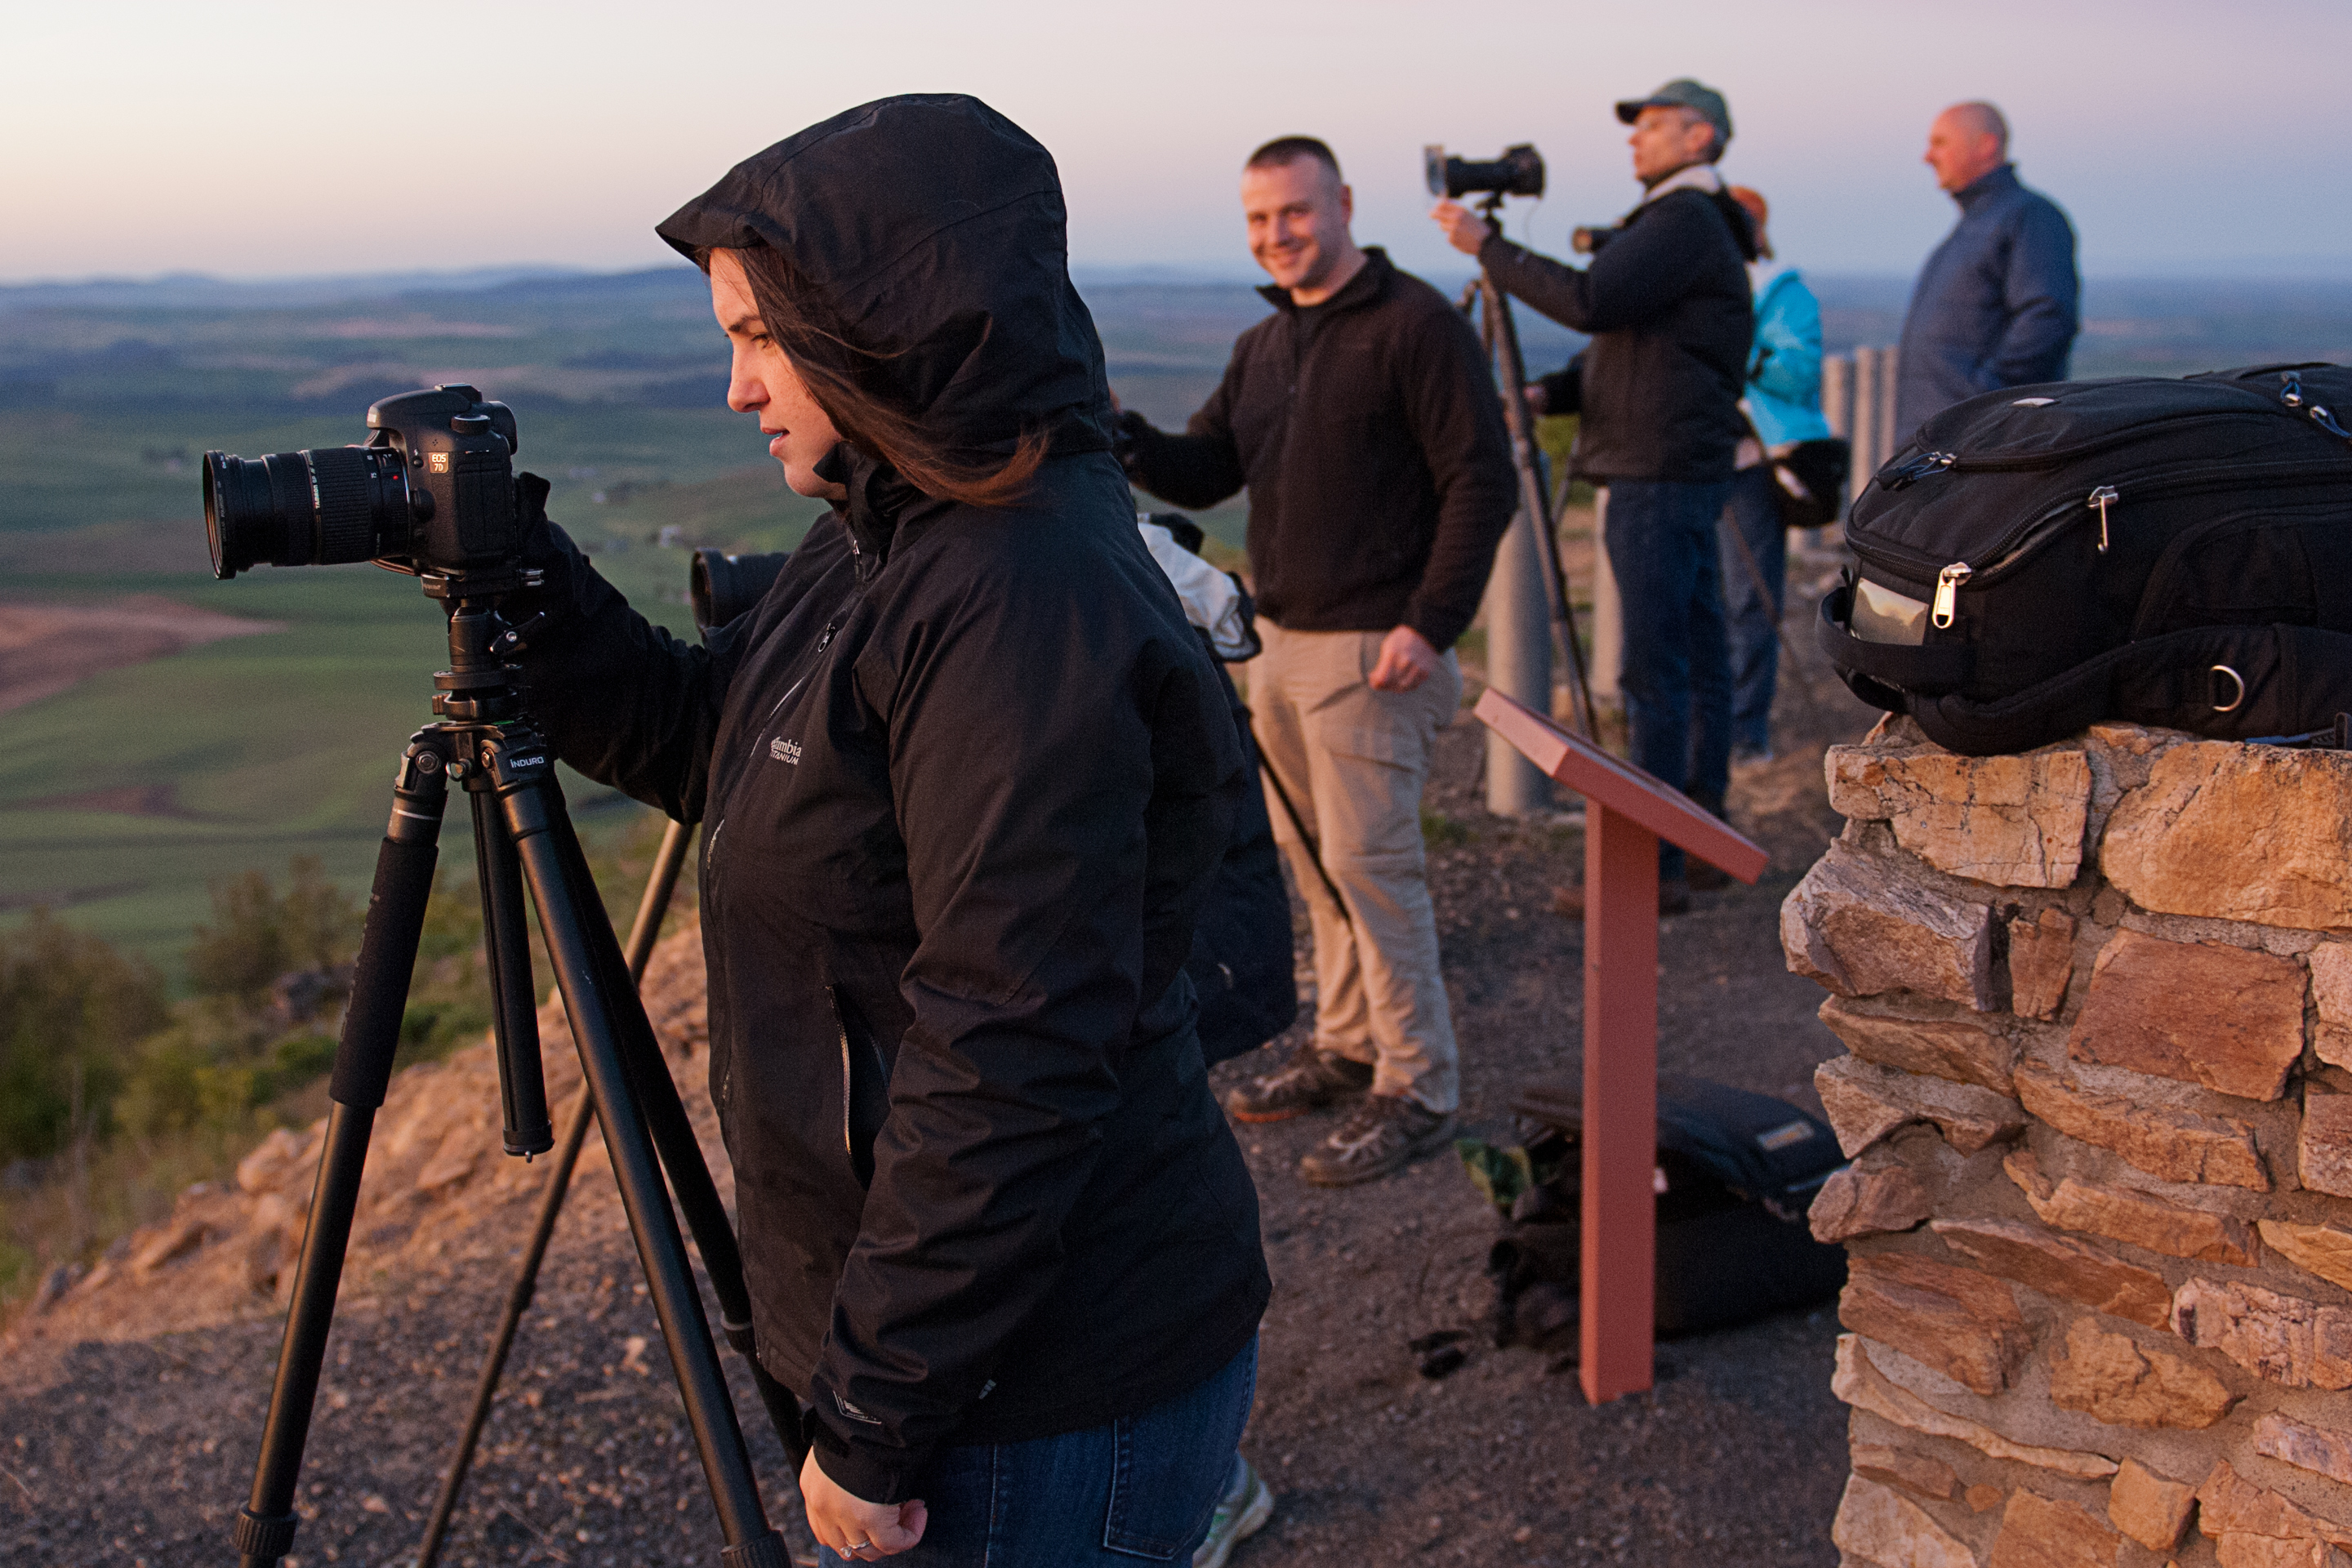
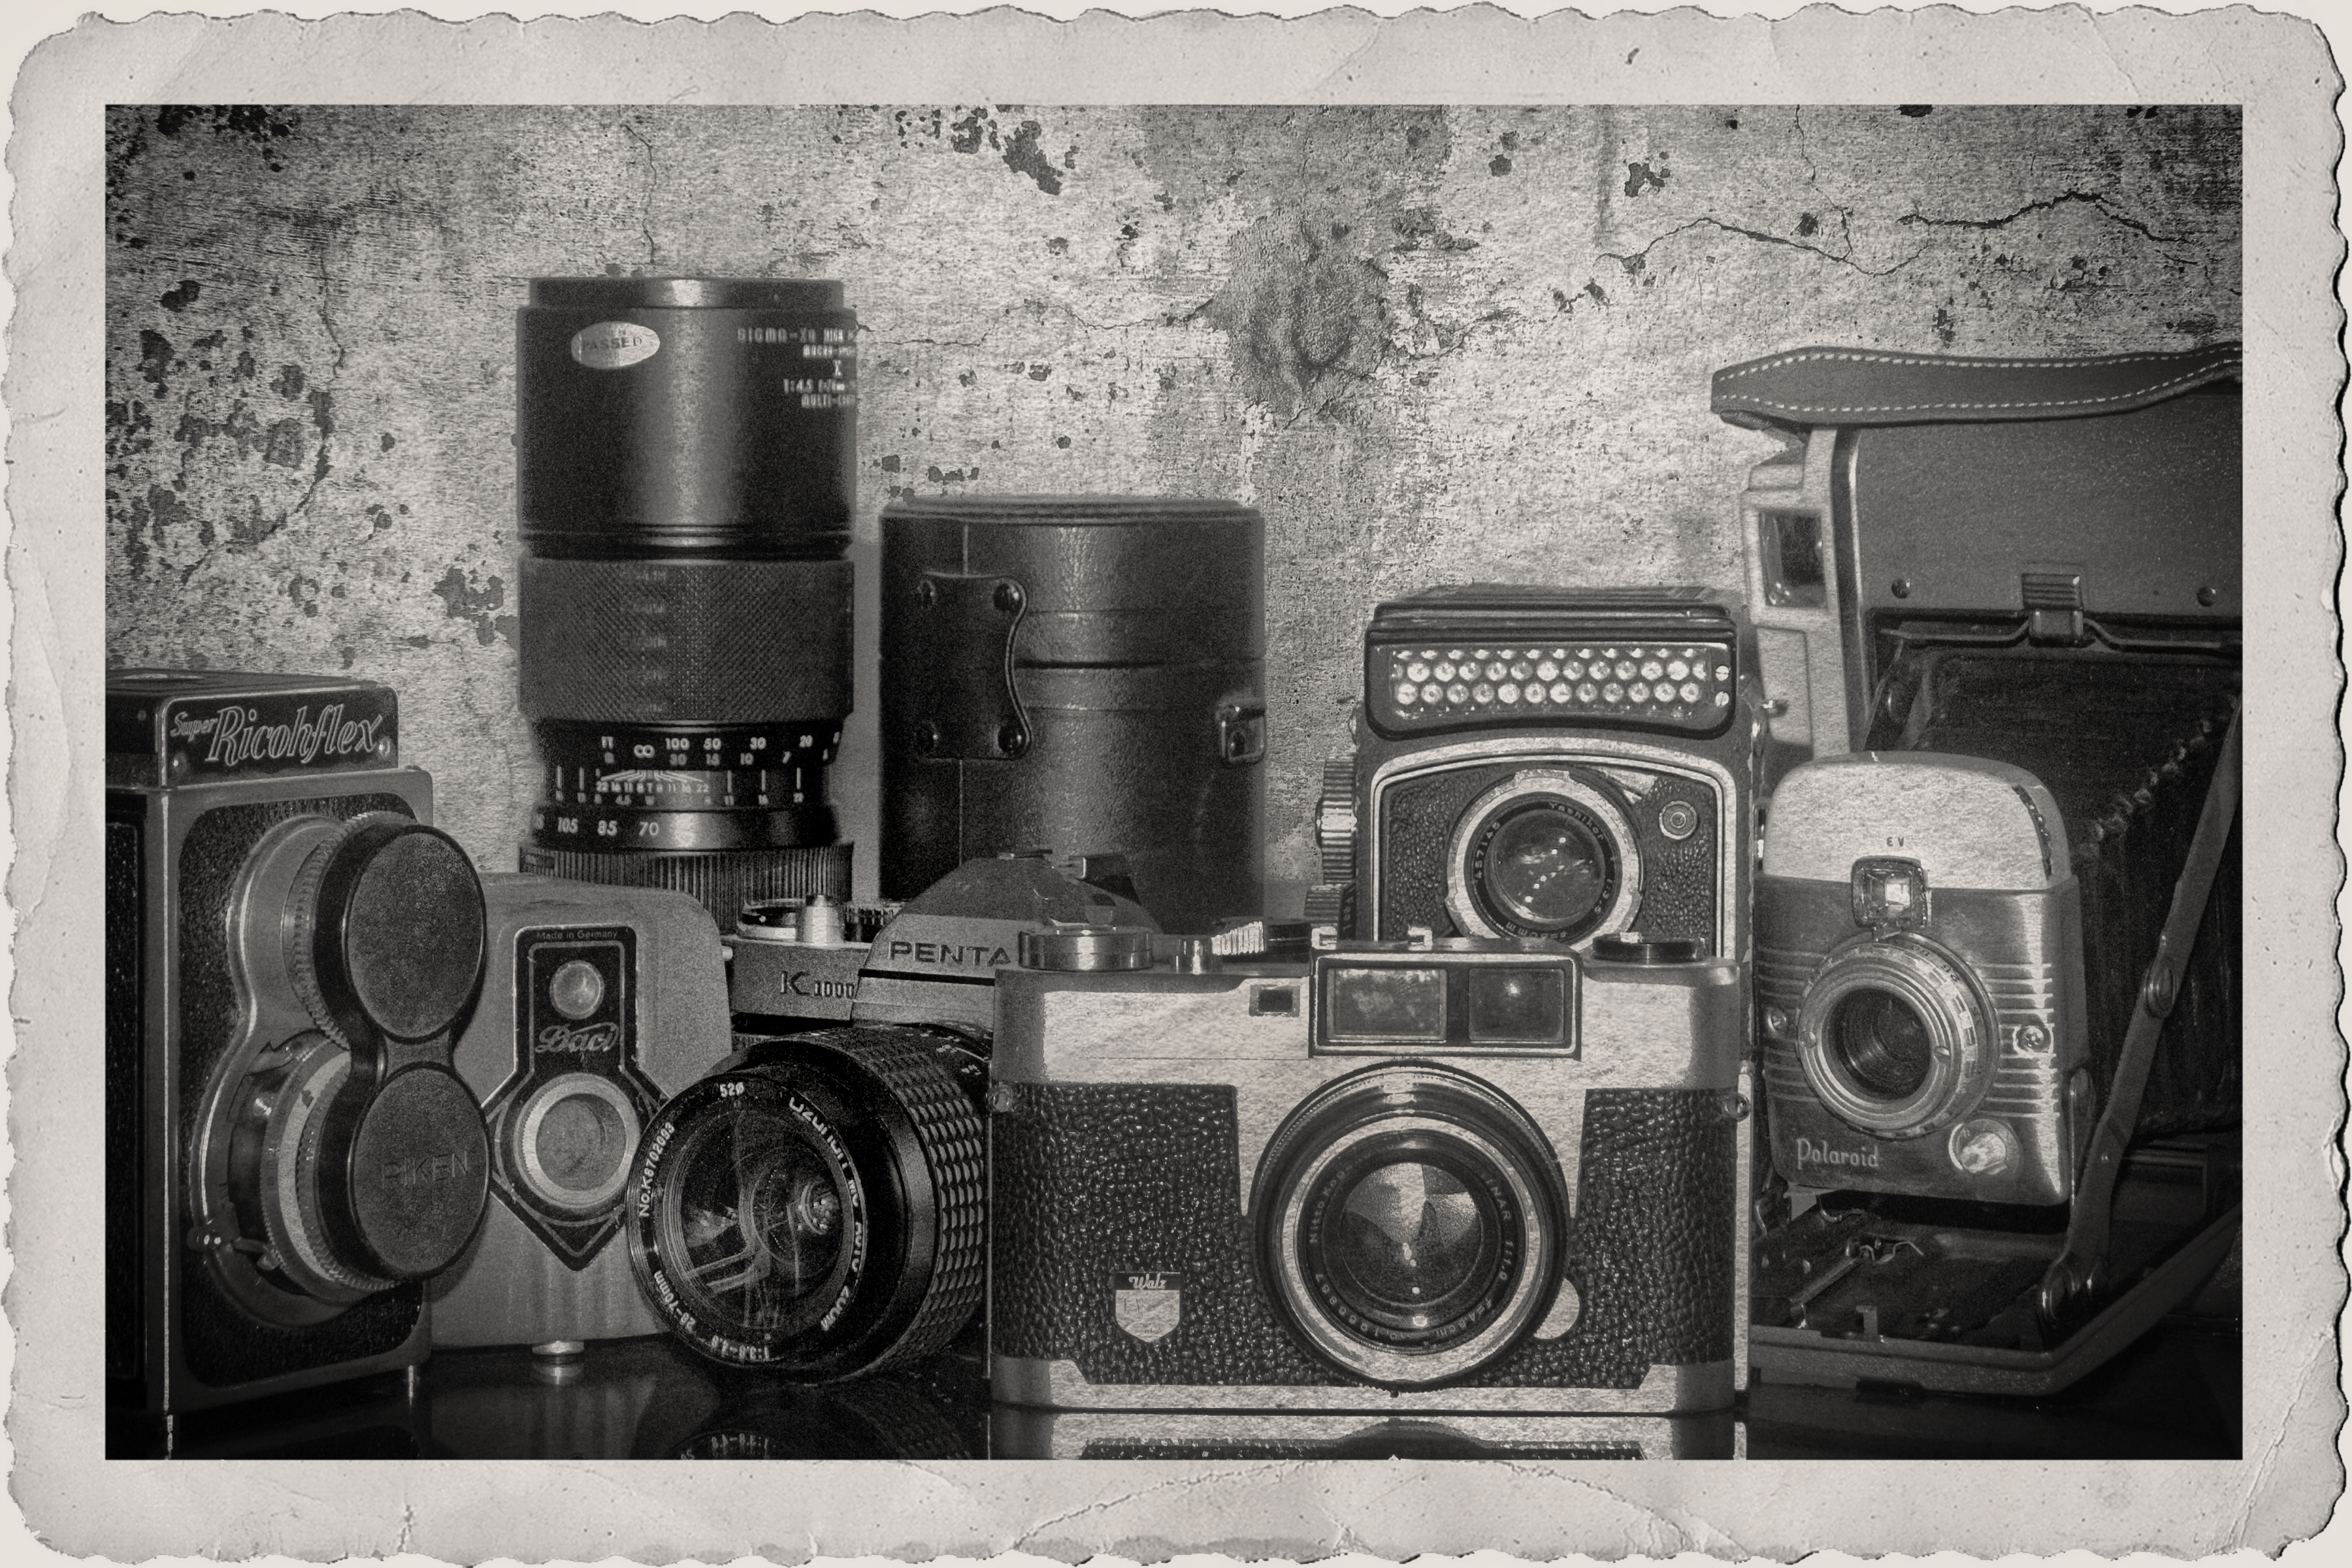
Several photographers standing on a picturesque hillside using the same camera and lens will probably produce much the same image, but give them each a different lens and the resulting images will be diverse, distinct, and individual.

Yes, it is all about the glass, and there is such a pleasing and very exciting diversity of lenses out there waiting for each photographer to choose, discard, and choose again as they explore and create within this stimulating medium of photography.

As I wrote those words I wondered if there were others that I could use that were more applicable than stimulating. I could have used, intoxicating, invigorating, or even compelling. They all fit and, I think, could apply to some of the feelings I could see and hear from those photographers lounging around my shop drinking warm coffee on a cold November day as they talked about the lenses they used and would like to use.

A new camera is a lot of fun, but it really is “all about the glass.

I appreciate any comments. Thanks, John

My website is at www.enmanscamera.com

Depth of Field

I have included a few examples that show the technique.

I have included a few examples that show control over the technique.

D of F 2

hoodo and fence 3

Plowing the field

Shoot'n the sunrise 1

A smaller aperture for more depth of field.

Shoot'n the sunrise 2

A wider aperture for less depth of field.

Heron

Blue Freighter Frog

Brewster copy 2

Truck in the meadow copy

River Sandon BC


A topic that I recently discussed in my classes, that I repeatedly explain to photographers that come to my shop complaining about what they believe are lens focusing problems, and have written more than once about is “depth-of-field”, but it still seems to be an elusive concept for many. However, it is really important and photographers should make the effort to grasp it even though it appears difficult.

I pondered this last Thursday when a local photographer showed me an image she had made during a wedding. She showed it to me proudly and commented that she has chosen that lens because it let in more light when photographing in low light, but complained that the expensive lens she had didn’t seem all that sharp.

The image showed a view of the central aisle of the church with pews left and right, leading up to the bride in the distant centre, approximately 20 feet from where the photographer was standing. The overall exposure shot at an aperture of f/2.8 was fairly good. However, what that photographer saw was the lack of sharpness everywhere, except for the bride standing in the aisle.

The definition of depth-of-field is “that area around the main subject, in front of, and behind it, that is in acceptably sharp focus”. In application the wider the lens’ aperture is set the less will be the depth of field, or that area of sharp focus, around the main subject will be.

Wide aperture lenses are very popular these days and using a lens at a wide aperture like f/2.8 when making a portrait isolates the main subject and produces a soft, out-of-focus background referred to as bokeh by reducing the depth of field. Bokeh is a pleasing soft blur produced by a wide aperture lens in the out-of-focus area directly behind the subject.

In this instance the photographer was relying on the wide aperture to increase the exposure in limited lighting conditions. That additional light allowed a faster shutterspeed for handholding, but along with the benefit of additional light reaching the camera’s sensor the resulting effect was to reduce depth of field.

Using that wide aperture created a field of focus in front of the subject of a couple feet and only a bit more behind that would be fine in a portrait, however in that photograph of the church aisle with pews on both sides, that included lots in the foreground and much of the background, looked out-of-focus.

Many photographers unwittingly rely too much on their photography equipment to (magically?) make good images, and blame faults in their photographs on that same equipment. Understanding the basic concept of depth-of-field would have made that photograph more to the photographer’s liking.

The smaller the lens aperture number is the less the depth-of-field. I prefer using a small aperture (larger number) for scenic photography and, as in this instance, interiors. The answer to that photographer’s low light problem would be to increase the ISO and use a smaller aperture. (I would be surprised to find a modern DSLR that wouldn’t shoot noise free at ISO1600 or even more)

Assuming the lens isn’t sharp when the real problem is with photographic technique is expensive if the photographer goes so far as to replacing a lens. My recommendation is to spend time learning the basics of depth of field instead of blaming equipment when problems occur.


I appreciate reader’s comments. Thanks, John

My website is at www.enmanscamera.com

The Photographic Composer’s Score and Performance

Spring storm

A storm o the prairie


Wind power

Windpower

October Infrared

October walk in Infrared

Trans Canada trucking

Trans Canada Highway – Infrared

River bluffs

Infrared of Thompson River


I taught photography in the 1980s and 90s for the University College of the Cariboo (now Thompson River University) when the only way to make a photograph was using film.

In my lectures I informed students that as well as learning about their cameras, they must become proficient in negative development and printmaking. I would emphasize that those serious about the medium of photography would come to realize that what they did with the camera and the negative it produced was only the beginning, and that it was their final print that would set them apart as a photographer. And I would quote famous photographer Ansel Adams, “The negative is comparable to the composer’s score and the print…its performance…”

Film has now been discarded by most serious photographers, although I expect artists will use film creatively for years to come, nevertheless, even with advancing photographic digital technology Adams’ words from the past are still significant.

The digital camera isn’t making a picture in the sense of light permanently imprinting itself with different intensities on a chemically sensitized surface like film. Instead there are sensors and in-camera computers processing light from thousands of photosites that are transferred to computers as data files for conversion into countless pictorial possibilities. I have become, more than ever, of the opinion that like the negative, the RAW image file, is now the “score” to Ansel Adams – the photographic print.

I know there are those that haven’t bothered to move their camera selector off JPG (Joint Photographic Group). However, choosing JPG files means those images are pre-processed in-camera and the photographer loses control. I prefer shooting RAW (not an acronym like JPG, RAW is unprocessed data) and choosing RAW is like having the negative Mr. Adams discussed, affording us total control over those data files or, more importantly, allowing a personal vision of how the final photograph will look.

A young photographer that came into my shop last week got me thinking about this when, with some kind of misplaced pride, he announced he would never use PhotoShop on any of his pictures because he was only into true reality. Although I didn’t comment, I thought about the manufacturer’s presets that were applied in-camera to his image files, the sensor’s dynamic range of only about five stops from black to white and the very limited number of colour spaces his tiny JPG files gave him.

Some years ago I attended a print-making lecture during which one of the speakers said in the past he would get up early and drive to some scenic location hoping to capture an impressive sunrise, after which he would package up his film and send it to the lab and leave all decisions to an unknown technician’s personal vision. However, now he shoots RAW and transfers his image files to his computer and the decision has become his to control how his photograph will be processed for viewing.

As in the days when I processed and altered negatives in special chemicals and manipulated prints by adding and subtracting light, I now use computer programs to process my RAW images in my quest to perfect my vision of each. And I expect the same thing is true now as it was with my students all those years ago, that what they do with the camera is only the beginning, and to repeat Ansel Adams, “The negative is comparable to the composer’s score and the print (is) its performance…”

I look forward to all comments. Thanks, John

My website is at www.enmanscamera.com

Lighting The Portrait Workshop

Class Participants

Bart&Sarah&wind Machine

Sarah

French poet and art critic Charles Baudelaire once said, “A portrait! What could be more simple and more complex, more obvious and more profound?”

Last weekend I led an interactive studio session with students that covered off-camera lighting for portrait photography. My goal was to leave participants with enough knowledge and skills, that with additional practice and experimentation, they would be able to produce pleasing and creative portraits of friends, family, and clients.

Learning to take better portraits, or as I emphasized in my workshop, portraits that flatter the subject and which shouldn’t just be a flat documentary of a person, involves understanding lighting techniques and posing.

In this one-day course participants experienced several aspects of portraiture including directing both male and female subjects, as well as an introduction to light modifiers and their application.

My teaching experience has now expanded to over three decades. That experience has taught me (yep, I have learned lots too) that, rather than acting like a star or celebrity standing on a stage demonstrating what I know, I can be much more effective standing by their side leading photographers as a participant into new territory.

My job was to present information on the subject at hand and keeping things going. I’ll admit that wasn’t hard with last Sunday’s group. I stood back and could see what progressed from a spark to a wildfire as each photographer started getting the concepts and began excitedly making the kind of portraits future clients would definitely pay for.

Building bridges between what those photographers already knew and what had eluded them regarding portrait lighting was fun for them and, of course, for me and I enjoyed their enlivened interaction and creativity.

As with most of my current workshops this was held in a well-equipped studio filled with an assortment of lighting gear, complete with a drawer full of wireless senders for participants to use. There are soft boxes, umbrellas, diffusion screens, reflectors and a great selection of wall-mounted backdrops.

All equipment and setups I employed for this workshop could easily be added to any photographer’s kit without a large outlay of cash and could be used in a basement studio.

As the day progressed I included an assignment for participants to make a “business” style portrait of each other. That added to the fun and gave our overworked model some respite. My intention was to get photographers thinking about being creative and complimentary in their directing, posing and lighting.

Our model came made-up and ready to be photographed, whereas the rest of us, well, we intended to be behind the camera, not in front of it. So this was a perfect way to get photographers thinking about how that not so willing portrait client might feel.

By now regular readers know that I really like quotes. So I’ll end with this one by photographer Henri Cartier-Bresson that fits the mindset I hoped to impress on participants. He said, “Photography is not like painting. There is a creative fraction of a second when you are taking a picture. Your eye must see a composition or an expression that life offers itself to you, and you must know with intuition when to click the camera. That is the moment the photographer is creative.”

I always enjoy and respond to comments. Thanks, John

My website is at www.enmanscamera.com

Judging Barriere 4H Photography

The Judge

On the Sunday of the September long weekend I spent an enjoyable day judging the Barriere 4H club members photography presentations at the North Thompson Fall Fair.

Although I have taken on the role of judge many times before, I am still slightly uncomfortable in a formal critique. Just looking at a photograph and discussing it, even placing a grade on it, as I did for years as a college instructor, is easier because everyone is competing with themselves. But when choosing a first, second, and third place is a competition about who is better, one has to work very hard not to be influenced by personal feelings, taste, and opinions on the subject.

Most photographers seem to think a photographic “critique” means “to find fault with.” I don’t think that’s right. When one critiques another’s photograph they should be analyzing its strengths and successes. What doesn’t work is important and should be part of the discussion, but the main concern is what works, not, what doesn’t work.

This was my first time with the 4H club. Photography in this instance was set apart from the other events at the North Thompson Fall Fair that included animal husbandry, and the judging was, in my opinion, more about the young member’s personal development in photography and how well they could adhere to the guidelines than how good their individual photographs were. Although unusual, the process was interesting, and I think valuable.

I will say that the quality of the photography was surprising for such young individuals. I was able to pick out specific interests and strengths in each of the young photographers. Yes, like all photographers, I expect those that are serious about the medium will undergo growth as they become more experienced with their cameras, and experiment with the medium of photography in general.

What is a good photograph?

“Life” magazine, “Time” magazine, and “People” magazine photographer, John Loengard, said, “It is not important if photographs are “good.” It’s important that they are interesting”.

Anyone who wants to take better pictures should focus on the fundamentals, and a successful photographer must have an understanding of composition and lighting because what is important for the viewer is how the photographer composes (or arranges) the image, and how the light is captured, both which sets the images apart.

William Reedy, in his book, “Impact Photography for Advertising” writes about how the successful photographer must, “…stop the eye…(and)…set the mood…” I have liked that quote for years. And I am pleased to say that there were some of those young 4H photographers that were able to accomplish that and I hope I get to see their again photography in the future.

Is it Time to Upgrade my Camera?

1. Cameras

getting the shot

Tripod & Hat


In the era of film cameras serious photographers would come to a point when they would consider upgrading from a 35mm SLR cameras to a medium format 120mm, or make the climb to a 4×5 view camera.

It was all about the size of the film and bigger really was better. I recall feeling bad for couples that had friends photograph their wedding with tiny 35mm cameras. Only those photographers wielding medium format cameras would be assured of quality final prints. If one wanted a colourful, sharp, grain free enlargement then 120mm or a larger format was a must.

What do I now say to photographers like the one I talked with recently who are considering a more serious approach to photography?

I always begin with the question, “what are your interests and what subjects do you like to photograph?”   My short answer for that digicam user was, if you want to shoot sports, wildlife, or even scenics and want enlargements bigger than 8×10, then, yes, get a DSLR.

I think printing quality 11×14, or bigger, enlargements are best produced with sensors that are considerably larger than what digicams provide.

I like digicams. They are perfect for intimate, candid shots. The compact size lets one put them in a pocket and go, and if used within their limits they can produce excellent images.   However, if one feels, like that fellow I talked with, they have reached their camera’s limits then it is time to move on.

I must add at this point, that with the entry of mid- and full-size sensor mirrorless cameras there are new and exciting choices. I would like to discuss those at another time, and hope for plenty of advice from readers on their preferences.

To simplify my discussion with him I put DSLRs into two categories, amateur and professional. However, the difference between amateur and pro cameras isn’t as easy as it was with film.

The most significant difference, in my opinion, is durability. Pro cameras feel sturdy, are heavy, and are sealed against the elements. When dropped, they bounce and usually don’t break, and even with hard use, the shutters will last a long time.

When the first DSLRs came onto the scene there was definitely a difference in the quality of the images between entry level and professional level cameras, but that is not as distinct now. The technology for sensors and in-camera processing has rocketed. The latest entry-level model may well have the same sensor as the previous summer’s expensive pro model as the technology is transferred over. The obvious difference may only be the weight and controls and debating megapixels has become just plain silly.

I know many are willing to argue about cropped frame vs. full frame, but I wonder if that’s more a personal preference than an upgrade.

For those, like the photographer I talked with, interested in purchasing used equipment; there will always be opportunities to purchase at reduced prices.

Whatever the camera availability, my advice to that fellow and others asking the “upgrading” question is to consider what kind of photography they want to do. Talk to other photographers about cameras that are interesting, go online and check out the many photography forums to find out what others with their same interest are using, and absolutely attend some classes.

Using a different camera is always fun and I believe learning how to control the technology a new camera offers is like a shot in the arm that gets the excitement going and helps ultimately to make better photographers.

Any comments on this subject, or mirrorless cameras are very welcome.

Thanks, John

My website is at www.enmanscamera.com


Thoughts about Neutral Density Filters for Photography

Chase falls in August

Cool waters

White water

A neutral density filter is a clear, colourless, filter that reduces the intensity of all wavelengths, or colours of light, equally. It is usually a colorless (gray) filter that reduces the amount of light entering the lens. A photographer can select exposure combinations that would otherwise produce overexposed pictures. Using a ND filter allows a photographer to achieve a very shallow depth of field, or motion blur.

I’ll begin by saying quality ND filters have always been expensive. During the days of film, the exposure you made was the exposure you got. And when one used colour film one didn’t get a second chance if there was a colour shift, usually a purple cast, with less expensive filters. Some cheap filters weren’t all that sharp either.

I thought about that when during a workshop the leader loaned me a couple Lee filters (over a hundred dollars each) to try on long exposures of the waterfall we were photographing. He indicated if I were to order through him I could get a discount.

I’d already spent a bundle on costs including travel and lodging, and owned ND filters that worked well so I passed on the deal and came home thinking about maybe a future purchase.

My memory of ND filter problems were from the time of film. Film has a permanence that data files created in our modern digital camera don’t have.

Colour balance in film means colour correction filters. Where as, with digital I mostly leave my camera on auto white balance, and fix any shift when I open my RAW files in Photoshop.

A photographer could somewhat help a soft image when shooting black and white film by increasing the contrast, but with colour it was permanent. Nowadays, we have a number of software possibilities that can almost (well, almost) fix a not-quite-in-focus image.

With all that in mind I thought that unless I was making very large prints that those cheap ND filters might be usable. So I ordered several very inexpensive, no-name ND filters thinking the $60.00 or so I spent might be foolish, but I’d have some fun and discard them if they didn’t work.

I bought them, put them away and forgot about them. Then this past week as I sat looking at the overcast sky after a much-needed shower in the parched hills around my home, I decided to give those filters a try. I grabbed my camera, tripod, and the bag of filters, talked my wife into coming, and drove to a local waterfall.

The Chase Creek falls weren’t the raging torrent of spring or early summer. This year’s long, hot, dry spell has had an effect and capturing an exciting waterfall wasn’t possible. I tried a couple different angles, scrambling around the rocks and down to a now sandy shore, and then a group of young people came to splash in the cold water so I moved downstream in the creek. I was getting bored anyway and didn’t mind giving up my spot to those kids and their blanket.

Returning home, I loaded my RAW files in the computer, easily corrected the white balance, added contrast and sharpened the image in Photoshop.

My conclusion is those inexpensive ND filters are great if one is willing to shoot in RAW and make post-production corrections. I think an out-of-the-camera JPG would be disappointing.

I expect there will be opinions by experienced photographers who read this. However, the images look pretty good on my calibrated 30-inch Mac display screen. I haven’t made any prints, but I expect 8×10’s might be just fine, and if just sharing images on-line I think inexpensive ND filters will be fine.

I look forward to any comments. Thanks, John

My website is at www.enmanscamera.com

Thoughts on Street Photography

Thrift shop

Great shopping

Bakery

Rope guy

Waiting at the Festival

Of all the recent trends that has increased in popularity since digital cameras, it is street photography that intrigues me the most. Street photography is not a new phenomenon and has been around since the beginnings of photography. Just check out the work of French photographer Eugene Atget in the late early 1800’s, or Fred Herzog’s photos in 1950’s and 1960’s Vancouver, Canada. In spite of the long history the pastime is still a niche in the broad spectrum of interests that photographers have. However, I am spending more and more time viewing intriguing images of life on streets around the world captured by talented modern day photographers.

Wikipedia says, “Street photography is an art photography that features the human condition within public places and does not necessitate the presence of a street or even the urban environment…The origin of the term ‘Street’ refers to a time rather than a place, …when workers were rewarded with leisure time…and people engaged with each other …more publicly and therein the opportunity for the photographer.”

I’ve never been good at street photography. I have made a few pictures worth viewing, but I become more occupied with man-made things and get side tracked with some building’s shadow and miss those interesting people shots captured by photographers adept at seeing what I pass by.

On my recent visit to Anacortes, Washington, I did try a bit, but I quickly realized that with my big DSLR camera I was attracting too much attention. Whenever I stopped people slowed, turned to face me, and watched.

Since I started discussing photography on-line I have come in contact with some very skilled street photographers and regularly visit their blogs and websites to view their creative work. Those photographers don’t usually add comments, letting their work speak for itself, however, I found a discussion by Los Angeles street photographer, Eric Kim, and the following are some of his thoughts on being a street photographer.

Mr. Kim writes, “…When you start off in street photography you will be inspired by all these other photographers you see. You will look at their work and be amazed by their photos…my advice is this: start off copying the photographers whose work you admire. All the great renaissance painters started off as apprentices. They copied their masters for years, and learned all the basics and fundamentals. And once they mastered the basics, then they were able to go off and find their own voice.”

He counsels us to, “Follow your curiosity.” and says, “As a photographer you are a scientist. You experiment to find new results.”

Kim continues, “When I started photography I always thought it was my gear which held me back. I felt my camera or lens wasn’t good enough…but what I realized is that I was simply lacking education…I didn’t dedicate myself to learn enough about photography. I simply thought that buying gear would help me become inspired, and therefore become a better photographer.” I couldn’t agree more with him when he writes, “…education is the best investment money can buy. Education is something that will always stay with you, in your mind, thoughts, and actions.”

While writing this I thought about all the advice I could have gotten just by asking the talented street photographers I have come in contact with in the last few years. Those interested will find that a quick search will show many photographers to look at and from whom to learn. There is also “The International Collective of Photographers” at http://www.street-photographers.com/

I’m not ready to start roaming city streets yet, but there is a local Fall Fair coming up in September. That environment, with its festive participants, might be the perfect place to search for that decisive moment.

I always appreciate any comments. Thanks, John

My website is at www.enmanscamera.com