Photographing a yard of old cars

Red hood 1Sentinal 1 Gunshot Fading away Gunshotsnowed in 1

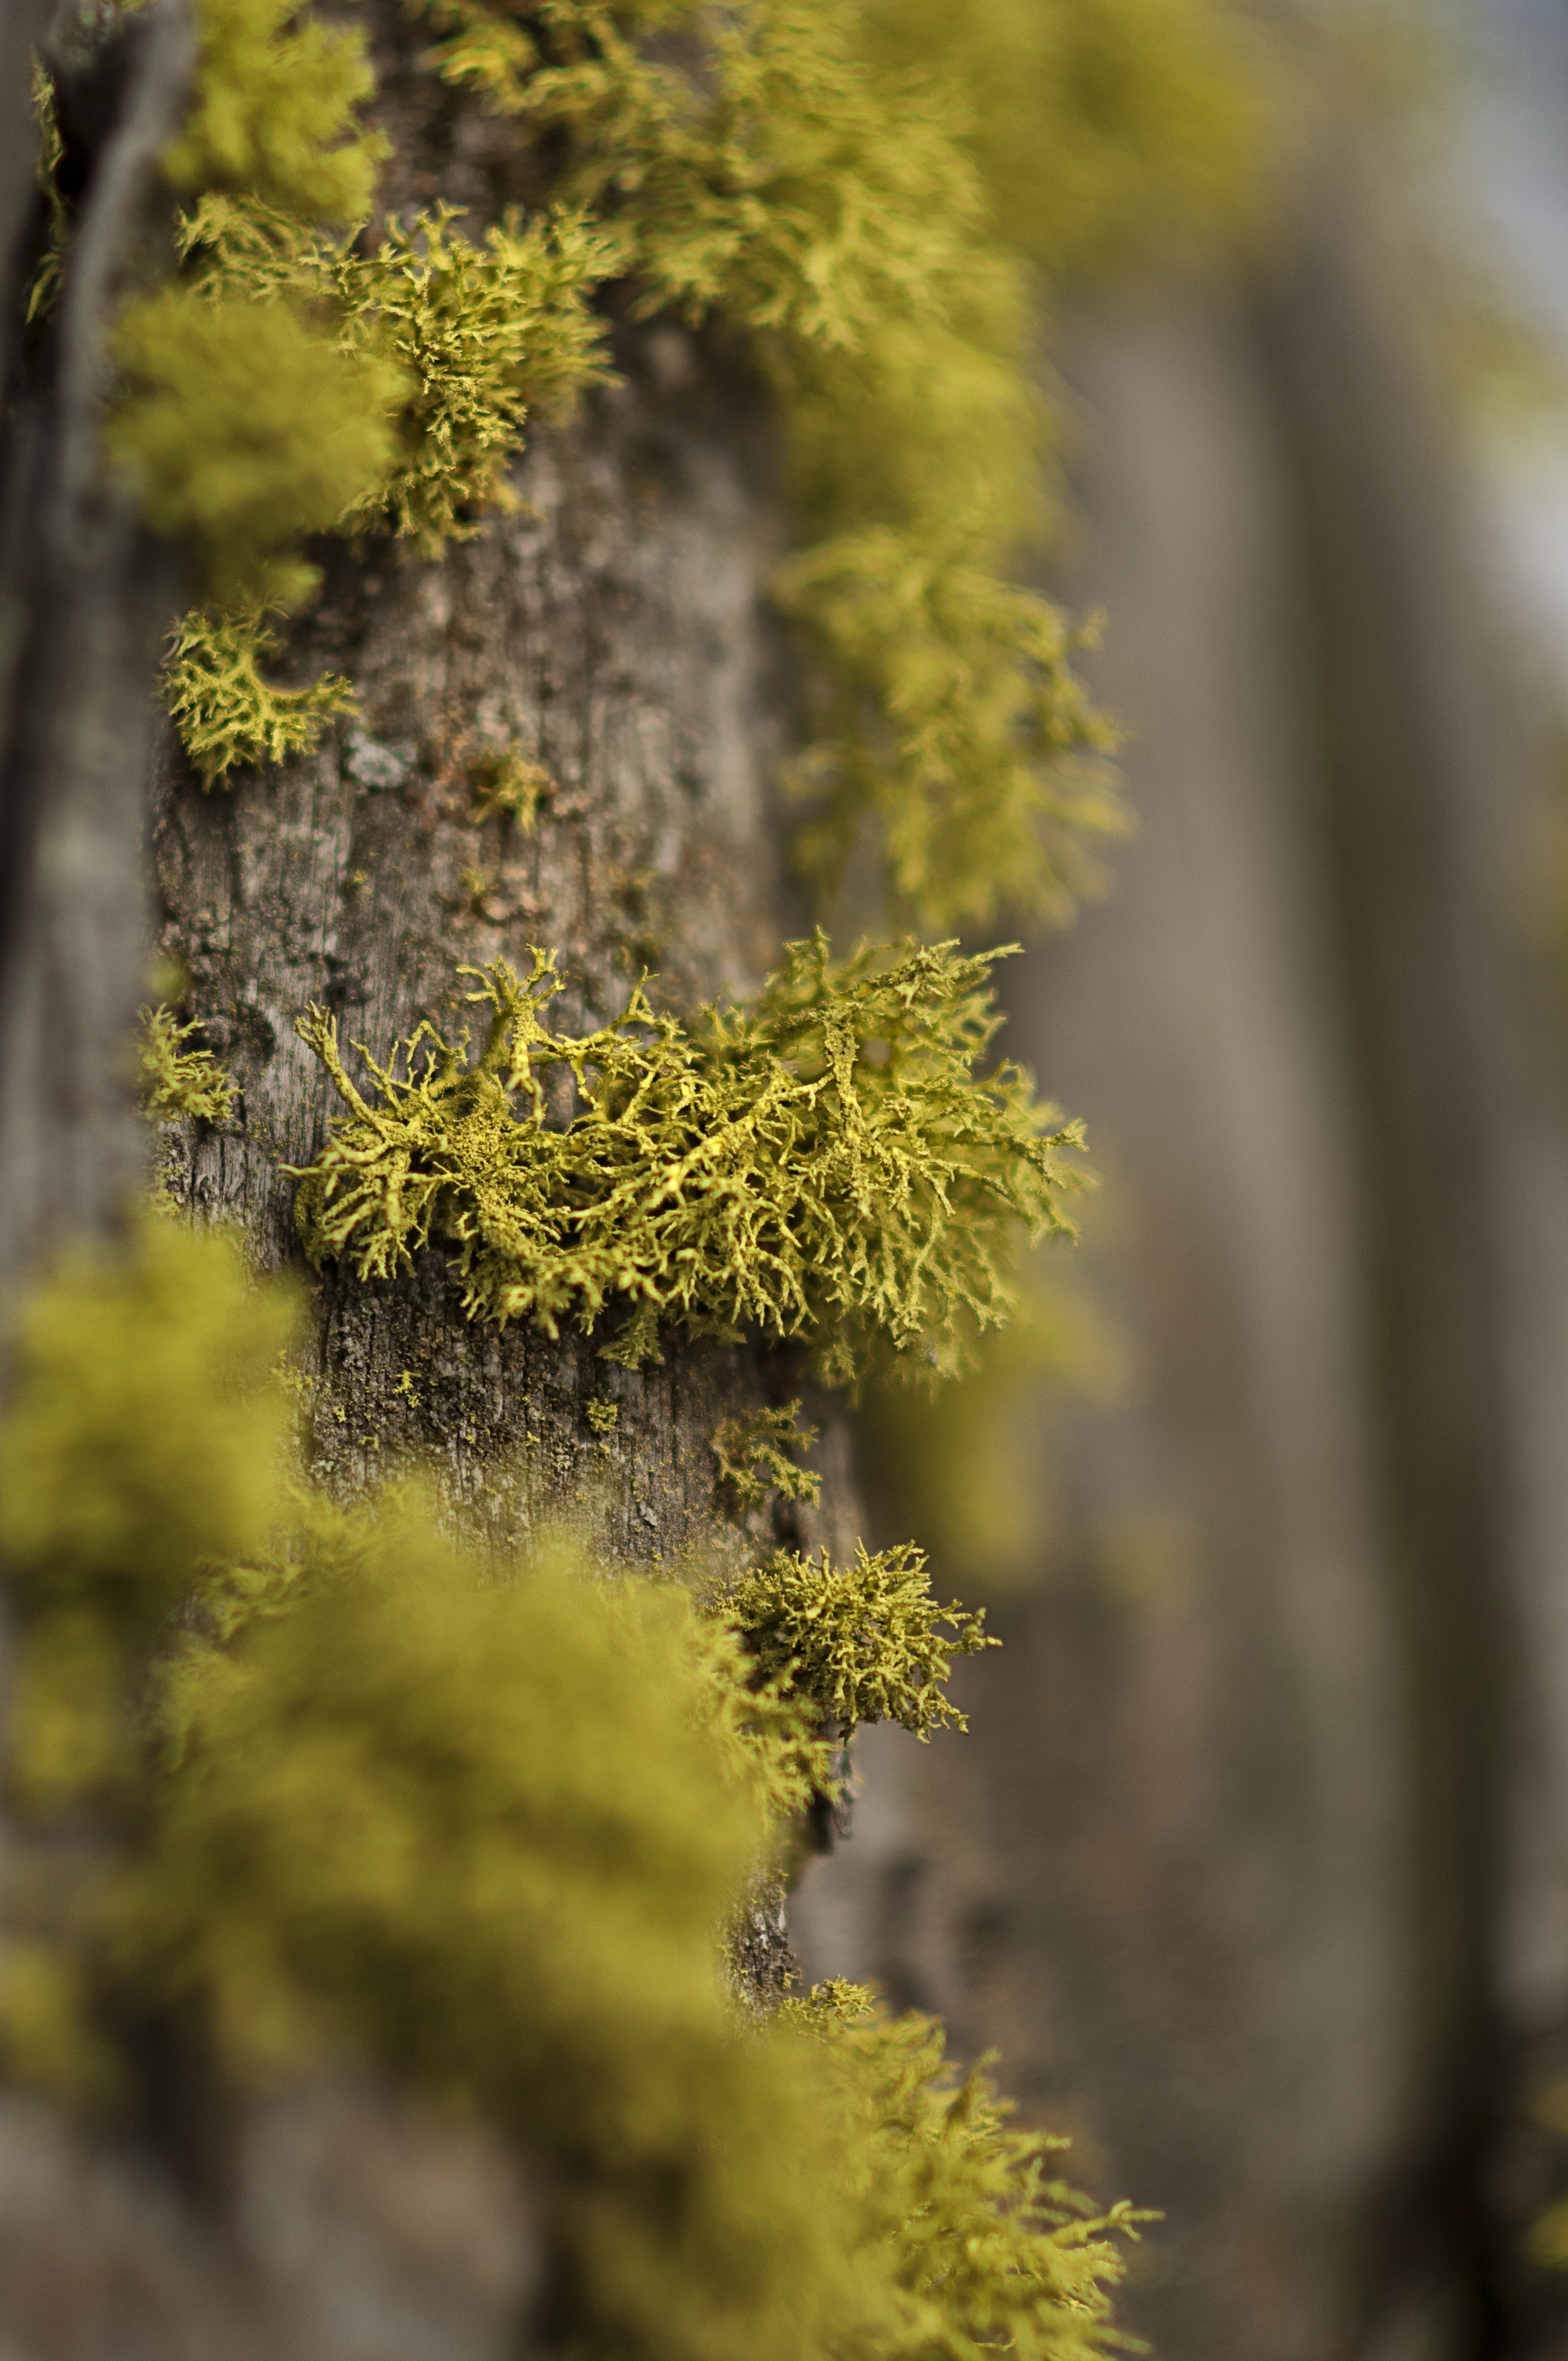
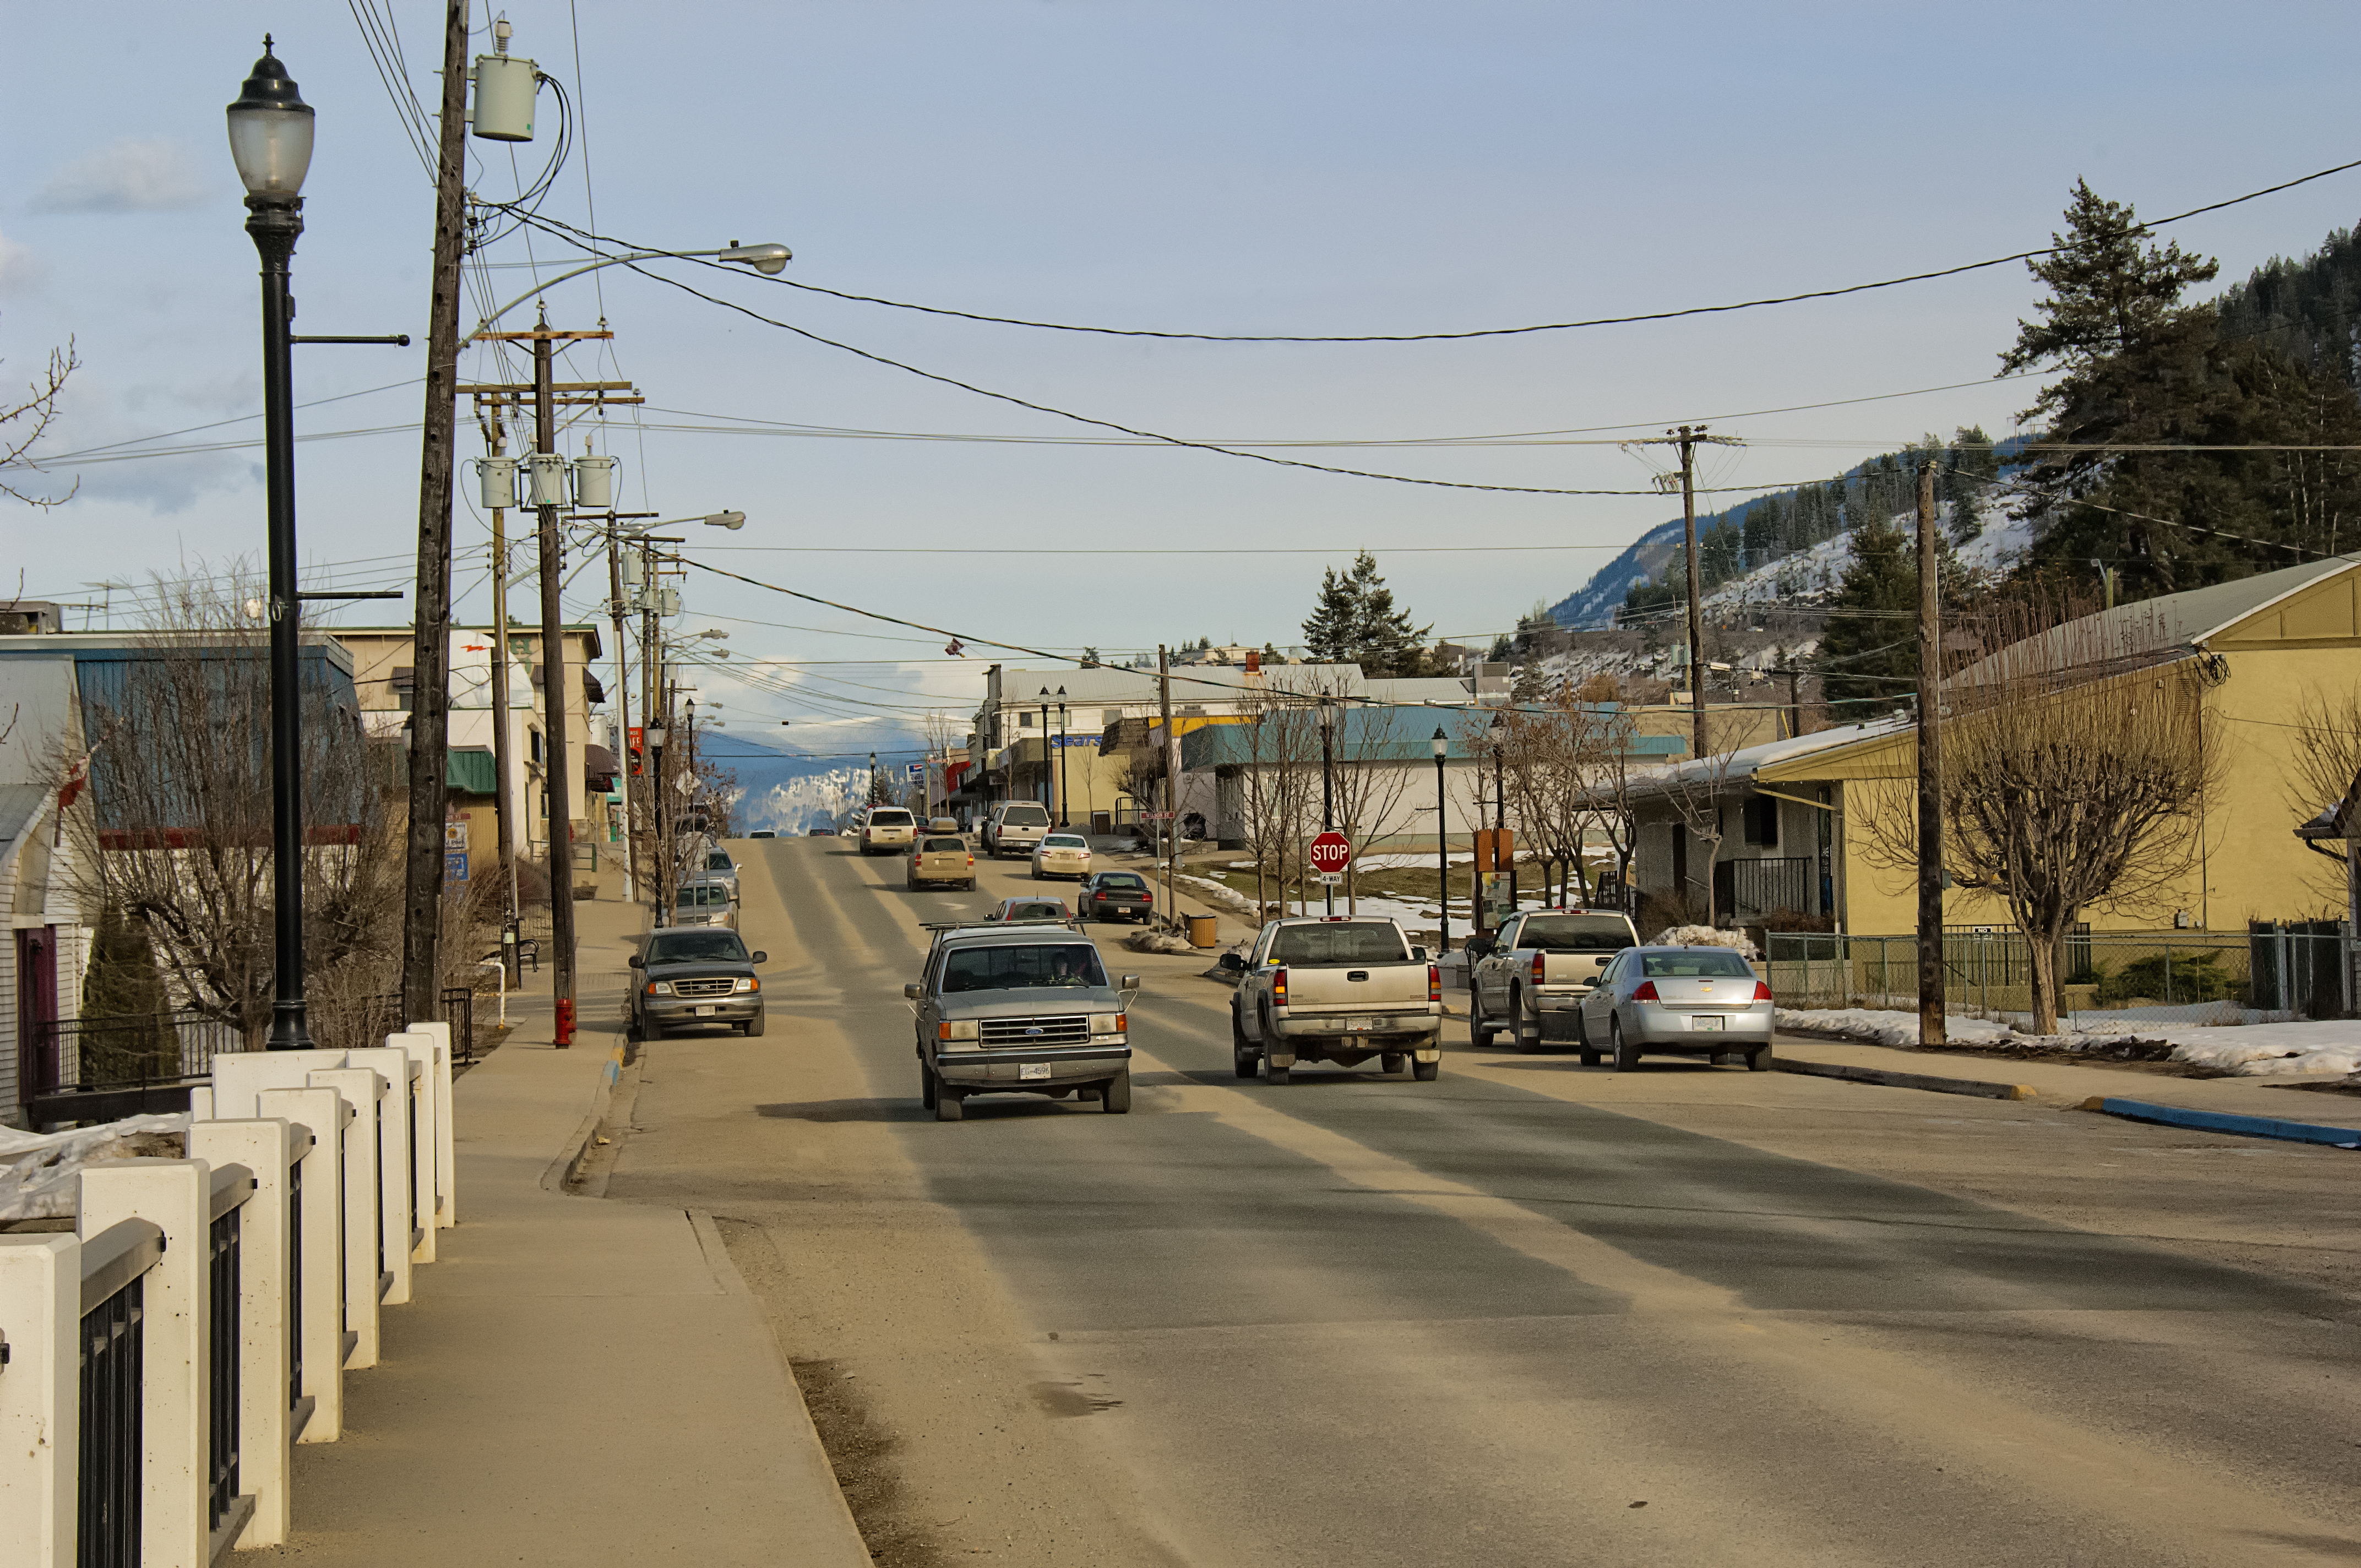
This week my wife and I decided we were long overdue a visit to friends Mike and Leslie. Like us, they have a rural home tucked up and near a forest not far from Kamloops.  It’s always fun sitting around the kitchen table in their woodstove warmed home talking and catching up on each other’s lives. Mike makes his living as a rock scaler and blasting contractor helping to keep British Columbia roads clear of impending rock slides and Leslie is one of those artistic people that will amaze you whether singing, drawing or aiming a camera. Leslie also operates a good size organic farm that gives them most of the food they eat.

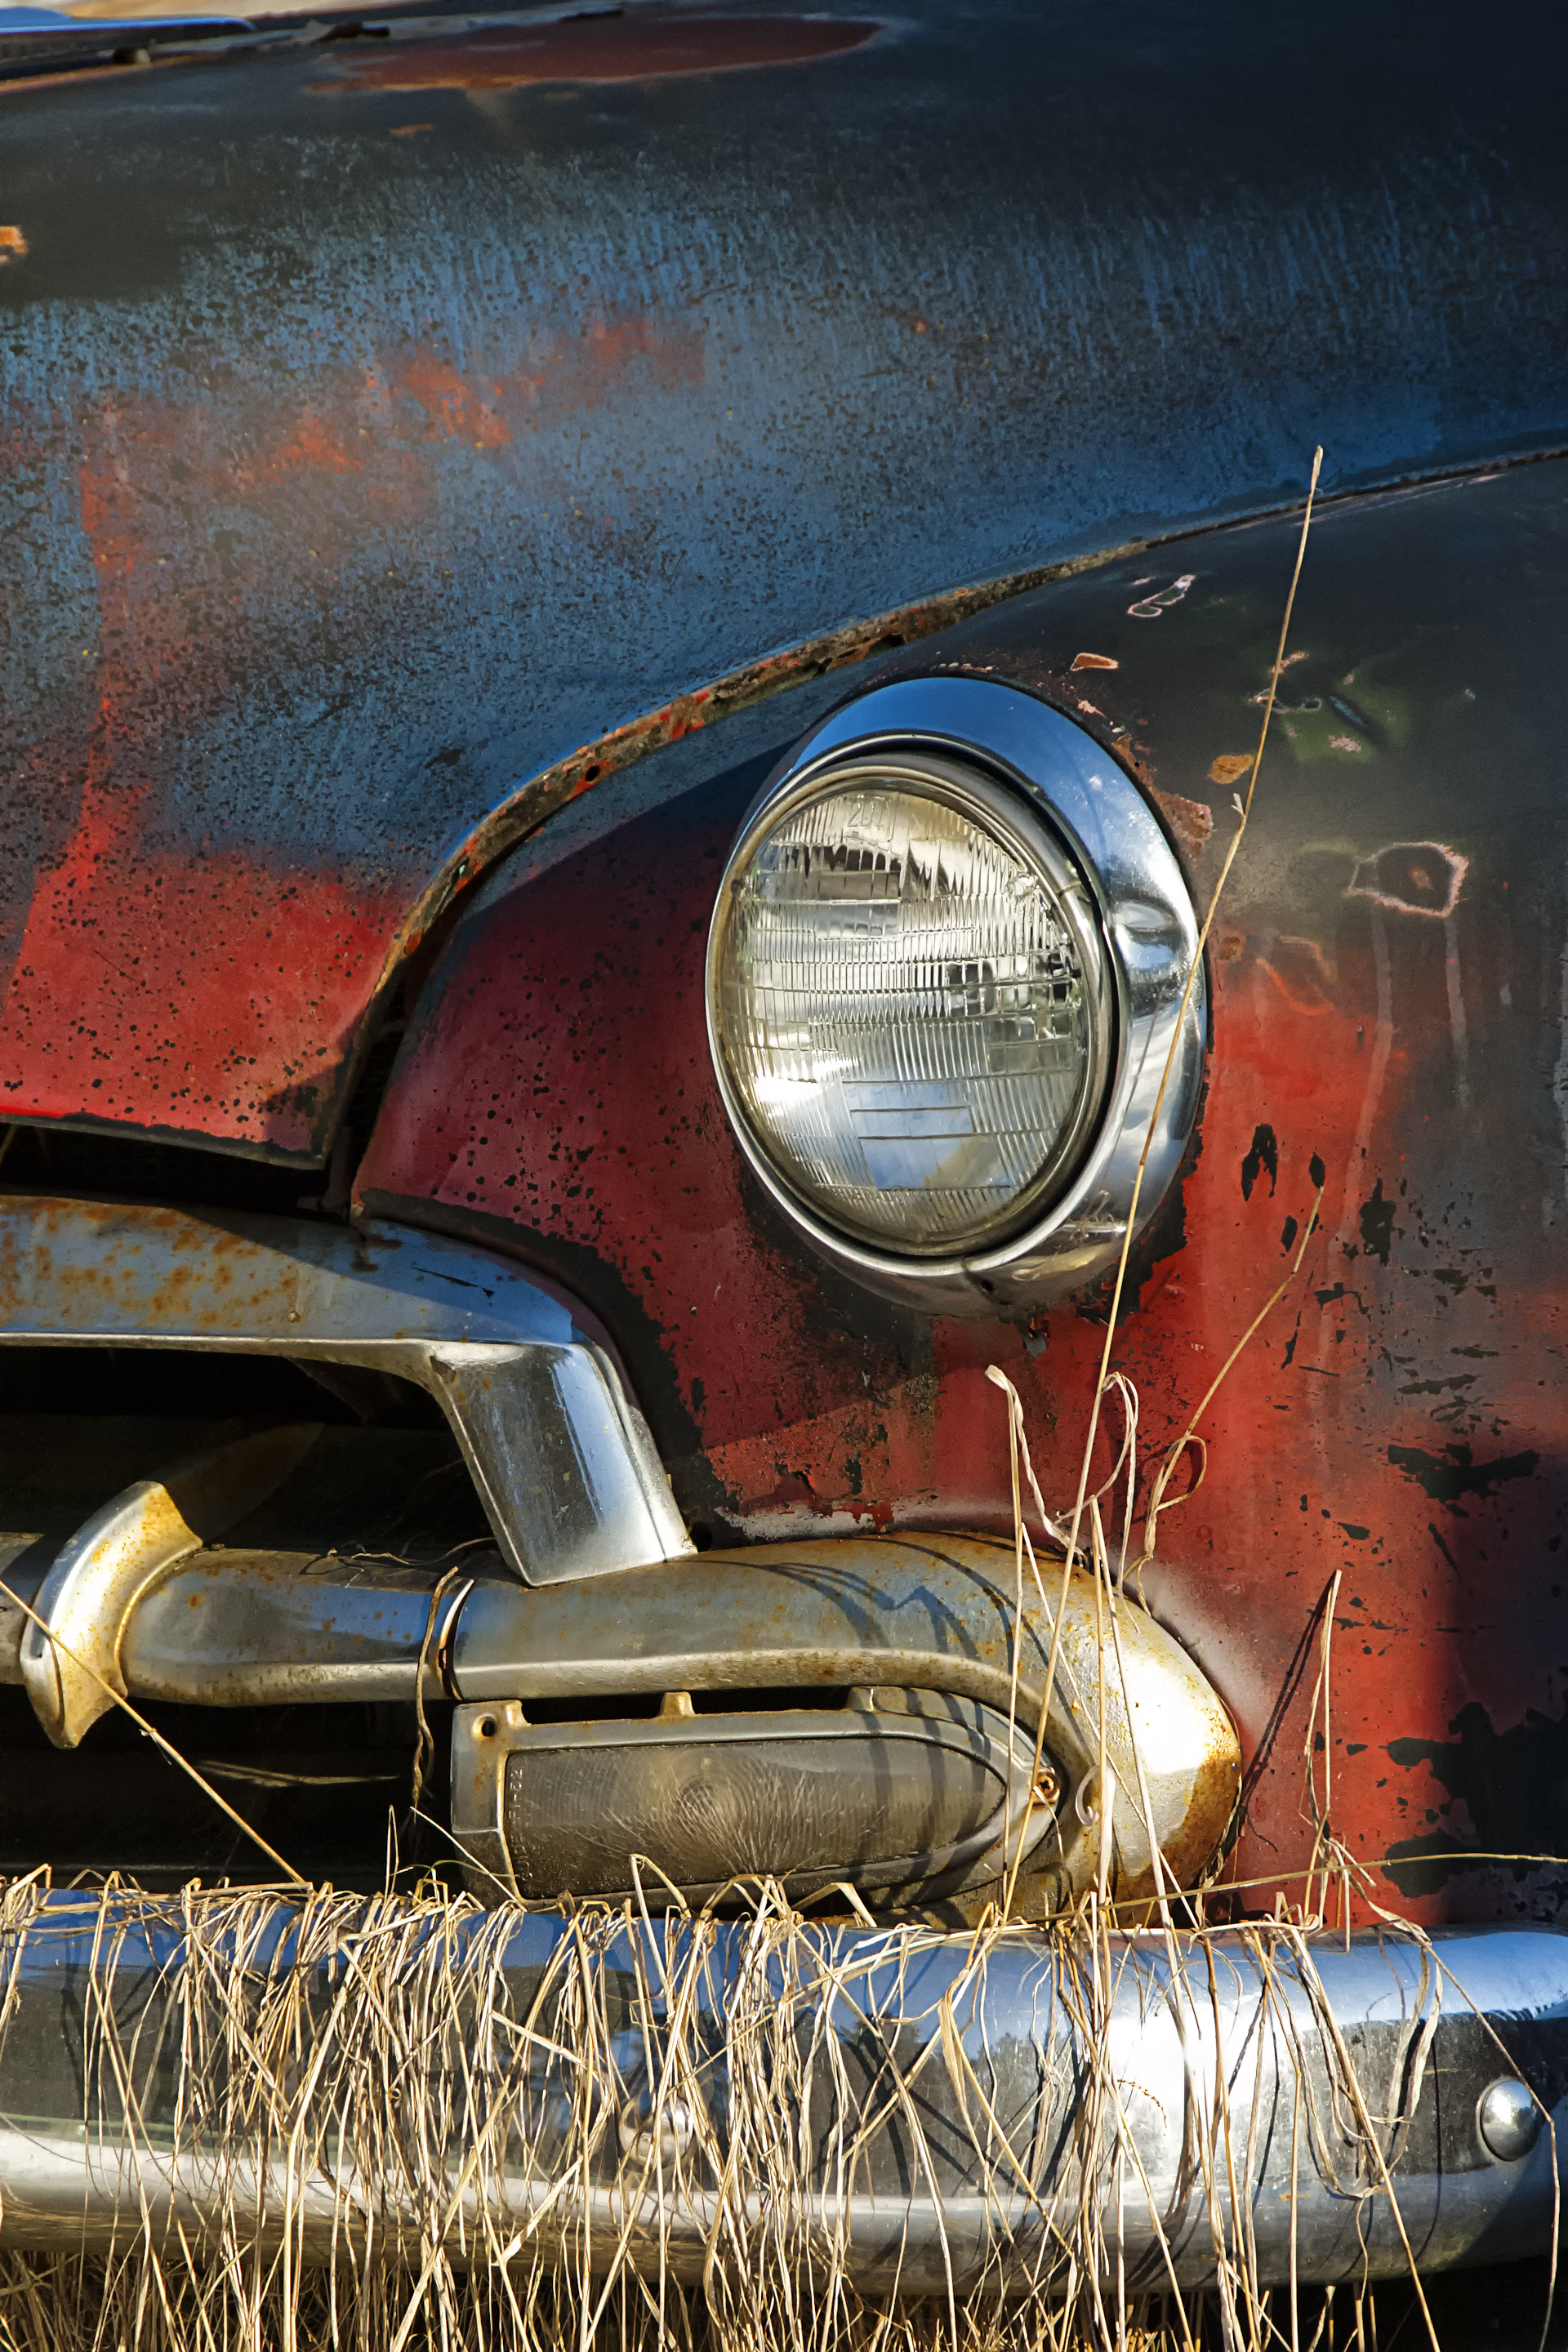
On this visit I hoped the snow was melted enough that I could wander around in Mike’s car yard. Mike is a collector of old cars of all years and models and has created a wonderful metalscape that becomes a photographer’s paradise if you like cars like I do.  Rust, paint, dents on cars of all years and parts of cars are everywhere.  I could spend the day there just making pictures.  Each time I get the chance to wander in Mike’s car yard I discover something different.

We arrived mid afternoon and after a good while of yawing and discussing our lives I realized the sun was getting low and beginning to create shadows on the cars. Perfect for prowling the diverse collection of car bodies looking for sculptural details. I remember the first time Mike showed me his cars. I only had a little Olympus point and shoot with me that day, nevertheless, I almost filled the camera’s small memory card, and since then I have been back many times with better cameras.

On this day I mounted my trusty 18-200mm lens on my camera that was set to manual mode as usual. The slightly wide to slightly long lens was perfect for those shots of hard-to-get-to cars. I knew I’d be climbing around, so I set an ISO of 200 in the bright clear afternoon light that also gave me lots of depth of field when I wanted and could be I easily reduced when I softened focus in front of and behind some features.

Some cars have lost fenders, hoods, and windows as they are dismantled and sold. Others seem to be loosing a battle with the elements and there are always newer cars added, so the landscape changes each time I roam the yard.

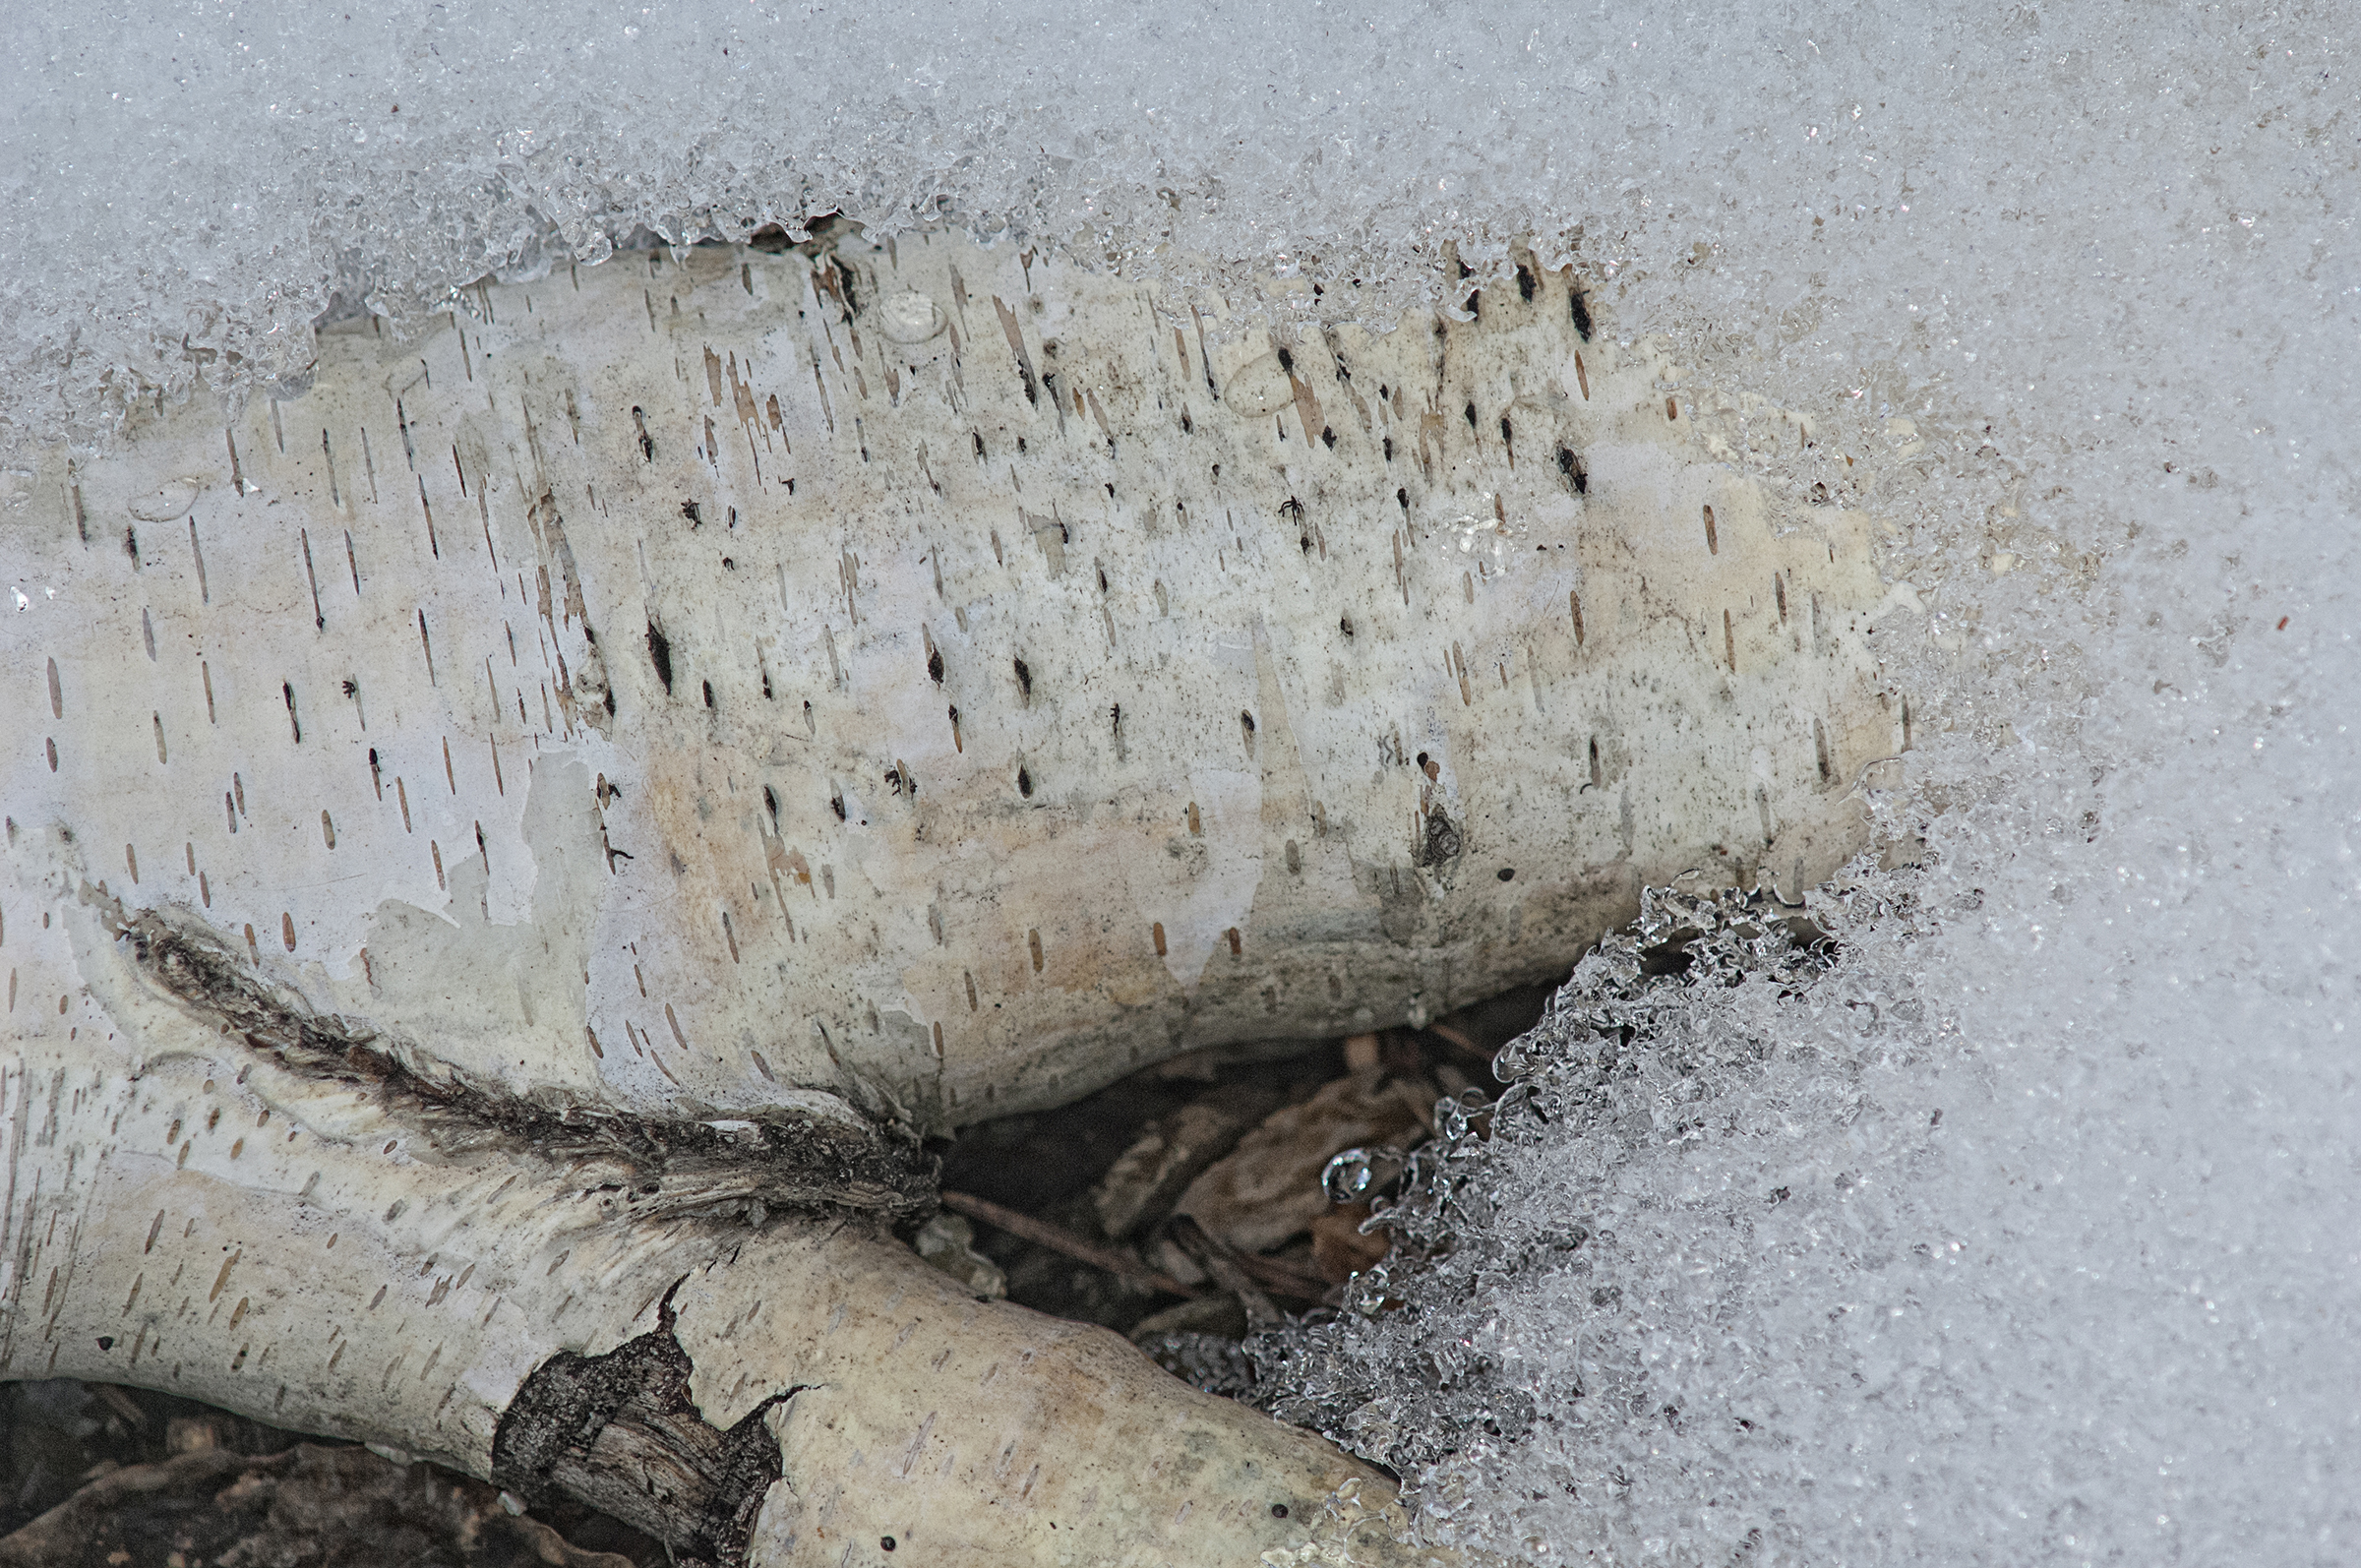
This time I began with shots that showed car after car resting in the melting snow. Then I started tightening my view, eventually working the light reflecting of the changing colours of the metal, and narrowed my visual search to small features.

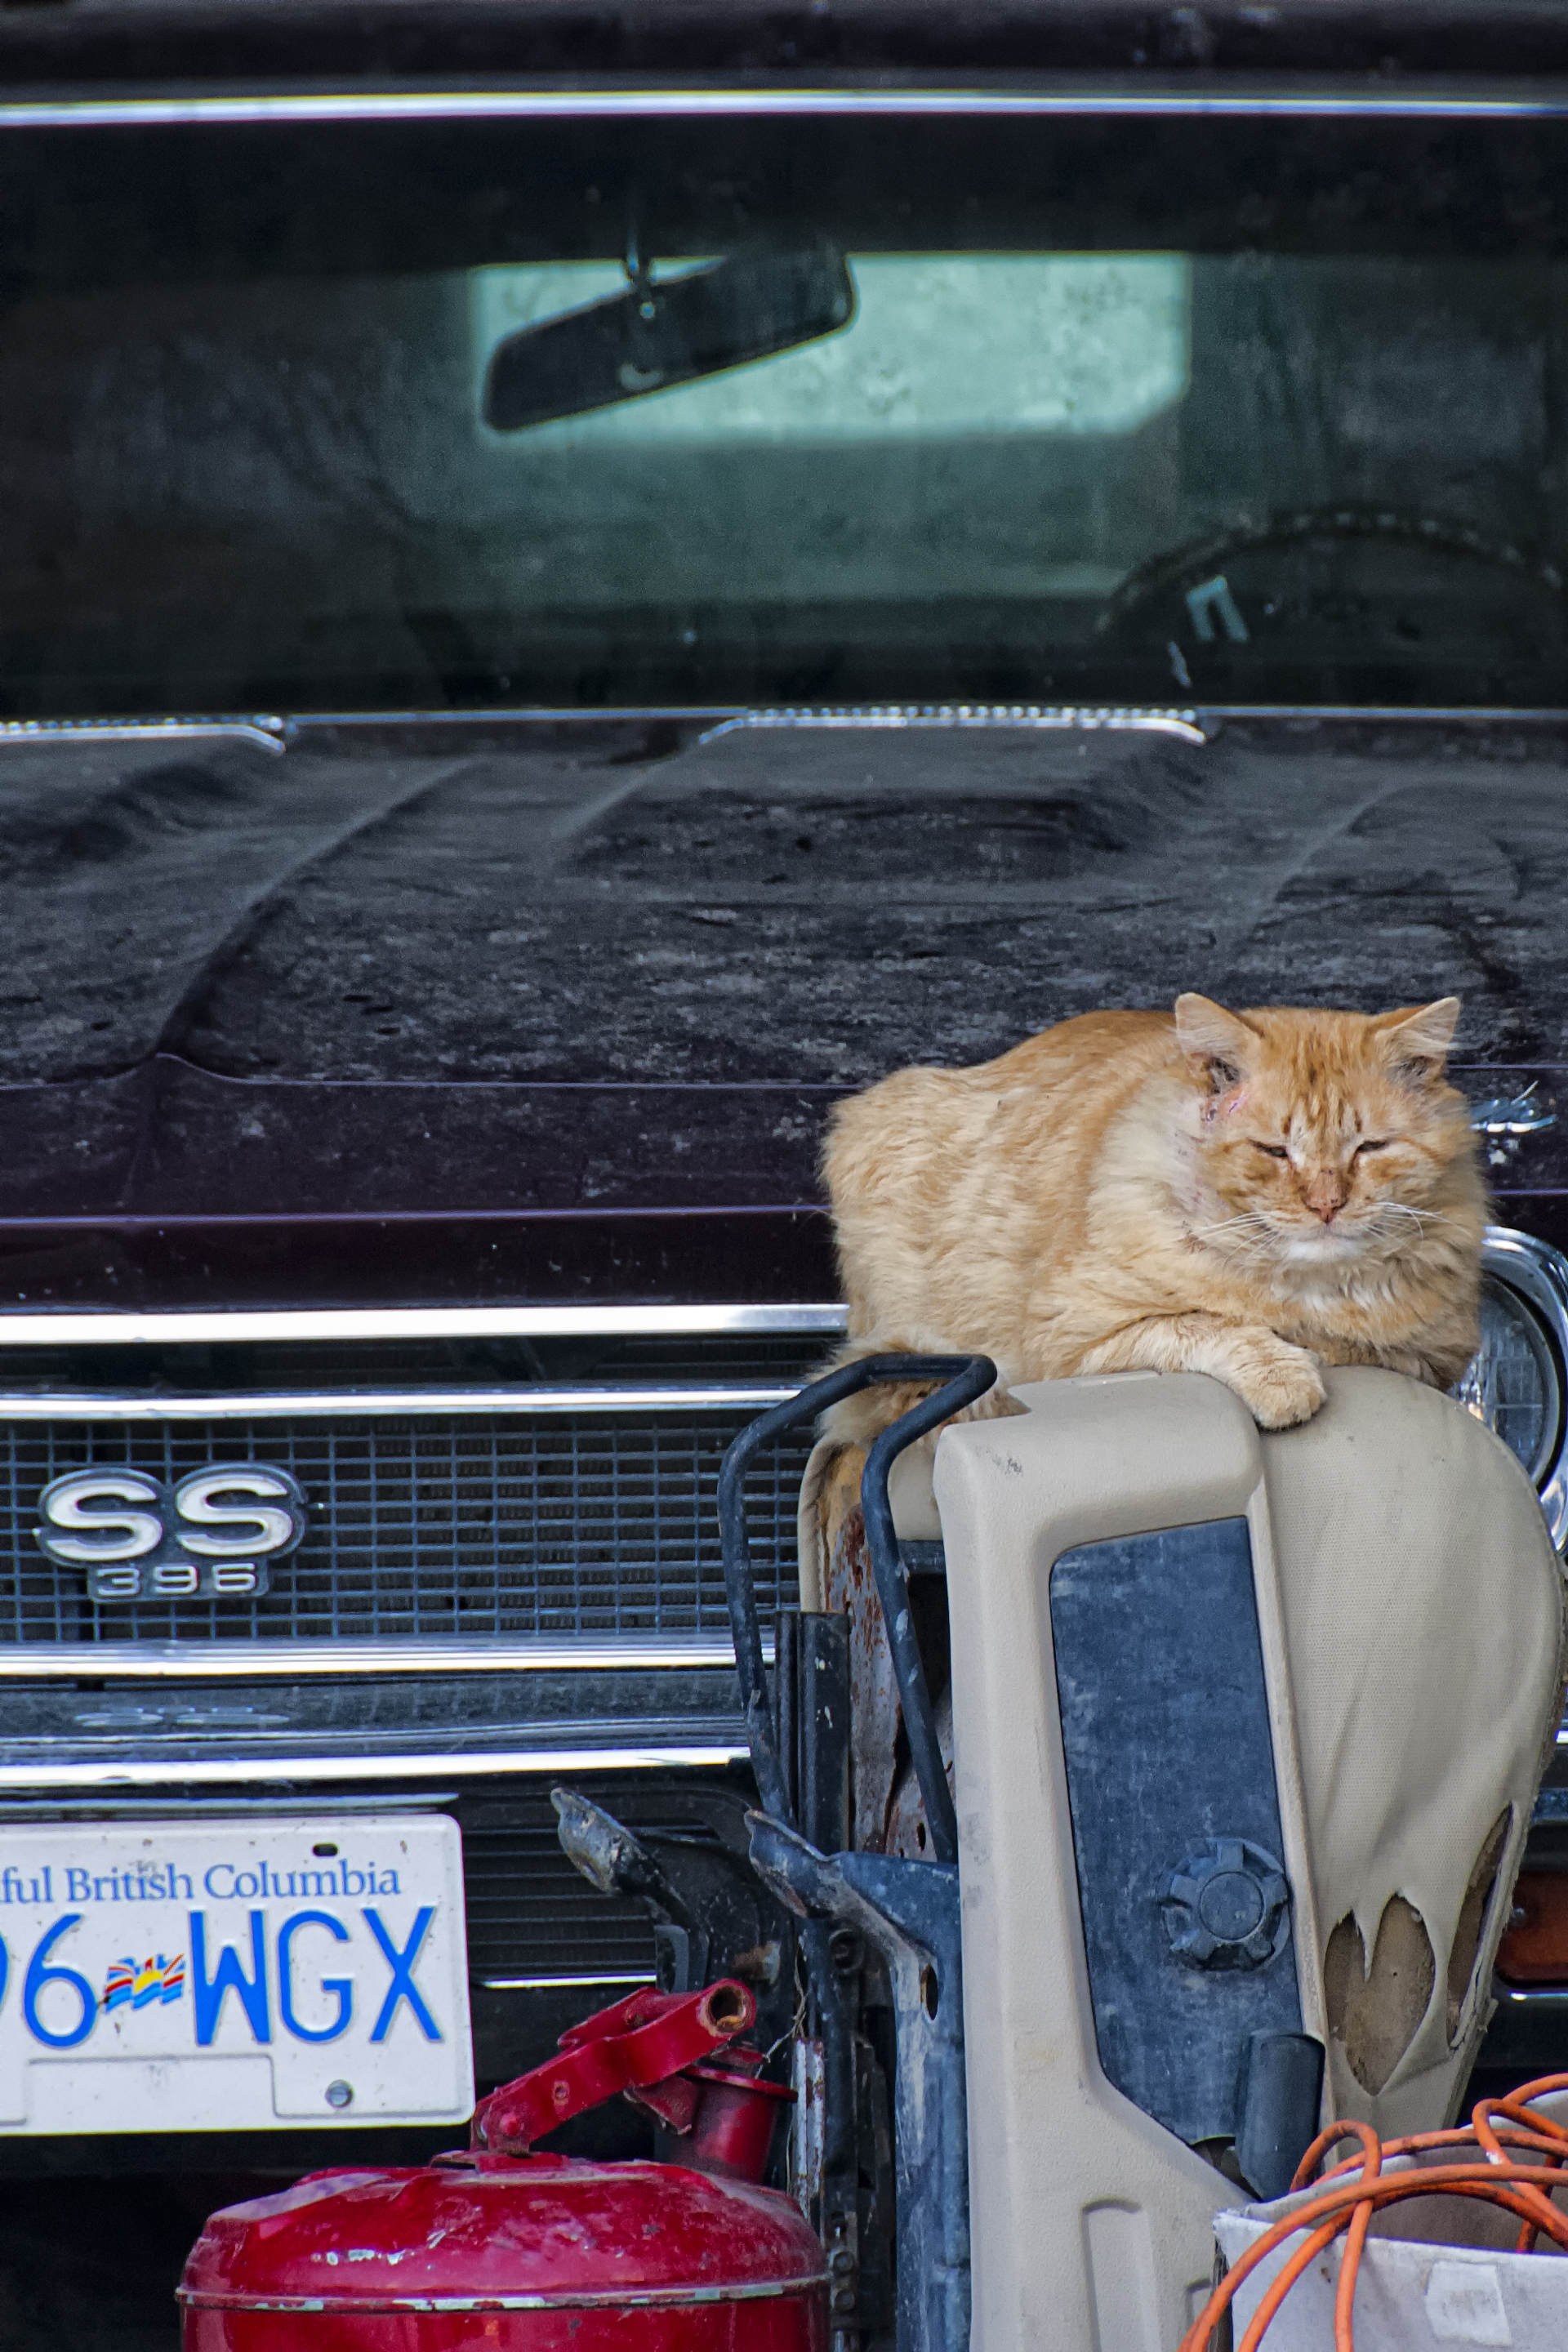
I could have spent several hours, but reluctantly wove my way out remembering I was ignoring my hosts. Yes, they are used to me being preoccupied when I have a camera, but all the same I shouldn’t be neglecting them.  Still, I had to make one more stop when I saw their scrappy old tomcat resting on an upturned car seat in front of a 1969 Camaro super sport. I was happy enough just to get a photo of that classic car, but that cat was the frosting on the cake for me.

As I sat writing I thought about how I enjoyed the day that began with a drive along a winding country road, then a long visit with good friends, and finally a really good time making pictures. Can it get much better than that?

I always enjoy your comments. Thanks, John

www.enmanscamera.com

An Enjoyable Group Photography Process

Demetra 1a  Monica 7a

When I write my blog each week,  my goal is to educate, to be entertaining, and to have a new topic each week. My topics are usually the result of something I have been involved in (like this week’s post), or my thoughts on discussions I have had with other photographers. Sometimes, my wife refers to my discussions as rants about whatever issue has hit my “hot” button the previous week. It could be about joining other photographers to do scenics or wildlife photography, however, this week I am going to discuss a great time I had on the previous weekend.

Last Sunday I got together with friends Demetra, Monica, Dave, and Nancy in a photographic modeling session that was different than what I had been used to.  Demetra and Monica worked in front of the camera as models, while Dave, Nancy, and I were behind the cameras.

Monica 10a Demetra 3a

I usually write about photographers, but this time I wanted to include the models who were just as much a part of a fun and interesting photography process as the photographers. I don’t know what it would be like to put on a play that included input from actors, directors, producers, etc., but on this day five friends collaborated in a photo studio to see what we all could come up with and I likened it to a theatrical experience.

Normally I come prepared with ideas that I have creatively worked through before I start directing my subject. I rarely show the subject the images on my camera’s LCD; and, usually they must be content with my approval of what we shot as we move to the next pose. However, we were game for a new experience, and the thought of working together as a group to produce photographs seemed like a good time.

Dave and I began by searching for some sample pictures with different poses and lighting that we thought would be fun to emulate and presented them to the group before starting our day at the studio. Then we all joined forces and laid the pictures out so every one, models and photographers alike, could see them, as we worked out camera angles, lighting and posing.

Monica and Demetra took turns posing as Dave and I adjusted studio lights. Nancy kept making test exposures that we would all look at, and then we would compare with the sample pictures to see if the effect was what we were seeking.  We weren’t trying to copy the original sample, inasmuch as we were using the poses and the lighting as guides. Then once the poses and lighting were set each photographer would choose a way to personally interpret the original in a way that seemed best.

Demetra and Monica are both new to this, but were willing to work, I expect, as hard as any professional, and being involved in the decision of how they would appear in a final image appealed to them.

Nancy is familiar with posing subjects and the lighting process, but her subjects are usually students, or beauty pageant portraits, so working with models and other photographers was unique and entertaining. Dave is the newcomer to photographing models, however, after years of scenic and personal work he had decided to try something new. He converted a vacant building on his rural property to a full functioning studio filled with all types of lighting, light manipulators, and several choices of backdrops. The studio includes a full functioning kitchen, which we made full use of during this session.

We had all previously participated in the “shoot-what-ya-can” whirlwind Stobist meets, so this group style of working was familiar. As stated earlier, photographers and models interpreted the pose in their own way and then chose respectively slightly different perspective camera angles and physical stances.  I am sure the photographers will finish their images slightly differently in PhotoShop.

I have not talked to, or seen, Dave or Nancy’s pictures yet, but in the next week they’ll drop by my shop with their final image files and I will make CDs for Monica and Demetra.  I like to hang out with other photographers, and enjoy watching them work, but I prefer being the prime photographer when I do portrait work; however, I must admit I enjoyed this group process and hope we can get together again sometime in the future.

I appreciate any comments. Thanks, John

My website is at www.enmanscamera.com

Photography viewed as Art

Green wall in alley

A photographer friend, Nancy, told me about once entering a hand-coloured, black and white photograph in a local art exhibition.  The organizers advised her that they had a problem deciding where to place it, with paintings or with photography.

Wanting to be creative, and a bit traditional, she had used black and white film to photograph a scene and printed it in the old way, using chemicals in trays, with black and white photo paper. She then used translucent oils to colour specific areas of the black and white photograph.  Please remember that hand-colouring black and white photographs has been in practice as long as photography has been around.

The individuals, who organized the exhibition being ignorant of the history of photography (I was told they were all painters), believed that because she had applied something on the surface of the emulsion-coated paper that her photograph now had become a painting. I think that, lacking respect for photographers as artists, they regarded her work as something one would do with a colouring book.

We both wondered what the opinion of those exhibition judges would have been if she had captured a scene with a digital camera, used PhotoShop to convert the image to black and white, and then placed colours on some areas of the image.  She could have erased some items in the image, cloned others, or added items into the image that came from different photographic digital files. Would they still call it a photograph?  The artist had used the medium of photography to create the final image, but I have met people that would not want to call that photography.

Ignorant of the strong tradition of creative modification by photographers, many will refer to film-created images as “real” photography, and digitally created images as “digital” photography that are somehow unreal, as if film based photographs have never been altered or manipulated.

It is not bad enough that many patricians of other artistic mediums have a hard time including photography as art; but there are also photographers that want to dismiss digital or digitally manipulated images as not being “real” photography.

In my opinion if the original image file or “negative” (whether it be paper, or film-based, or digital) came from a camera of some sort, the final print, no matter what is done to it between the time light is captured on a sensor or film and presented as a final picture, should still be called a photograph.

I am excited that the medium of photography is continually changing with modern technology. Film emulsion has gone through an amazing amount of changes since 1826 in France when Nicéphore Niépce produced the first permanent image. Incidentally, his picture took eight hours to expose.  I can only presume that if he were handed one of the latest digital cameras he would be excited, and would not foolishly hold on to outdated technology, and as a photographic inventor he probably would be happy to experiment with today’s cutting-edge technology.  Yes, if we want we can still produce images with 100-year-old techniques and materials; or we can embrace the medium as it changes.

The problem those judges had with photography might have been is that it is used in so many different ways and has become so accessible.  Try to find some aspect of our society that is not impacted by photography. The medium has reached a place that, through emerging technology, makes it very usable for many people.

There are those that use it only to document their lives, but it can also be used easily for creative purposes.  One only has to check out the multitude of online photography sites to find the truth in that. That might also be why those judges struggled to accept changes to my friend’s original image.

Nancy photographed an interesting subject, and, instead of choosing to use a digital file, or colour film, she decided to use black and white film to create a mood to help the viewer feel what she felt when she released the shutter. Then further, she continued to visually discuss the subject and the surrounding scene by adding hand colouring to enhance specific elements of the photo and produced an image that was able to go beyond being a documentary of a moment in time. I think photographers like Nancy are as much artists as those in any other creative medium.  There should not have been a problem in deciding if her print was a photograph or a painting.

I am surprised that there aren’t many exhibitions held in towns and villages here in British Columbia solely for photography. Yes, photography clubs hold private exhibitions, but those aren’t generally open to the public at large. I think lots of people would participate and lots more would attend. I certainly would.  I suggest that if there are not ongoing photography exhibitions in your community, get together with some other photographers and make one happen.

I really do appreciate your comments, John

Visit my website at www.enmanscamera.com

Photographing an Orchid in the Bathtub.

Orchid

My favorite flower photographer, Robert Mapplethorpe once said, “ The more pictures you see, the better your are as a photographer.”

My wife placed a potted orchid in the bathtub. I walked by that evening thinking that was a good place to water her latest plant and never gave it another thought that night.  While I wandered about making coffee and breakfast the next morning, I realized that lone orchid sitting on top of an upside down plastic barrel in our bathroom tub was a photo opportunity in the making.

I could see the light beginning to come through the frosted bathroom window and the slight beginnings of a glow on the flower. I knew within an hour or so the sun would move to that side of the house and continue in that southern path for the rest of the day.

When my wife had come home with that flower some days ago she had suggested I make a few photos of it for our monthly calendar

I had been taking staff portraits for a client and I hadn’t put equipment away yet so I thought I’d setting up a small studio and take pictures. However, as I looked at the soft diffused light coming through that frosted window and realized the continually changing quality of the natural light would give me a fun and leisurely project that could last all day.

All I needed to do was set up a natural light studio in the bathroom.

My Orchid studio

I began by erecting a black velvet backdrop behind the flower just below the window.

The light came through a window above and behind the orchid. The bathroom was bright, but not enough for a balanced image, so I positioned a white reflector front right between the tripod-mounted camera and the tub. I’ll mention here that I tried white, gold and silver reflector coverings and decided on white.

My camera’s ISO was set at 100, the aperture at f/8 in the morning, and f/16 until late afternoon. That left exposure control with the shutter and after my initial meter readings in the morning all I had to do was keep testing by releasing the shutter and checking my LCD as the light factors changed throughout the day. This project was about capturing the quality of light as much as it was about making a good portrait of my wife’s orchid. All I had to do was make regular trips to the bathroom, sit on the floor instead of the toilet, and take pictures as the light changed.

Photographer Robert Mapplethorpe excelled at this style of plant photography and he was my inspiration for this. Many of his artistic and sensuous flower photographs were carefully positioned next to a window so he could create wonderful flower photographs using both natural light and studio lighting.  My photography usually includes some type of artificial light, so this project was a change and fitted perfectly into my goal this year to expand and move my comfort zones.

By the end of the day I had taken over eighty images to choose from. I selected out and selected out again until I had one that worked best for me. I wanted the image to be more about a creative form than about the orchid and cropped severely to force that view. All and all, it was a successful day and a great photograph for this month’s calendar.

I appreciate any comments. Thanks, John

My website is at www.enmanscamera.com

What is Bokeh?

Window Pane bokeh Sedum bokeh Wooden wheel bokeh

Wikipedia defines bokeh as “the way the lens renders out-of-focus points of light”. And my dictionary states; “bokeh, bōˈkā. “The visual quality of the out-of-focus areas of a photographic image, especially as rendered by a particular lens.”

Bokeh has become another one of those not-so-well-understood terms that has become over used, and in many cases misused, by photographers since recent technological advances in cameras have made the medium of photography so accessible and popular.

A young photographer walked into my shop last week and asked the question, “Do you have one of those depth of field lenses?” I knew what the answer was because that was not the first time I have been asked the same question.

The first time I was asked I thought there might be some new piece of equipment on the market and inquired if that meant a wide aperture that controls depth of field. That’s where the word bokeh came up. The response was, “Ya, depth of field, bokeh.”

In my classes I include a tutorial on depth of field and more than once participants have interrupted me saying, “Oh, so that’s what bokeh is.”

Actually, the word bokeh comes from the Japanese word boke, which means “blur” or “haze”, or boke-aji, the “blur quality”.  That’s right, not blur, but blur quality.

Wikipedia carries on stating, “However, differences inlens aberrations and aperture shape cause some lens designs to blur the image in a way that is pleasing to the eye, while others produce blurring that is unpleasant or distracting—”good” and “bad” bokeh, respectively. Bokeh occurs for parts of the scene that lie outside the depth of field”.

One of the problems with that word might be that photographers are applying it when trying to describe not only control over depth of field, but selective soft focus. Those new to these effects are searching for a quick term to define effects that they don’t understand.

The authors of www.picturecorrect.com write that there are, “fundamental differences between soft focus and bokeh. In soft focus photography there is an intentional blurriness added to the subject while the actual edges are retained in sharp focus, but in bokeh it is only an element of the image that is intentionally blurred. Additionally, bokeh tends to emphasize certain points of light in the image as well.”

Bokeh appears in the areas of an image that remains outside the focal region. Because of this the most common technique used to add it is a shallow depth of field created through a wide open aperture”.

Depth of field is, “That area, in front of, and, behind the subject, that is in acceptable sharpness.” In my experience depth of field is one concept that eludes many photographers.

I suggest photographers think of it as selective focus. Thinking that way will help one make decisions about how much should be in focus around the subject, and, of course, allowing bokeh to appear.

In my opinion, one need not be surprised or critical when someone says they want a “depth of field lens…ya know, a Bokeh lens”. Every medium has its slang or jargon, and. unless one has enough interest and energy to study a fast changing technologically like photography, I can understand the confusion using many of the new words.

As always, I do appreciate your comments. Thanks, John

My website is at www.enmanscamera.com

Photographing a late winter garden.

Oregon Grape birch  golden leaves  dry&frozensedum

Last September I wrote about how I like photographing my wife’s garden in every season and I didn’t really care about the weather conditions. I mention here that the more uninviting the elements better I like the photography.

The day here in the interior of British Columbia wasn’t really cold, it was only about -3 Celsius. With a slightly overcast sky I knew it would be perfect for photographing things poking out of the snow. I mounted my 200mm macro on my camera and connected a ring flash on that and stepped out into the snow-covered garden.

We had lots of snow this winter and if one digs down the soil is damp and unfrozen. The images I made last September were of dried out faded plants with a golden hue. But as I wandered around this time I found more than one green plant sticking out of the slowly melting snow. The deep, powdery snow that I had been photographing in all winter had turned crusty and no longer clung to the trees. There had been enough of a melt that I even could see some of the garden hose I forgot to put away last fall.

I mentioned that the overcast day was perfect for my subjects. Bright sunny days increase the contrast of scenes, especially snow covered ones, making it hard to capture details in the extremes and I wanted to retain what details I could. The diffused daylight reduced the number of f/stops from black to white.

I used a ring flash. That is a flash that mounts around the front of a lens and can emit a soft direct light towards small subjects. When I add flash to a daylight scene I usually underexpose the ambient light and create fill light with the flash. My ring flash doesn’t have the TTL technology with which modern flash users are familiar.  I must first determine the exposure, remembering that the shutter controls ambient light and flash intensity is controlled by the aperture. The flash is constant power, but can be full, quarter or sixteenth power output.

I began by photographing tall plants, but the small features poking out of or just above the snow seemed more interesting and instead of looking eye level I wandered searching the snow covered ground at my feet. I wandered around with my tripod searching the snow-covered garden for intriguing shapes.

I again ignored what books on garden photography recommend. I shot late in the day, not in the fresh morning light. Of course, spring is the most popular season for flower photography, but that is still months away, and, as I have written before, I doubt presenting winter photographs of shriveled lifeless plants to garden or photography clubs would be acceptable. However, my photographs are more about colour and shape than of a garden environment

Just about anytime is good for a dedicated photographer to make photographs. My advice is to be creative, have fun, and don’t worry about failures. Open them up on the computer, learn something from them then quickly delete.
Of course, some tweaking with PhotoShop always helps and, for those photographers that like me are trying for something different, anytime, and any conditions will be just fine.

I appreciate your comments. Thanks, John

My website is at www.enmanscamera.com

Photographing Small Towns

1.The main street 2. town clock 3. out to dinner 4. barber shop 5. gallery 6. church

The pictures I see of cities and towns are usually of exotic locations, and show glamorous and architecturally interesting buildings. I admit that I enjoy photographing cityscapes and easily loose track of time when I am left to wander about on my own in just about any high-building packed city.

Recently, I have been fortunate enough to view the colorful building photography by Australian photographer, Leanne Cole, at http://www.leannecole.com.au and French photographer, Mathias Lucas’ architectural work at http://mathiaslphotos.wordpress.com.  Both photographers got me to think about winter building photography, but, for me, it is a drive of many miles from my rural home to a city with tall buildings.

I wondered about small communities that are scattered along the Thompson River valley. Most aren’t glamorous, or exotic, and although there might be some architecturally interesting buildings left from bygone times, they are often treated by most travelers as convenience stops on the way to somewhere else.

Not far from my backwoods home is the small lakeside town of Chase. When photographers go there they pass through the town center  with barely a glance on their way to the park beach and boat pier. The single-street town isn’t really significant to view with its single story, flat-topped, mostly featureless buildings, and I go to Chase as a place to get something forgotten from my main shopping trip to the larger city of Kamloops where I work.

I sat looking at Lucas’ and Cole’s engaging building images, and even searched out some of my recent files from my October trip to Victoria, British Columbia, and wondered if I might be able to make some interesting photographs of that little village up the valley.

The day had climbed above freezing with some patches of blue sky. I mounted an 18-200mm lens on my camera and headed off on the short drive along the Thompson River to Chase.

My choice of an early afternoon, midweek day was perfect. There were a few vehicles parked at the city curbs, the traffic (unlike on a weekend) was light, and I could easily walk across the street anytime, and I even stood center-street for a few shots.

I took my time wandering along trying different angles, exposures and took more than one shot of each scene choosing different cars, trucks, people and buildings in my quest to make interesting images of the village. I always can tell local residents. They are the ones that don’t mind a photographer, smile, and say hello as they pass. Tourists seem impatient, avert their gaze, and quickly walk past as if my camera is stealing something.

Photography in larger centers is easy, sometimes overwhelming, and always exciting. However, one has to get in the mood and culture when photographing small towns like Chase. I suppose it’s all about trying to observe the town with a thoughtful attitude.

I found a quote by iconic documentary photographer Elliott Erwitt that seemed to fit what I hoped to accomplish as I made images in that small town, “To me, photography is an art of observation. It’s about finding something interesting in an ordinary place… I’ve found it has little to do with the things you see and everything to do with the way you see them.”

I made lots of pictures of that small town for this article and included only those that showed the village in its valley location. In any event, I was pleased with the results of my adventure in Chase. In my experience going over ones pictures with a fresh look days later is always a good idea and I intend to do that and may post them sometime later.

I know there are many photographers living in the towns along the British Columbia, Thompson River valley; yet, I rarely see creative work showing the places they live. For years I have attended local art shows that always include local photographers who try their best to produce art-worthy images, but I can’t remember seeing any depicting Chase or any other small city here in the interior. I suppose we become too familiar with our homes and don’t take the time to observe and photograph an interesting view that comes from an ordinary place.  I encourage readers to take a new look.

I always appreciate your comments, Thanks

My website is at www.enmanscamera.com

Some Thoughts on Portrait Photography

Model 2portrait by Enmanm

Photographers have been making portraits since the first camera was invented. In spite of the popularity of landscape, wildlife, and sports photography, I believe that most of the pictures that have been made, and still being made, are portraits of people.

Peter Bunnell in Creative Camera International Year Book 1977 wrote,  “There is no single form or style of portraiture. Portraiture means individualism and as such means diversity, self-expression, private point of view. The most successful images seem to be those which exist on several planes at once and which reflect the fantasy and understanding of many.”

I like that because I recall being bothered by my college photography instructor’s contention that we should always follow what he referred to as rules for portraiture. Guide lines possibly, but rules? When I examined the great portrait photographers like Irving Penn, Arnold Newman, Bert Stern, Richard Avedon, Eve Arnold, and Annie Leibovitz, to name a few, in my opinion they are anything but rule followers.

One might be able to recognize the photographic work of Penn, Avedon, or Leibovitz and casually use the words “that’s their style”. However, what marks their work, as Brunnell says, is “individualism .…..self-expression, (and a) private point of view.”  That is a lot to aspire to for mortal photographers as we struggle to make our portraits something more than mere documentaries.

When I approach portraiture I try to create portraits that are, well, creative. Sometimes everything works and sometimes it doesn’t.  I want something different in each.

Of course, one must be aware of how a person sees themselves and the circumstances and conditions under which the portrait is made, and I always (using a word coined by Minor White) previsualize the final portrait.  In Ansel Adam’s writings on photography he defined previsualization as, “The ability to anticipate a finished image before making the exposure.”

I know that for a successful portrait the person I am photographing needs to be the main point of interest. I am aware that a way to capture the attention of the viewer one could fill the frame with the subject’s face so there’s really nowhere else to look.

Sometimes it’s the expression on a subject’s face that makes the image. And to get that expression the photographer and subject may need to experiment with different moods and emotions.  Portraitists spend much time putting people at ease and making them comfortable in front of a camera. I think it’s all about gaining a person’s trust that we are going to help them look the best they can.

Some photographers get stuck in a rut by only shooting either horizontally, or vertically, or always from the same angle. To them I suggest mixing up framing in each portrait session so there will be a variety of images.

The internet is packed with “How to” advice on portraiture photography. Some of it is worth thinking about and some is bewildering. Those serious about bettering his or her portrait photography will select what works best and is the most comfortable.

Everything comes down to one’s personal definition of what a portrait is. According to Wikipedia, “it is a picture of a person, a description. It can be a photograph, a sketch, a sculpture, but a portrait is so much more than that. It is collaboration between the subject and in this case the photographer.”  Collaboration is the key word for me in that description, and in my experience those portraits I have made that I think are the most successful, is because the person who was in front of the camera was willing to work, or collaborate, with me towards the final image.

Following up on last week’s column there has been lots of discussion by the photographers that attended the strobist meetup. What lens worked, thoughts and suggestions on the lighting, and on posing models. We have been looking at each other’s pictures from that day, and a good critique among friends on what worked and what didn’t is always welcome and fun.

As always, I appreciate your comments. Thanks, John

My website is at www.enmanscamera.com

Another Strobist Meet-up for Photographers

Demetra Koutsopdiotis  Monica Nicklas   Monica Nicklas 2

My friend, Dave Monsees, decided to host another Strobist Meet-up at his photography studio, and I was definitely up for that. I like trudging around photographing snowy scenics, but, the thought of spending a photo-filled day in a warm, wood-heated studio was enticing, and when he extended the invite I didn’t hesitate to accept.

My request to the other photographers was to continually change the two lighting setups  that we were using. I had participated in past meets, and, they were fun and photographers got to make lots of pictures of models; however, even though the resulting pictures were great, the lighting remained basically static for every image. For this day I wanted to change the modeling lights and modifiers every hour.

That meant photographers and models had to rethink what they were trying to do, but after the first change everyone got into the swing and began to get really innovative. Photographers changed lenses, shooting angles, helped each other out by moving the lighting around, and our models went through several clothing changes and were as involved in the creative process as the photographers.

The studio had lots of lighting equipment set up with wireless camera connectors for each photographer. There were two different backdrop set-ups, and we had our choice of lights and modifiers like softboxes, umbrellas, snoots, barn doors, and reflectors.

When I wrote about the last studio meet-up I attended I said that photographers always need to explore and experiment, and get-togethers like this are perfect for practicing off-camera lighting in a studio (that most photographers don’t have access to) without the pressure of actual clients, and it is a fun way to refine one’s skills. Monsees commented that he liked being around fun people with a true passion for photography, and dedicated to off-camera flash.  He also said that he enjoyed himself so much that he intends to try to have photographer and model get-togethers in his studio every month if he can.

Although photographers have been using off-camera light nearly as long as they have been making portraits of people, that practice has really been limited to a few that owned studios. Recently all that has been changing what with quickly advancing camera technology, and the word “strobist” now refers to a photographer who uses off-camera flash to take pictures, instead of the usual pop-up flash, or hotshoe flash attached on top of the camera.

I am often asked, “Why use off-camera flash?” Instead of using just a camera, one must lug around a light stand and a flash. That means carrying extra weight. Sometimes a photographer would require an assistant since weather conditions might knock over the light when shooting outdoors.  My response to the question is, “Better pictures.” Light is the language of photography. Without light there are no photos. With off-camera light one adds light and control over the final image. Adding light might introduce drama in a picture and can increase detail or hide it. The extra work greatly affects the output.

I like quotes and here is one regarding light from George Eastman, American innovator and entrepreneur, who founded the Eastman Kodak Company and invented roll film. He summed it up for me when he said, “Light makes photography. Embrace light. Admire it. Love it. But above all, know light. Know it for all you are worth, and you will know the key to photography.”

I always appreciate your comments, Thanks

My website is at www.enmanscamera.com

Cold Weather Photography

Snowy vineyard Jim Vineyard pruning Vineyard tractor  John

It’s beginning to be a long, cold winter. Lots of snow, wind, crappy roads, and well, I suppose that’s just winter in British Columbia.

I have been getting out with my camera (chasing the light as it were) whenever I can and just having fun photographing as many different subjects as I can.  Sometimes, however, I have to remember to make a living. So I packed up my camera and flash when I received an email from the owners of a vineyard I have been photographing since spring reminding me it was time to get pictures of the seasonal pruning.

I have written about my excursions in the winter snow, but on those I could take my time. I would wait for, or follow the sun, and when the weather got too windy or too cold all I had to do was go inside.  On this occasion I couldn’t do that. The day was very overcast, flat, and gray. The temperature on the high, flat, plain along the river wasn’t painfully cold, but even at minus 5 degrees Celsius the constant wind made fingers and ears uncomfortable quickly.

The vineyard workers slogged through sometimes knee deep snow and were all bundled up against the wind and cold as they pruned the acres of vines. My job was to make pictures that were more than just documents of people working at a local winery.

I put on my warm winter boots, several layers of clothes, and my convertible fingerless mitts. My biggest problem wasn’t the weather; my concern was the light, or at least, the lack of it. I didn’t want to be limited to a wide aperture. Limiting my depth of field would put foreground and background out of focus, and I wanted vines and/or people on both sides of my subject to be in focus.

To compensate, I increased my ISO to 800, selected 1/250th shutter speed, and tried to keep my aperture at F8 or smaller. For any close shots of the vineyard workers pruning vines I had a flash mounted on a flash bracket attached to my camera. I like that bracket. It positions the flash about ten inches above my camera so it doesn’t get shadow from my big lens hood like the pop-up flash, and I can easily move the flash off-camera to light subjects from different directions.

I didn’t have to worry about the vineyard people being camera shy because by now they are pretty used to me, and most have an easy smile and are happy to discuss their work and don’t seem to mind me joining into a conversation and even pose a bit to make my pictures better. That’s my style anyway. I’m not one to hide behind a camera. Whenever I am involved in an event I change my position a lot, and am never concerned with getting my clothes dirty or wet. I work to keep everyone relaxed and I quickly lift my camera to make an image, and just as quickly lower it do keep contact with my subject.

After the cold, windy hours of photography I hitched a ride on a tractor back to the barn. Those fellows were happy to get out of a long day in the cold snow and wind, returning to their warm homes to relax and pack ice on their sore, right hands. The hours of pruning comes at a cost.

For me it was a productive day. And, even though I now have lots of images for my clients I’ll keep an eye on the light for the next week and return to the vineyard hoping to get a few more shots.

I do appreciate any comments, Thanks

My website is at www.enmanscamera.com