The Black and White Photograph  


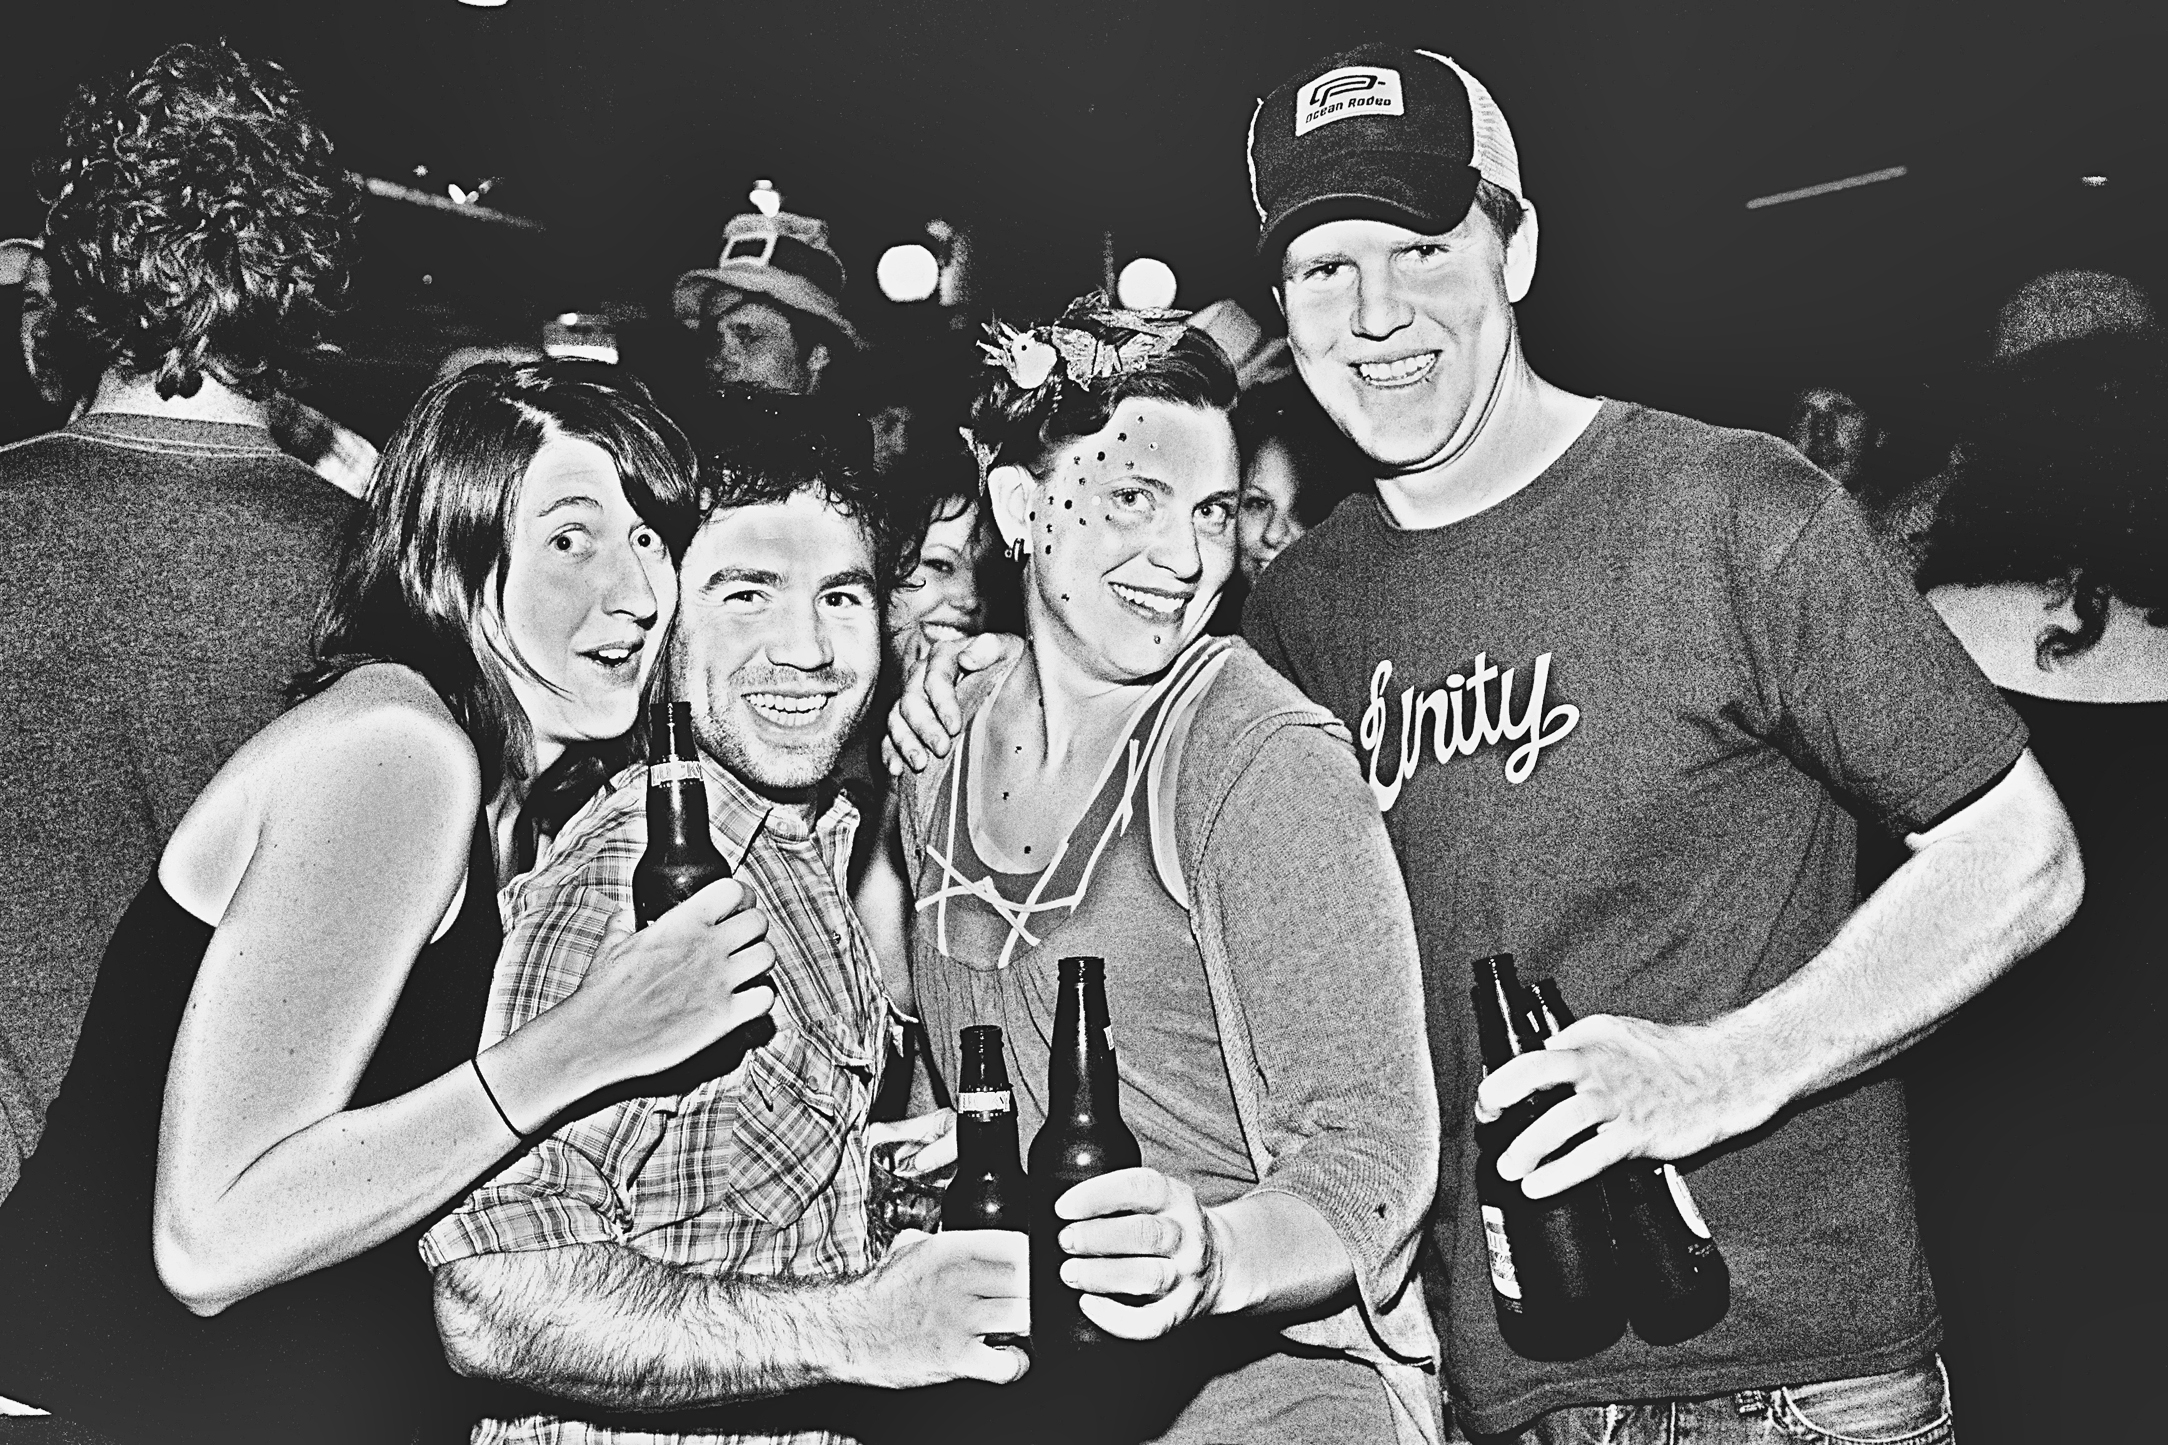
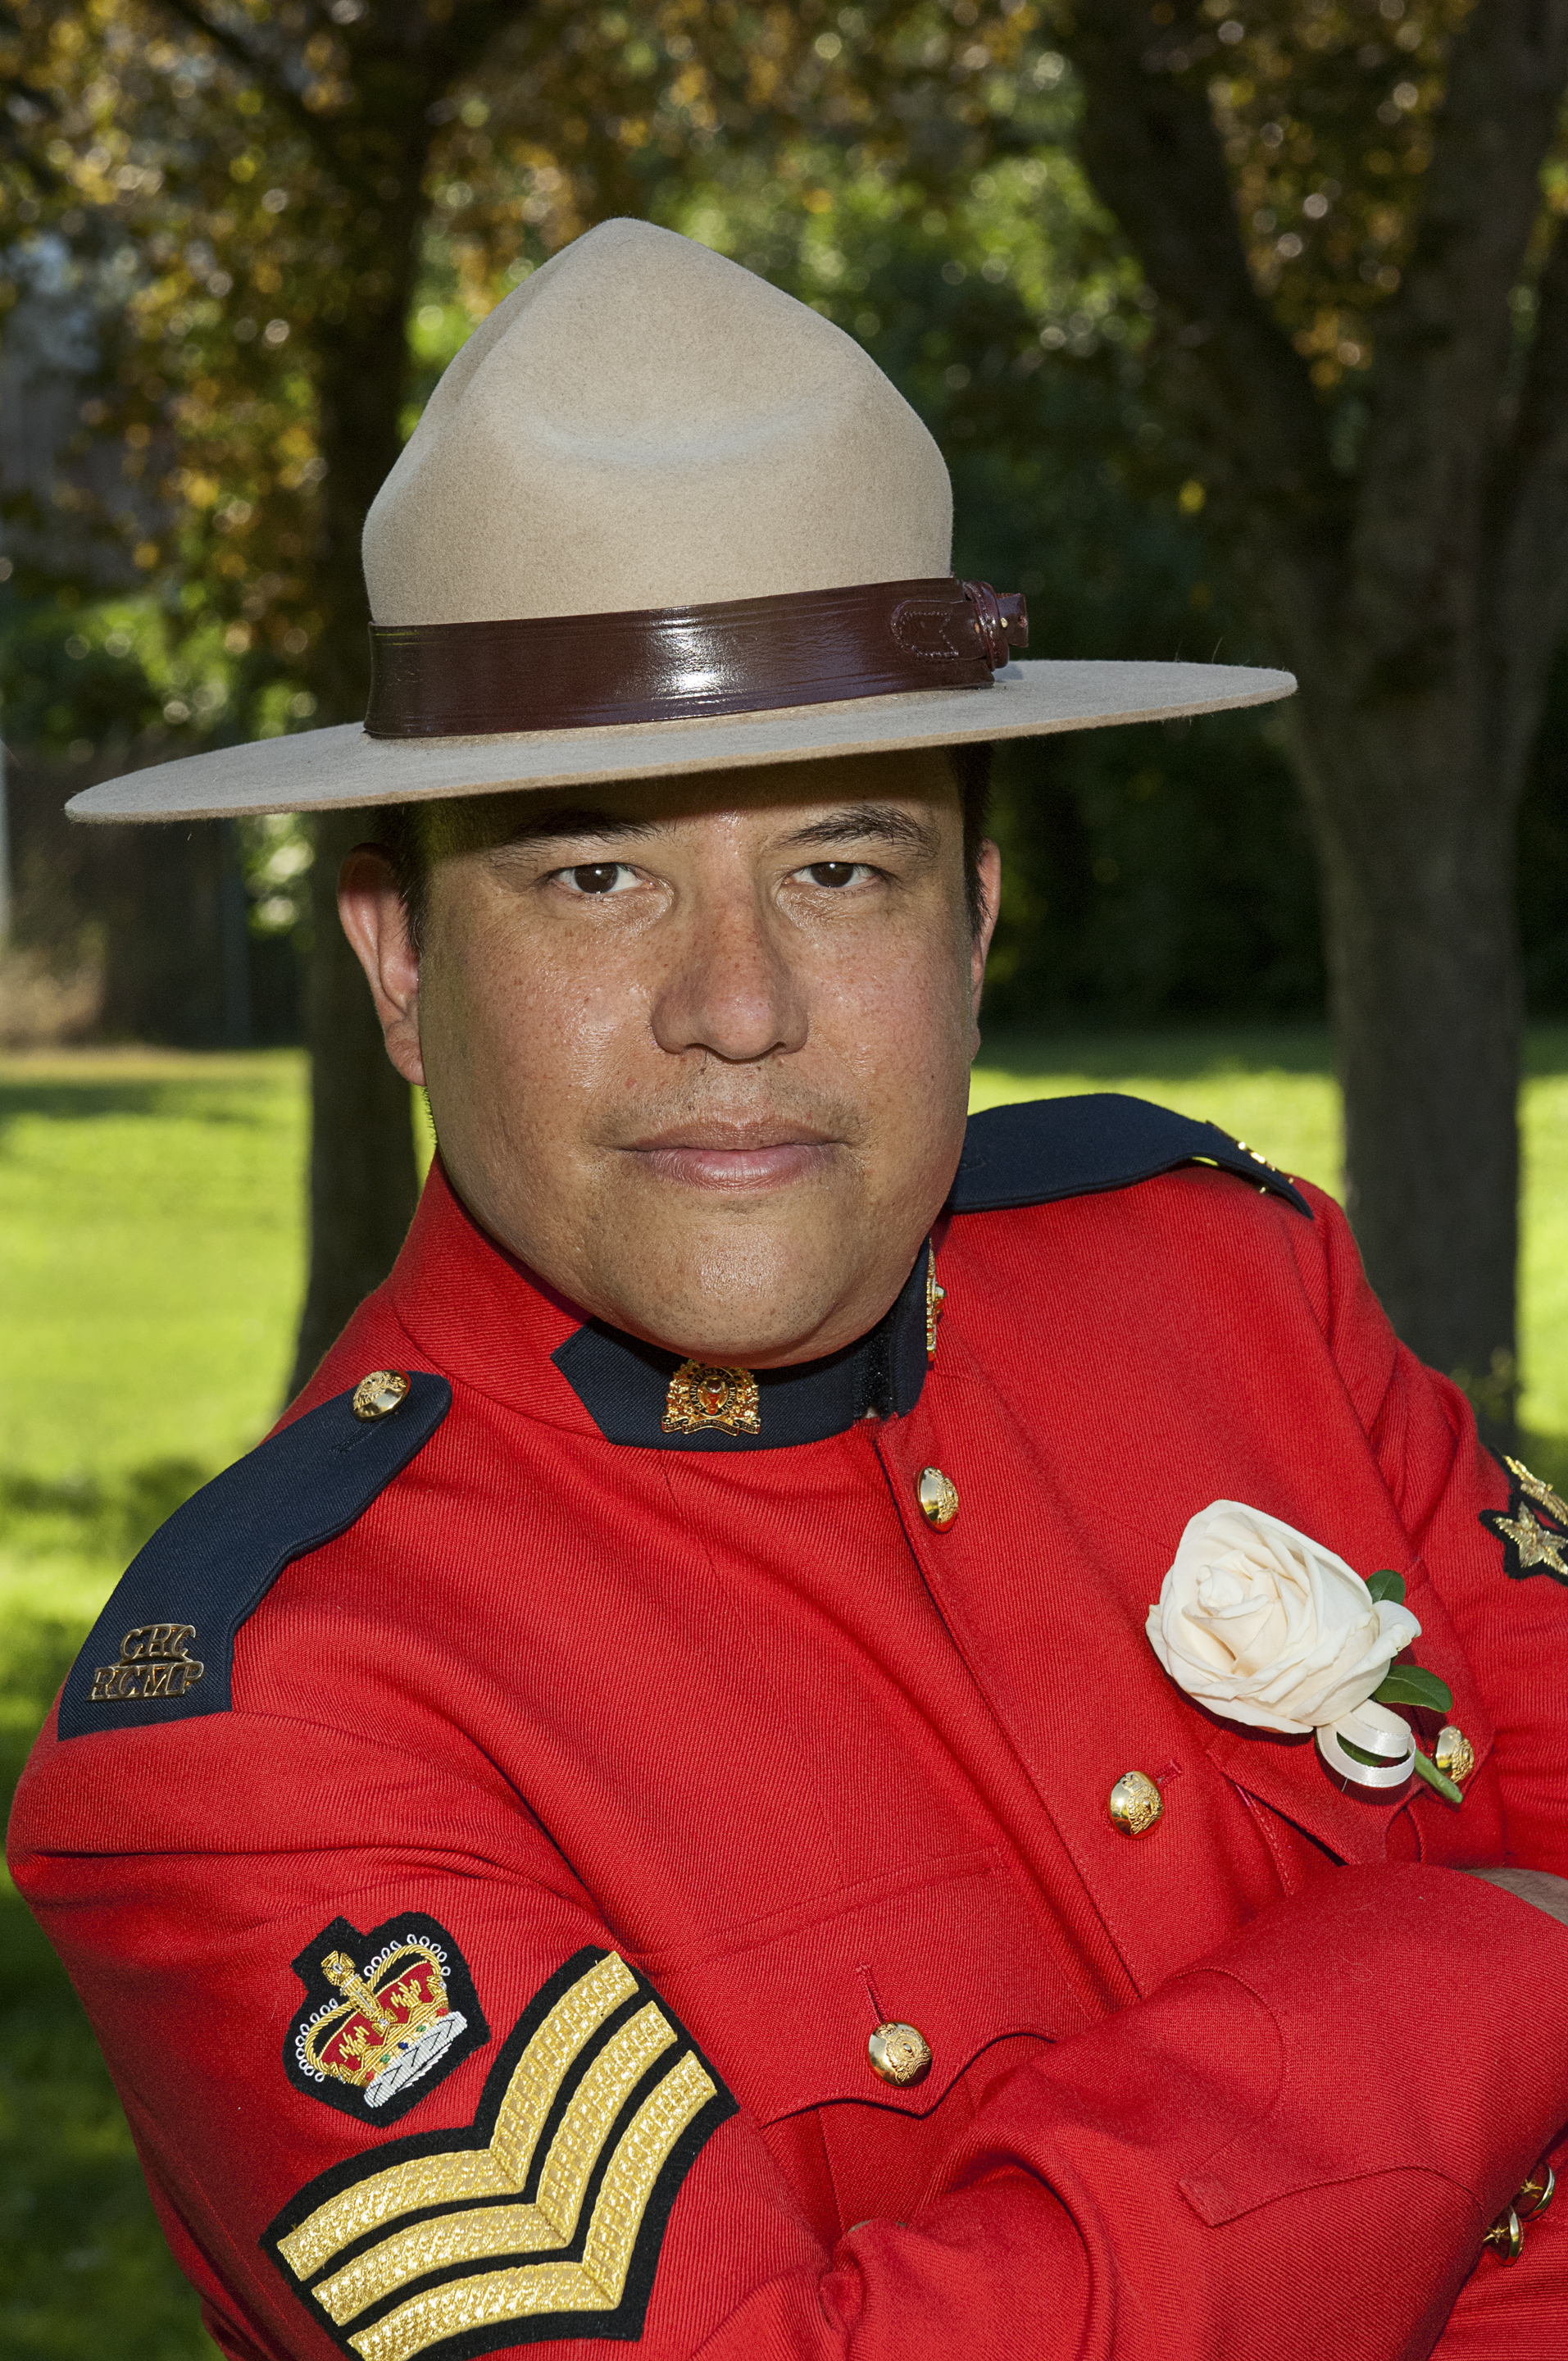
Today my friend Jo McAvany showed me a book of black and white portraits she had made for a client.

Black and White has always been my favourite photographic medium so, of course, I was really pleased to see that she was willing to take the step away from what most local photographers are doing and create the portrait collection in black and white.

Photojournalist Ted Grant, who is regarded as Canada’s premier living photographer wrote,

“When you photograph people in color, you photograph their clothes. But when you photograph people in black and white, you photograph their souls!”

Black and white photographs (in my opinion) seem to create moods and convey an almost tactile quality.

A black and white photograph depends on its ability to communicate, it doesn’t need to rely on eye-catching colours for its’ visual presentation. Those B&W images that stand the test of time combine attention to subtle changes in light, composition, and perspective. I think a B&W image stretches our creativity and forces us to visualize our world in different terms. I remember a photographer once saying that he believed shooting in B&W refined one’s way of seeing. And I heartily agree.

In spite of the many modern photographers that don’t bother with anything more than just accepting what comes out of their camera, black and white photography is far from being left behind in the past and with the current processing software, updates in high quality printers, and the latest in printing papers, black and white image-making will continue to be an option for a host of serious creative photographers.

Those photographers that are good at black and white photography learn to exploit the differences in tonal elements in a scene and present viewers with successful B&W portrayals that make excellent use of shapes, textures, light and shadow, and the loss of those original colours becomes irrelevant.

For those that haven’t tried monochrome (another word applied to B&W) image making, I will mention that it is easier than ever. Most digital cameras have a black and white mode available in the menu. However, I would suggest trying one of the many great programs available on the Internet that can be downloaded to test for free. Who knows, you might, like I do, really like black and white photography.

Readers by now must know how much I like quotes from famous photographers. So I’ll finish this up with some words from a turn of the century fashion and commercial photographer, Paul Outerbridge who wrote, “One very important difference between color and monochromatic photography is this: in black and white you suggest; in color you state. Much can be implied by suggestion, but statement demands certainty… absolute certainty.”

Home Studio Lighting for Photographers      

Flash Kit 3

I have written about using off-camera flash several times. Nevertheless, with the conversations I had with two separate, aspiring portrait photographers this past week asking my recommendations for setting up a home portrait studio I have decided to revisit that conversation.

In each instance they were troubled by the kinds of lighting equipment other photographers were advising them to purchase.  Both were upset at how much it was going to cost to get large and expensive studio lights other people were suggesting, and complained that they would have to wait until they had the money before a home studio lighting situation could be set up.

With serious searching they might be able to find used studio lights listed on craigslist, or similar online sales, but that will include additional shipping costs. Further, they won’t have experience with the many brands of equipment available, and are taking a chance that the units will arrive in working condition. And, to confuse them even more they will be offered lots of those cheap, and inadequate, Constant Light kits that were purchased by other unsuspecting beginners.

I knew they were both new to portraiture and just want to learn about lighting. My opinion is they don’t really need to go to the bank just yet, and would be better off starting out with smaller, speedlight type flashes. With the money saved by not purchasing the big, studio type lights they can buy a couple of inexpensive light stands, umbrellas, and maybe even add a soft-box, and a backdrop.

Photographers intent on setting up small home studios for portraits and small groups don’t need to go to the expense of the brawny, studio type lights. They can easily, and without much initial cost, set up a studio with what I personally use, and call my “portrait kit”.

I use older hotshoe flashes for my portrait kit, each with it’s own wireless receiver and stand. I can choose a shoot-through umbrella, a reflector umbrella, or a softbox, and much of the time I include a reflector. It is an inexpensive and easily stored or transported “portrait kit” that I would recommend for home studio photographers.

Wireless sender/receivers come in all sorts of inexpensive incarnations, and it is the same with lightstands and flash-to-umbrella mounts. All of this is much less expensive, and a lot easier to store and/or move around than the big studio-type flash units.

I have been using multiple flashes off-camera since the 1980s, and I always choose inexpensive, used units that I can cheaply replace if they get knocked over, or if I wear them out.

Hotshoe type, off-camera speedlights are perfect for the educational process of learning to use flash effectively, and if they are no longer a good fit for one’s creative growth, the choices as to the next step in lighting equipment will be educated decisions instead of emotional.


Photography at the Christmas Party

Tree Planter's 009 Tree Planter's 040

Tree Planter's 076 copy Tree Planter's 255


The Christmas season is here and that means photographers, digital cameras in hand, will happily begin filling memory cards with all the photographic opportunities as they join family, friends, and co-workers at all this month’s festive events.

I have the feeling that for many, it is more about the process of picture taking than it is about making memorable photographs, or even documenting the party.

The act of picture taking has become easy and so much fun as a process as photographers rush over to take a picture, look at the LCD, and quickly slide back to show others those tiny images. And seem more interested in that quickly snapped candid than what is actually happening at the moment.

Most images made in this fashion never become more than files stored on computers and tucked away on hard-drives with good intentions, but after that initial viewing, most photos loose their value because there are too many, and very few are good enough to give to others anyway.

What is my advice for photography at the next Christmas party? Yes, continue to make candid photographs of people having fun, but, perhaps, think about making pictures that tell a story, capture an exciting moment, and importantly, flatter the subjects. Most people don’t mind seeing a picture of themselves being silly or having fun, but they don’t like pictures that make them look stupid or unattractive.

My approach is to take a moment to look at the room in which I intend to make photographs, make a couple of test shots using longer shutter speeds (my favourite is 1/60th of a second), to include the room’s ambient light when making exposures using an on-camera flash (I always use a flash) so as not to end up with brightly lit faces surrounded by a black environment.

I suggest taking group shots with two or three people. Get them to position themselves so they are squeezed together with a tight composition, and include only a little background or foreground. Don’t shoot fast, steady the camera, and select a shutter speed that includes the ambient light, and use a flash. Fortunately most modern DSLRs easily allow ISO sensitivity that can be set to 1600, and some can go a lot higher.

Shutter speeds of 1/60th of a second, or less, doesn’t always work for children playing in the snow during the day because moving subjects will be blurry, but, with limited indoor lighting, moving subjects will only be properly illuminated when the flash goes off.

Lighting everything with complicated studio equipment would be great, but that would ruin the party for everyone. The occasion would become more about the photography than about the fun and festivities. I use a hotshoe mounted flash and make adjustments as I go. I want to join in on the fun, blend in, and not act like a photojournalist.

Family and friends don’t mind having their pictures taken as long as it’s enjoyable and I want pictures that show them having a good time. So, along with those quick candids I make posed portraits with smiling faces, and if I select some pictures to give away later I want people to like, not be embarrassed by, the pictures taken of them.

I always look forward to your comments. Thanks, John

My website is at www.enmanscamera.com


Using Flash – even – for Sunny Day Portraits

John Mike & Shannon Constable Mike Moyer View from the Bonniville Royal Canadian Mounted Ploice

Using a hot shoe or auxiliary flash is confusing for many photographers, and when I say that I prefer adding flash to all my portraits whether inside or outside, on overcast or bright sunny days, and that I rarely make a portrait without one, will often produce quizzical and disbelieving looks from photographers.

I got one of those looks recently at a wedding I was photographing under a cloudless +35C day. The unforgiving conditions were sunny and bright with participants’ faces constantly affected by strong shadows. A guest, wielding a sophisticated DSLR that was sporting a very wide angle lens, inquired about my bracket-mounted flash and politely listened when I said I always used flash, however, I could tell that he walked away still confused as to why I would bother to use a flash when there was plenty of daylight. I suspect that the unflattering shadows across the subjects’ faces were not all that evident on his camera’s LCD, or he just did not see the problem. Besides, he might have thought himself more of an event chronicler, or, because of the wide-angle lens he was employing, an artist.

I read a query in an online photographer’s forum asking, “I’ve been shooting headshots recently and it got me thinking a lot about metering. How do I meter for flash portrait photography on location? I know that without a flash, I would just spot meter their face…and snap. What happens when I have an off camera flash? Do I just meter normally then shoot? Because when I do this, once the flash goes off, the exposure would be completely different than what I’ve just metered, which would usually mean overexposed. This is so very confusing. Please shed some light on this (no pun intended).”

I also recall a friend’s class assignment to photograph someone wearing a wide brimmed hat under the midday sun. (My apologies to those that adhere to the words from Noel Coward that “only mad dogs and Englishmen go out in the midday sun”).

She explained, “Our assignment was to light the shadowed face under the hat and still have properly exposed surroundings.” At that time flash technology only produced constant light. The solution was to diffuse the light by placing a white handkerchief folded once or twice over the flash head to open up the deep shadow.

Fortunately, modern TTL flash is almost foolproof and only a modicum of thought is required on the part of the photographer as to how much light should be added for the subject’s exposure.

My camera is usually set to manual exposure mode. That allows me, not the camera, to choose the overall ambient exposure, and to add flash to those areas that are underexposed by shadows.  I meter the existing light, set the exposure, and make tests using the flash’s exposure compensation feature to increase or decrease the output level. I then check the histogram to see if there are blinking borders around any white areas indicating over exposure, and if I observe them I dial the exposure compensation down, till the flashing borders disappear on further test shots. That highlight-warning feature is set in the camera’s menu.

My photographs from that wedding day are evenly exposed with attractive, open shadows and do not appear as if there was a flash involved. Besides, using a flash really was not much more effort than if I didn’t, and I did not have to spend hours using postproduction software to lighten and darken my subjects from that day.

I use a bracket that places the flash high above the camera that can be quickly removed if I want to light the subject from one side. The bracket isn’t a must, however, I recommend a connecting cord from camera to flash so it can be used off camera.

I also advise reviewing the camera manual to determine if it has a feature called “high speed sync” that allows for a high shutter speed when using a flash. That’s a discussion for another time, but I recommend doing some recon on the web where there is lots of information.

Blending flash with ambient light isn’t really a mystery. The combination of off-camera flash, and a light meter to measure ambient and flash contributions, will give you complete control to craft portraits your friends and family will love.

A burst of flash will reveal your subject’s eyes and soften shadows all round, so it’s definitely a good thing and will improve your pictures.

I appreciate comments. Thanks, John

My website is at www.enmanscamera.com