Is it Time to Upgrade my Camera?

1. Cameras

getting the shot

Tripod & Hat


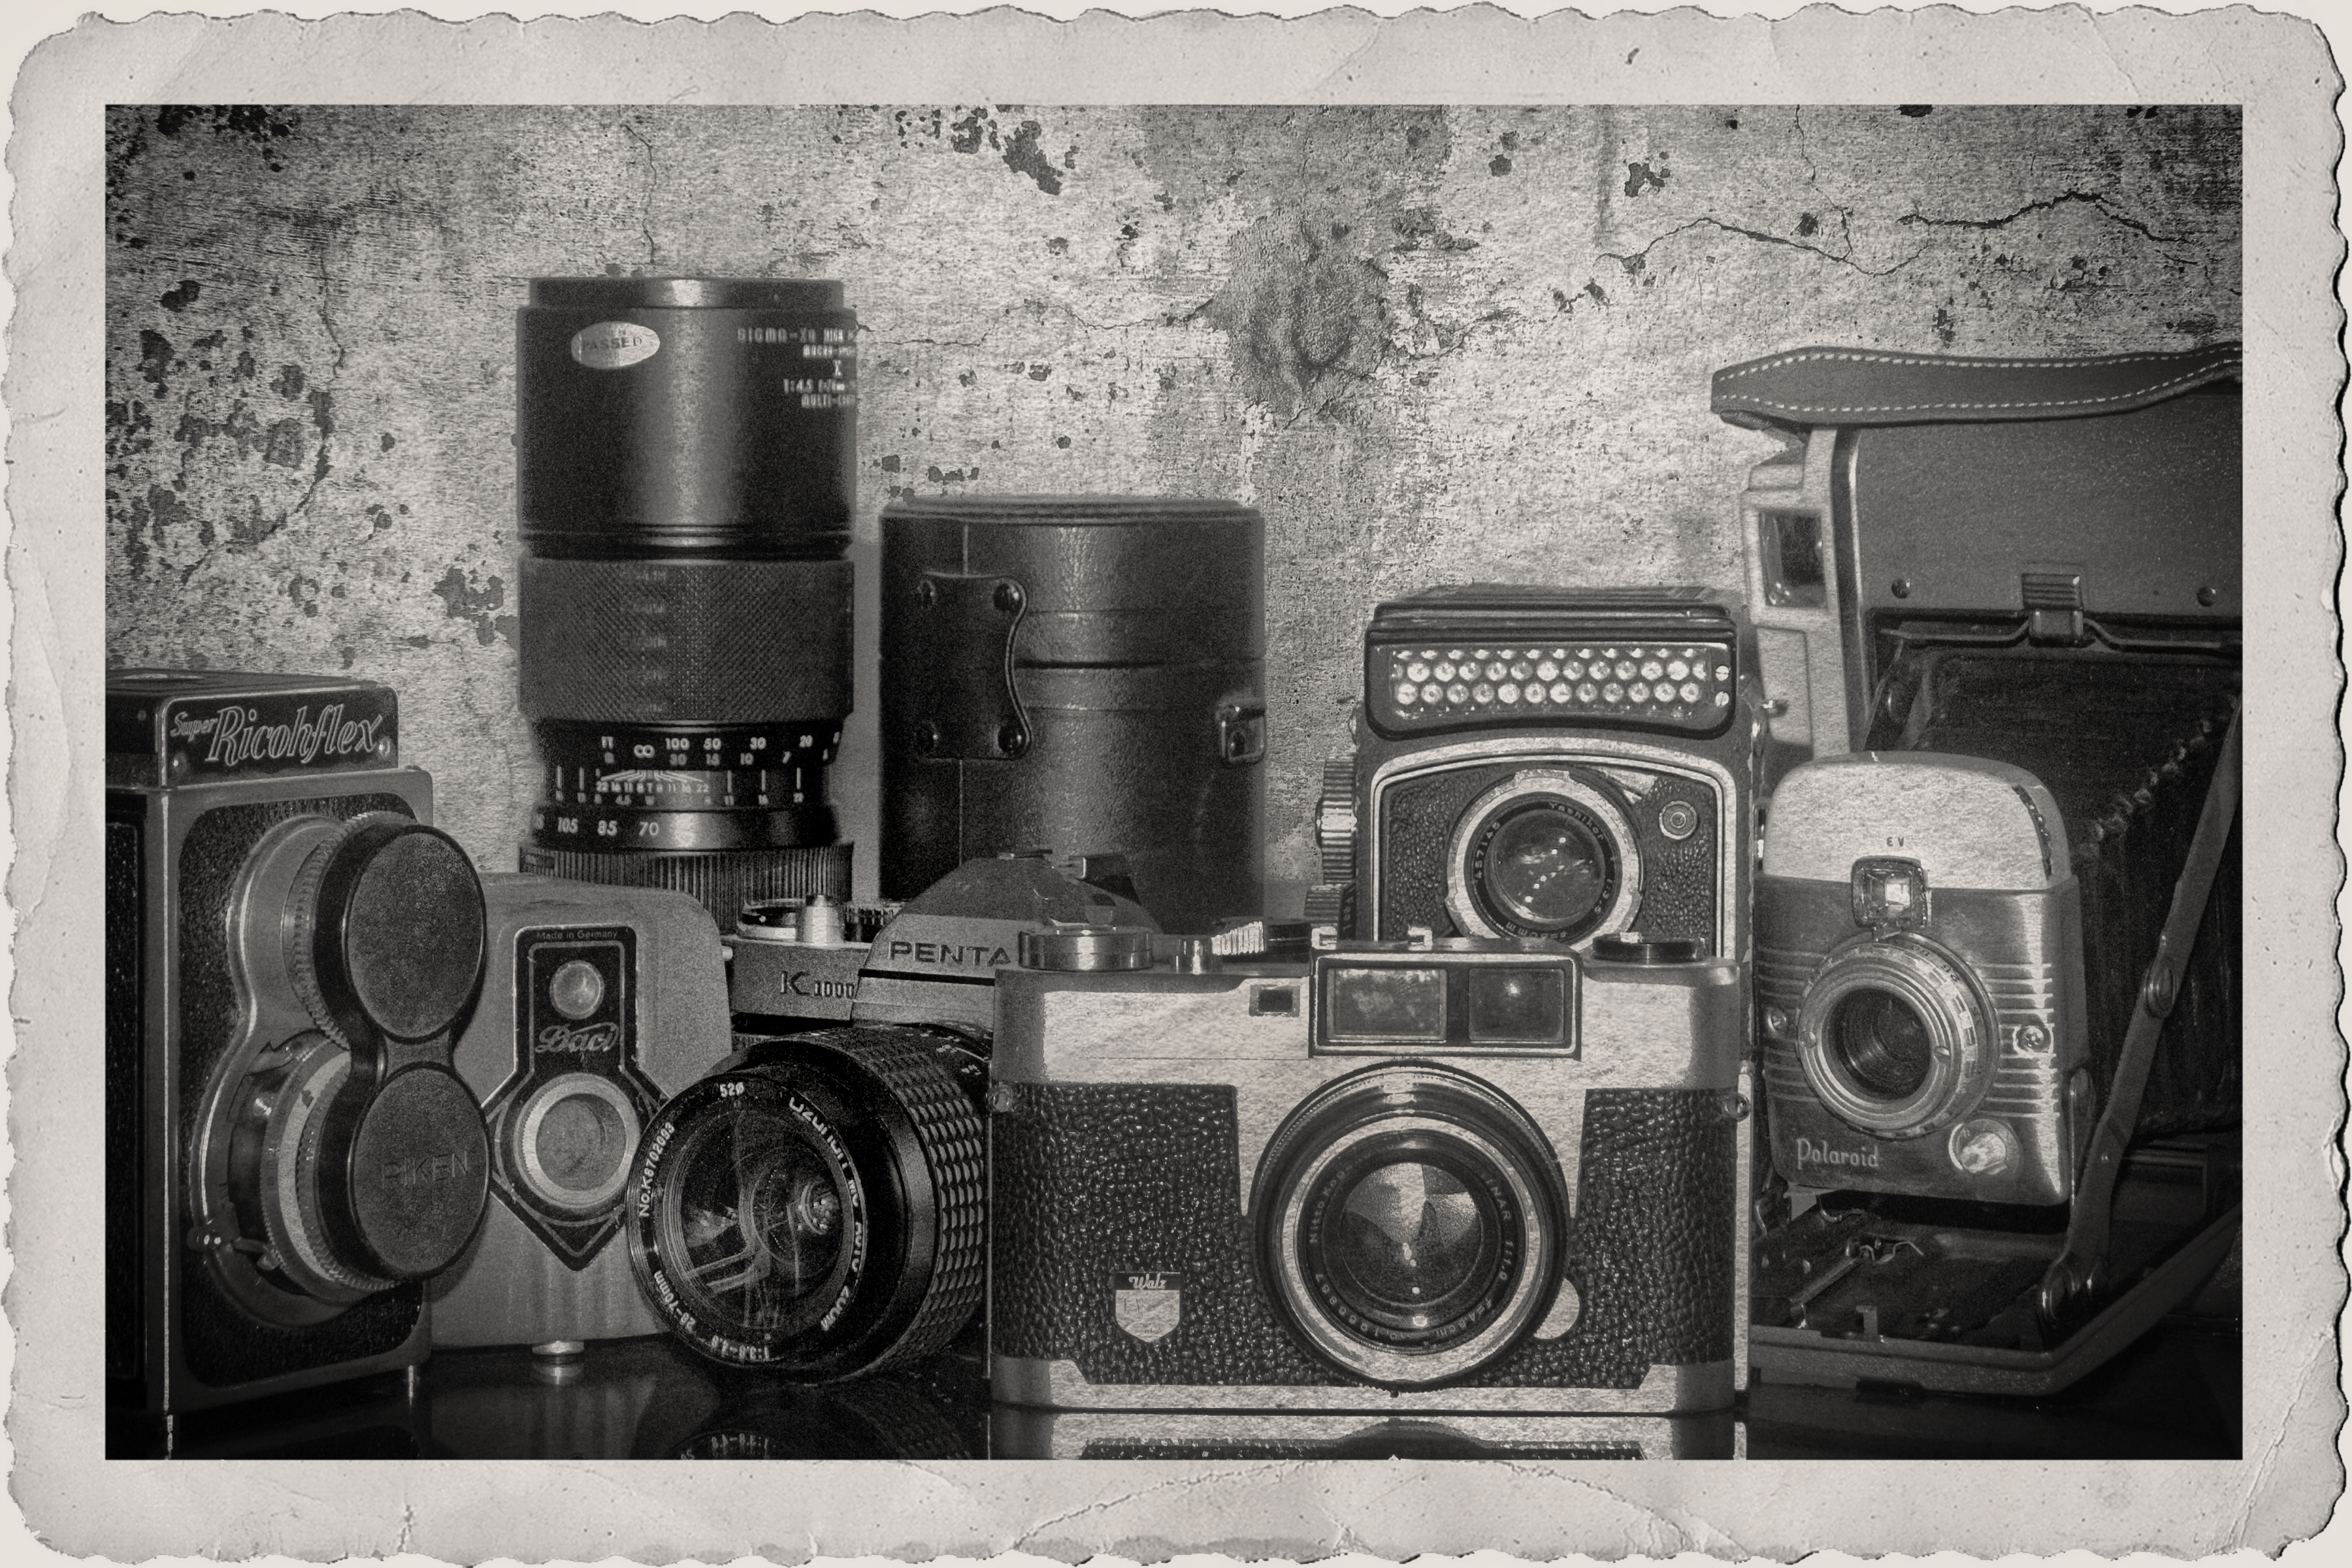
In the era of film cameras serious photographers would come to a point when they would consider upgrading from a 35mm SLR cameras to a medium format 120mm, or make the climb to a 4×5 view camera.

It was all about the size of the film and bigger really was better. I recall feeling bad for couples that had friends photograph their wedding with tiny 35mm cameras. Only those photographers wielding medium format cameras would be assured of quality final prints. If one wanted a colourful, sharp, grain free enlargement then 120mm or a larger format was a must.

What do I now say to photographers like the one I talked with recently who are considering a more serious approach to photography?

I always begin with the question, “what are your interests and what subjects do you like to photograph?”   My short answer for that digicam user was, if you want to shoot sports, wildlife, or even scenics and want enlargements bigger than 8×10, then, yes, get a DSLR.

I think printing quality 11×14, or bigger, enlargements are best produced with sensors that are considerably larger than what digicams provide.

I like digicams. They are perfect for intimate, candid shots. The compact size lets one put them in a pocket and go, and if used within their limits they can produce excellent images.   However, if one feels, like that fellow I talked with, they have reached their camera’s limits then it is time to move on.

I must add at this point, that with the entry of mid- and full-size sensor mirrorless cameras there are new and exciting choices. I would like to discuss those at another time, and hope for plenty of advice from readers on their preferences.

To simplify my discussion with him I put DSLRs into two categories, amateur and professional. However, the difference between amateur and pro cameras isn’t as easy as it was with film.

The most significant difference, in my opinion, is durability. Pro cameras feel sturdy, are heavy, and are sealed against the elements. When dropped, they bounce and usually don’t break, and even with hard use, the shutters will last a long time.

When the first DSLRs came onto the scene there was definitely a difference in the quality of the images between entry level and professional level cameras, but that is not as distinct now. The technology for sensors and in-camera processing has rocketed. The latest entry-level model may well have the same sensor as the previous summer’s expensive pro model as the technology is transferred over. The obvious difference may only be the weight and controls and debating megapixels has become just plain silly.

I know many are willing to argue about cropped frame vs. full frame, but I wonder if that’s more a personal preference than an upgrade.

For those, like the photographer I talked with, interested in purchasing used equipment; there will always be opportunities to purchase at reduced prices.

Whatever the camera availability, my advice to that fellow and others asking the “upgrading” question is to consider what kind of photography they want to do. Talk to other photographers about cameras that are interesting, go online and check out the many photography forums to find out what others with their same interest are using, and absolutely attend some classes.

Using a different camera is always fun and I believe learning how to control the technology a new camera offers is like a shot in the arm that gets the excitement going and helps ultimately to make better photographers.

Any comments on this subject, or mirrorless cameras are very welcome.

Thanks, John

My website is at www.enmanscamera.com


Cleaning Photographic Sensors and Protecting Lenses

I have been talking to photographers that have new DSLRs (digital single lens reflex) cameras from Christmas, and some that have even upgraded to newer models.

Those that are now out and about doing photography and tromping around in the already dry and dusty backwoods and fields nearby are wondering what they can do about the small black specks that are showing up in their pictures.  Those tiny specks mean there is dust on the camera sensor and it needs to be removed. My quick statement is don’t get upset, you don’t have to send the camera to the manufacturer’s repair centre. Dust is no big deal.

There has been lots of confusion, fear, and misinformation about removing specks of dust from DSLR cameras. I even had a fellow tell me that removing the dust would void a camera’s warrantee. Well, yes, that is so if he did anything to damage his camera’s sensor, but in most cases cleaning the sensor is pretty easy, takes only a few minutes, and since one rarely needs to come in contact with the sensor there isn’t much chance of damage.

Even those cameras equipped with vibrating sensors that are intended to remove dust from the visible shooting area could still have dust accumulate in the chamber behind the lens mount and it takes almost no effort every now and then to just blow them out with a large blower.

Many photographers (and I was among that group) thought it was OK to go on using old blower brushes, that have been languishing in the bottom of our camera bag for the past several years, which are designed to get dust off a film camera’s reflex mirror. However, what we discovered is that we were blowing years worth of old dried up bits and particles from a deteriorating blower onto our sensors. My advice is to discard them. Modern blowers like the Gittos Rocket Blower are inexpensive, work great, and are a good addition to everyone’s camera gear.

As I just wrote, it is easy. I give my camera a quick once over before every important photography event.  My personal method is to remove the lens, and turn the shutter dial to the lowest speed until the word “bulb” appears. Then hold the shutter release so the shutter will open showing the sensor. I hold the camera mount side down and using my large rocket blower, blow into the opening in every direction. Then replace the lens that I have also gone over, blowing off dirt and dust with the blower. Next, go outside aim at the blue sky and make an exposure. (I put the lens on manual so it doesn’t hunt for something to focus on.)  Then I check that exposure on my computer, and if there is still dust visible, I do everything again.  Please note that many cameras have a cleaning feature that will lock the shutter open. Check the camera’s manual to use that. I guess I am just lazy; selecting “bulb” is quick and easy.

There are special brushes and procedures for cleaning sensors that have particles that are stuck. I have two brushes from http://www.visibledust.com. However, during the years I have been using digital cameras I have rarely needed to use them. For those that do worry about continually doing photography in dusty locations and want the latest cleaning technology check out VisibleDust’s website.

There also are photographers looking for accessories like protective filters and lens hoods.  Protective filters have come a long way. At one-time photographers attached UV (ultra violet), or skylight (or haze filters) onto our lenses to not only prevent scratches on the front glass, but to change the way the light affected the film. There were several levels of UV and skylight filters depending on how much one wanted to reduce the blue light of early spring or high mountain locations. Today’s digital cameras and post-production programs easily correct the colour balance of different lighting conditions, so photographers really don’t have as much requirement for the colour correcting filters that were a must when using film.  I think those old filters aren’t used so much as filters as they are for protection of expensive lenses from damage.

Depending on where one receives advice they may be told not to put them on lenses because they aren’t up to the “quality of our lens glass”.  I recall the quote that has been around for as long as I have been making pictures, “Don’t put a ten dollar filter on a thousand dollar lens”.  That sounds like good advice, however, it usually comes from those who have a lot more money to spend on new lenses than I do.  However, I keep protective UV, skylight (or haze), or clear “filters” on all my lenses as I have seen too many photographers walk into my shop with scratched lenses that they cannot afford to replace.

As I write about these things, I urge readers to consider providing additional protection (other than a padded case) for lenses. For that, another useful apparatus to protect lenses is a lens hood.  The lens hood not only takes the front impact of a dropped lens, it blocks the glare from the sun and other reflective objects.  I recommend using a lens hood because of that light-blocking feature.  Light coming from the side, above or below can either cause a flare, or actually reduce contrast in pictures. Some lenses come with lens hoods, and that’s great because it means they are fitted so they don’t vignette (darken) the corners of wide-angle lenses.  Most lens manufacturers have lens hoods that are optionally available for an additional cost, but also there are non-specific, inexpensive, rubber hoods that fit the front of the lens filter threads. The rubber type folds back out of the way when it is packed away in a tight fitting camera bag.

I recommend that readers purchase lens hoods, filters, and blowers. The protection from dust, scratches or even broken lenses is worth the investment.

www.enmanscamera.com